The kitchen post train is pulling into the station once again, this time with a look behind the scenes doors & drawers to show you what we put where. Where’s the trash? Where are the knives? What about that blender for my morning smoothies? Where’s all the dang food? Well, all is about to be revealed. We even recorded a quick video tour since we loved this kitchen organization tour that Chris & Julia shared last year. But first, if you haven’t read the full kitchen reveal post from last week, I’d recommend hopping over there first.
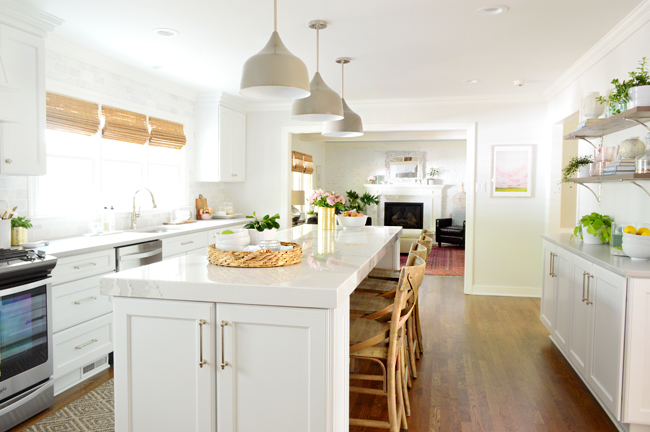
As happy as we are to have a better looking kitchen, a better functioning kitchen is really where its at. So even after deciding on a totally revamped room layout, there were still lots of decisions to make about what type of cabinets or drawers went where and, once installed, how we organized all of our stuff for maximum convenience. To do that, we loosely broke up the kitchen into “zones” like these, and then organized accordingly.
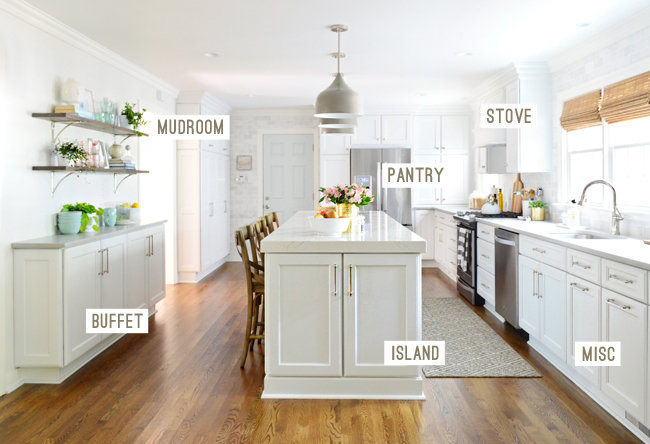
We’ll take you through each of those zones in a moment, but truly the best way for you to see it all is this video of Sherry just walking around and throwing open a bunch of drawers and doors and sharing what went where, and why:
Turns out Burger was feeling left out upstairs, since the kids had closed the bonus room door and he could sense there was snacking going on without him, hence the intermittent I-desperately-want-popcorn barking. Chihuahuas, man…
Anyway, as you heard in the video, not every cabinet is fully occupied, which is nice because we didn’t want it to immediately feel crammed full of stuff. We figure extra space will come in handy as the kids (along with our number of kitchen gadgets) grow. Or someday we’ll shake our fist at the sky and dramatically scream “curse you, extra storage!”
We didn’t take photos of every single drawer (again, the video = the most thorough way to check things out), but here’s a run-down of how we use each zone:
The Island Zone
The island is basically made up of a bunch of big deep drawers along the side that faces the window, and it’s capped off by cabinets on either end. Some people opt for open, decorative shelves on these ends, but we knew Sherry’d have plenty of decorative space when we added those nearby living room built-ins, so we opted for doored cabinets here. Which ended up being a good thing because they host a weird assortment of cookbooks, directories, and random stuff that we use in the adjacent living room, like Sherry’s sewing box for fixing buttons while watching grown ladies fight about not being invited to each other’s events (aka Real Housewives).
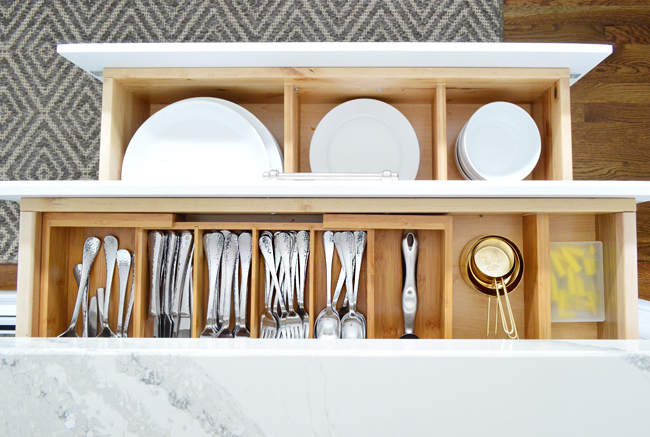
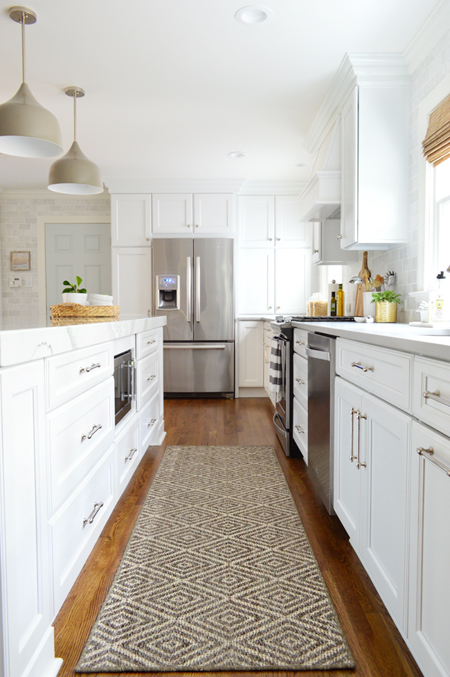
You’ve also already seen that our microwave lives under the island, which we talked about in our last post, but I’m sharing this photo again to highlight that stack of drawers to the left of it. That’s basically where all of our dishes and silverware live and it. is. AWESOME.
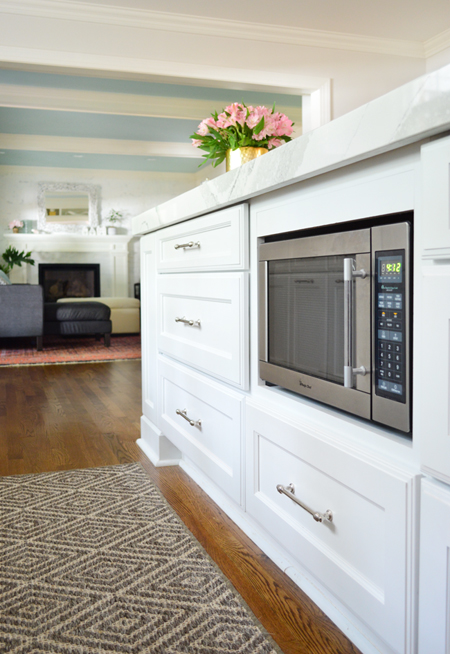
There are not enough ALL CAPS IN THE WORLD to express how much we love storing our dishes in drawers. My sister has had drawers for her plates and bowls for years and has always sung their praises, and we’re card-carrying members of the fan club now too. As Sherry explained in the video, we just bought some spring-loaded, wood-toned dividers to separate the big drawers into sections (plus an expandable silverware organizer for our flatware). It’s super convenient to have all of our place setting stuff in such close proximity to the island seating…
… and it makes unloading the dishwasher even easier, because there’s no bending up and down as you go back and forth between a low dishwasher and an upper cabinet/shelf.
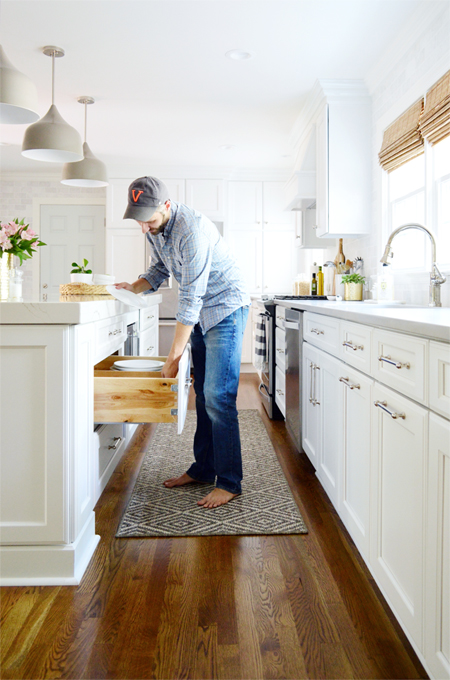
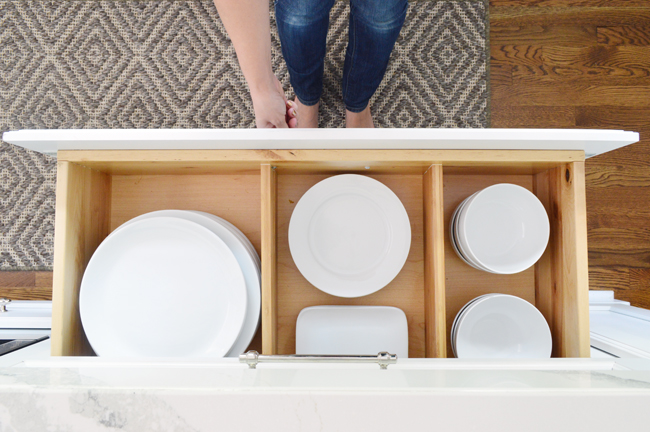
The stacks of plates and bowls don’t really shift at all when you open or close the drawers (you can see the drawers in motion in the video) but the dividers help delineate what goes where so everyone can put things away on auto-pilot instead of ending up with a big, jumbled mess.
The other stack of drawer bases to the right of the microwave host a random assortment of things. Lunch-making stuff (bags, reusable containers, napkins, and foil) are all stored together in the top drawer and larger bowls and platters for entertaining go below. And the bottom drawer… well, let’s just say that my giant griddle lives there alone. Like a boss.
The Stove Zone
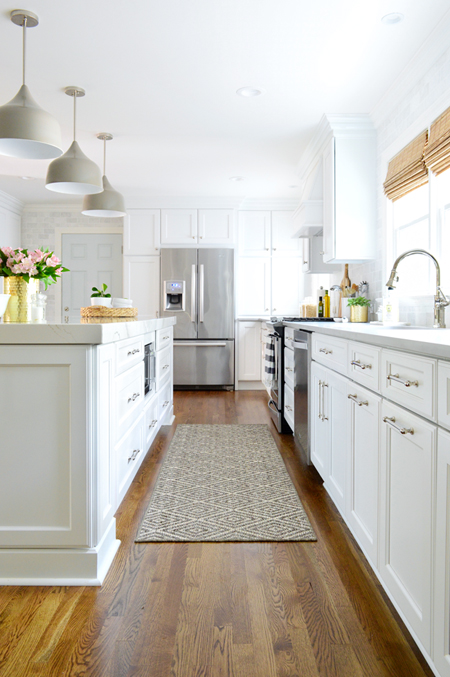
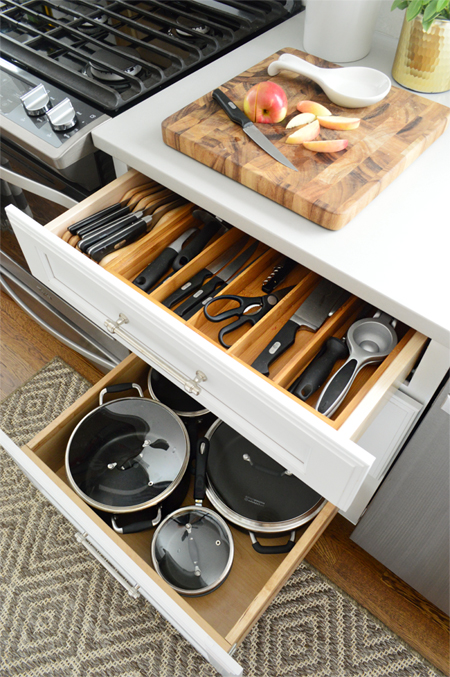
Our love affair with drawer bases extends to this area as well, where we flanked the stove with two more sets of deep drawer base cabinets. It was a recommendation from our friend who’s a kitchen designer, but I’ll admit that we were initially a little nervous about relying on drawers to store all of our pots and pans…
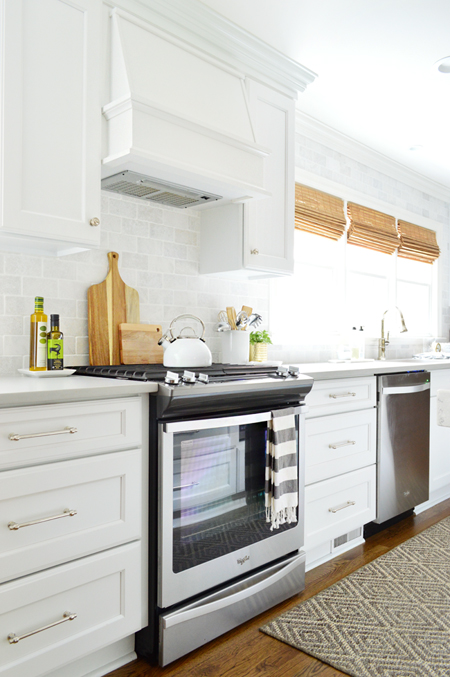
…but they fit perfectly! Our existing set of saucepans and pots fit right into the bottom drawer and the lids can even be stored in there too (we just flip them upside down so the handles protrude into each pot instead of sticking up). For the top drawer on that side, we decluttered our counters by ditching our old knife block and picking up a knife holder that’s designed to fit into a drawer. A few more bamboo boxes house all the other little gadgets, like the can opener and the lemon juicer.
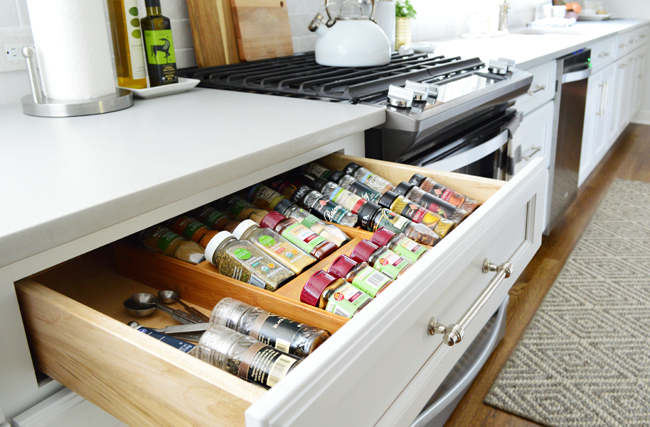
On the opposite side of the stove, we use the top drawer for all of our spices. We bought two of these angled spice organizers made for drawers, which work faaaaar better than the tiered shelf thing we used to have in an upper cabinet. Things are easier to see, faster to grab, and aren’t constantly falling out all over me when I try to reach something in the back.
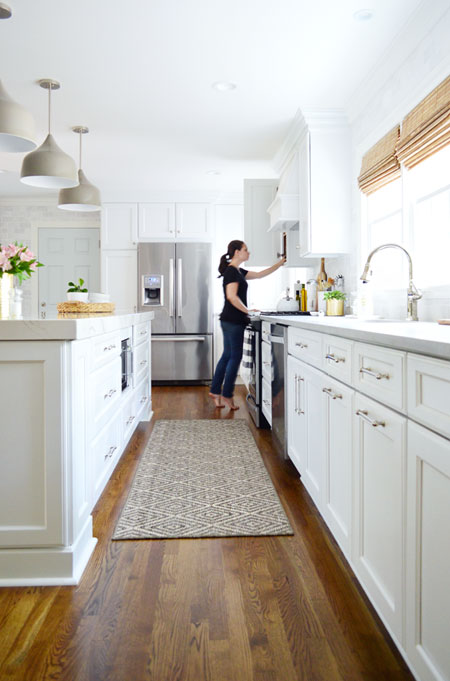
As for the other drawers, you saw in the video that we store skillets, mixing bowls, bakeware, cupcake tins, and all those other things that might be used in or near the oven/stove. I think if we baked more (and therefore owned more baking sheets and cake pans) the drawers could be frustrating since everything is stacked rather than leaned. So if we ever add to our collection, we could add vertical dividers and store them in the big cabinet under the window, which is mostly empty right now.
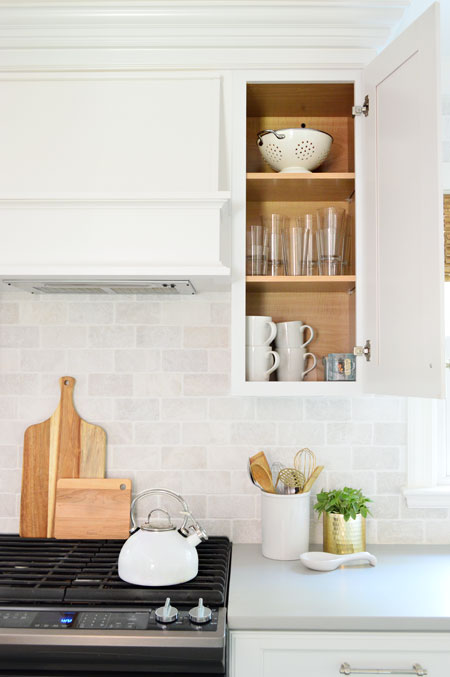
The upper cabinet over the spice drawer houses cooking oils, vinegars, honey, etc, along with glass containers for leftovers – since both of those are nice to have right near the stove.
The upper cabinet on the other side is a mini “beverage center” of sorts. Mainly a spot for Sherry to keep her mugs and teabags near the kettle.
The Pantry Zone
We loosely call all of the cabinets that surround the fridge our “pantry.” You may recall the old kitchen had a closet-style pantry right next to the door. It was the biggest one we’ve ever had, but the hidden mudroom is far more functional in that spot. So we made it our mission to get the most out of a cabinet-style pantry in this new layout.
The tall cabinet to the left of the fridge is an actual “pantry” cabinet that has deep, roll-out shelves to house most of our dry food. There’s tons of room (they’re as deep as the fridge) but the pull-out function helps keep things from getting forgotten in the back. Sherry couldn’t resist adding some little plastic baskets to corral things. And I couldn’t resist making a GIF to show it in action.
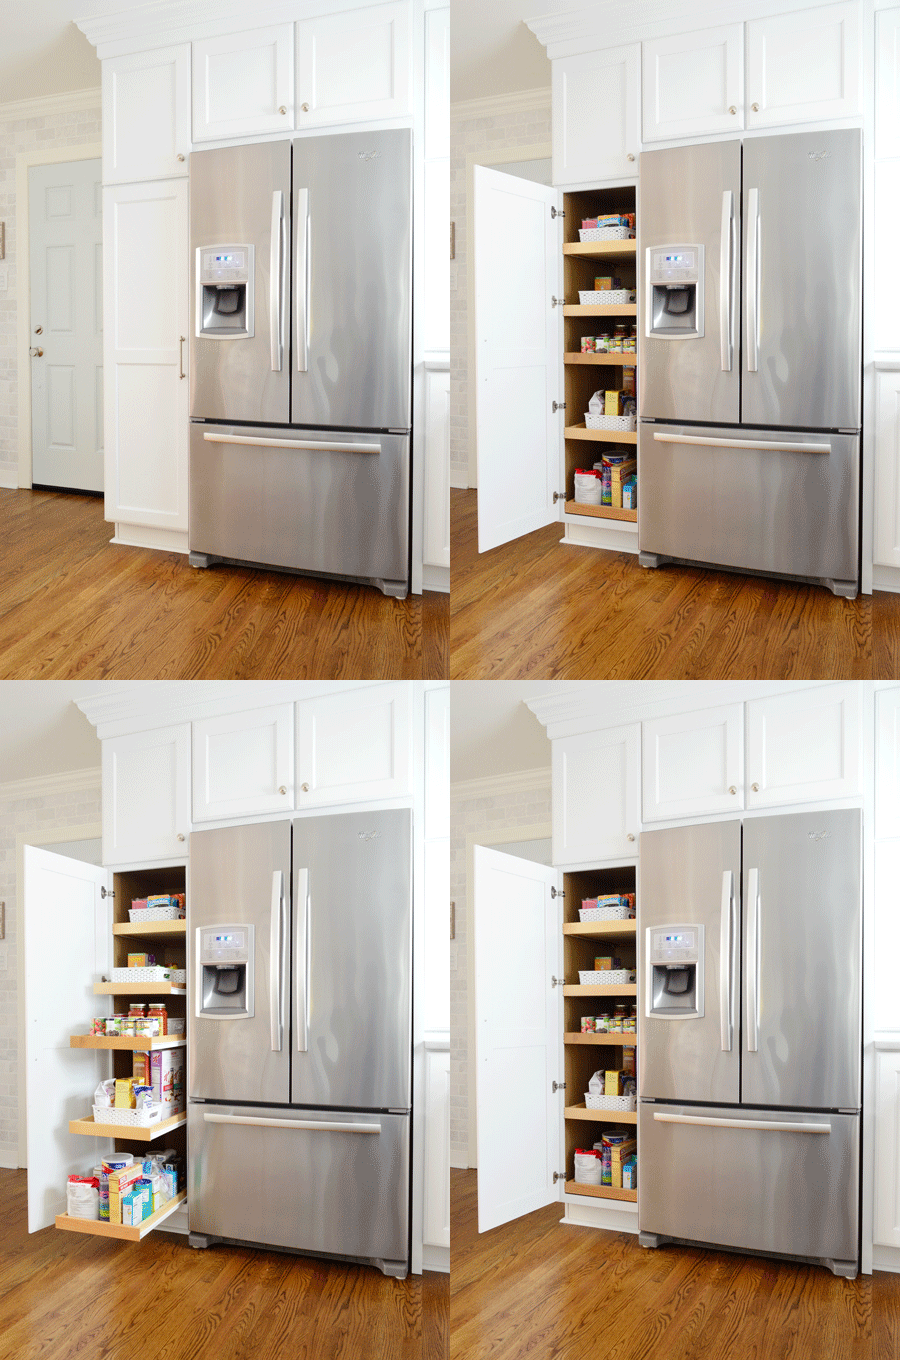
The shelf above the pantry houses lesser-used stuff (cookie cutters and other baking decorations, Starbucks coffee packets for guests) and the deep cabinet above the fridge stores our small coolers and travel mugs. But the area I’m most excited to show you in the pantry zone is the SECRET APPLIANCE GARAGE on the other side:
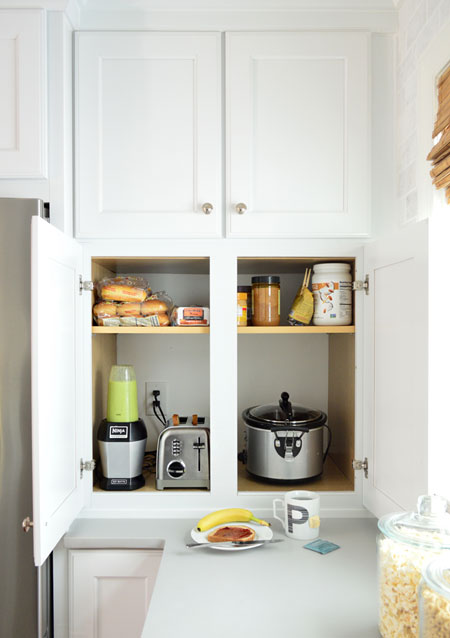
This was a feature we worked with the cabinet company to create. It takes advantage of an existing outlet so that we can keep our frequently-used small appliances at the ready. And by installing it nice and low (essentially it’s a cabinet that sits on the counter) everything is easy to reach and use, but doesn’t visually clutter the room when we’re done and the doors are closed. We don’t leave them plugged in, but it’s still soooo easy in the morning to throw open the doors and have our smoothie-makin’ and bagel-toastin’ at the ready. We added the high shelf to leave plenty of room to maneuver our hands when using the appliances, while still gaining a nice platform for bread, rolls, and dry smoothie ingredients.
Oh, and above the appliance garage is the overflow pantry – like chips, popcorn – as well as more paper towels. Exciting, I know. Sherry spryly demonstrates how she gets up there in the video.
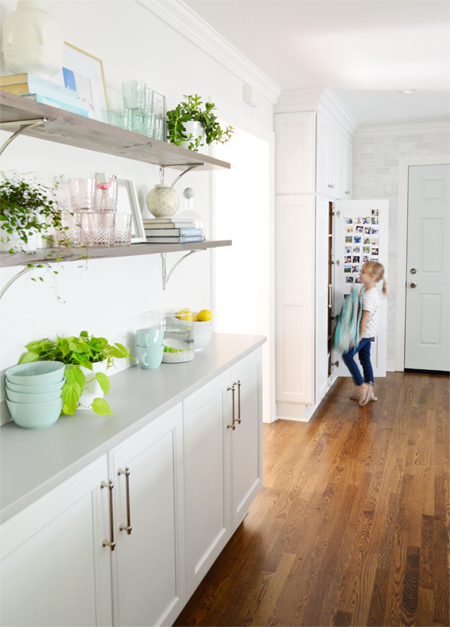
The Mudroom
We talked a lot about why we chose this room layout and why a hidden mudroom was such a great addition to the space in our layout post, so we won’t rehash it too much – but it’s certainly a huge part of why this room feels waaaay more functional than it used to.
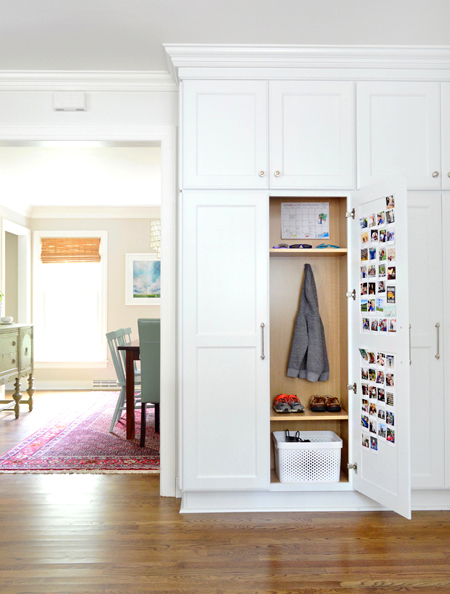
Having this dedicated spot right next to the door has made our whole coat / shoe / purse / leash / backpack / keys / hoodie situation more manageable. Especially since we each have our own dedicated section, so no one is digging to get their bag behind someone else’s jacket. We even incorporated outlets into each cabinet so we can charge our devices in there.
The Buffet
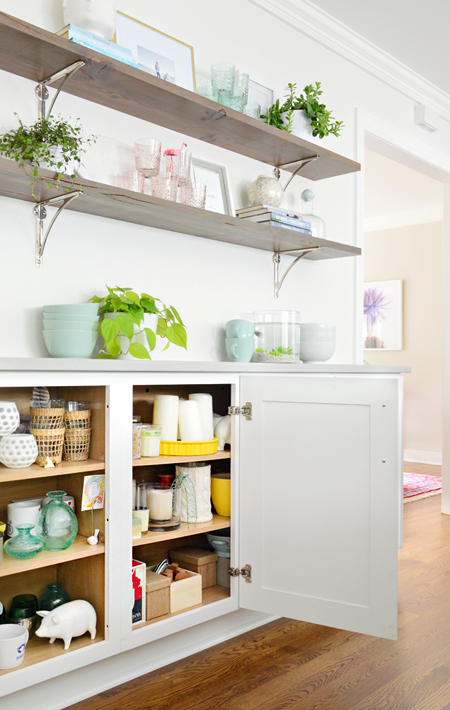
The other set of cabinets on this wall are what we call “the buffet,” even though they’re not a freestanding piece of furniture – nor do we use them like you traditionally use a buffet. Somehow the term just stuck while we were planning it.
What does it actually do? It serves as Sherry’s “Decor Store” which is basically a spot for all of her spare decorative things, like candles, planters, vases, and ceramic pigs. Important stuff like that. These items used to live in the cabinets under our old living room built-ins, but these shallower cabinets mean that things don’t get lost in the back as easily. Plus now our new living room built-ins have books on them and under them (along with some photo albums), which makes a lot more sense.
Miscellaneous
What haven’t we covered: some random cabinets in the corner by the pantry (mostly empty so far), under the sink (cleaning stuff) and everything to the right of the sink, so let’s move over there. Speaking of sinks & cleaning – learn how to clean a stainless steel sink the easy way!
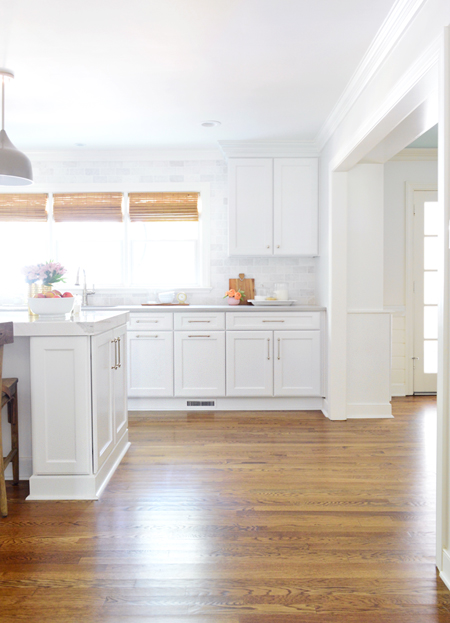
The three lower cabinets to the right of the sink house a variety of things. Right next to the sink we’ve got dish towels in the drawer and roll-out trash and recycling bins below that. We put something like this in our showhouse, which led us to hack our old cabinets with a store-bought kit for retrofitting. But our old cabinets didn’t have room for any recycling storage behind the trash, so this has been a nice upgrade.
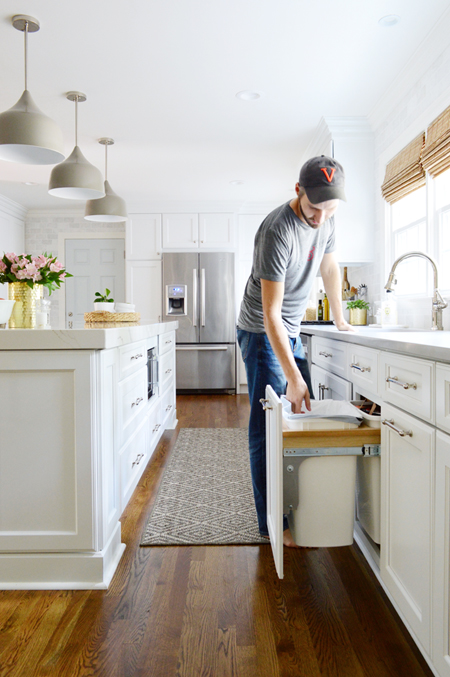
The cabinet to the right of that stores tools, as you saw in the video. Yes, it seems as if we’ll continue to be the weirdos that keep a kitchen cabinet dedicated to drills, hammers, and screwdrivers. The nice wide cabinet to the right of that is full of random party supplies, which were previously housed in our wet bar. But the most important drawer on this side (and truly the definition of miscellaneous) is our mega junk drawer.
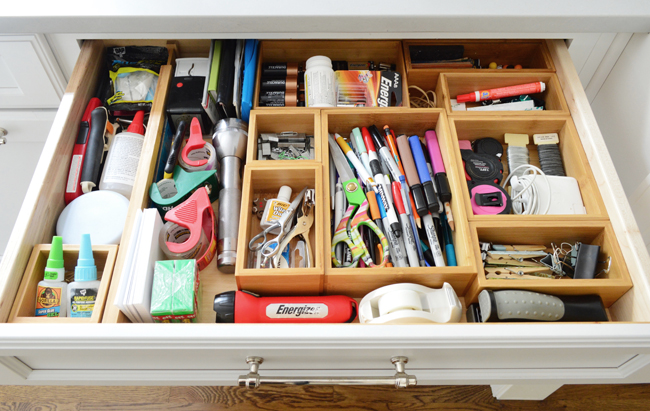
Sherry used an assortment of those wood dividers and storage boxes to wrangle everything from tape and pens to stamps and floral wire. She even used those velcro Command Strips to stick them to the bottom so they don’t shift when the drawer slides open and shut. Have I mentioned lately that I love her?
I think that pretty much covers everything. Again, you can scroll up to watch the video if you want to see more of it in action. I’m sure things will continue to shift as our children grow and our contentious relationship with baking evolves. But for now, it’s pretty safe to say I’ve never felt more organized in my life.
*This post contains affiliate links*
