If you guys follow us on Instagram or Facebook, you’ve already heard the news: not only does the beach house officially have furniture (!!!) we finally got the spend the night there this past weekend! Two nights, in fact!
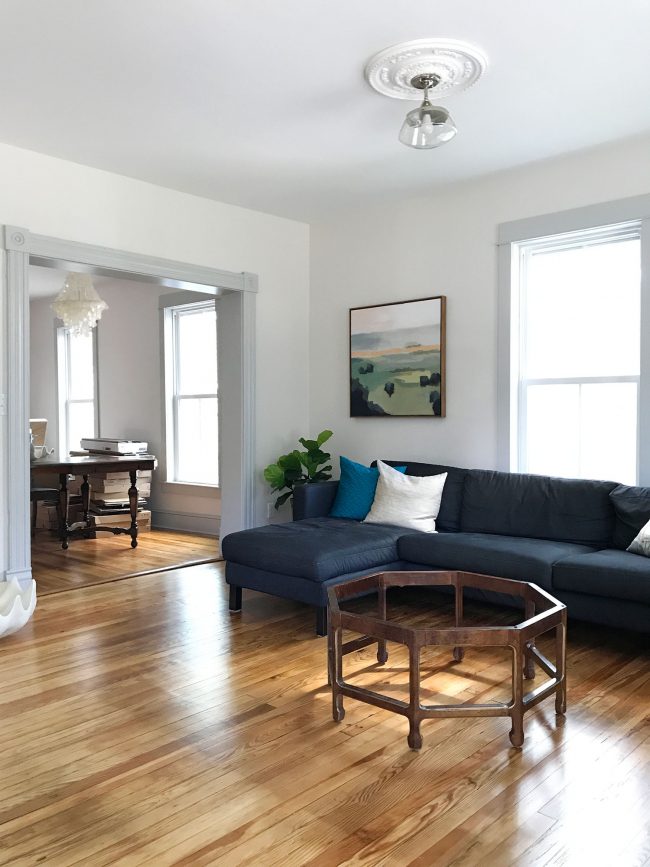
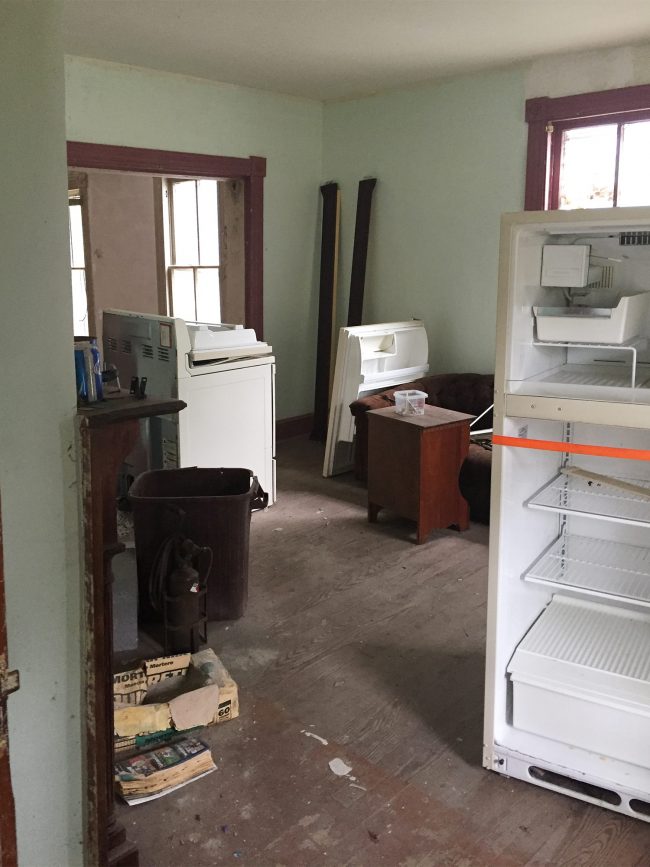
It’s still a far cry from “done.” There’s a lot of remaining furniture that we need to get (nightstands, dressers, headboards, a top for our coffee table, etc) along with various other decor stuff that’s missing (rugs! art! lamps!). Not to mention some bigger tasks like installing the kitchen, adding built-in bunk beds upstairs, and constructing bench seating in the breakfast nook. But even so, just having some furniture (a couch! beds to sleep on!) and flushing toilets & working showers feels like a HUGE MILESTONE in this year-long renovation. Especially when you consider how things looked last October when we bought it:
We spent a couple of days there this weekend unpacking, arranging, and making lists of what we still need to move and/or shop for, and I stole a few minutes on our way out to make a big ol’ video tour of our progress. This video is not short, but I really wanted to show you guys every nook and cranny (including one I’ve never shown before that some of you have asked to see!). I also explain what else is on the list, why we chose some of the stuff we did, and share a general rundown of what’s happening in each room. We’ll cover some of the details via photographs in this post, but the video has allll of the juicy details for ya, so it’s worth coming back to watch if you’re somewhere that you can’t watch it right now. Note: If you’re viewing this in a reader, you may need to click through to see the video player.
UPDATE: You can also view the video here on YouTube
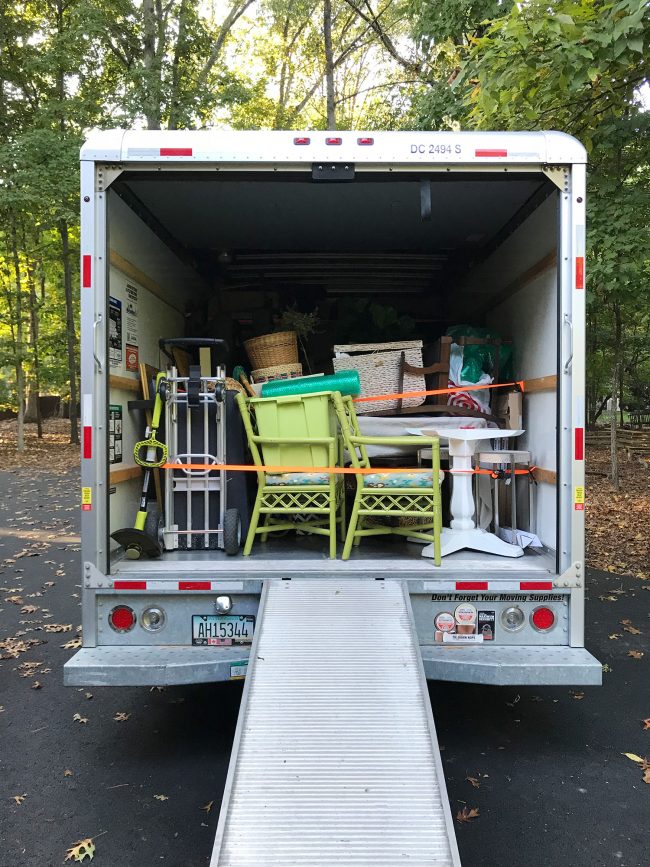
Last Sunday we loaded up a 15′ U-Haul packed with furniture, all of our flat-packed Ikea kitchen boxes, and our pink stove! These things have all been stealing space in our own house over the last several months so it was so exciting to stuff that truck with everything and finally get it out to the beach house. It was a mix of some new buys, a lot of thrifted finds, and even some leftovers from our previous rooms. Hi green office chairs from our second house! (You can hear my ideas for them in the video)
Then on the Monday after packing the truck, we drove it out to Cape Charles and spent a few hours unloading it and arranging things. But it wasn’t until we went back again this past weekend for our first two overnights that it actually started to feel like we were making progress. The entryway is probably the most “settled” feeling space of the house thus far (look ma! we hung a mirror!) since we knew it would help the whole place feel more finished if the first thing you see from the front door looks nice.
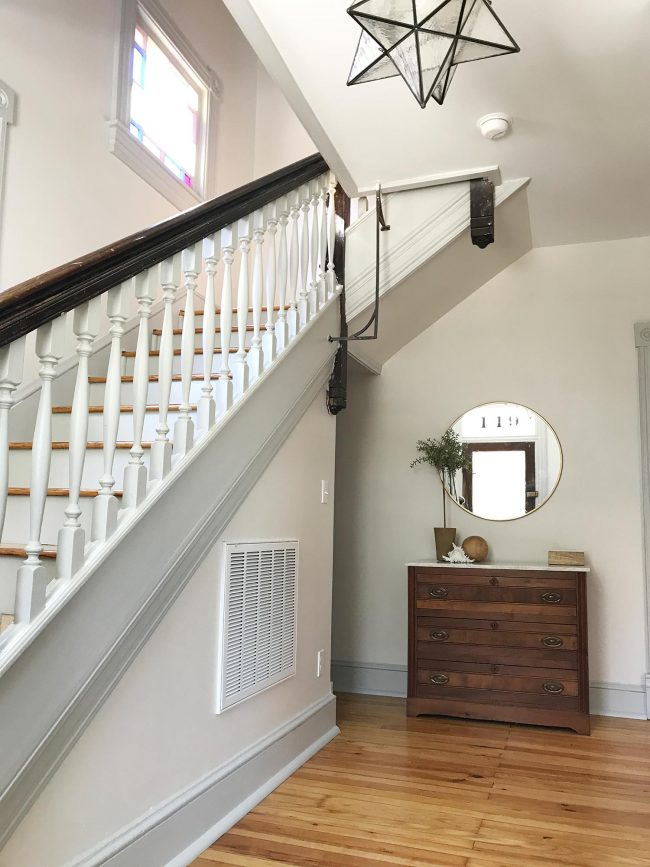
Don’t mind that wood railing that still needs some love to get all of the marks off it. Our to-do list is longer than Santa’s toy list at this point, but we’re slowly chipping away at things – like that house number you see reflected in the mirror that we proudly added to our transom window (more on that in a minute).
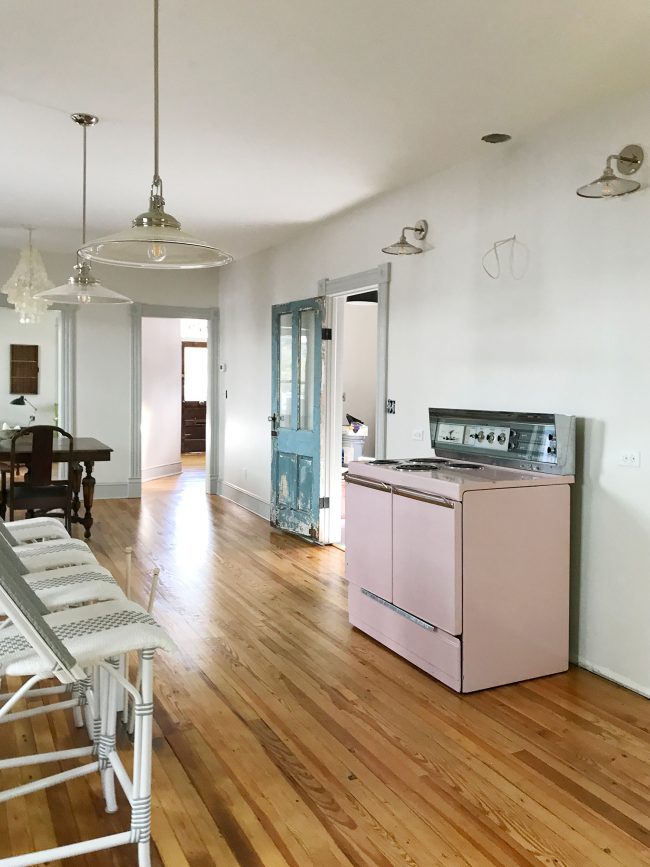
Just beyond the foyer, the kitchen is still looking pretty nuts. The kitchen cabinets, counters, and even the sink and microwave are in approximately 243 still to-be-opened boxes. So right now there’s just a mountain of cardboard that’s hiding behind my chorus line of stools (you know I took great joy in lining them up just to imagine them sitting happily behind the island that’ll be there someday). One coup is that the stove is in place and even installed!
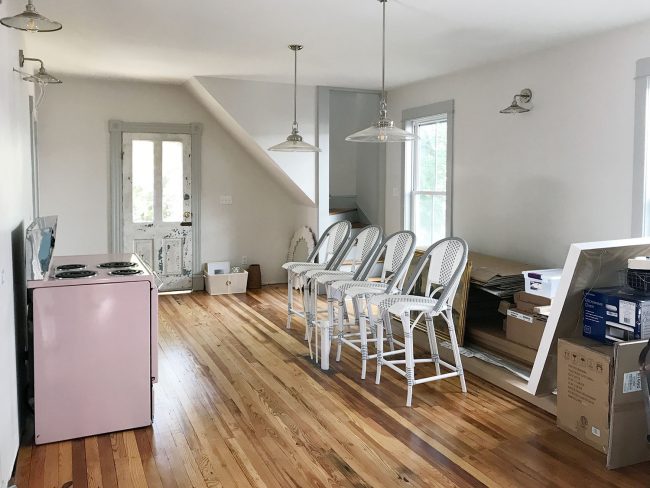
As expected, the stove was a beast to move. In Richmond, it took me and John and a few other neighbors (plus a dolly! plus a ramp!) to get it up on the truck. And when we arrived in Cape Charles, our contractor kindly sent over a couple of his guys to help us get it into the house. Looking at this picture makes me so itchy to start building cabinets, you don’t even know.
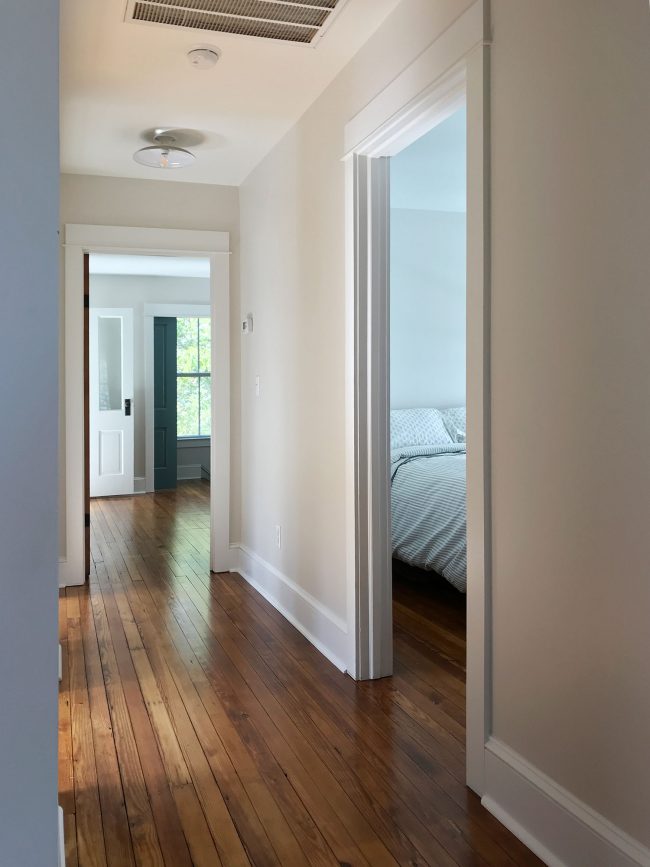
The big progress upstairs was beds, glorious beds! We slept on air mattresses the first night, so when the truck full of mattresses, boxsprings, and frames arrived the next morning, it felt even more legit to spend the second night in actual beds. We got three queen mattresses and two twin extra long mattresses (for the bunk room) delivered from the same place we bought our own house’s guest room mattress and our daughter’s mattress, The Original Mattress Factory. We get compliments on the guest room bed all the time (it’s 6 years old and still feels great!) and we lay in our daughter’s bed all the time and it’s awesome – even when all four of us are piled in there.
It was only $1,800 to get all five mattresses for the beach house, including two boxsprings, two frames, and delivery! When they told me the price on the phone I was pretty sure they were doing the math wrong (I expected to pay at least $500 per bed, which meant $2500 at least plus other fees), but they’re just super affordable and well made with inner springs and high durability testing and all that stuff. They’re also rotatable (it’s surprising how many new mattresses aren’t) so we think that’ll help us get maximum life out of them.
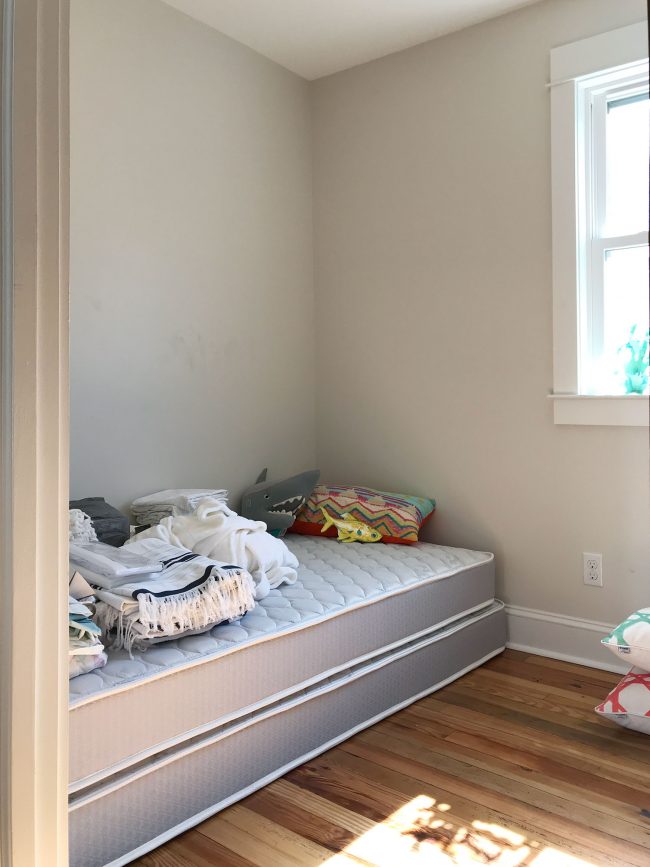
We’re using good ol’ Ed the Bed in this middle bedroom above (for now at least) which means the mattress rests on a wooden platform, but the other two bedrooms got the full frames-and-boxsprings treatment. And the twin extra long mattresses in the bunk room will eventually get built into a sweet little bunk bed that runs wall to wall along that left side of the room, which the kids are especially excited for. We’re just excited that our measurements were correct and the mattresses fit perfectly in that space. Phew!
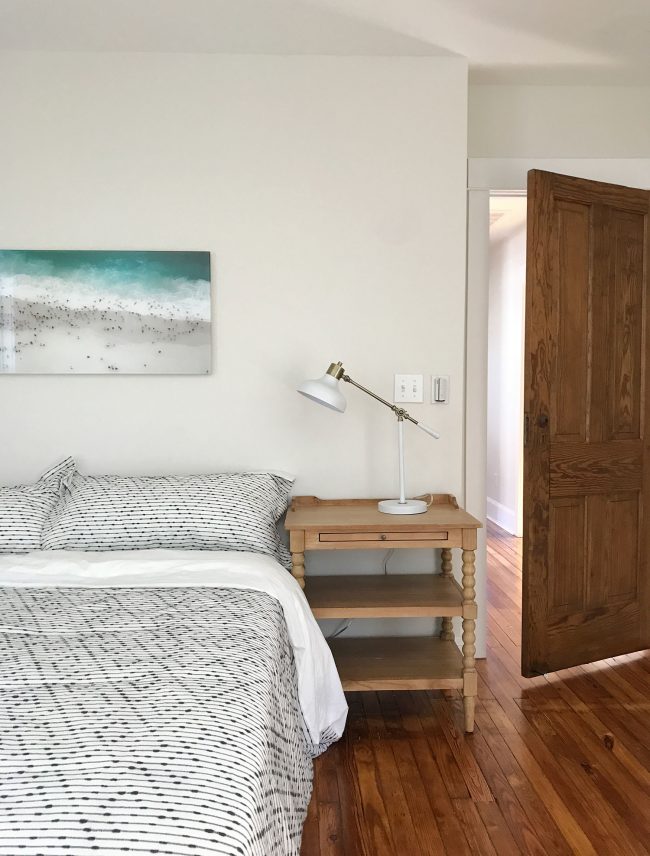
The most put together bedroom so far is the master bedroom in the back of the house, where John and I slept both nights. We arrived with fresh bedding and assembled the nightstands during our first morning there and even hung some art (we’re gonna source everything for you at the bottom of this post, so scroll down for that). There’s still a lot more to do (still need a headboard, rug, dresser, and the bed is too low for the nightstands so we’re going to raise it) but it was remarkably relaxing to sleep in here even without all that stuff.
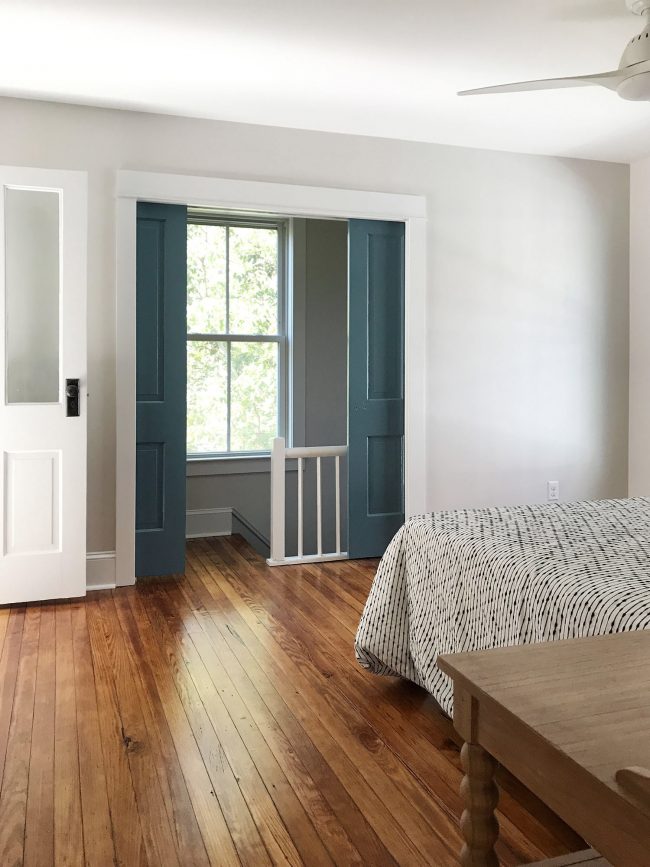
I’ll admit that we were both holding our breaths a little on this room. We worried the bed would feel cramped and too close to the pocket doors (it doesn’t!) and that having pocket doors in front of the back stairs might be weird (they ended up being incredibly charming!) so there have been a whole lot of sighs of relief in here. It’s so so hard to picture a room when it’s framed out, and even when it’s drywalled it’s hard to tell if something is cramped or weirdly proportioned until furniture comes in and it’s all suddenly clear.
Our stay wasn’t flawless by any means though. None of the door latches are installed, so no interior doors stay completely closed yet. We remembered to bring shower curtains and liners, but forgot the hooks, so we all showered without the curtain, which wasn’t ideal, but thankfully wasn’t too splashy. And we didn’t like the upstairs blinds we had bought, so we relied on some scrap cardboard to cover the windows at night… ha! It really was kind of like camping. Maybe more like glamping because we had running water and mattresses.
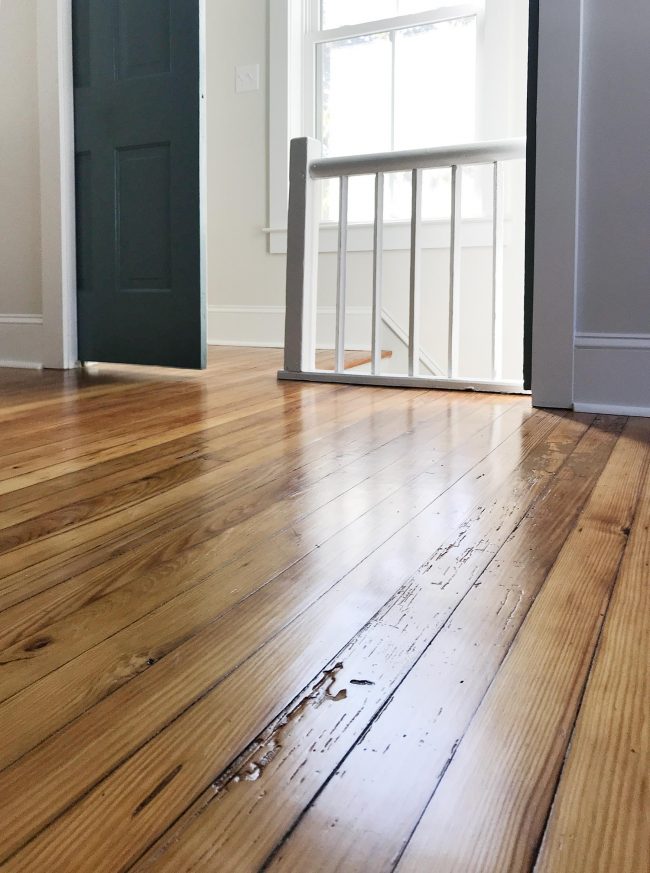
Also, look at that old character in the wood floor above. I kept spying so many sweet things like that while we stayed overnight and my heart would just swell with excitement. We worried that having to rebuild so much of this house might strip out a lot of the old charm, but getting to refinish the old pine floors and reuse the original molding and doors is such a treat. All that 1920s charm (like the back staircase and the stained glass windows and the curved wall in the foyer) really do make this house feel old and special.
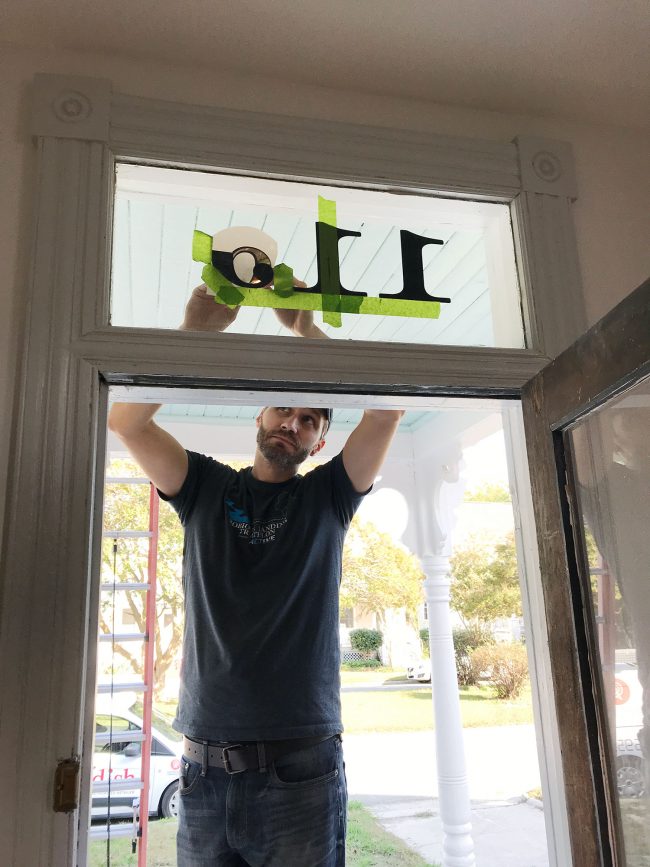
We see a lot of weekends like this in our future. Spending a night or two while trying to cross a few items off our to-do list (and mix in a little bit of family fun at the same time). It was even hot enough to go to the beach on this trip and actually swim! We also got to trim down a too-tall door in the bunk room, we added a bunch of door stops behind doors that were banging against our freshly painted walls and trim, and we put up those aforementioned house numbers in the transom window, which also felt like a super momentous milestone.
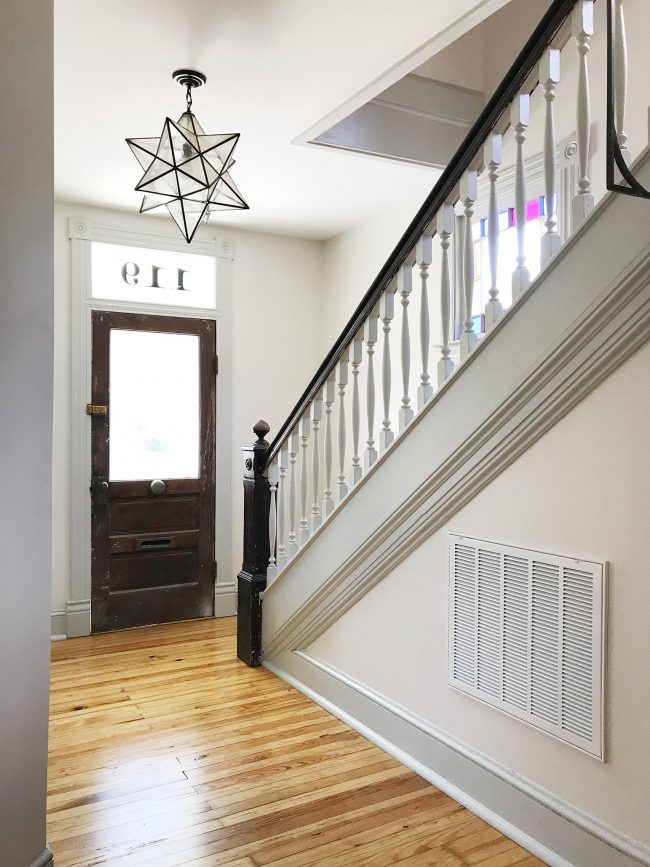
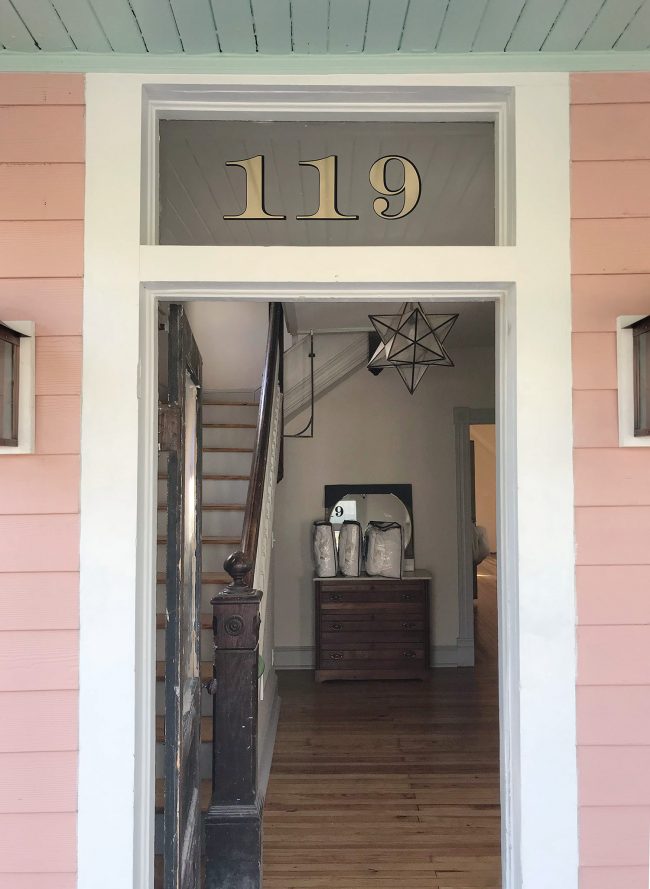
To hang these vintage looking decals we ordered online, John created some guides with green painter’s tape on the inside of the glass (marking the center, pasting up a level baseline, etc) that we could follow while carefully applying the decals from the outside and smoothing them out with a credit card as we went from bottom to top. They weren’t easily repositionable so we both just kind of held our breath as they went on, but they look great. And after months of telling people “it’s the pink house with the dumpster out front” or whatever weird description we had been using at the time, we finally got to tell the mattress delivery people “it’s 119” because IT FINALLY HAD HOUSE NUMBERS!
We LOVE how they turned out, although we’re considering ordering another “9” and placing it slightly more to the right (because we are crazy people who obsess over tracking and kerning thanks to all of our advertising years). Even though they’re technically spaced equally, we think the 9 looks a little close because it’s a fuller number than the 1, which has a lot of space on either side of the serif. We’re probably being insane, but we acknowledge and accept this obsessive letter and number spacing quirk that was instilled in us many years ago.
So again, if you want to see lots more of our progress, scroll up to watch the video (you basically get to walk through every cranny of the house and hear our plans for what we’re changing or thinking of adding). Things are moving so quickly over there lately that we’re having fun using Instagram (and Instagram Stories) to share things in real-time when we can. Of course, the blog is still the best place for super meaty info, links, and videos, like the walk-through tour in today’s post – so no worries if you’re not an Instagram person, it’ll all end up here eventually, and with a lot more detail.
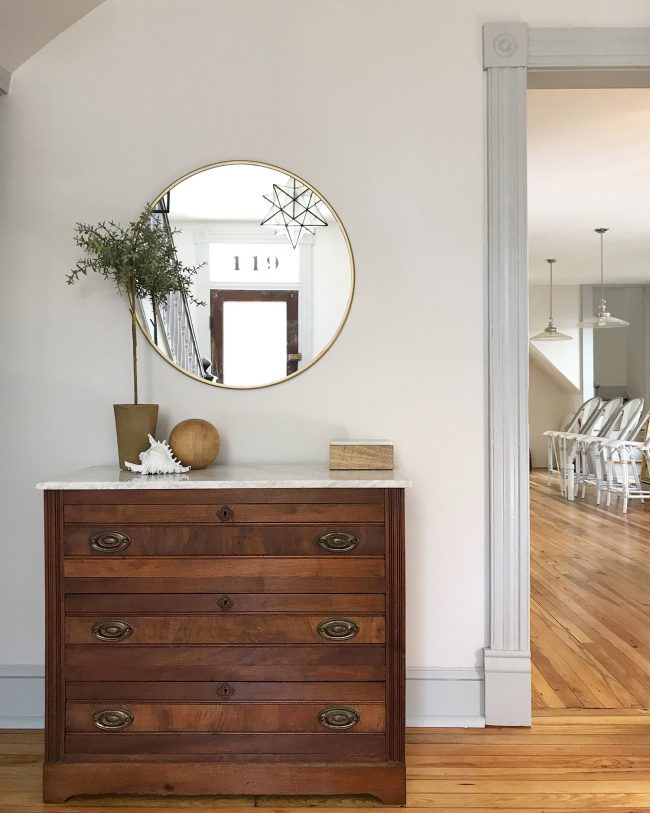
And since we’ve been getting a lot of source questions as we share those little sneak peeks, below is a quick round-up of all of the items in the video and these photos. What this doesn’t include of course, are things that are secondhand since we can’t link to those (like the wood dresser in the foyer above) or things that have been discontinued (like our Ikea Karlstad sectional in the living room).

1. Living Room Art / 2. Kitchen Stool (similar) / 3. Chair Version of Kitchen Stools / 4. Front Bedroom Art / 5. Walls (SW White Heron) / 6. Downstairs Trim (SW Stone Isle) / 7. Upstairs Trim (SW Pure White) / 8. Tub & Pocket Doors (SW Riverway) / 9. Foyer Mirror / 10. Hall Bath Tile / 11. Hall Bath Vanity / 12. Downstairs Bath Mirror / 13. Downstairs Bath Vanity / 14. Master Bath Mirror / 15. Hall Bedding / 16. Master Bedside Lamps / 17. Master Bedroom Art / 18. Master Bath Tile / 19. Master Bath Accent Tile / 20. Master Nightstands / 21. Master Bedding
And here’s the lighting round-up from a few posts ago, for anyone wondering about those links/sources. Also, update: we love the fans! Sleeping with it on low in that back bedroom was pretty dang great.
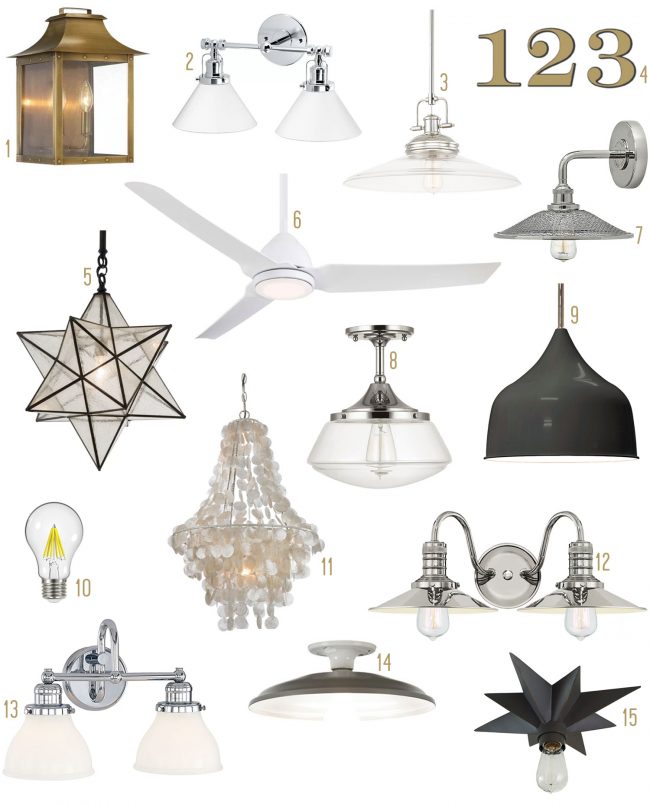
1. Front Porch / 2. Downstairs Bath / 3. Kitchen Island / 4. Porch Numbers 5. Foyer (similar) / 6. Bedrooms / 7. Kitchen Sconces / 8. Living & Master Bath 9. Mudroom / 10. Clear, Soft White LED Bulbs / 11. Dining / 12. Master Bath 13. Hall Bath / 14. Hallway & Small Upstairs Rooms / 15. Under Stairs
So there it is. A whole lotta beach house goodness. We can’t wait to share these rooms as they evolve. Just imagine a kitchen with cabinets! A bedroom with a headboard and a big cozy rug underfoot! And a shower with a shower curtain and an actual window treatment instead of a rectangle of cardboard leaning against the sill! WHAT A TIME TO BE ALIVE!
Psst – To read all of the previous beach house posts (this project has been over a year in the making!) here is an archive full of posts & pics for you!
*This post contains affiliate links*
