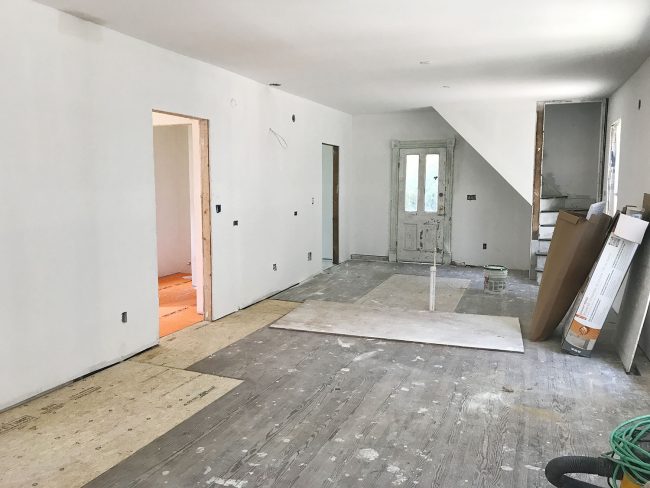
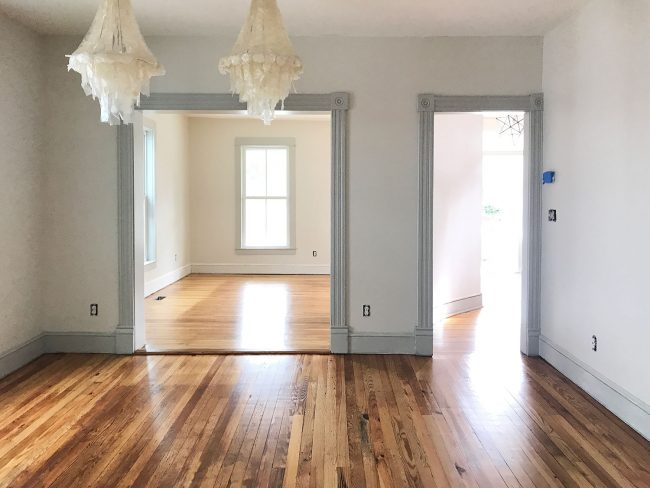
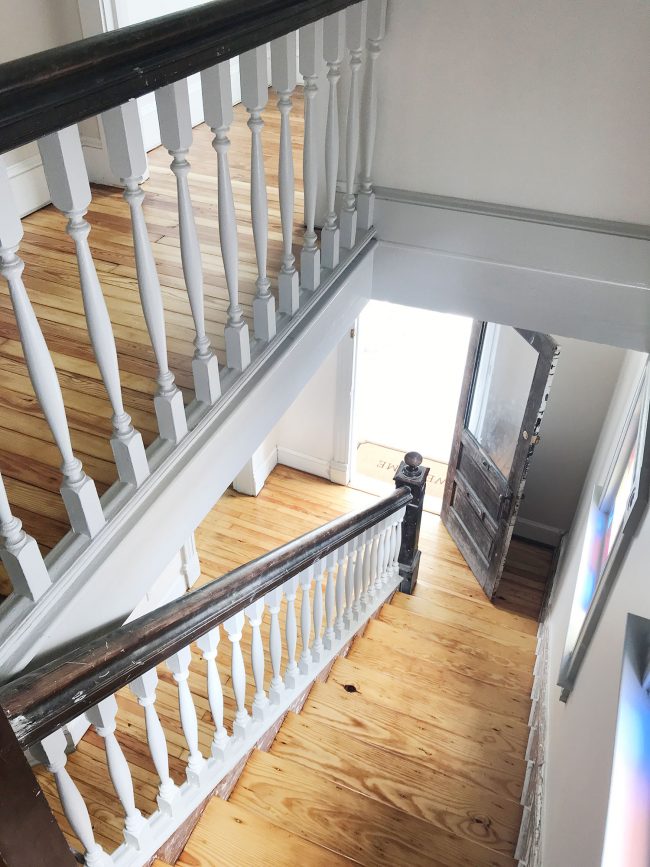
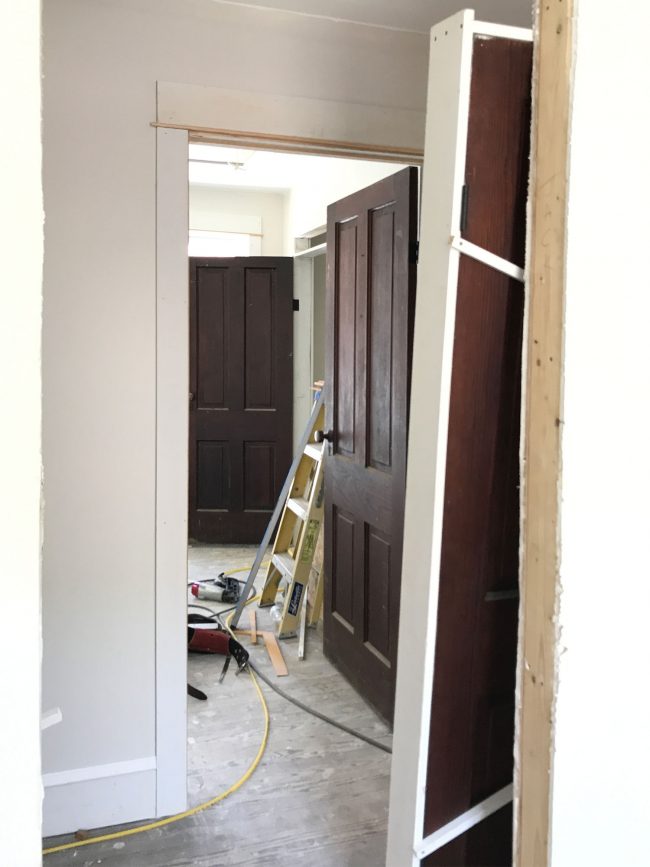
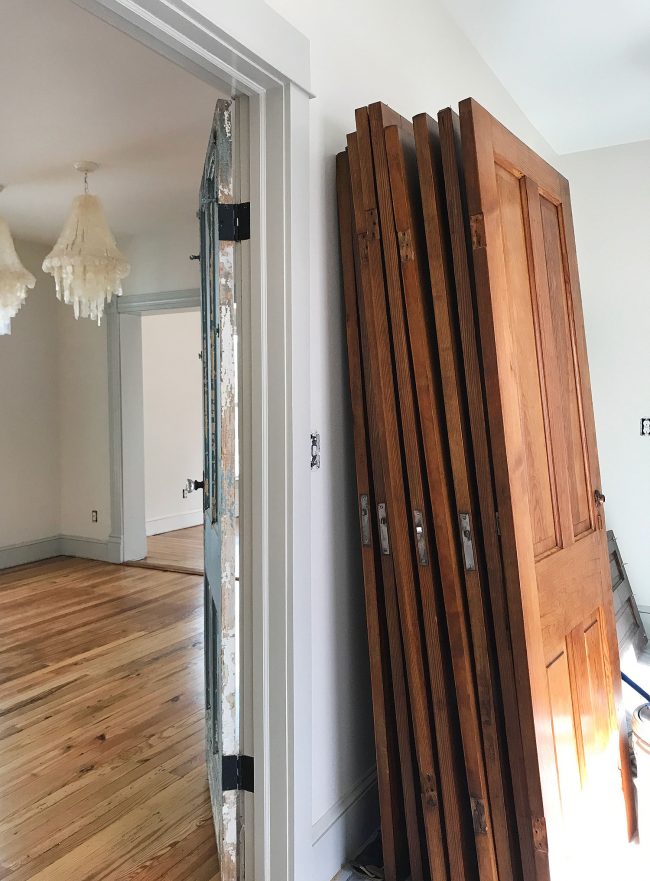
Just as a reminder, here’s what that room looked like a few months ago, right after drywall went up:
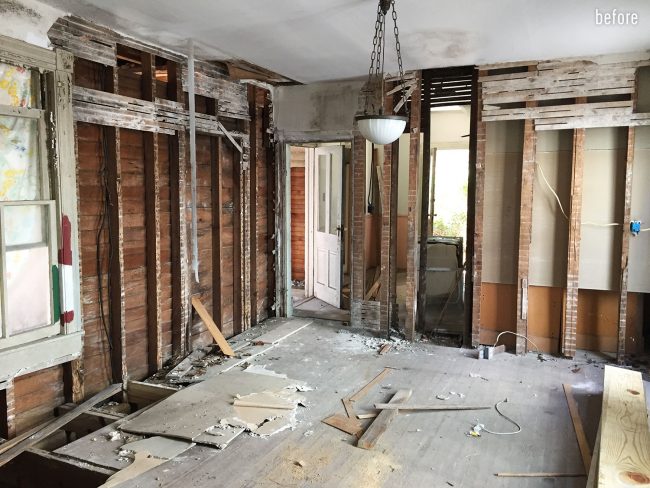
And let’s take it waaaay back for a second. Here’s what this room looked like when we bought the house last October. In the words of Pepe Le Pew: “Le Yikes.”
So this visit was full of bulging eyes and guttural screams and shuffling around with socks on our feet so we didn’t damage the freshly sealed floors. In fact, I shuffled around with my iPhone in hand and shot an updated tour for you. I’m sharing a ton of info in the video, so don’t skip it if you want all the details – from our thoughts about choosing the gray trim downstairs to what’s next on our to-do list and one STUPID mistake we made in the bathroom. Note: if you’re reading this post from a feed reader, you may have to click through to the post to view the video:
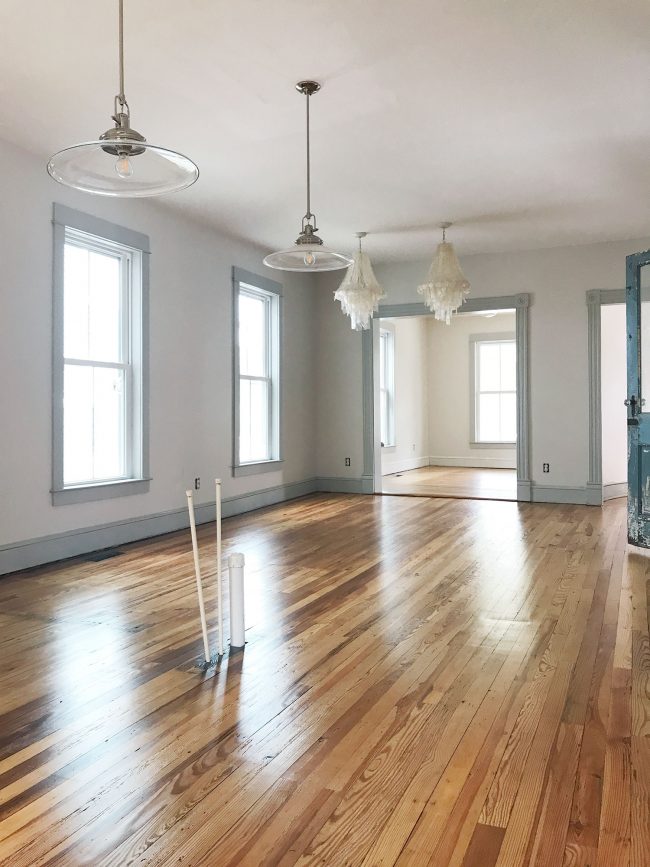
And right after everything was sanded we learned something interesting about pine flooring. Apparently, even if you sand and sand all the way through pine, discolorations from sun or rugs can’t be removed. In oak, you just sand them enough and it’s all gone. But in pine, these things go all the way through the wood! It surprised us at first, but we’re embracing the imperfections of this 100-year-old floor. Plus it’ll become far less noticeable once furniture, rugs, and cabinets go in.
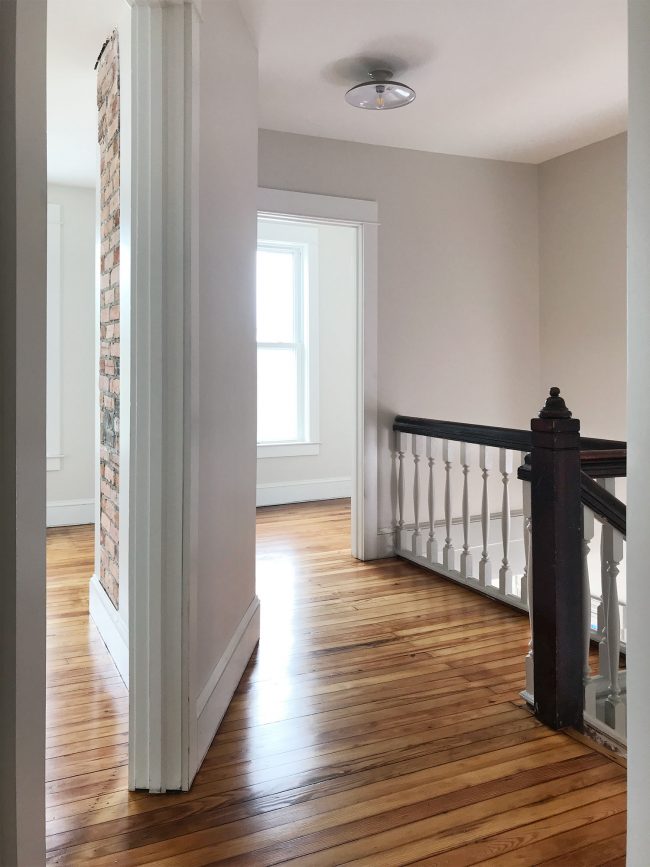
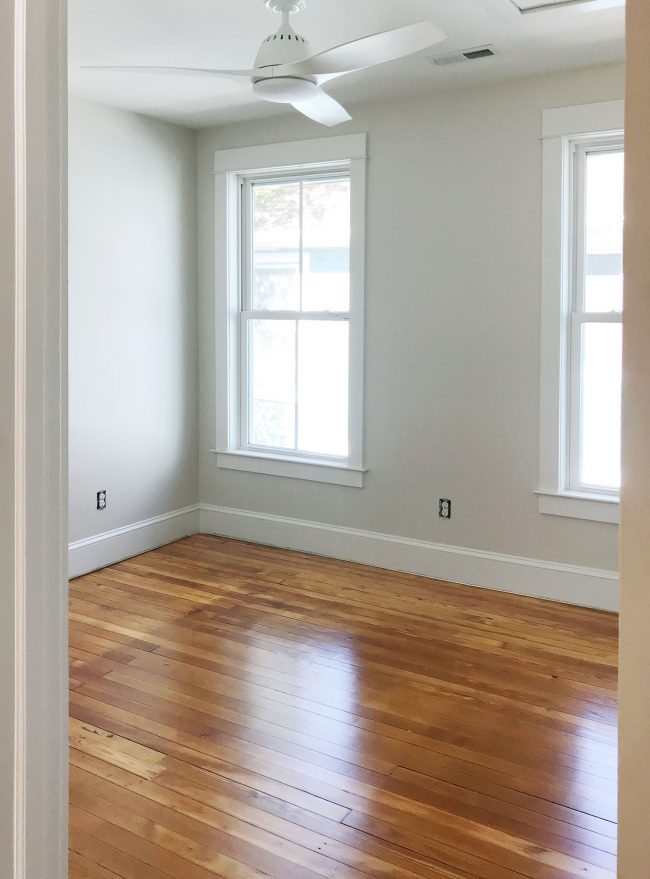
Some people on Instagram have asked what stain color we used, but we actually didn’t use one at all! We just went with a “satin” water based clear coat after everything got patched and sanded down (well, actually five clear coats – which should add up to a ton of durability). So this is just the natural color of the wood coming through, and the reason we went with a water based coat is because our flooring guys said it’s awesome (way less stinkier and just as durable and beautiful thanks to formulas coming a long way in the last five years or so). We like choosing “satin” over “high gloss” for wood flooring because it’s still shiny when the light hits it, but not super wet looking if that makes sense. We could’ve tried to hide the color variations a bit more by staining them darker, but we agreed with the pro that we loved the natural look of pine, so that’s why we didn’t stain ours. And really guys. It’s GORGEOUS in person. Like video/pics don’t even fully capture it – especially my iPhone on a partly cloudy day.
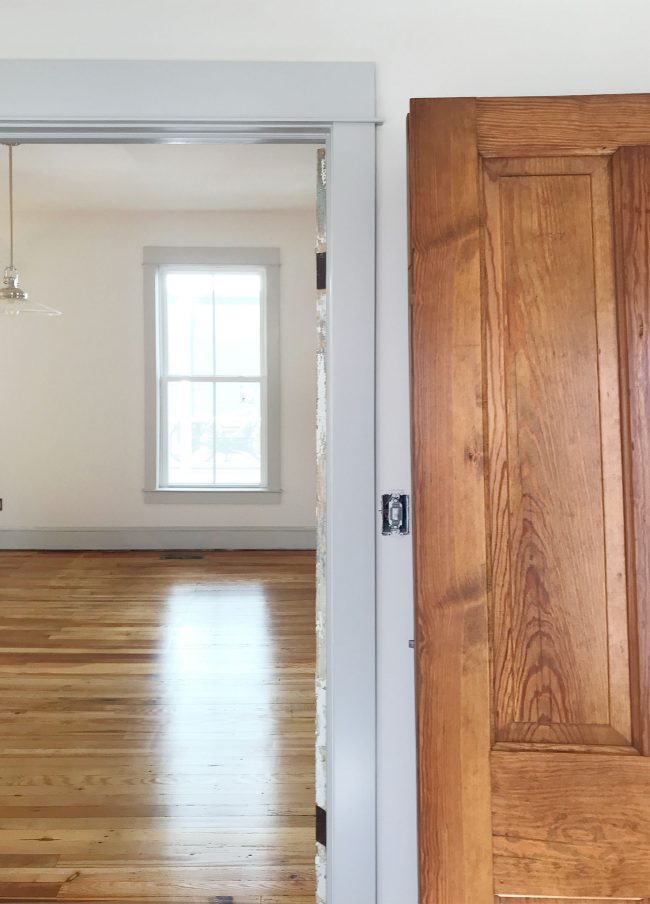
Speaking of the natural color of things – we rescued the old doors from upstairs too! They’re heart pine just like the floors, but you may recall that they were looking a little darker and heavier than we had hoped. They were all covered in some old stain/wax combo that wasn’t looking so fresh and so clean clean anymore (they were all pretty dark… and oddly sticky).
We debated painting them white or soft gray or a deeper gray-brown or even a soft blue-green (we ticked through allll the options), but we finally landed on getting them professionally stripped and waxed/sealed so they’d basically be brought back to their original glory. And they look SO GOOD! Now they can shine right along with the freshly redone heart pine floors.
We used a place across the bay in Virginia Beach called The Strip Joint, which I helpfully linked here so you don’t have to type that into your Google search bar ;) – and they did an amazing job! We took them off their hinges a few weeks ago, and they drove out and picked all of them up, stripped and sealed them in their shop, and returned them to us last week (they even cleaned and restored all the knobs, which we can’t wait to put back on). We’re driving back out to hang them all – along with the bathroom mirrors! – sometime this week, so we’ll share more photos asap.
But back to the floors. This view is another one that KILLS ME. It’s SO AMAZING to me how much this angle has changed.
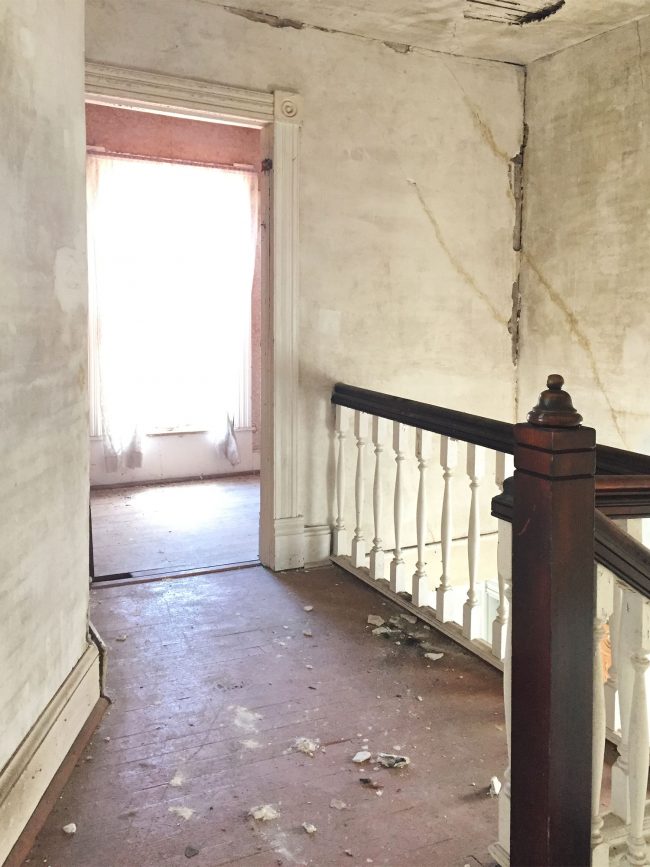
As a reminder, this is what it looked like when we bought the house. The ceiling was literally crumbling and the floors had been painted a dark maroon color up here, so we had actually never laid eyes on the wood!
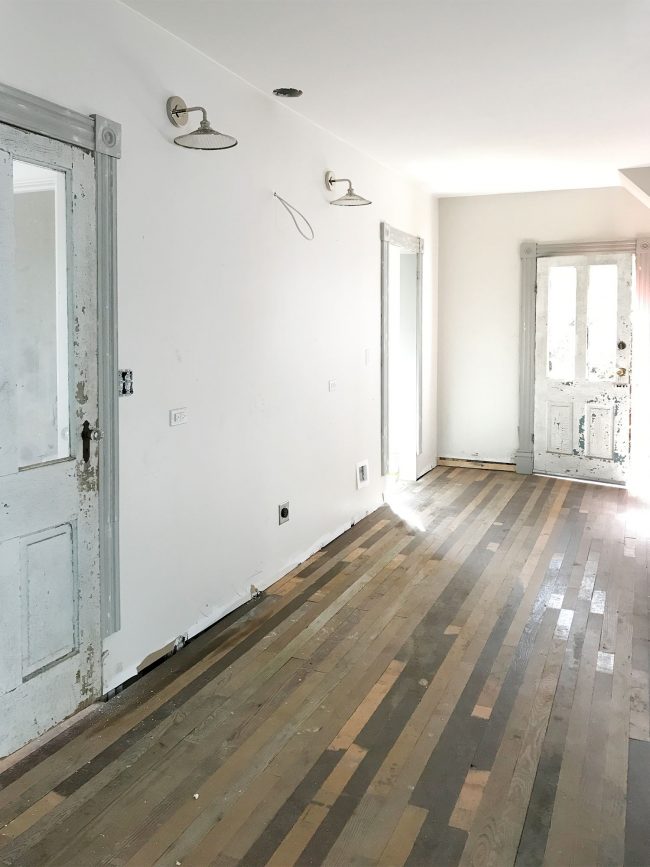
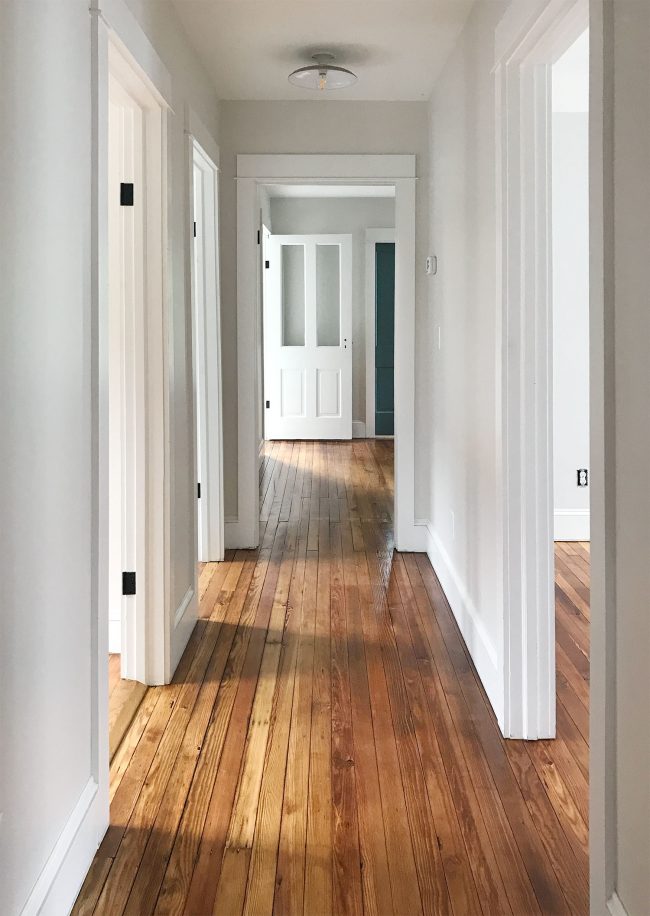
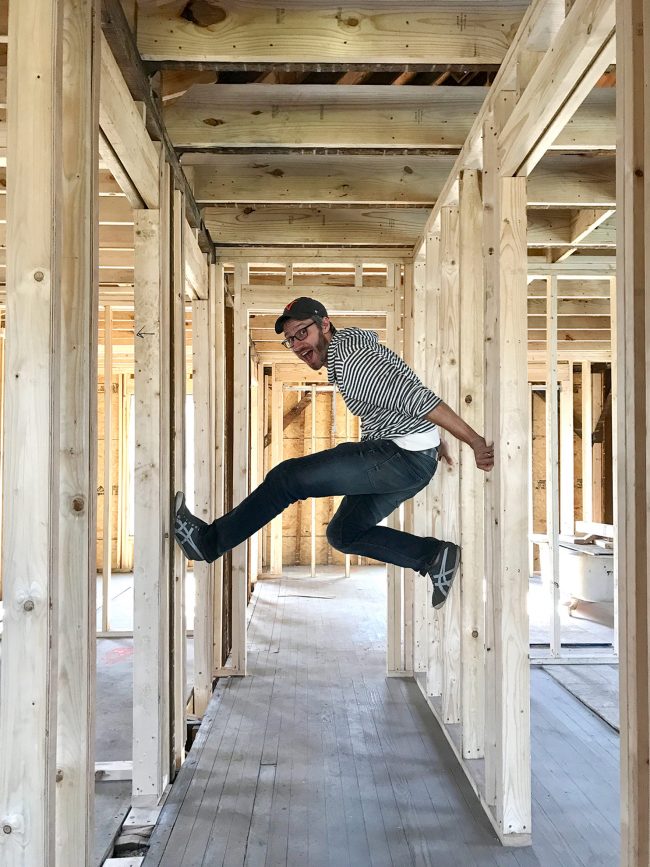
Here’s yet another new favorite angle: the upstairs hallway we added! Remember two of the upstairs rooms used to be railroad-style, without a central hall or a second bathroom – so this hallway was a huge functional improvement. And with the freshly redone floors it’s a beautiful one too!
Here’s the same view during framing. Memories. See how dull and gray the floors were before?! It’s so crazy to me how much of a difference this one update made (probably only rivaled by getting all new siding outside when we took this house from a dusty green-gray color to pink).
Here’s the middle bedroom, all ready for a bed. There’s another spot where there must’ve been a rug or a bed on the floor that made it slightly darker in the middle, but once we add a rug and a bed it’ll all be hidden again. Also, because every time we share a pic of these fans, people ask us for the info, we’ve included a mood board of all the light fixtures at the bottom of this post for ya.
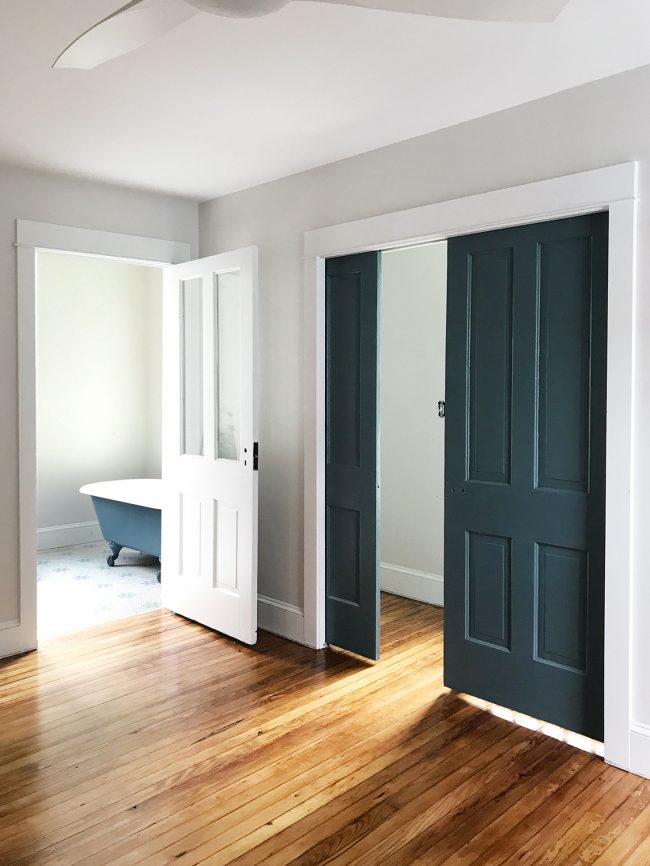
And here we have the back bedroom. The pocket doors were really cool and chippy and we tried to clear seal them that way (to preserve that aged look) but they just kept flaking off every time we slid them in and out, so it wasn’t functional and was pretty messy and dusty… so they ended up getting fully scraped, primed, and painted. We chose the same color that we painted the tub (Riverway by Sherwin-Williams). They look kinda dark here since this is just an iPhone pic, but in real life they’re the exact same color as the tub, and it’s a really nice splash of boldness in the back of the house.
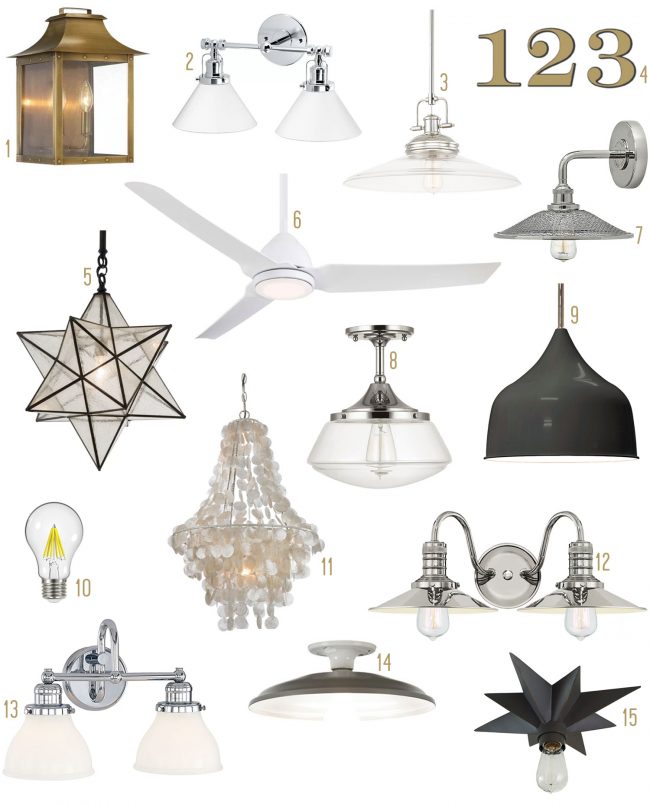
And as promised, here’s all the lighting (and fans!) and even the vinyl house numbers we ordered for the transom window above the front door to create that painted on look. We even included our new favorite LED light bulbs because they’re CLEAR and have that cool exposed filament look, like an Edison bulb. Which means they’re great for exposed bulb fixtures yet they’re not too yellow and not too blue (because podcast listeners know John’s a light temperature diva).
1. Front Porch / 2. Downstairs Bath / 3. Kitchen Island / 4. Porch Numbers 5. Foyer (similar) / 6. Bedrooms / 7. Kitchen Sconces / 8. Living & En-suite Bath 9. Mudroom / 10. Clear, Soft White LED Bulbs / 11. Dining / 12. En-suite Bath 13. Hall Bath / 14. Hallway & Small Upstairs Rooms / 15. Under Stairs
So there’s one big old beach house update that we’re thrilled to share! Feels like we’re SO CLOSE to being ready to bring furniture in (and to installing the kitchen!) and you know we’ll share alllll the details about that with you guys as soon as those happen. Until then, I think the lesson is: a) there are worse things to be than “dramatic” and b) refinishing your floors can be insanely dramatic!!! Psst- Wanna read other posts about this year-long beach house renovation? Here are all the updates we’ve shared as we brought this pink house back to life.More Hardwood Floor Refinishing Projects
If you would like to read more about our specific hardwood floor refinishing projects, please see the posts below. They range from matching original hardwoods to new prefinished flooring to restoring 100-year-old pine floors!- Refinishing Mid-Century Oak Floors in Our First House
- Matching New & Old Hardwood Floors In Our Third House
- Repairing Historic Oak & Pine Floors In Our Duplex
- Clear Sealing Our Refinished Floors In Our Florida House