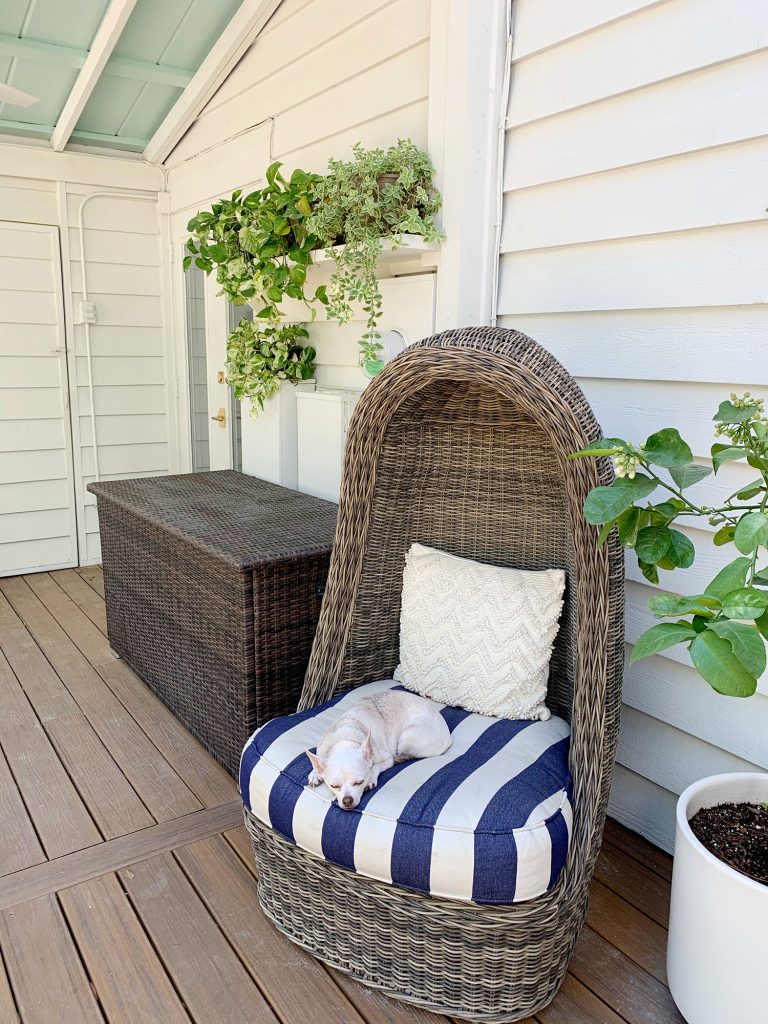
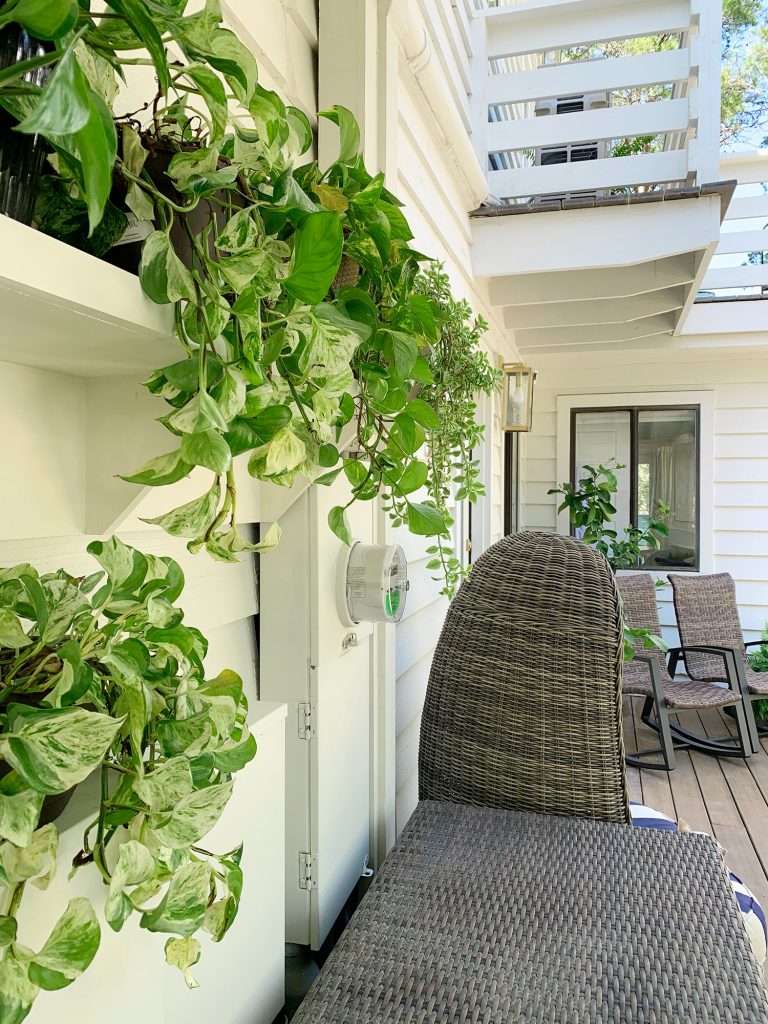
When we shared pictures of our front porch last fall, we said that our decorating strategy out here was basically “plants and more plants.” It helps visually connect the porch to all of the greenery surrounding our house and – as we’ll show you today – it’s also helping us hide some less-than-pretty parts of this outdoor area. Let’s call them wall warts. Three large rectangular wall warts. But more on that in a second.
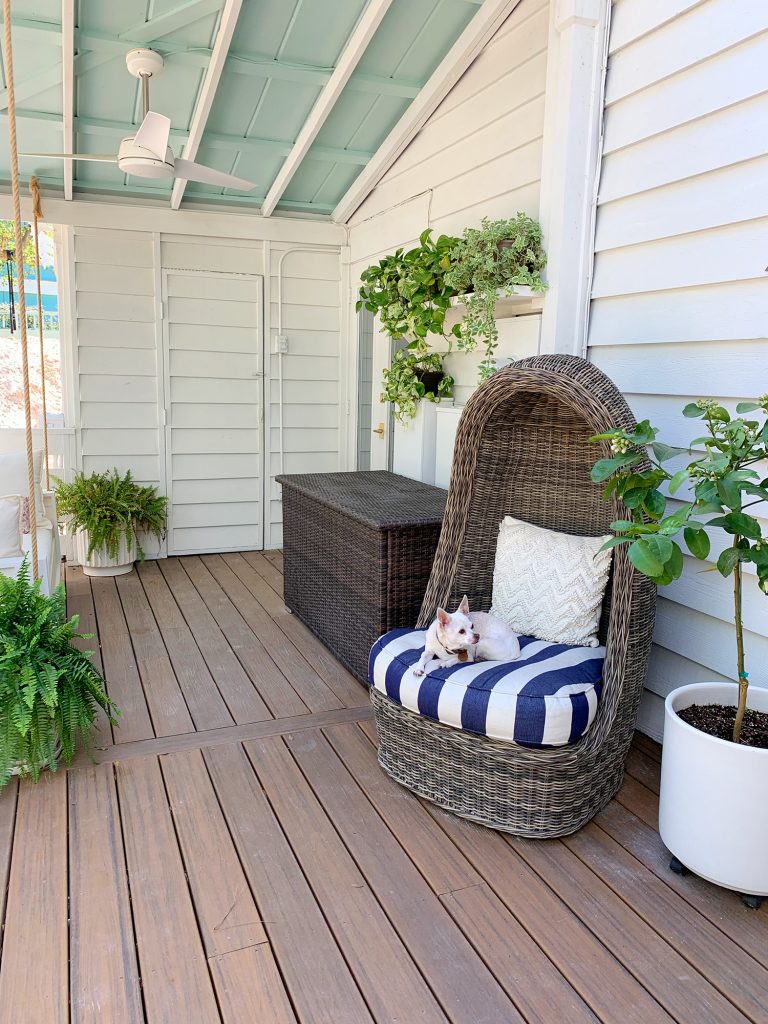
First let’s travel back in time to what this all looked like last February when we put an offer in on this house (that’s our realtor in the photo below)
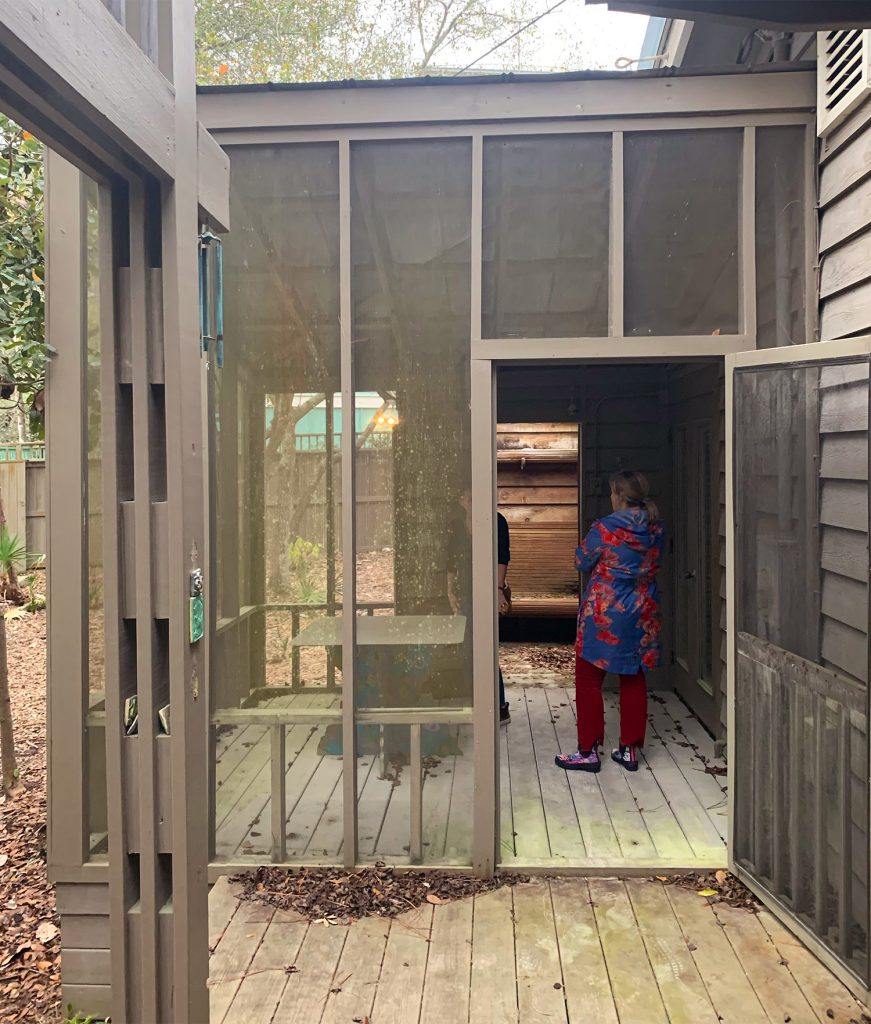
As you can see, we’ve already come quite a long way (you can read more about the exterior updates we did in this area here & here). And yes, that’s our huge former “pool dirt pile” in the background below. It has since been leveled (you can see more pool updates on Instagram Stories as they occur).
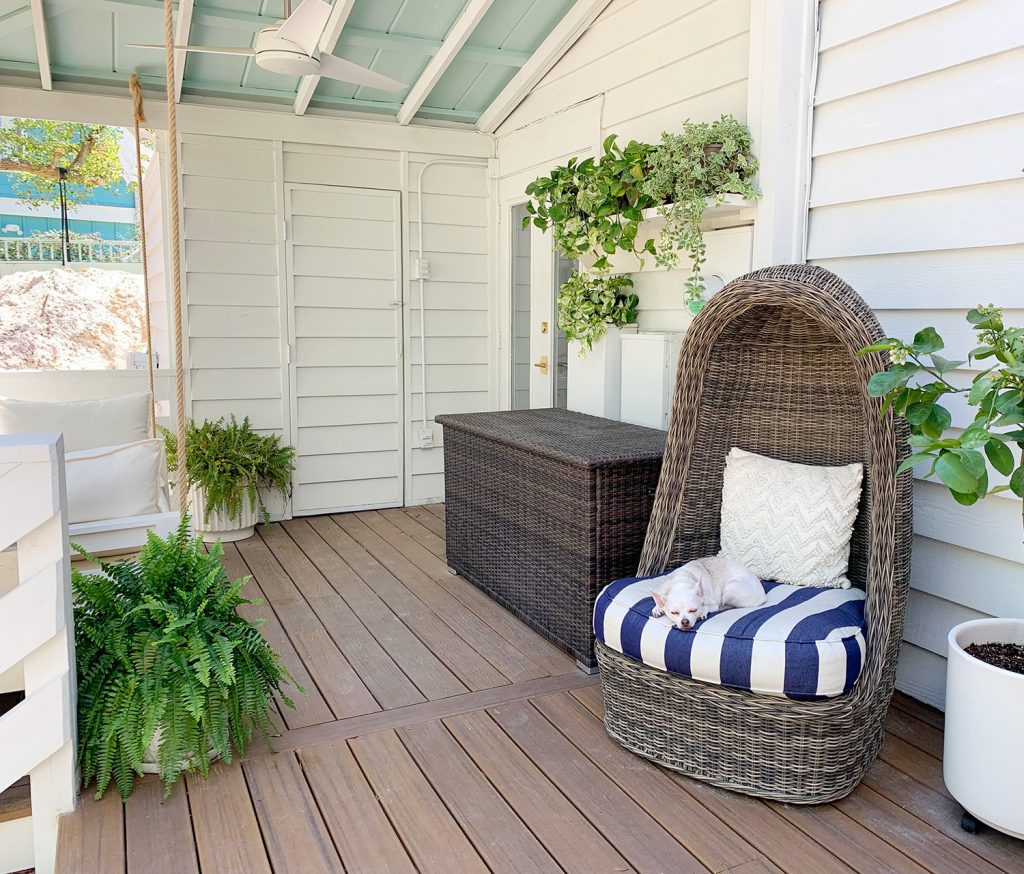
And somehow back when this house was built, the electrical meter box was put smack dab on the front of the house – literally just a few feet away from the front door (nobody is quite sure why this happened, because it’s very much not the standard, or how our neighbors’ houses are configured). People usually have these on the back or, at the very least, around the side of their houses. But nope. Not us. Ours pretty much greeted you from the street. Welcome to the Petersiks! Would you like to know how many kilowatts we’re using??
Then, to make matters worse, when we had a whole-house generator installed last fall (hello hurricane preparedness!) it required us to add not one, but TWO additional electrical panel boxes next to the OG utility box. So now we were rocking a trio of big boxy utility eyesores on our front porch. And, well, that big potted fern below just wasn’t cutting it as adequate “camouflage” anymore.
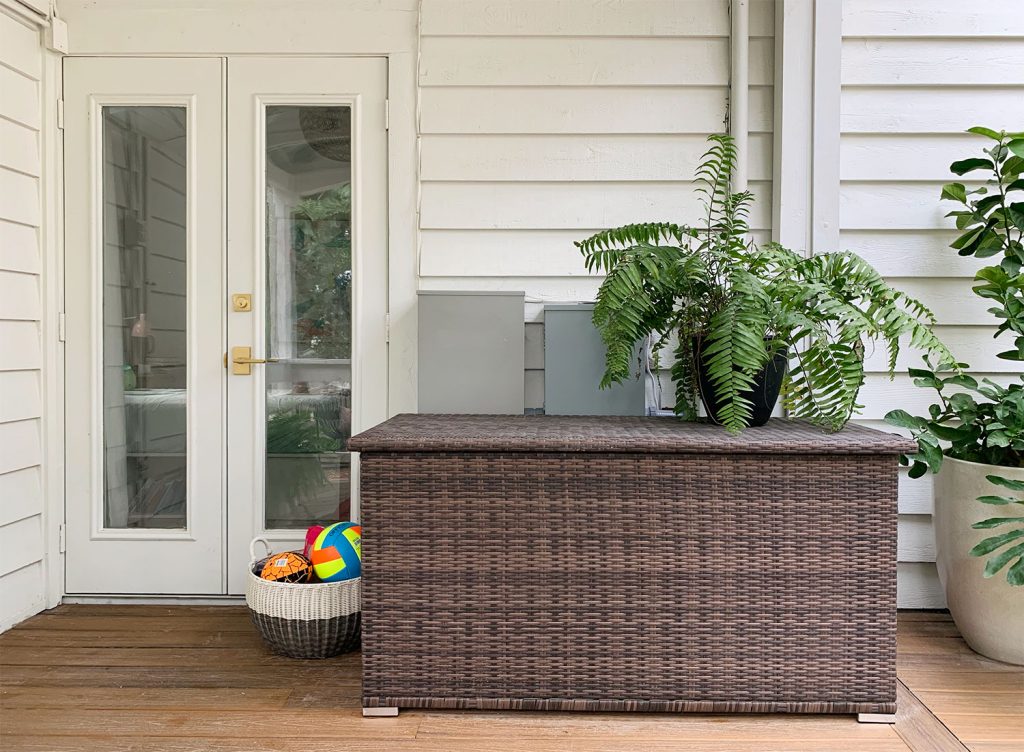
So we painted them all white to blend in with the siding, which is a trick we’ve been using since our first house. It’s just a good idea to check with your utility company first (ours gave us the okay during their inspection). And then we whipped up a super simple DIY outdoor plant shelf to help hide the madness (and to up Sherry’s already impressively high plant count). It currently holds 4 larger trailing plants, and we placed a smaller 5th one right on top of the far panel box. They’ve all got some growing to do before they become true masters of disguise, but even in their current state they have majorly improved the attractiveness of this wall because the focus is on the trailing greenery versus the not one, not two, but three spectacularly large metal boxes a few feet from the front door.
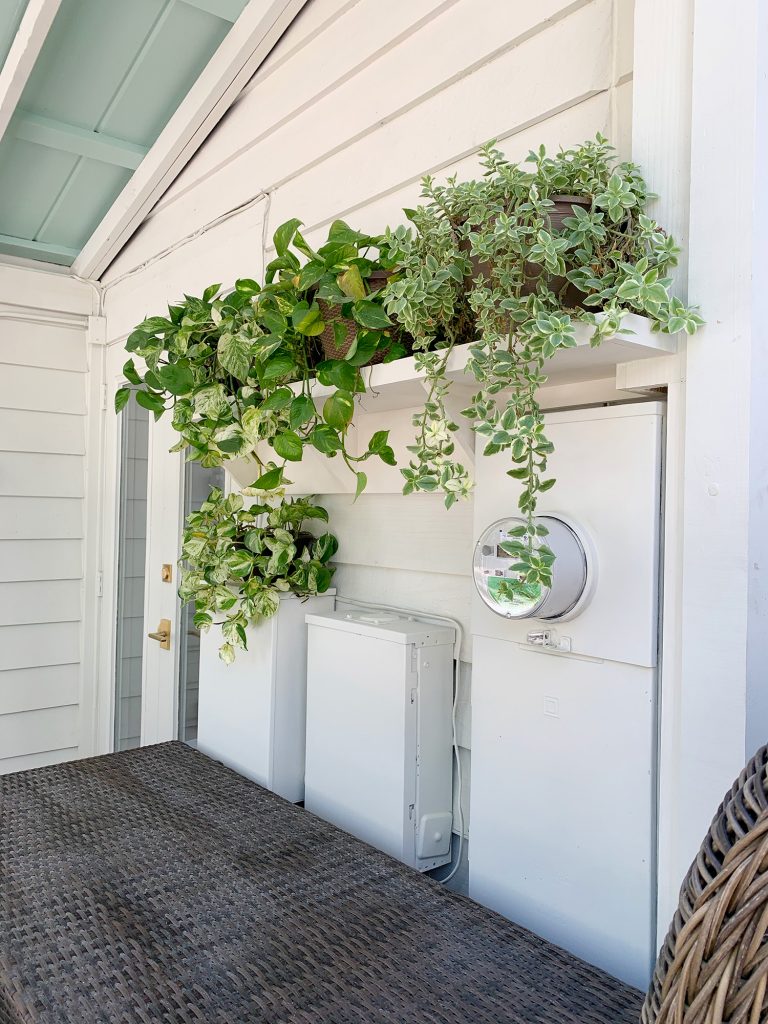
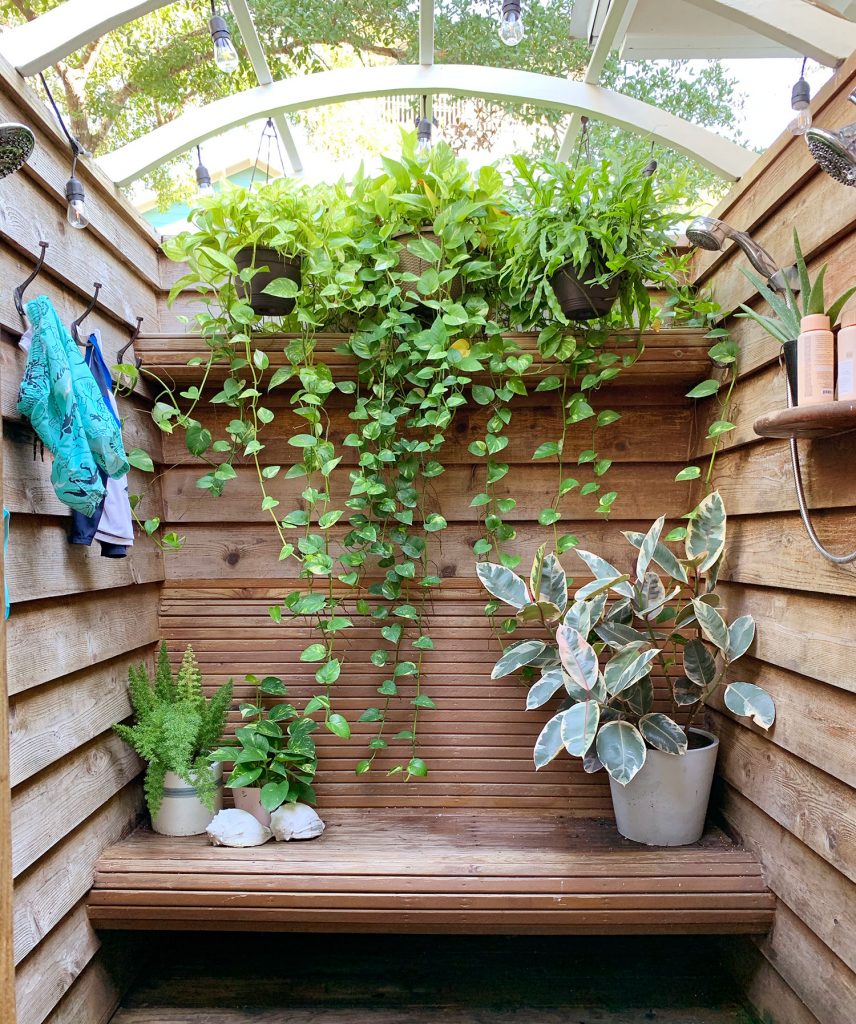
Over the past 11 months here, we’ve had pretty amazing luck growing trailing plants like pothos in our outdoor shower (yes, even through the winter they did great out there!). So if these do half as well, we’ll be in good shape (more on our outdoor shower makeover here).
So please know that Sherry is already excitedly anticipating the growth of these utility-box-covering plants, and I’m sure she’ll share their progress on Instagram stories, right along with what she expects to be a much larger lemon yield from her two ponderosa lemon trees this year. (If that’s not exciting, I don’t know what is).
The actual construction of the shelf is very rudimentary, as you can see from the also very rudimentary color-coded graphic below. It basically involved 4 parts:
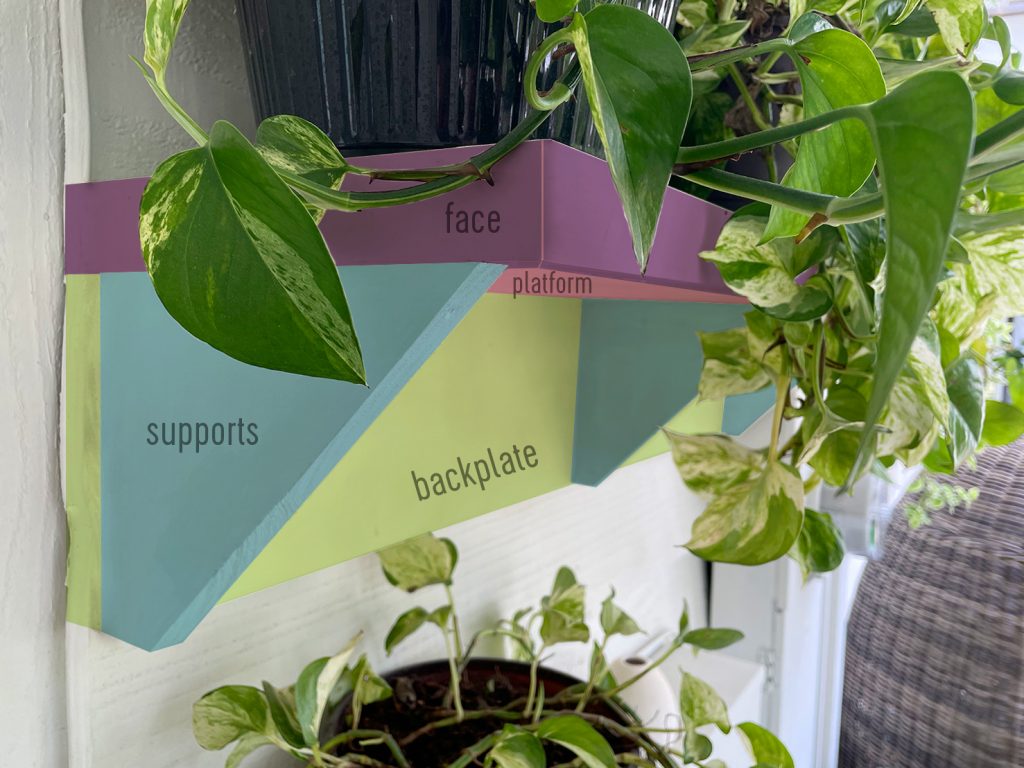
- Backplate (Green): This is a 1×8″ primed board that is screwed directly into our wood siding. We chose this size because it would span across the highest points of two siding boards – giving us a flat surface to build on (rather than the angled surface of the siding). Note: it looks wiggly on that left side because there’s a cord snaking down the side of it.
- Supports (Blue): These are pieces of 1×8″ board cut at a 45º angle to create triangle supports under the shelf. We attached these to the backplate using wood glue and screws before attaching the backplate to the siding.
- Platform (Pink): This is made up of two 1×10″ primed boards that rest across the top of the backplate and the supports, creating the shelf surface for the plants to sit on. They’re screwed in from the top into the supports and backplate. We used TWO 1×10″ boards sandwiched together (with glue and finish nails) to make the shelf as thick as the…
- Face Trim (Purple): These are the 1×2″ primed boards that we nailed along the exposed edges of the platform to give the shelf a finished look (they hide the fact that the platform is two boards on top of each other).
Once everything was constructed and the holes were puttied, we painted everything to match the house since – for our purposes – the goal is to blend everything in. Unless you’re a plant. Then your mission is to distract and call attention to yourself. Not the ugly stuff around you.
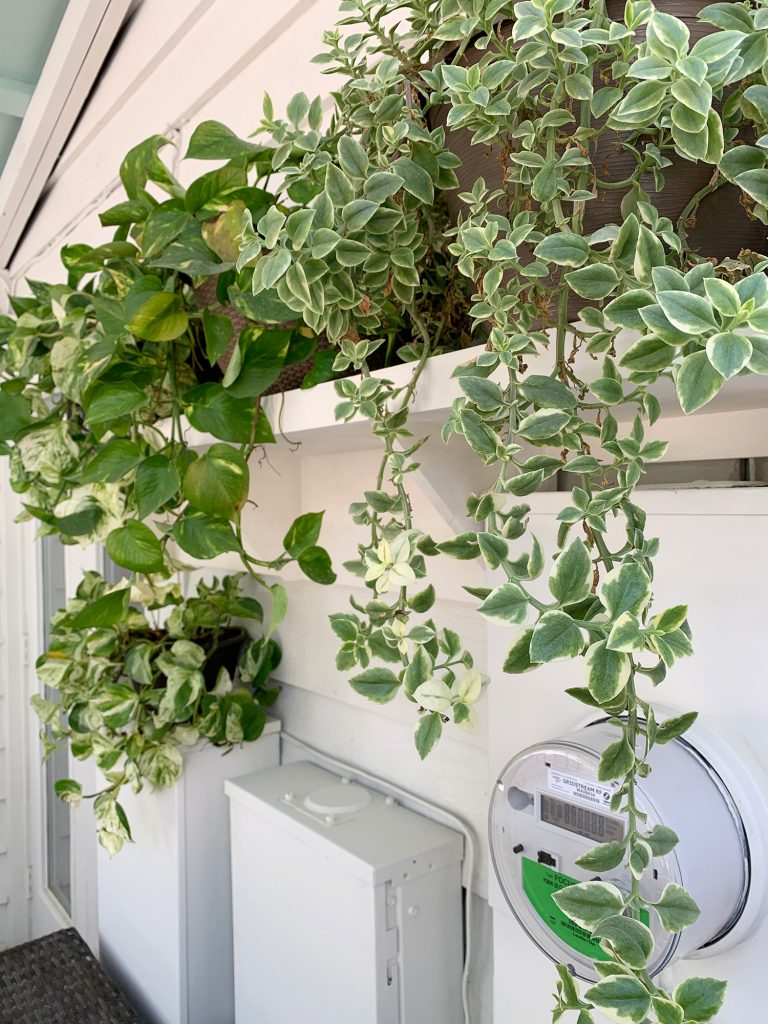
And speaking of painting, when we asked permission to paint these boxes (beyond asking the inspector when he was here, we also called the utility company – just to be sure) and they actually gave us permission to paint the clear round meter part too (since all meter reading is done remotely now). But we left it unpainted just to be safe. You know, in case you really do want to check my kilowatts.
Another reason this is an improvement over our previous strategy (which was: one big fern placed on the storage box) is that these plants don’t slow down our access to the storage box underneath. That’s where we keep things like our beach chairs, beach umbrellas, bike helmets, etc (you can see what’s inside the box towards the bottom of this post). The fern was in a lightweight plastic pot for easy moving – but moving it off the storage box was still an extra step anytime we needed something. Plus, it was so lightweight that it sometimes blew down on windy days (which isn’t an issue we’ve had with these much pothos plants). So no more “fern on the loose” issues either. It’s a win-win!
For anyone that’s looking for other simple & affordable outdoor DIY projects, here are some other posts about our house’s outdoor evolution that can help (the first one isn’t a simple & easy DIY, but pretty much all the rest are!):
- The before & after of our house’s exterior (after new paint, new decking, etc)
- A plant-filled porch update (including dealing with the ugly metal ceiling)
- Bringing our quirky outdoor shower back to life
- Building a DIY outdoor daybed (and how to hang it!)
- Setting up a low-maintenance upper deck area for eating & hanging out
- Creating a cozy firepit area in our formerly boring side yard
- Updating a covered porch with floor paint & a large hanging tent
We have nearly as many outdoor projects and updates in our archives for this house as indoor ones because we spend so much time outside here! When you downsize with the goal of less square footage and more time spent outdoors (in a warmer climate that helps to facilitate that – more on how that process is going for us here) I think it can make a huge difference if you have outdoor spaces that you can maximize as well! Areas that you don’t have to pay to heat & cool but can turn into bonus “outdoor rooms” really are the sweet spot for us these days.
And for everyone who has requested one big blog post about how our pool planning and progress is going, we’re thinking that’ll be our next post (hopefully sometime in May when we’re a little further along) so here’s hoping!
More Plant Guides
If you’re looking for more information on some of our favorite plants (real and faux!) check out some of these posts below:
- Golden Pothos Care Guide
- Marble Queen Pothos Care Guide
- Neon Potho Care Guide
- Monstera Deliciosa Care Guide
- Snake Plant Care Guide
- Fiddle Leaf Fig Care Guide
- Tree Philodendron Care Guide
- How to Build An Easy Plant Shelf
- Protecting Outdoor Plants In A Deep Freeze
- Getting Started With Houseplants, An Expert Interview
- My Favorite Faux Plants
- Easy Houseplants To Keep Alive
- 10 Houseplants For Better Indoor Air Quality
*This post contains affiliate links, so we may earn a small commission when you make a purchase through links on our site at no additional cost to you.
