Let’s show you how we whipped up this CRAZY simple window plant shelf! You can make it in less than an hour & without any fancy tools, meaning you’ll be out shopping for more plans in no time. We even used some scrap wood we already owned, so the DIY project only cost us $2 to complete!
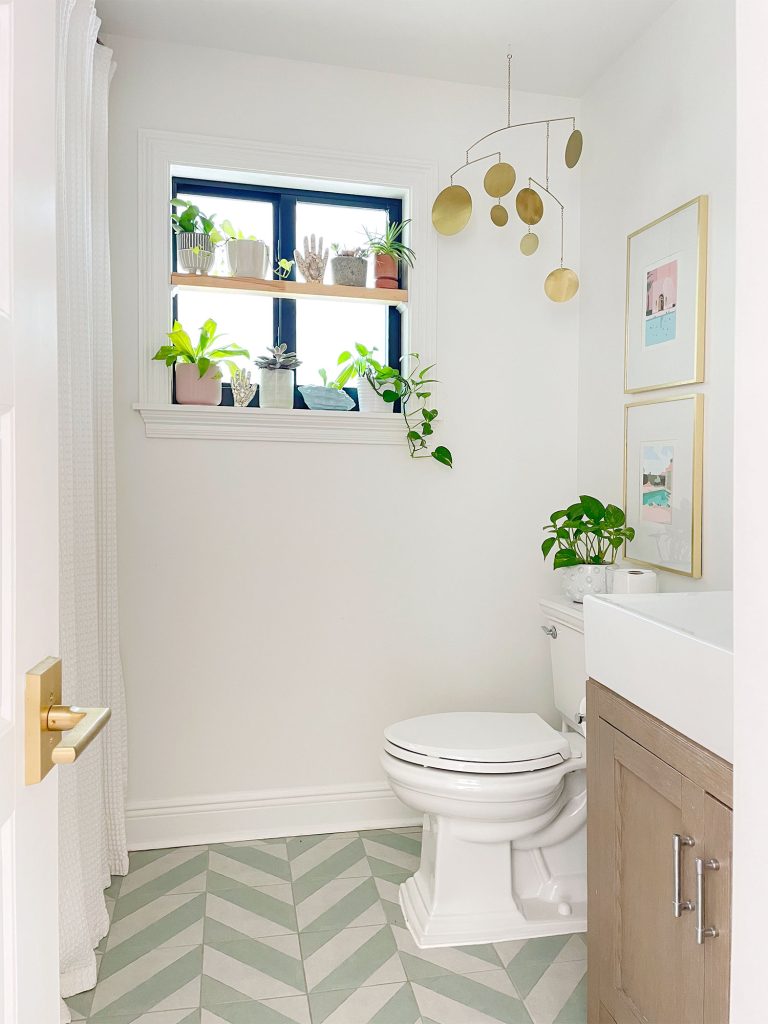
We’ve put some greenery in this window, but adding the floating shelf gave us room for lots more! It adds some interest to a formerly non-descript window and the plants are super happy in the sunlight! You can see what it looked like previously along with all of our bathroom before and afters.
Note: We recently had our old windows replaced (woo hoo!) so we’ve updated *some* of the pictures in this post. We also added LOTS more plants.
Tools & Materials
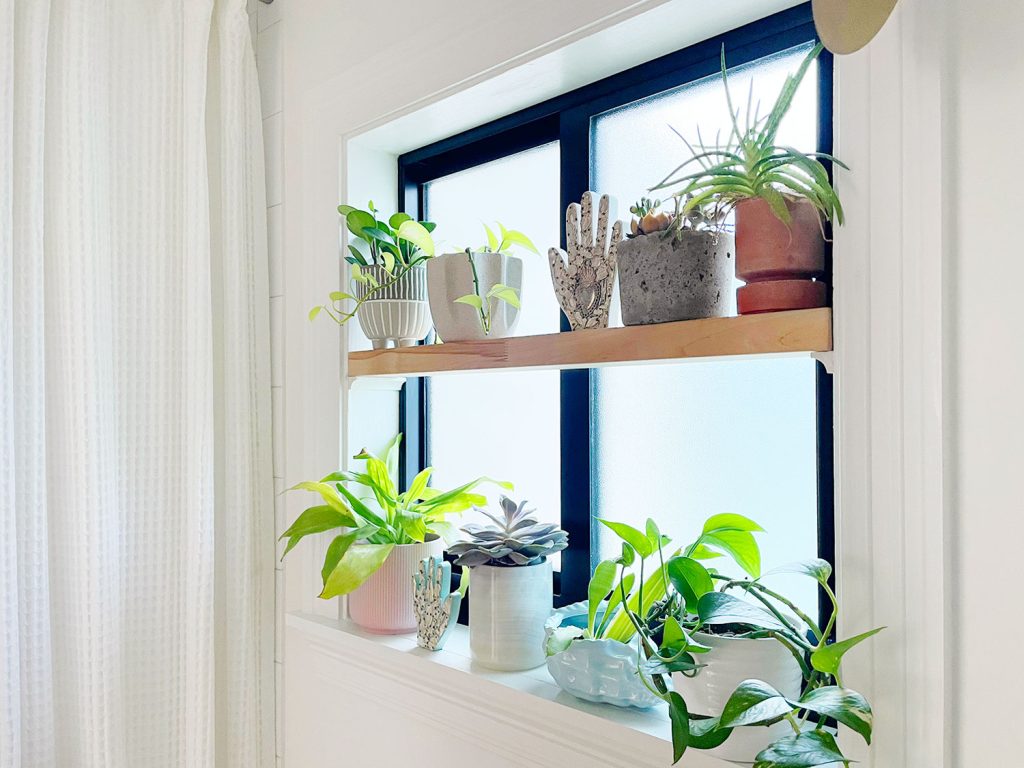
The steps and materials will depend somewhat on your specific window, but here’s what we used for ours.
- Cove molding or quarter-round
- A wooden board or, in our case, scrap butcher block
- Saw (we used a circular saw, but a miter saw or table saw could work also)*
- Hammer & nails (or nail gun)
- Measuring tape
- Level
- Pencil
- Paintable caulk
- Paint (to match your existing trim)
*You could also get the board cut to size at Lowe’s or Home Depot, in which case you wouldn’t need a saw. You could likely use a small hand saw for the thin quarter-round supports.
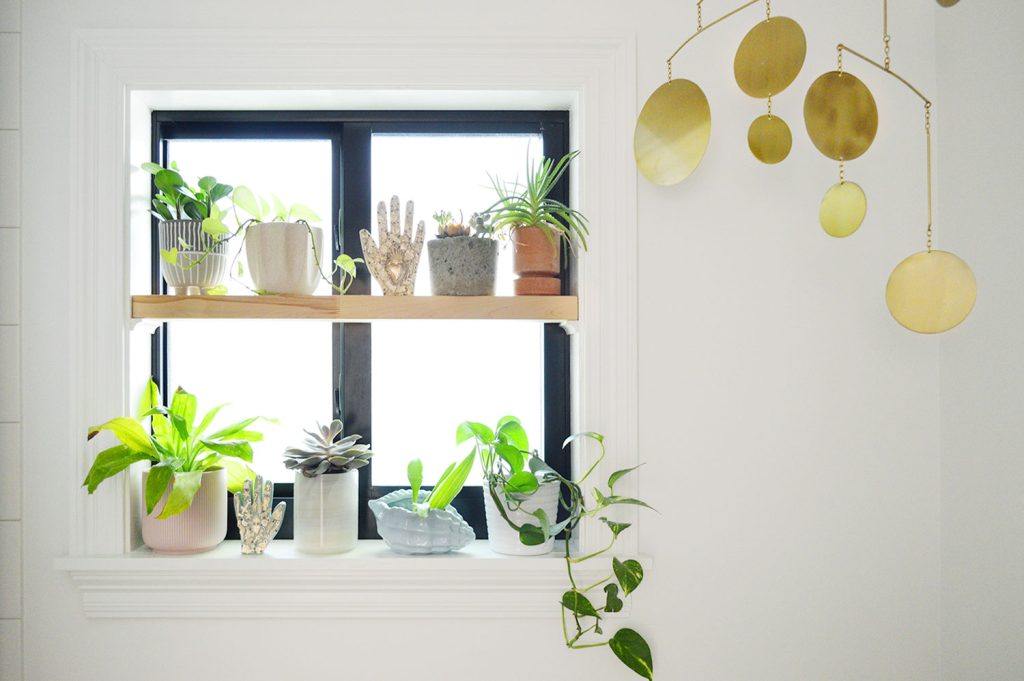
You can also see how this window shelf is installed in the quick video below. We also give tips about picking the right depth shelf, plus some of our favorite easy houseplants!
Note: You can also watch this video on YouTube.
How To Pick The Right Window
This project won’t work on every window, but ours was a great candidate for a few reasons:
- It has a deep sill
- It doesn’t need a window covering
- It it not an egress window
First, it has a deep sill (about 4″). Any shallower and we’d have trouble fitting our plants or pots in the window. You can make your shelf stick out into the room a little, but we wanted ours to be flush with the window casing.
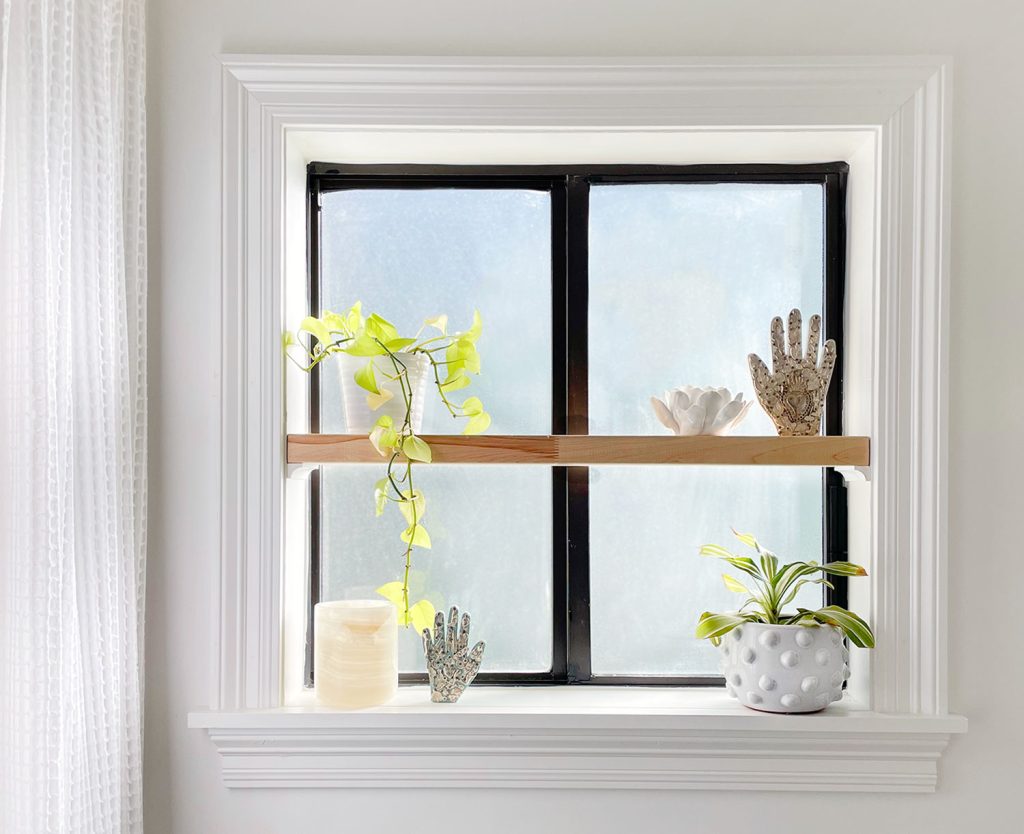
Secondly, this window doesn’t have a window treatment. Blinds or roller shades would interfere with a shelf like this, so any windows that those coverings might be a no-go. Our window is frosted, so it gives us the privacy we need without needing a blind. Our window came frosted, but here’s how to frost a window yourself. We’ve frosted plenty of windows in other houses and it’s an easy DIY!
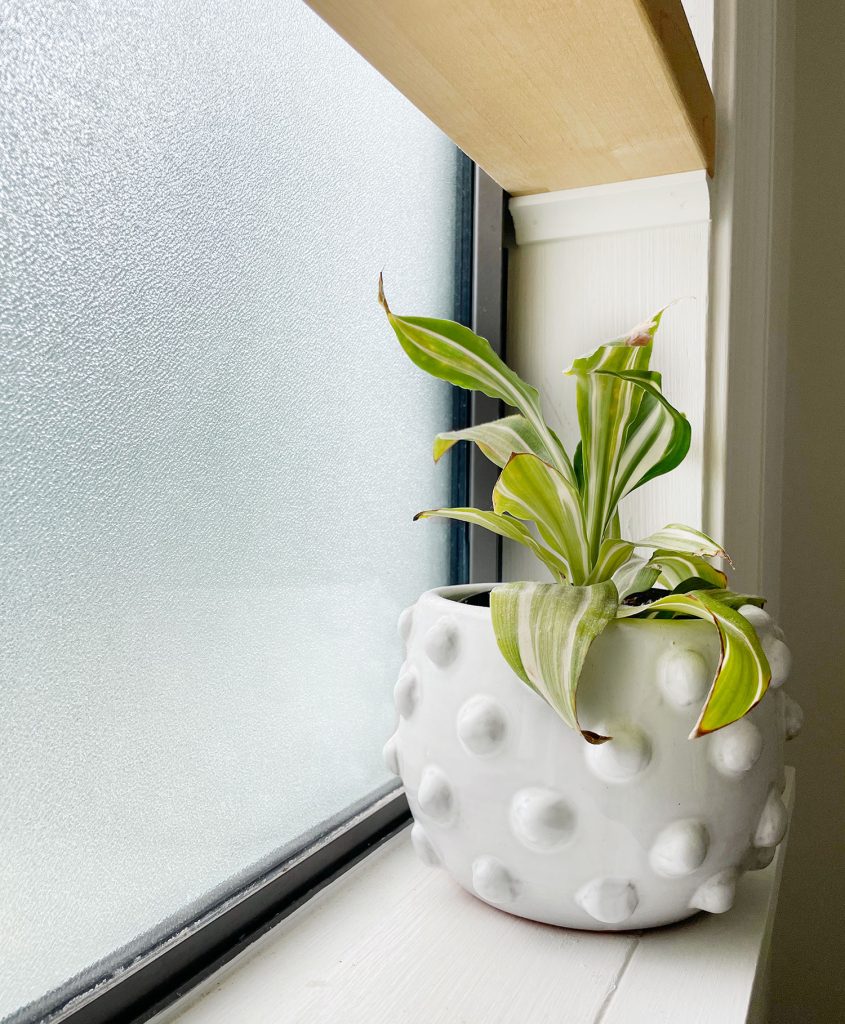
Lastly, since this isn’t a sleeping space, we didn’t need to worry about egress – i.e. a viable escape route in case of emergency. Bathrooms are not required to meet egress, but we were sure to install our shelf in a way that allows the window to open behind it.
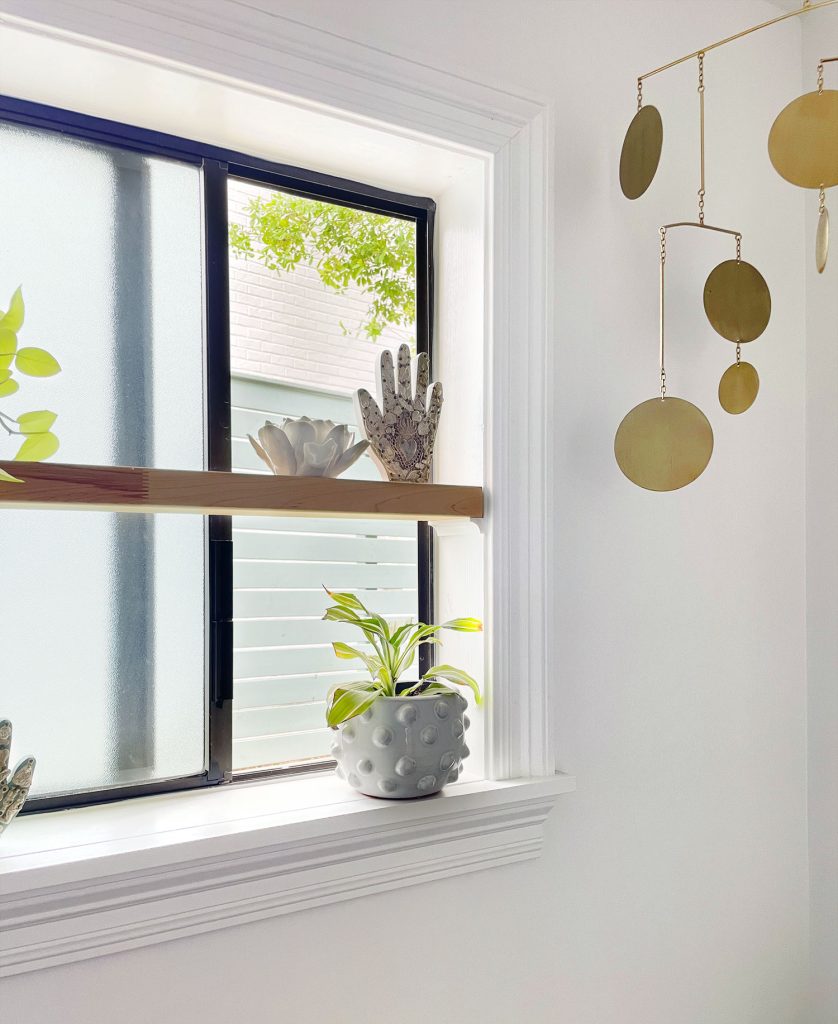
We also opted to hold the shelf in place with a few small finish nails (as you’ll read in a moment) so it can easily be knocked out of the way if there is a real emergency. These are all good things to consider before adding a shelf to a window.
How To Make A Window Shelf For Plants
This project was so quick that we didn’t stop to take a single progress picture, but I think you’ll find the process pretty self-evident from the after photos. It’s simply a piece of butcher block resting on two small pieces of cove molding!
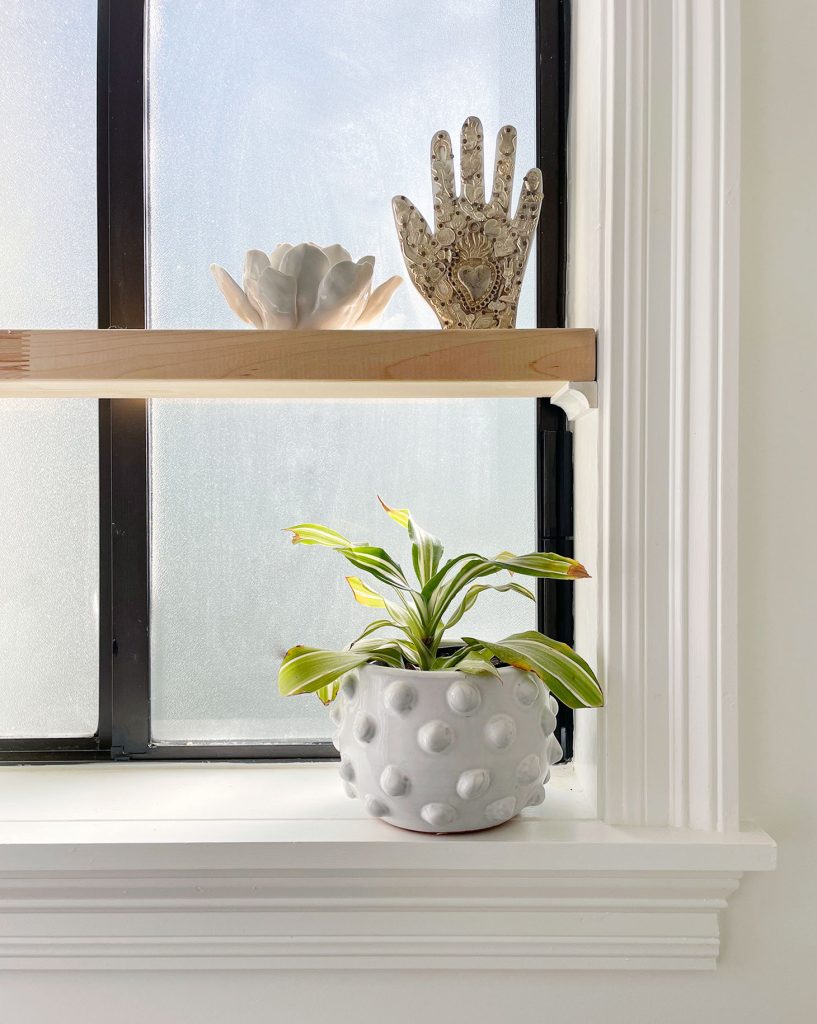
We used this butcher block because we had a scrap piece left over from this built-in storage project. It’d be pricey to purchase it JUST for this shelf, so a basic 2×4″ could work instead! But, depending on the interior span of your window (ours is 28″), you’ll probably want something sturdier than a standard 1″ thick board. That could sag over time, especially if you plan to put heavy-ish items on it.
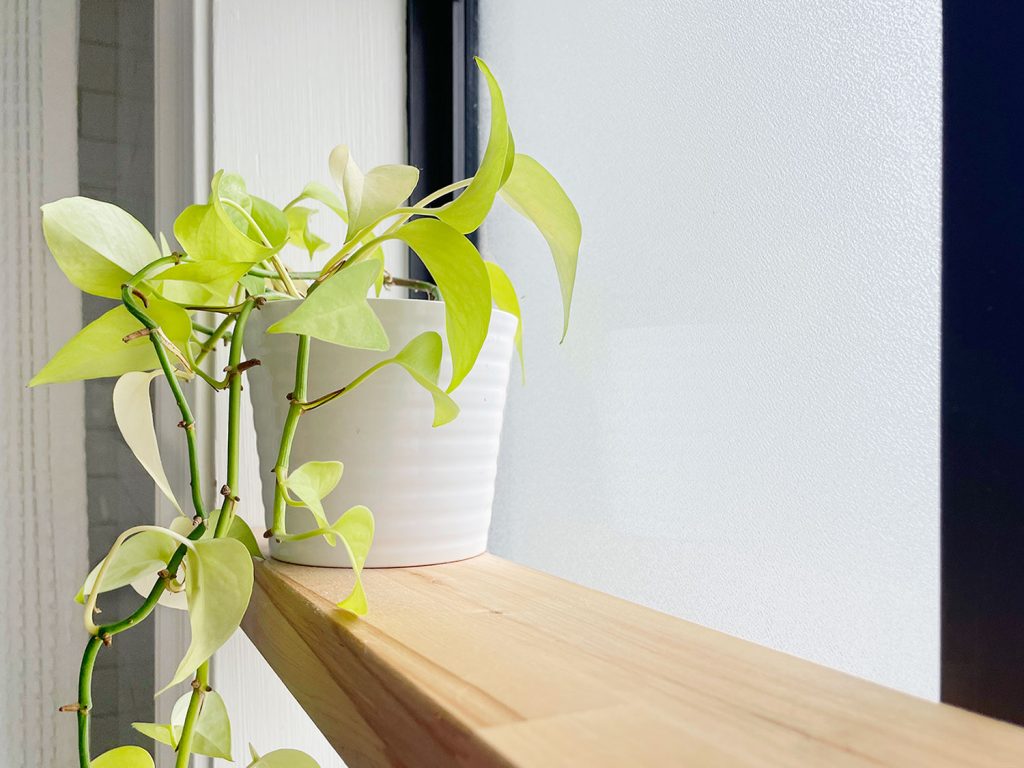
Since the butcher block is very sturdy, we just found a way to prop it up in place. We didn’t want big brackets, so we decided to try this low-profile cove molding instead. It blends nicely with the window trim, almost giving us the effect of a floating wood shelf.
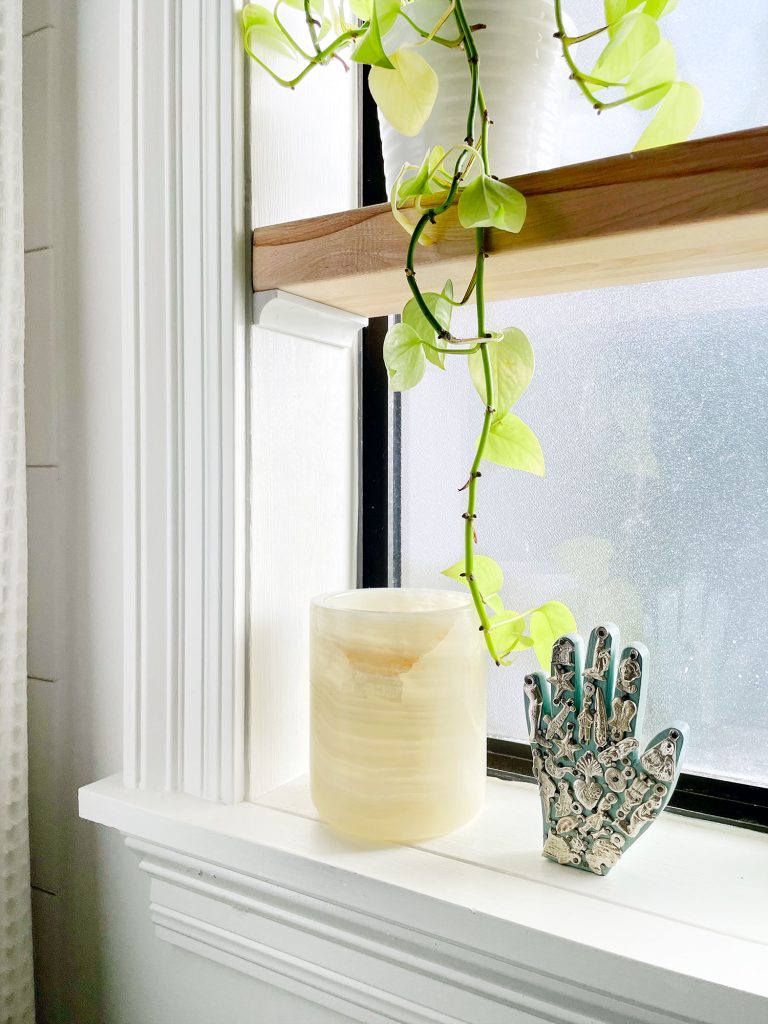
So with those material considerations in mind, the steps themselves were simple:
- Cut your wood shelf to size using a saw (ours measured 4″ deep & 28″ wide) or have it pre-cut
- Cut two pieces of cove molding to the depth of the window trim (ours was 4″)
- Measure & mark the desired placement of the bottom of your shelf on each side of your window trim
- Nail the cove molding into the window trim, using a level to make sure they don’t slope forward or back.
- Add your wood shelf and check again for level.
- Nail your shelf to the cove molding (we went from underneath) to keep it in place.
- Caulk nail holes and paint them to match your trim
The nails we used were just simple 1.5″ finish nails in our nail gun – nothing super heavy-duty at all – because the shelf itself really isn’t that heavy. You can even see the divots where we put the nails in (guess they could use a second coat of caulk!).
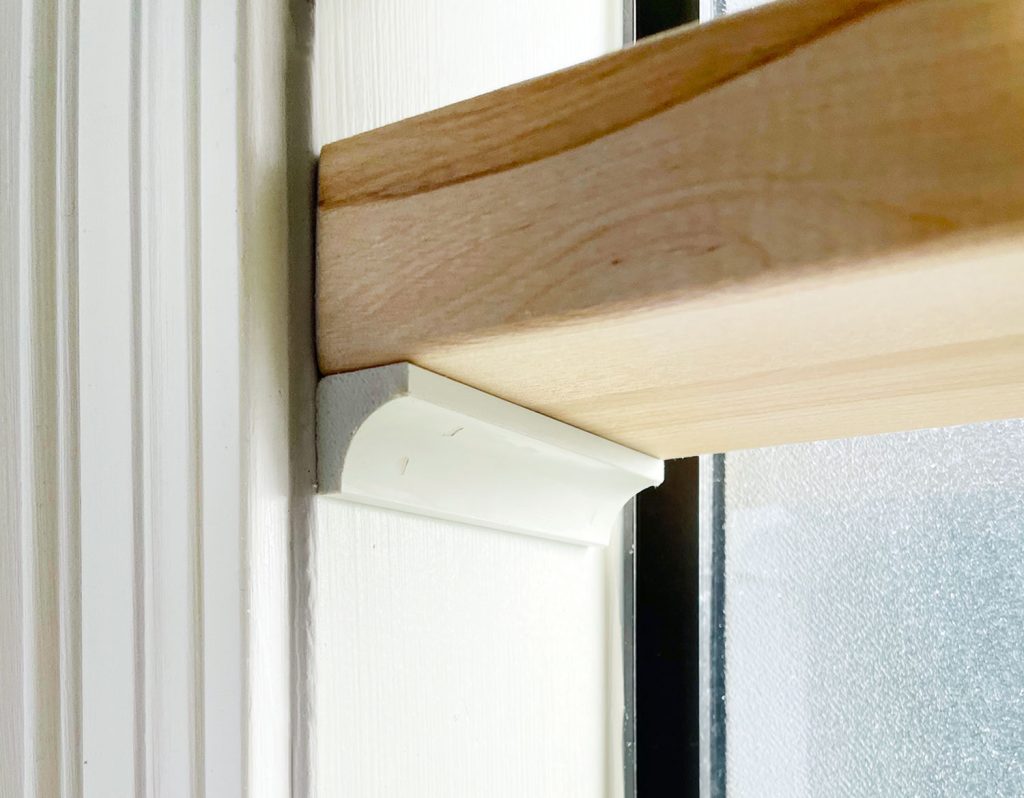
Again, this was a really quick, super simple DIY project that we did in the spur of the moment with some leftover butcher block. We love how it turned out, and highly recommend it if you have a room that could use some extra interest AND lots of plants!
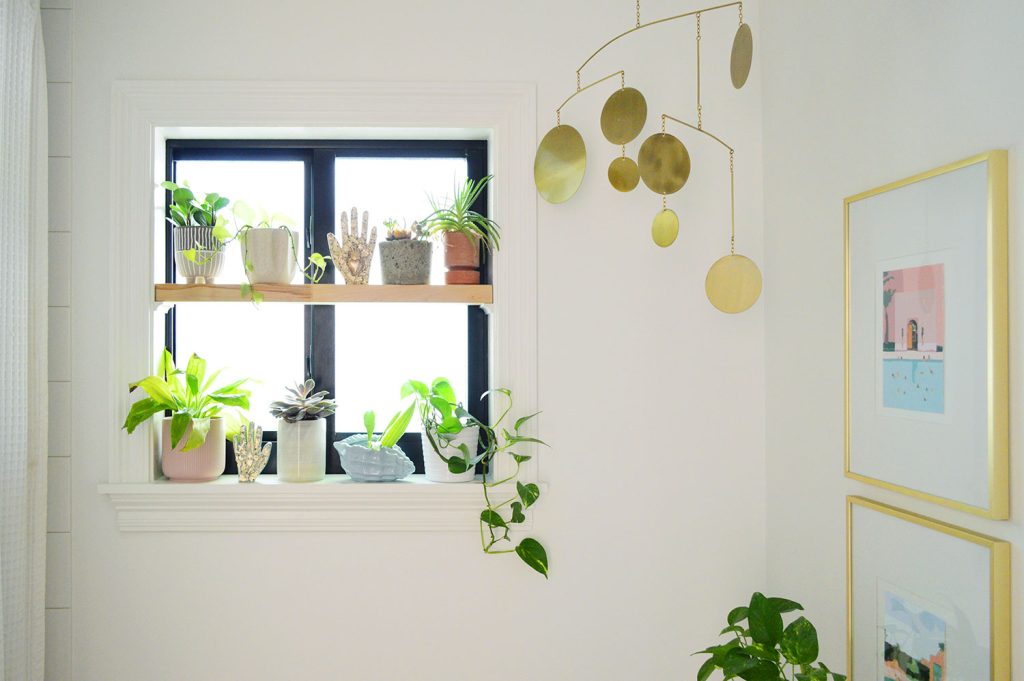
Oh, and if you’re wondering more about what’s ON the shelves – besides the plants – those are wooden hands covered with milagro charms that Sherry picked up on our Mexico family vacation last year.
Other DIY Shelf Projects

If you’re looking for some more DIY shelf projects, we’ve got plenty of those:
Plant Care Guides
If you’re looking for more information on some of our favorite plants (real and faux!) check out some of these posts below:
- Monstera Deliciosa Care Guide
- Golden Pothos Care Guide
- Marble Queen Pothos Care Guide
- Neon Potho Care Guide
- Snake Plant Care Guide
- Fiddle Leaf Fig Care Guide
- Tree Philodendron Care Guide
- Protecting Outdoor Plants In A Deep Freeze
- How to Propagate Succulents
- My Favorite Faux Plants
- Easy Houseplants To Keep Alive
- 10 Houseplants For Better Indoor Air Quality
*This post contains affiliate links, so we may earn a small commission when you make a purchase through links on our site at no additional cost to you.
