“Not funny.” That’s what I said when a tree branch across the street fell and took out our power yesterday, a mere two minutes before Richard-the-mason and his crew arrived. Luckily, widening a brick wall is mostly manual work – and chipping out bricks and cinder blocks isn’t contingent upon electricity. When the power hummed back on about an hour later, the crew hardly noticed (picture me jumping for joy in the background while they continued to chip and hammer away).
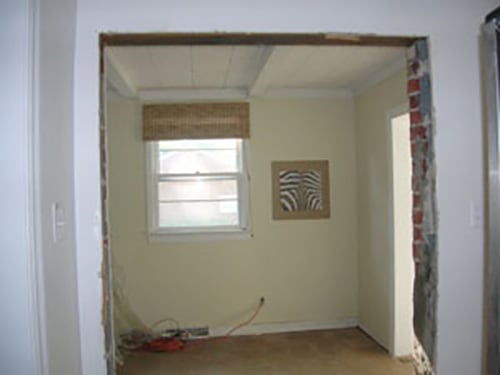
By the end of the day, the brick doorway was finally widened to a glorious 5 foot opening…and the house didn’t fall down in the process! Check out the end result of a project that had some contractors running in fear (as viewed from the kitchen looking into the den):

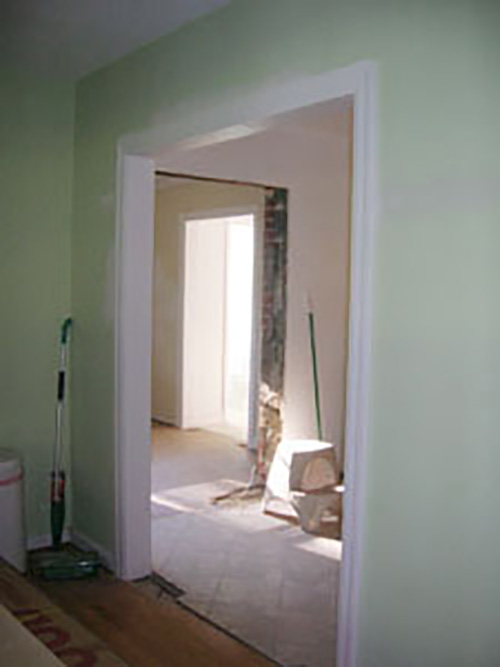
Now the crew’s here framing out the opening and it’s just amazing to see how HUGE the living room, kitchen, and den feel now that they’re all so open to each other. Here’s a photo taken from the living room that demonstrates how the new, wider openings into the kitchen and den make all the rooms feel a lot more 2007 (as opposed to 1956).

You used to see only a tiny doorway leading into the kitchen from the front door of the house. Now you can see through the kitchen into the den and even beyond the den into the hallway that leads to the sunroom. Totally worth all the dust and demolition.

Angela says
Dear Youngsters,
Your blog has been an inspiration to all DIYers. Thanks for all the handy tips and ideas. I was wondering if you had any suggestions for the casing that was installed in your new wider opening between your living room and kitchen. I have an opening between our entryway and living room, but it does not have any casing (is that what it is called?) on the wall. I think that it would look so much nicer to have the casing to finish it off, but am not sure where to start.
Thanks!,
Angela
YoungHouseLove says
Hey Angela,
Well, the doorway was always that thick between the rooms, we just widened the opening, but the wall was always that thick so the framing around the opening of the door was always that thick (about 6″ to be exact). We love the flat pieces of wood that we used to frame things out for a crisp and clean look (and the simple trim molding that they used on each side of the opening to add some definition to the doorway from both the kitchen and the living room). And a coat or two of white semi-gloss paint finished the trim everything off. Hope it helps!
xo,
s
jenn says
I noticed you gave the cost of this brick doorway widening, but I didn’t notice any mention of the cost for the others. I know prices vary depending on where you live, but I was wondering how much it cost to widen the other doorways. I am looking to tackle a similar project to open my kitchen up to my living room. thanks!
YoungHouseLove says
Hey Jenn,
The cost of the other doorways was included in the contractor (Danny’s) fee for demoing the kitchen, skim coating the old brick backsplash they tore out, ripping up the vinyl floor to prep the floors for hardwood, etc. The actual cost of each doorway widening project was probably only around $100 because they weren’t weight baring walls (it’s actually a super easy job that we now could do ourselves- google around for a tutorial if you’re a DIY lover!). Good luck!
xo,
s
Cathy C says
Sherrie, this question is more for the other doors you widened. Do you remember what they needed to do (or what you did) to patch the floors where the old walls sat? Did you patch the wood with wood from somewhere else in the house?
Thanks!
YoungHouseLove says
We just added a wooden threshold that ran the same direction as the wall (just like a stone bathroom threshold, but it was wood so it looked more seamless). Hope it helps!
xo
s