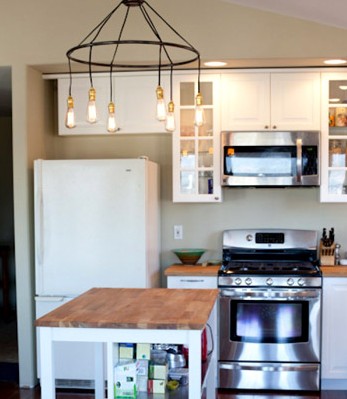
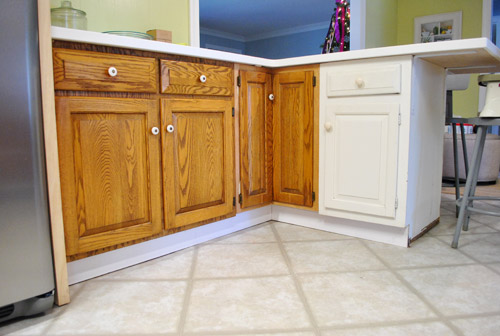
Since we’re clearly in a kitchen state of mind, we had to share Kacie and her husband Kyle’s makeover. With the help of their parents, they took advantage of their home’s open floor plan and created a sweet and much-more-functional spot to fry up some eggs in the morning. Here’s Kacie’s email: My husband and I just finished our first remodel! When we moved into our house one year ago we knew we were going to redo the kitchen and the flooring. The kitchen was completely closed in and all of the cabinets were poorly placed – there was only one usable drawer! I absolutely love to cook and this was not a cook’s kitchen:
Christmas Gift Ideas For Husbands, Wives, & Kids
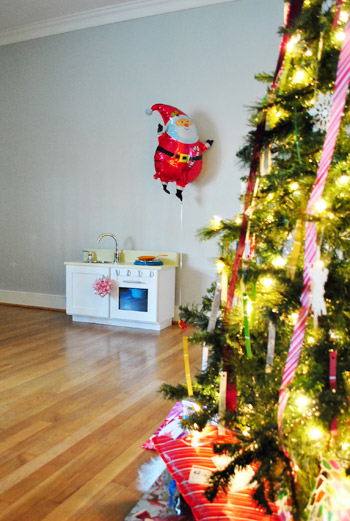
Let’s get into what Santa brought us. This was an exciting Christmas because in all of our seven December 25ths together, we’ve never woke up in our own beds to open the presents under our own tree as a family (i.e. we’d always traveled elsewhere). We did meet up with a bunch of relatives later in the morning to open gifts as one big crazy Petersik family, but we snuck in some present opening time as just the four of us earlier in the morning. Especially since Santa brought one little Petersik something extra special this year (as mentioned in great detail here)… Along with her play-kitchen Clara got lots of clothes, books, toys, and
Fab Freebie: The Simple Life
***This giveaway is no longer accepting entries – see who won below!*** Random.org is wishing a very happy new year to TWO of you by selecting you as our winners. And those lucky people is… KC (who after a recent move to a smaller space would really love to pare down her home to the bare essentials) and Katie (who needs to gets her computer files organized since she can’t find anything). Congrats! Since ringing in the new year usually means ringing in some resolutions about simplifying or getting organized, simplify 101 might come in handy. They offer online workshops (as well as free guides) to help folks get organized, stay focused, and reach their
December Superlatives
Holy cow, is it really going to be 2012 on Sunday? December flew by. So before it scoots away for good, we like to take a moment to look back on all that we’ve done at a glance (and gather all the links in one handy place for ya). And of course we tossed in some never-before-seen stuff for kicks. This month we were all over the place as usual, but focused a lot of our time on the kitchen along with tackling a few other projects in rooms like the living room and the hallway while shoving a decent portion of holiday fun in there too. So let’s take a walk down memory lane,
Fab Freebie: Gotta Hand It To You
***This giveaway is no longer accepting entries – see who won below!*** Thanks to random.org, we’ve got a Merry (belated) Christmas prize going out to… Kristin Aune (who made t-shirts for both of her kids, ornaments, buckeyes and has been trying to perfect her fudge pie recipe). Congrats! Wahoo. Hope you guys all had an awesome holiday weekend (you can see a sliver of ours here). As we mentioned on Friday, we’ll be stopping in with one quick post each day this week (amongst family hosting, feverish book-deadline writing, and priming & painting all of our kitchen cabinets). But we couldn’t wait to share today’s giveaway that we wrangled after seeing so much amazing stuff
An Easy DIY Christmas Card Idea
With family arriving tonight for our first ever Christmas in Richmond, we wanted to be sure we shared our holiday card with you guys first (you know we love ya like family). We couldn’t do this little blog-thang (look at me getting all twangy) without you. And we sincerely appreciate you for dropping in on us. We shot this earlier in the month with the help of a bunch of ribbon snagged on clearance from Michael’s last Christmas (some of which later ended up on our tree). It’s actually two pictures photoshopped together, since getting Clara and Burger to sit still that close to one another without doing something weird (like synchronized diaper sniffing/tail grabbing)
Updating A Dated Kitchen Yourself
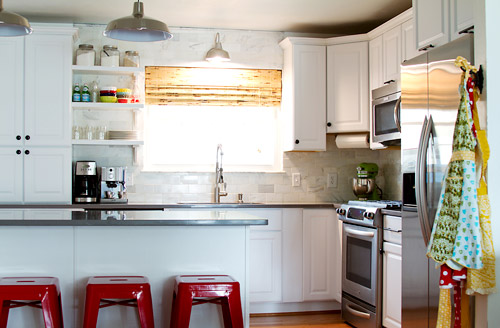
We were so happy to stumble upon Beth’s email in our inbox. Her retelling of her kitchen redo had all the elements that we love in a good renovation story: an ugly before (a brown fridge!), lots of DIY details (yesss!), a bit of drama (the counters arrived the day before Christmas, yowza!) and – best of all – a beautiful after. Here’s her note: Hello, Sherry & John! We bought our current home a little over a year ago, and to say it was outdated is the understatement of the century. Like you, we wanted something to fix up and make our own. Our kitchen was dark, ugly, and closed in. No matter how
A Handmade Holiday Craft Show
Two Sundays ago we hit up the Richmond Craft Mafia’s craft show called Handmade Holiday. As one of my friends described it, it was like Etsy… only in real life. We love supporting/meeting local (and not so local) artists and artisans, so we went expecting to see some cool things, bump into a few people we knew, and maybe even to snag a gift or two. Instead, we saw LOTS of cool stuff, bumped into DOZENS of friends and blog buddies, and snagged a BUNCH of gifts. Well, I guess I should clarify. They were gifts for ourselves. Here’s a snapshot of our handmade bounty after we returned home and laid everything out on the
How To Add Toe Kicks & A Window Sill
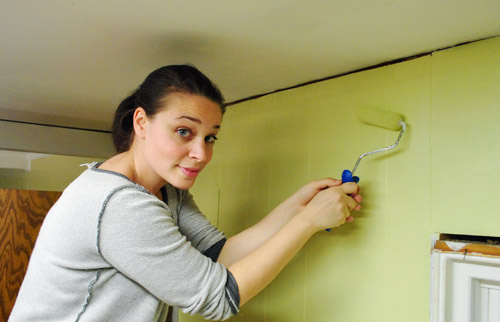
Can’t we just paint some darn cabinets already?! If your patience to see some painted cabinets is wearing thin – just imagine how we feel! When we were planning this kitchen project our big-picture brains said “We retrofit those few doors to match the rest of the room and then we paint. Hooray!” But now that we’re in the weeds (amid holiday madness, no less) we realize that a lot of stuff actually has to happen between those two steps.” There are gaps to be filled, rough spots to be sanded, trim to be added, hinges to be dealt with, hardware to be chosen, primer to be selected, a final paint color to be decided,
How To Make A Kids Art Desk With A Door
This is the story of a door turned desk turned tinier desk. When Clara came down with a case of the coloring bug a few weeks ago, it became clear that she needed an alternate surface for her artistry than the floor. You know, just in case she didn’t feel like tummy-drawing. We talked about a few fun play tables over on BabyCenter a couple of weeks ago, but finally found the inspiration that we needed to DIY one right in front of our eyes. And no, it wasn’t this leftover-plywood-slash-side-table combo that Sherry rigged up in about 30 seconds of “hey, maybe this will work!” Sorry, Sherry. #playtablefail. Back to the drawing board… Actually,
Fab Freebie: Things We Love
***This giveaway is no longer accepting entries – see who won below!*** After an excitement and entry filled holiday giveaway we’ve crowned our big winner. Well, random.org has crowned a winner. And she is… Nina (who’s planning to soak up and celebrate the magic of the season with her toddler, babe, and hubs this week as well as do some gift wrapping, toy assembling, and cookie baking by the light of the tree). Congrats! Oprah has Favorite Things. Martha has Good Things. We have Things We Love (okay, so maybe it’s not as catchy or scream-and-cry-on-national-TV-worthy, but we tried). The point is that we’ve rounded up five prizes that we heart, covering a whole range
Painting A Herringbone Ceiling
Sometimes it’s so easy to forget little spaces like entryways, hallways, closets, etc. That’s why we love Mandi’s complete transformation of her entryway, which we originally discovered when Sherry pinned her awesome ceiling paint treatment over on her home away from home (yes, as a guy I still don’t quite understand the magic of Pinterest but then again Sherry doesn’t quite understand the magic of Angry Birds). Anyway, back to Mandi’s entryway makeover. Here’s her story: I’ve spent the last week and a half making over my entryway and I am dying to show you! This is what it looked like before the makeover: And here’s the after. I love it. The hands down greatest
- « Previous Page
- 1
- …
- 66
- 67
- 68
- 69
- 70
- …
- 113
- Next Page »
