One of the most common questions that we hear nearly every day is “how do I know what style really appeals to me? I seem to like a few conflicting things and I just can’t seem to make a decision with any confidence.” Well, here are three ways to get over decorator’s block quickly and relatively painlessly. Tip #1. Gather inspiration images and see what they all have in common. We’ve mentioned that we keep our favorite rooms organized in a nice thick plastic-sleeve-riddled binder (read more about that here). And this anthology of sorts was really paramount when it came to pinning down our style and learning what we love. It’s amazing how an
A Lovely In LA House Tour
When Jaime of Prudent Baby sent us photos of her gorgeous Los Angeles home to woo us out her way for a House Crashing adventure we were so there. Except for the whole newborn thing. So we decided to virtually crash her pad instead. Here’s the charming exterior- isn’t it sweet? And look, here are the lovely homeowners now: Jaime, her husband Carleton and their sweet daughter Scarlet. But enough fresh air, let’s get inside. Check out the adorable homemade silhouettes of the family (including the dog) hanging by the door. And the stunning distressed wood chest by the window was scored for $35 at a flea market. Just beyond that space is a small
A Bright Yellow-Green Office Makeover
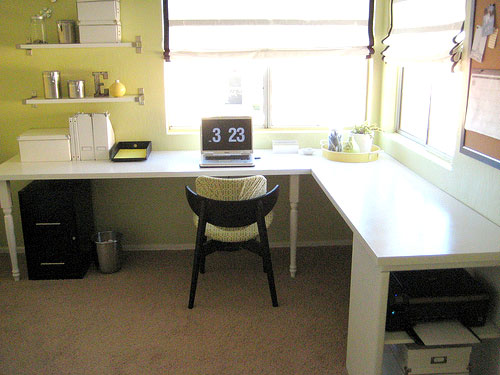
When Erica sent her awesome office overhaul our way we had to share the before and after photos. Here’s her letter: I love to read your blog and see what creative ways you come up with to save money. I recently fixed up my home office on a tight budget. Of course you can find more info about the room on my blog, but the L-shaped desk is made out of two hollow core doors (only 25 bucks each!), two table legs, and a bookshelf. The paint color is Valspar “Plum Passion.” Both chairs were thrift store finds and all the art from the art wall was completely free, it all consists of things I
Making A Ceiling Light With A Diffuser From A Lamp Shade
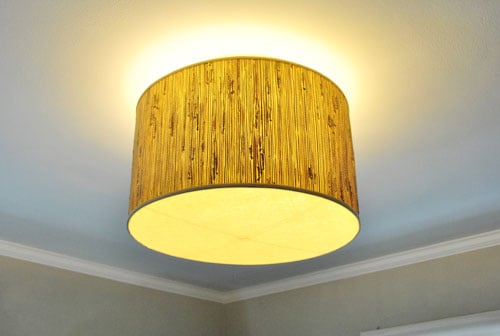
We did it! We DIYed an awesomely oversized light fixture for the office and we only spent… wait for it… $32 from soup to nuts. Which is pretty darn exciting considering it reminds us a lot of this pricey $412 version. Gotta love saving $380 with a homemade solution. Here she is in all of her glowing glory: But let’s back up. Here’s the basic fixture that we started with to serve as something of a before shot (although you all know there’s no longer a bed in there since we upgraded to a sleeper sofa and built a DIY desk). And now that we’ve easily been spending over 40 hours a week in this
Organizing Our New Kitchen’s Cabinets
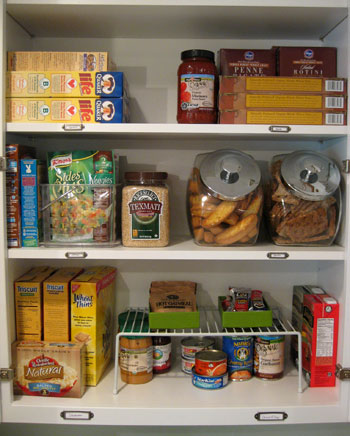
We’re back to share how we fared when it came to our big cabinet clean-out which we announced late last week and tackled this weekend (hopefully along with a bunch of you guys at home). Remember our pathetic starting point? Of course you do. Those two chaotic double cabinets (where we store every single edible item in our kitchen, except for the stuff in the fridge) were pretty hard to forget: But now we’ll reveal what they look like after a few hours of weekend weeding out and reworking: First we followed the 100% empty rule and cleared out both cabinets and placed everything on the counter so we could evaluate what we had, pair
5 Favorite Baby Items & A Free Baby Book Printable
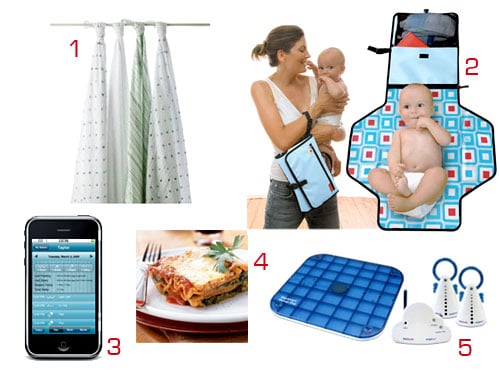
If you’re anything like us, patience is easier said than done, so we’ll get straight to the something free. After many (many) requests, we’re happy to announce that we’ve finally created a downloadable PDF or Word Doc (click here for print-ready PDF, here for editable Microsoft Word) of our “DIY Baby Book” that we revealed in our getting-ready-for-baby post a few weeks back. Just to jog your memory, here’s how we whipped it up: The idea was actually John’s brain child (I’m telling you, he’s the sweet sentimental one and I’m the neurotic fool who worried about ruining our sofa if my water broke). He suggested that we get a fabric covered album and create
Let’s Do It Together: Organizing The Kitchen Cabinets
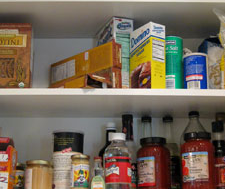
We’re back with another two-post feature where we invite you to tackle a house project right along with us. Last summer it was cleaning out our garage, and more recently it was straightening out our chaotic closets (read about part one here and part two here). Well, hold onto your hats ladies and gentlemen. This time we’re turning our attention to those dreaded kitchen cabinets. There’s not much explanation necessary as to why our two big double cabinets need a serious dose of structure and organization… Yup, between these two spaces (which house every edible item in our kitchen other than the stuff in the fridge) there’s definitely room for improvement. Especially when there are
Painting Cabinets And Using Grasscloth To Update Them
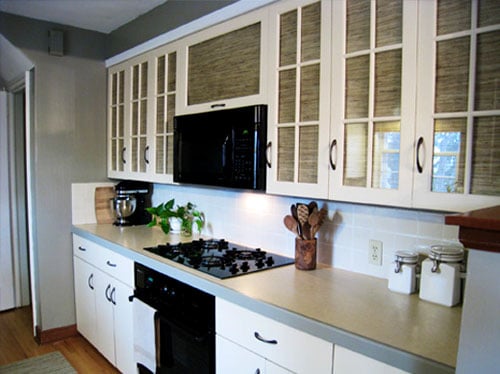
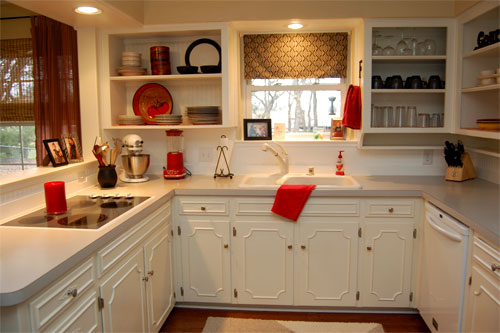
When Bethany sent her fantastically creative low cost kitchen makeover our way we had to share the eye candy. Here’s her letter: This spring my hubby and I got busy refreshing our tired kitchen. Our goal was to make changes that improved the look of the space without spending a million bucks. With a little paint, some new cabinet hardware, a new rug, and a light fixture and window treatment, our kitchen now has a whole new look! The best part was standing back at the end of the project and realizing that these small changes really made a big visual impact. I love my “new” kitchen, and the fact that we only spent around
One Desk, Four Ways
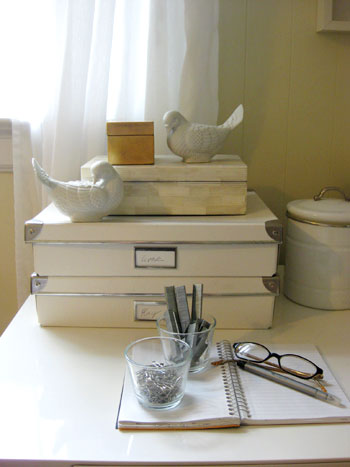
Since we’re moving our work area into the new office / playroom / guest room (read more about that here and here) I figured I’d give my old work space one last hurrah in the form of a four-part makeover. Just for fun. From a potted plant to a scented candle, many people have different preferences when it comes to their home office must-haves. And of course everyone has a different organizational needs as well, so it’s always interesting to ponder what systems and approaches will work for people in both the form and the function department. So when I decided to have some fun adding different accessories to achieve a few different takes on
A Cheerful Yellow and Wood Kitchen Makeover
When Bonnie sent us her charming kitchen before and after pictures we just had to share the goods. Here’s her letter: I’ve been enjoying YHL for the last year. My husband and I bought my grandparents home this past November and have had so much fun renovating it! We turned the place upside down and within about five weeks we got this outcome. We were on a really tight budget, so most everything is from Ikea, thrifted or made by us. We drew tons of inspiration from Young House Love and referred to your ‘how to’s’ quite often! My readers really enjoyed our kitchen before & afters, so I thought you might like to see
Hanging Some White Faux Wood Blinds In The Bedroom
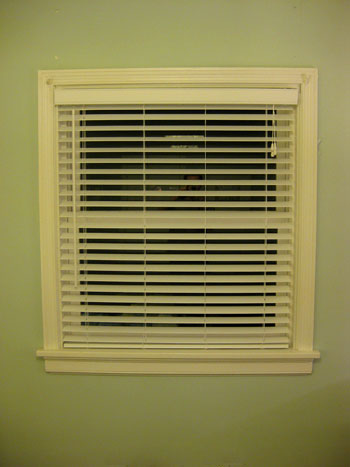
We first brought home a pair of white faux wood blinds back when were decorating the nursery (since a nice dark room sounded like a good idea when it came to encouraging some serious pee-wee shut eye). The ironic thing is that literally for years we’ve been dying to bring them into our very own bedroom. See, the window above the bed was never covered, and although the sun doesn’t rise on that side of the house we knew it could definitely stand to get darker with the help of some sort of rolling or slatted blind. Plus the other window in the room had the original plastic roller shade that came with the house
An Affordable Kitchen Overhaul
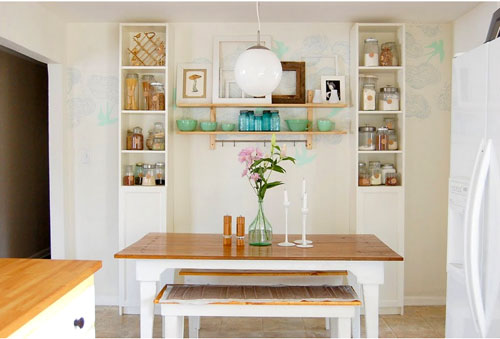
When Rachel sent us her recently DIYed kitchen makeover we had to share the goods. Here’s her letter: To say that there are touches of YHL in our newly renovated kitchen/dining room would be an understatement. I “borrowed” many of your ideas! First we removed the upper half of the wall separating the kitchen from the dining room. And after the dated wallpaper came down we painted both rooms with a 5 gallon bucket of Valspar paint to cut costs. We removed the upper kitchen cabinet doors to create an “open” look while the lower doors are original (we sanded, primed, & repainted them). We also added new hinges & hardware. Then we installed a
- « Previous Page
- 1
- …
- 77
- 78
- 79
- 80
- 81
- …
- 123
- Next Page »
