There are almost always three main steps to the room makeovers that we tackle, and depending on the scope/depth of them, they can take a few days or a few months (ok, and sometimes we jump around so much that things take years). Either way, the order seems to go like so:
- prep/planning (brainstorming, picking a color palette, going shopping, priming, sanding, spackling)
- bigger upgrades (painting walls, refinishing or painting cabinets, laying new flooring, etc)
- finishing touches (curtains, new hardware, art, accessories – all the things that add “you” to the space)
So when John’s mom mentioned his grandma’s half bathroom could use a little makeover we got to put those three steps into action. It resulted in a three day bathroom blitz that involved two seven hour drives and some obligatory midnight painting (thank goodness John’s parents traveled with us to keep Clara busy and happy). First you should meet Granny. She lives in Huntington, West Virginia, and is one of the happiest, kindest women you’ll ever meet. Here she is holding baby Clara for the first time:
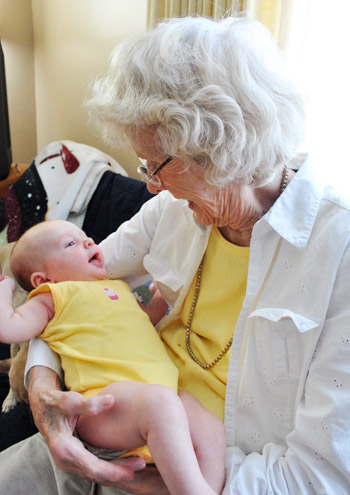
And you know we love to share the day-by-day play-by-play, so with further ado, here’s what our To-Do list looked like for our turbo-charged three-day project (along with guesses about when we’d actually tackle things in parenthesis after each line item):
- Brainstorm colors & go shopping for accessories (Day 1)
- Spackle/sand/caulk everything to prep the room for paint (Day 1)
- Rebuild the cabinets a bit so they look more balanced (Day 1)
- Prime and paint the cabinets for a more updated and open look (Day 1 & 2)
- Paint the entire room, including the ceiling (Day 2)
- Fix a few issues, like a rusted duct and an old dingy corner below the sink (Day 2)
- Redo the floors, which were that old sheet laminate stuff (Day 2)
- Revive some hardware/accessories with a fresh finish (Day 2)
- Make & hang curtains to add some charm (Day 3)
- Bring in some meaningful art (Day 3)
- Add some functional/personal accessories to finish things off (Day 3)
- Reveal the whole shebang for Granny, who promised not to peek beforehand (Day 3)
Here’s her charming 1920’s house, which they’ve in since the 1940’s so John’s mom and her siblings all grew up here. John’s late grandfather (“Papa”) actually did a lot of the handiwork himself over the years so there are lots of stories and memories tied to this place.
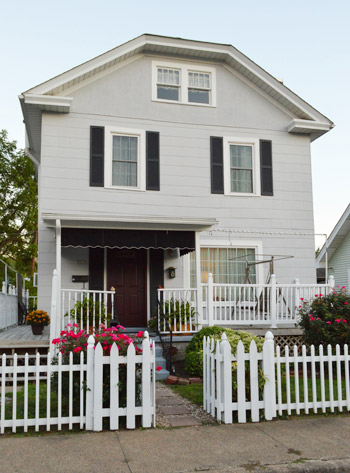
In fact, it was Papa who converted an old kitchen pantry into this little half bathroom! So everything from adding the plumbing to the electrical was all him. But that was decades ago, and the room was looking ready for an update, especially thanks to some wallpaper that Granny was “ready to tear off the walls” herself (at 90 years old, she still has that DIY spirit running through her veins, by the way). So here’s what the room looked like before the wallpaper was removed:
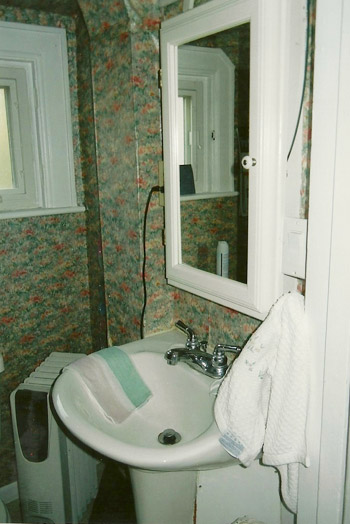
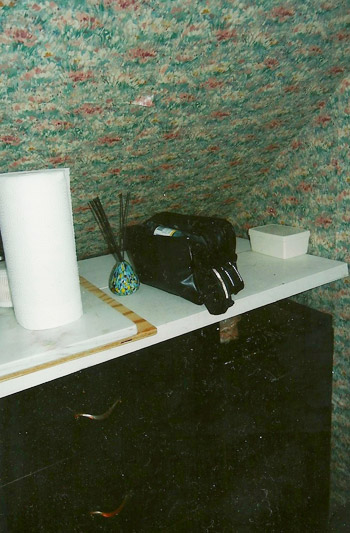
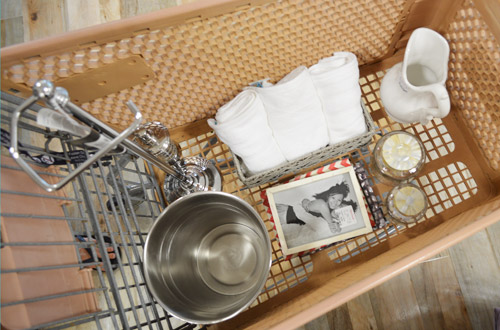
Thanks to Granny, our Aunt Ellen, and our Uncle Dean, the wallpaper was all miraculously removed before we arrived around dinnertime – just in time to work the night away prepping the rest of the room. But not knowing our store options in Huntington, we did some shopping before we left, including a mad dash into HomeGoods for some items we thought could work (we over-bought, knowing we could return whatever she didn’t need). We also knew Granny might have some of the items that we grabbed, so ideally we would get to use some of the new stuff, and some of her existing stuff, for a nice mix (and some nice savings).
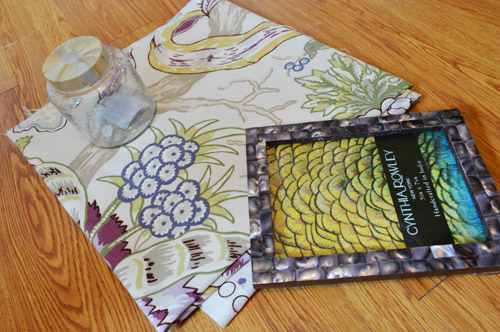
We also stopped at our favorite fabric outlet (U-fab) and grabbed a yard of pretty floral-printed fabric that felt a lot like Granny (it’s made by Braemore, for anyone looking for it) to make sweet little cafe curtains for the one small window in the bathroom. Here’s that fabric with some of the accessories we picked up, just so you can see where we were “going” in our brains:
We also stopped into Home Depot and grabbed some new flooring (which you’ll see more of during Day Two) and we used our seven hour drive to brainstormed a few other ideas for the space while we took in the road trip scenery (slash kept a pooch and a toddler occupied).

Here’s what the room looked like when we arrived. It was already looking worlds better with just the wallpaper being gone.
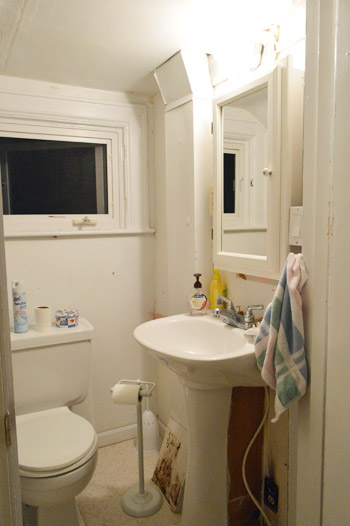
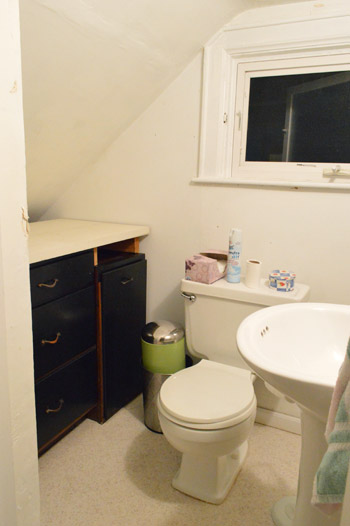
Apparently the paper came down with just a little tugging, so that was the good news. But without the wallpaper, some areas of the room actually looked even more worse for wear… like the bottom corner of the sink, the burned outlet, and the rusted vent on the other side of the pedestal sink.
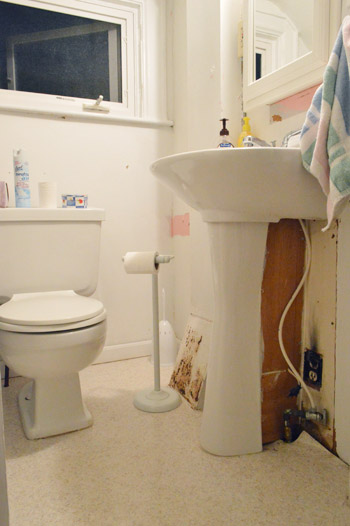
Yup, there were definitely some areas that needed attending to…
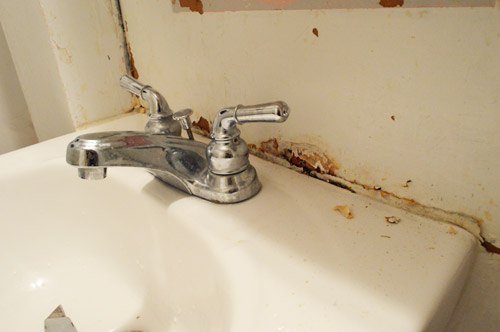
So we got right down to business. My job was cutting all of the old caulk out. It’s a step that doesn’t look much better immediately (sometimes it looks worse)…
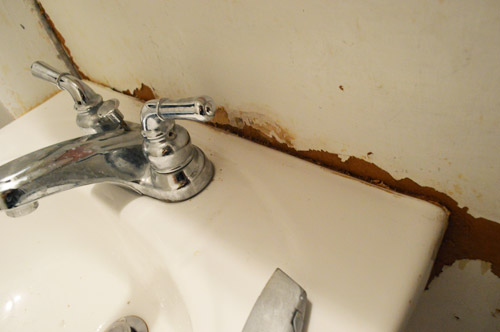
… but once we get some fresh caulk and painting done, it looks as good as new.
Speaking of cutting out caulk in general, it’s amazing how much of it there can be. Just look at my pile after tackling the sink, the baseboards, and other random corners that also had bits of leftover wallpaper and cracked flooring:
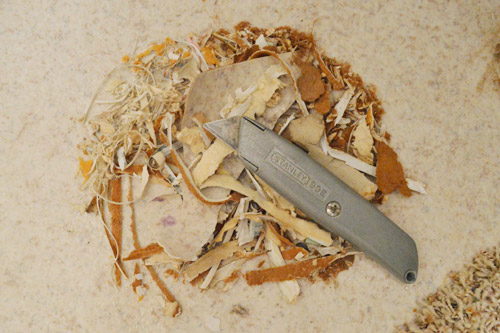
I actually ended up using an entire tube of caulk in this tiny space! Everything from the baseboards to that area around the sink and the doorway/window trim got some fresh caulk. It’s definitely a tedious job, but so worth it for a polished look.
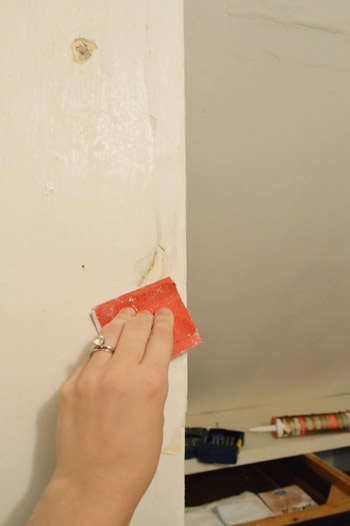
Then it was on to spackling and sanding. We just used regular old Dap spackle (with the blue lid) and a spackle knife, and pressed it into every crack and crevice, working our way around the room. Sometimes I’ll sand something before I spackle it, just if there’s something hanging off (ex: a flake of plaster) so I get a better finished look and a less crumbly foundation under my spackle job.
Meanwhile, John was off doing some wood cutting in the middle of the kitchen. I guess this is what happens when you don’t have your usual workspace and tools with you?
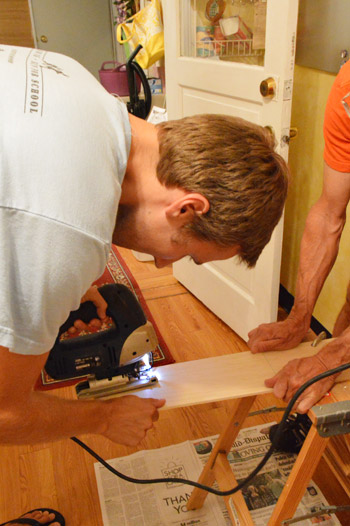
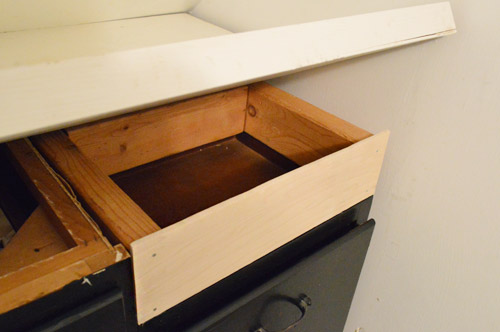
He was cutting a small plank of wood to cover a gap in the top of Granny’s cabinets since they’re actually two cabinets pushed together and topped with an old hollow-core door. So we filled the gap for a seamless look by nailing the plank into the 2 x 4 pieces that were already there to support the counter.
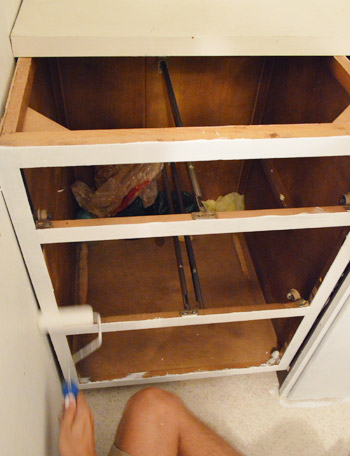
It would of course look more seamless once it was painted, which meant it was time to remove the hardware and prime those cabinets.
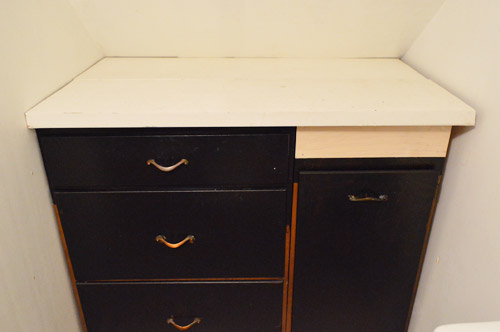
Here’s John rolling on some primer (this post has a much more thorough rundown of how we prime and paint cabinets).
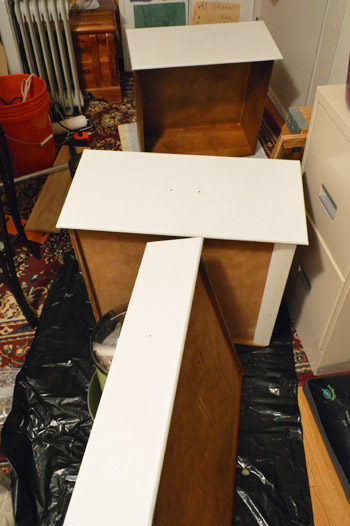
And here are the drawer fronts all drying in Granny’s back-room-turned-cabinet-painting-studio:
It took us a good four or five hours to prep the room as well as prime the cabinets and the countertop, so our to do list now looked like this (with little notes next to each remaining task about when we hoped to tackle them):
Brainstorm colors & go shopping for accessories (Day 1)Spackle/sand/caulk everything to prep the room for paint (Day 1)Rebuild the cabinets a bit so they look more balanced (Day 1)Prime andpaint the cabinets for a more updated and open look (Day 1 & 2)- Paint the entire room, including the ceiling (Day 2)
- Fix a few issues, like a rusted duct and an old dingy corner below the sink (Day 2)
- Redo the floors, which were that old sheet laminate stuff (Day 2)
- Revive some hardware/accessories with a fresh finish (Day 2)
- Make & hang curtains to add some charm (Day 3)
- Bring in some meaningful art (Day 3)
- Add some functional/personal accessories to finish things off (Day 3)
- Reveal the whole shebang for Granny (Day 3)
We had high hopes that we could bang everything out in our three day blitz, and we were really happy with our end-of-Day-1 result. A nice fresh clean slate to start gussying up in the morning. So it was off to bed exactly at midnight, after a very full day of shopping, driving, prepping, and priming.
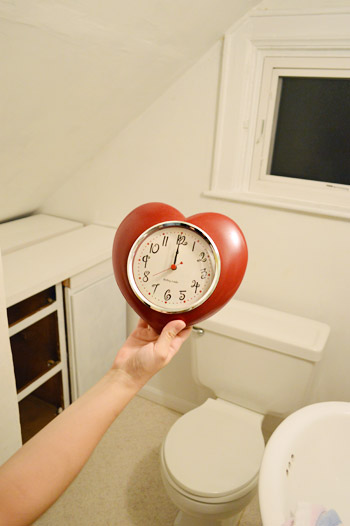
We’ll be back with the full Day 2 rundown tomorrow, we just have to edit some photos (um yeah, we might have taken 1,294 in just three days…). Are there any other bathroom updates going on? Or shopping/prepping/brainstorming? Have you ever done a little room makeover for someone you love? It sounds weird, but it was even more fun than doing something like this for ourselves because the excitement of the big reveal for Granny got us so dorked up and giddy.

Amanda B. says
I think it’s wonderful that the family all pitched in to help strip the wallpaper before you got there, but I wish you guys could experience the joy (not) of wallpaper removal yourselves. You would swear off wallpaper forever! I saw you mention it as a possibility for your hallway and inside I was screaming “Noooo, don’t do it!” Is it obvious I’ve had some “fun” with wallpaper in my 1980s house? :) (Five rooms down, 2 to go!)
The only good thing I can say about wallpaper is it makes for some fantastic before-and-afters. Can’t wait to see how Granny’s bathroom turned out!
YoungHouseLove says
Oh yes, we have had that joy! Our first house’s dining room was wallpapered with blue and purple floral stuff! Haha. The wallpaper wasn’t too bad, but it was the glue that it left behind that nearly killed me.
xo
s
Pamela says
I think your fabric is Braemore Radiance Heather. Your swatch is so small that I can’t be sure.
YoungHouseLove says
Thanks for the tip Pamela!
xo
s
Cindy says
I recently found your blog and am loving every post you’ve made, but this one has absolutely thrilled me!! I’m on pins and needles waiting for Day 2 and Day 3!! Again, it’s amazing to see what can be done without a professional!! You guys are obviously talented/gifted, but have inspired me to paint 3 rooms in the past couple months….and my mind is ticking away about some “tweaking” we need to do…. How neat for your Granny:)
YoungHouseLove says
Aw thanks Cindy!
xo
s
Jayme says
Did you house crash any while in Huntington? Ahhh, I would have loved to have ran into you! I would have acted like a TOTAL geek!
YoungHouseLove says
Alas, with the bathroom taking us until midnight each day and Clara’s naps/schedule to deal with, we didn’t have any time. Next time we’d love to for sure!
xo
s