After admiring various ribbon chandeliers in baby stores, catalogs, magazines, and even over on Pintrest, I decided to try my hand at one for Clara’s closet. Her closet is actually big enough to become a little reading nook when she’s a little older (I have visions of making her a beanbag for chillaxing on the floor with a book). And I love that the closet has its own light but it’s one of those fugly bare bulb ones that you tug on a piece of string to turn on and off. So I thought a happy little ribbon chandy could pretty things up.
So I spent $2 for an embroidery hoop (with a 10″ diameter from Ben Franklin) and used some white spray paint and a box full of old ribbons that I already had (I save them like gift bags to recycle them ’cause I’m cool cheap like that).
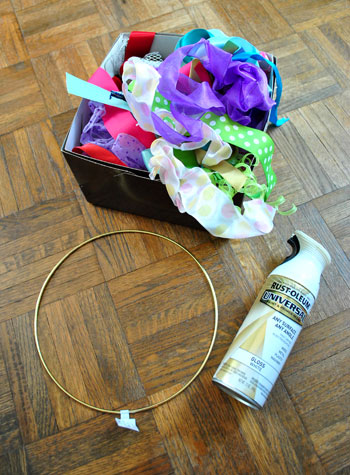
So the total project cost was just two dolla. Holla. (Yup, that’s the second holla I’ve used today- and yup, I’m counting).
Anyway, first I went outside and spray painted my big metal embroidery ring thing with white paint on a piece of cardboard. While it was drying I went through all of the old ribbon scraps that I have and picked out the ones I wanted to use. Then I popped back outside to flip my ring over with a stick so I could spray the other side.
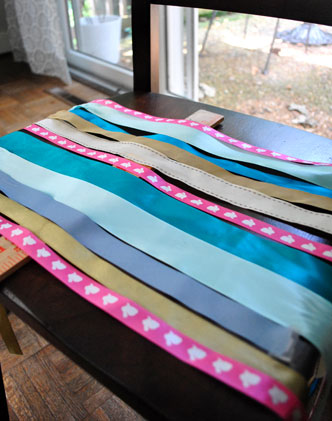
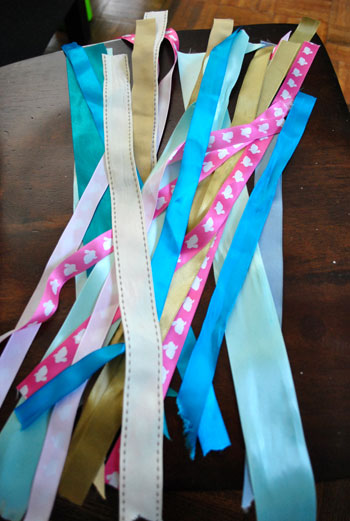
Then it was back inside while it dried to cut 16″ lengths of ribbon from all of the ones I picked to use. Here are most of them cut and ready to glue to my drying ring (I still had a few more hot pink ones to be added to the mix). Oh and I should note that I wasn’t exact about my cutting at all. If I wanted to use a strand of ribbon that I could almost get two lengths out of, I’d cut it in half (even if each piece was only 14″ instead of 16″). Yeah, call me Loosey Goosey. Wait, that sounds bad. Don’t.
Here’s where I’d show you a few photos of me and my handy glue gun as I glued each ribbon to the now-white-and-dry metal embroidery hoop. I just curled it over the top and glued the ribbon to itself in the inside of the hoop and worked my way around the top, just gluing each ribbon in place next to the other one with about an eight of an inch of space between them so they didn’t get all up in each other’s area. And I burned my fingers approximately fifteen times, which might be why there are no photos. But it was worth it. No pain, no gain. Sidenote: I accidentally typed “no paint, no gain” at first, but upon thinking about it, I also believe that’s true.
Here’s the bare bulb we’re dealing with in Clara’s closet. And I only realized as I took this photo that we never switched it out for a CFL. Probably because we never actually turn it on, but still – shame on us. It has been rectified. And the old bulb betta recognize. I’m in a weird mood today, huh?
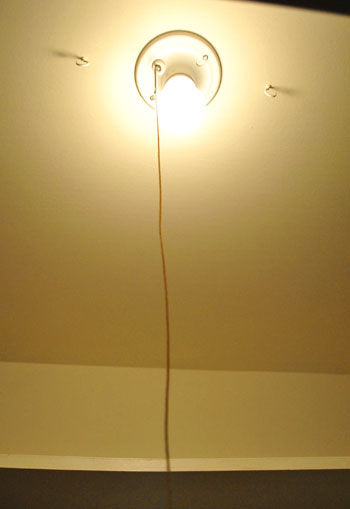
See those hooks on either side of it? We had those in the ol’ tool drawer, and I thought they’d come in handy for stringing up my ribbon chandy. I was going to use fishing wire but I couldn’t find it so I went with white string (you know, sewing machine string?). Wait I mean thread. Anyway, it worked like a charm.
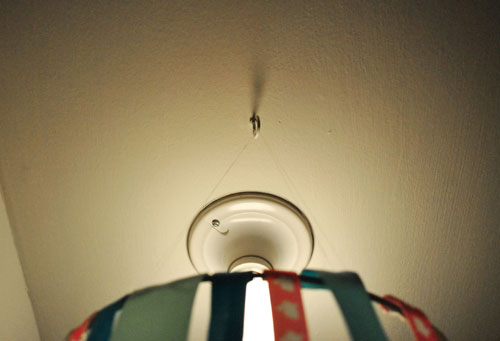
I just made four loops of white thread at four even intervals around the ring and looped them up over the two hooks so they sort of pulled from four points and stabilized the hoop o’ ribbon. Here’s what I was left with:
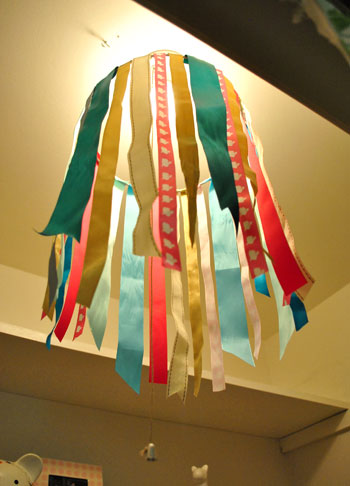
Cute, right? When Clara woke up from her nap I couldn’t wait to hang it slash show it to her. She loves it. And that my friends (as Martha would say) is a good thing. Oh and I totally should have ironed the ribbons before gluing but I was feeling lazy. I figured I can always take it down (it’s just hanging on those little hooks) and iron it if the urge ever strikes. Not that I’m counting on it. For now I look at it like wavy hair. There’s a place for it.
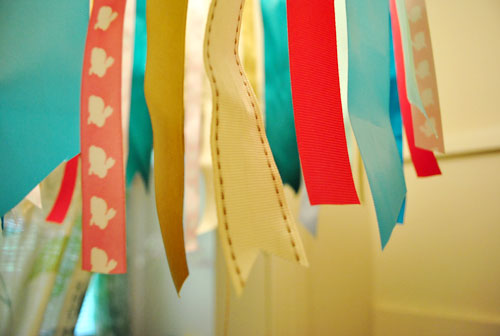
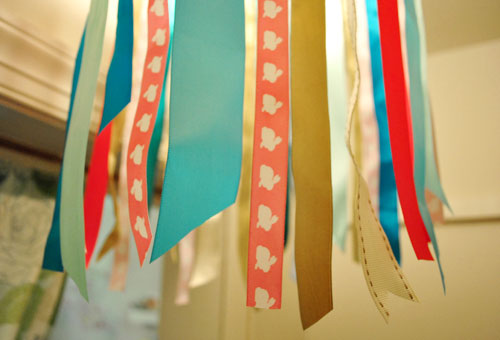
See that cute pink ribbon with the bunnies on it? It’s from this Easter basket we made her a while back. Memories. Oh and note that the bottom of the ribbons are random and staggered and some are cut at an angle or dove-tailed (is that what it’s called or did I make that up?). I went with the keep-it-casual approach.
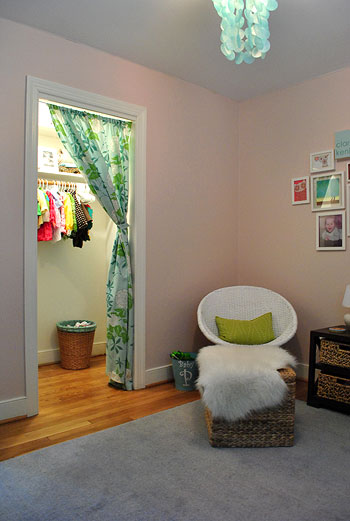
As for how it looks from the rest of the room, I love how it just sort of peeks out from behind the curtain like her bright little dresses. So you don’t really know what’s going on until you get closer…
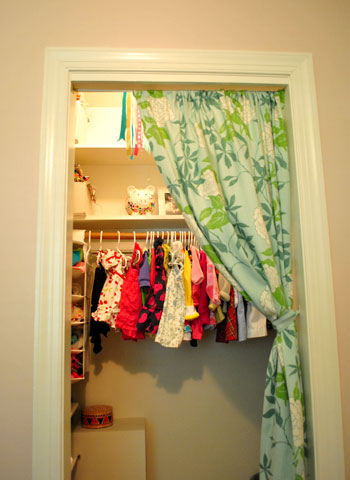
… and peer up to see those fun little ribbons.
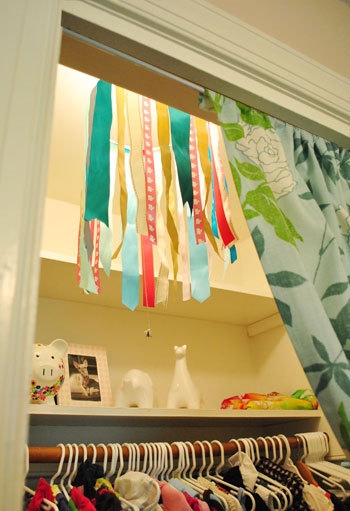
So there you have it. A $2 project that the ceramic animals in Clara’s closet get to enjoy (they’re up there because they’re breakable and now that Clara is toddling around they were in constant peril on her dresser and side table- so up they went. And yes, that’s a framed photo of Burger. Clara’s quite fond of him.

Oh and when I showed John he said “how’s it hanging?” and I said “har-har very funny” and he said “no, I’m asking you a question- how is it hanging from the ceiling?” and I explained it while trying not to wet myself. Maybe you had to be there though.
Anyone else making things out of ribbon? Or dressing up a bare bulb in another way? Tell $herdog all about it.
Psst- Don’t burn your house down! Many lamp shades are made from fabric and paper, so ribbon is cool. Just make sure it’s not even close to the bulb (and definitely not pressing against it). Our 10″ hoop offered lots of space for the heat to escape, and using CFLs helps too since they burn cooler than the regular guys. In some places exposed bulbs in closets aren’t even to code (glass domes are recommended, which could still be covered with a fun little ribbon chandy to dress them up).

Sarah says
Love this idea and am thinking about using it in our extra, extra (I know I said extra twice) :), basement bedroom that is very boy themed. Any ideas on how to make it less girly?
PS you are hilarious!
YoungHouseLove says
There are some awesome ideas in these comments about making a boy one! Someone mentioned little man neckties, or just ribbon or fabric that feels more masculine like a tie. Or even using darker ribbon with skulls or baseballs or whatever feels boy-ish on it. Chocolate and navy ribbon with a red striped one might be cool and nautical/boy-ish. Oh and a cool masculine pull cord like a chunky metal chain could be really fun if it’s a pull light!
xo,
s
Angela L. says
love the straightner suggestion :) :) and will be making this ribbon “bulb hider” soon! ;)
Lindsay says
So stinkin CUTE!! Love this idea, it is so playful and fun. I am definetely going to try to make one over here (we live in Korea). By the way, do you know of any craft stores that will ship overseas?! I want to do this project, but don’t know where I’d find that wire loop here…boo. Anyway, thanks for sharing!!
YoungHouseLove says
Hmm, maybe try amazon.com or eBay? Anyone know of a craft store that ships to Korea?
xo,
s
Kimberly in So Cal says
Love the chandy ~ I have extra ribbons and hoops and will have to make one of these soon. BTW, after a stuffed animal tossing / cfl bulb breaking incident in my boys’ room I will never put a CFL where a child can break it. The mercury makes it hazardous waste (and dangerous to boot). Here is the EPA page on it ~ try not to cringe. (http://www.epa.gov/cfl/cflcleanup.html) All the work wasn’t the issue, either (although it’s a lot of work); worse is the potential harm to the child(ren). I’m passing this on because I certainly never knew. My boys have incandescents in their room now; they use more energy but they are much safer. Hopefully LEDs will come down in price soon.
YoungHouseLove says
Thanks so much for the tip! We’ll have to look into LEDs!
xo,
s
Courtney Mora-Ludwig says
I tied blue and green ribbons on to the ends of the ceiling fan blades in my Twins’ bedroom. I gave them the bigger room only because of that fan. They loved looking at them when we moved in (Oct 2010 – 8 months old) and they still like to see the ribbons fly around (18 months old on Monday). I have seen things online where you can actually have a little stuffed toy (plan/car/bear) hang from the ends of the blades so they fly when the fan is turned on. For now, I will stick to the ribbons but I might try some cars soon…
YoungHouseLove says
That’s so cute! I bet Clara would love to look at that!
xo,
s
Olivia says
what an adorable and easy idea!!! Love it :)
Rochelle says
Can you provide the color and brand of the paint you used in this bedroom? Thanks! Love your site! :-)
YoungHouseLove says
We used Proposal by Benjamin Moore’s Affinity Line (color matched to Olympic No-VOC paint). Hope it helps!
xo,
s
Val says
Love your blog. In fact I check it pretty much daily. So I make this request with all due respect: please, please, please don’t use the word (if it even is a word) “chandy”. It actually make me dizzy, and not in a good way. For what it’s worth, my husband agrees and have an even more severe reaction to that word. I read it aloud and he visible shuddered.
YoungHouseLove says
Haha, guilty as charged. Other odd words that sneak in (sometimes a bit too much): swanky, super, sweeeet, holla, woot, and woo to the hoo. I’ve even said kitch in lieu of kitchen and prezzies in lieu of presents once or twice. Sometimes I just can’t help myself.
xo,
s
Chrystal says
I love this idea! :)
Erin says
i was reading more of the comments about flat irons and wanted to share that i use them to iron the satin ribbons that tie around my waist for my maternity tops. It’s a synch and takes no time at all!
sylvia says
i can appreciate someone who gets as excited about little projects as i do… i used two colours and widths of pink ribbon to fancy up some hanging wire pantry shelves on the back of the basement door. it’s always open so i figure i may as well hate the view less!
Nikki Kelly says
Yes!! I made a ribbon chandy just last month. I could make one every day…. but then I would have no where to put them. Here:
http://feedproxy.google.com/~r/TheAmbitiousProcrastinator/~3/A_aYG9uD_Dc/fancy-schmancy-chandelier-completed.html
YoungHouseLove says
Fancy schmancy is right! So cute.
xo,
s
Kathleen says
I love it! The wrinkles give it character along with the uneven length and variety of edges. Also, I save ribbon from everything too! I’m crafty, or cheap, like that.
Julie says
Hey guys, I love the ribbon chandelier! I don’t know if anyone else has posted this, but are you sure it’s fire safe? The bulb really should have a dome over it to protect the ribbons from the heat of the bulb. When we moved into our house our inspector had a fit about the naked bulbs in our closets, and how much of a fire hazard they are. Just trying to keep you guys safe. :)
YoungHouseLove says
Thanks for the warning! Check out the note at the bottom of the post- it must be a regional thing (our house inspector didn’t mention anything about the bare closet bulbs) but we definitely plan to add glass covers to all of them just to be even safer!
xo,
s
sarah says
Love it! Working on making one myself today thanks to the urging from your Pinterest challenge:)
Question- I am wondering if its safe to put around a light we leave on each night, all night? We use a CFL and I chose a 10 inch diameter hoop as well. But I wonder if I should change the bulb to one that’s cool to the touch? I just tested my CFL’s by leaving them on for one hour( a fraction of the time the closet light would normally be on) and it was by no means cool at the one hour mark.
YoungHouseLove says
Oh yes- I would change it to something cool to the touch just in case if you can. Most super hot bulbs can be placed within a paper or fabric lamp shade that’s smaller than 10″, but it never hurts to be a bit more careful since the ribbons can blow around a bit or something.
xo,
s
Twila Mooneyham says
Shouldn’t really need to IRON it…just try lightly misting the ribbons with water and then hang to dry…a LOT of the wrinkles should fall right out…
YoungHouseLove says
I might just try that! Thanks for the tip!
xo,
s
Carrie Y says
You should try a straightener to “iron” the ribbons. They work great for those odd jobs!
heather says
HI $herdog! ;)
Thanks to your ‘ribbony goodness’ I was inspired to create this for my Big Girl’s 6th birthday surprise room re-do! :) She loves it! I blogged about it here: http://www.pinfluence.com/2011/10/26/diy-ribbon-chandelier/
Thanks for the idea & tutorial that made it easy enough for ME to do it! ;)
Heather
YoungHouseLove says
So sweet!
xo,
s
Jamie Howe says
Great project to use up some old ribbon!! And perfect to do with my 8 year old – instant gratification for her creative and impatient soul!