I’ve been so excited to show you Teresa and Andrew’s kitchen makeover. They’re some of our closest friends who live right around the corner from us, and ever since we filmed this bookcase styling time-lapse video in their living room, I’ve been not-so-patiently waiting for their new appliances to arrive so we could share a big ol’ virtual kitchen tour with you guys.
Not only do they have amazing style, they also made SO MANY budget-friendly choices in this kitchen and I really hope they help to demonstrate that you can often work with a lot more than you might think (you don’t always have to scrap everything and start over!). And you can save a bunch of money doing that! Plus I get to share my trick for refreshing old wood cabinet doors so they look like new for just a few bucks – and I even caught the magic on video – so that’s in this post for you too.
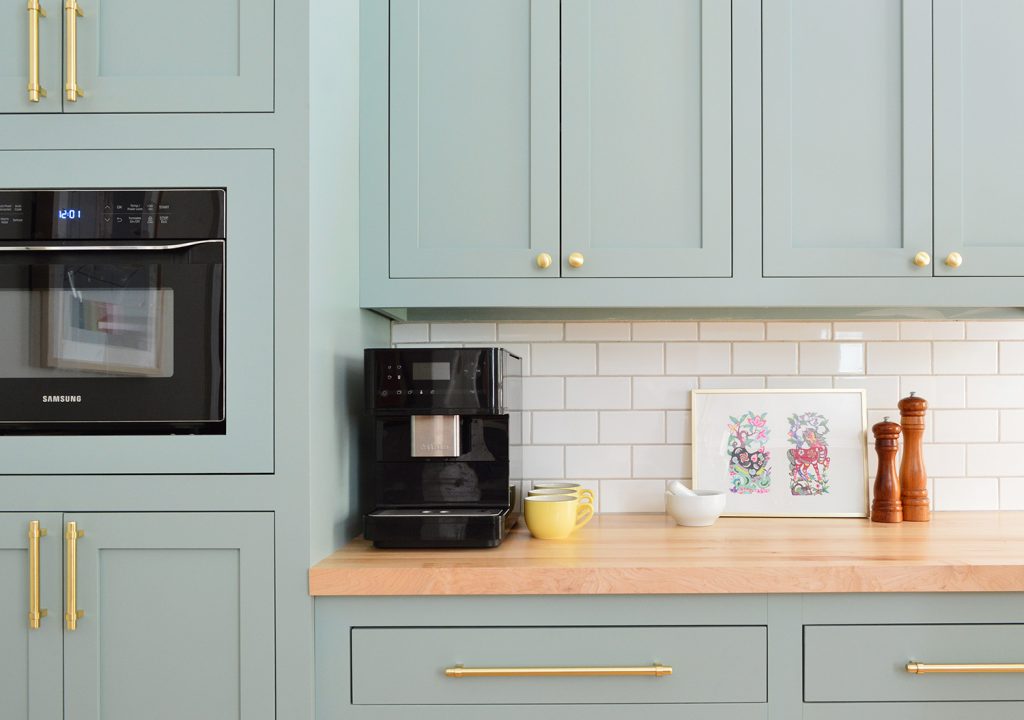
Beyond just being good eye candy, I love that they made a series of bold choices in here (hello colorful painted cabinets and big brass pulls!) and it still shocks me how much of the original kitchen they were able to use as a springboard for their new space.
If you stare at the photo below, I bet you’ll guess that at least 2 things that are original to this space are new things that they added – but they didn’t! Let’s see if I’m right.
Here’s the “before” photo from the real estate listing when they bought the house six years ago. Note the soapstone counters. Note the subway tile backsplash! The layout! The island! The big double window over the sink! EVEN THE CABINET COLOR! All of those elements stayed exactly the same.

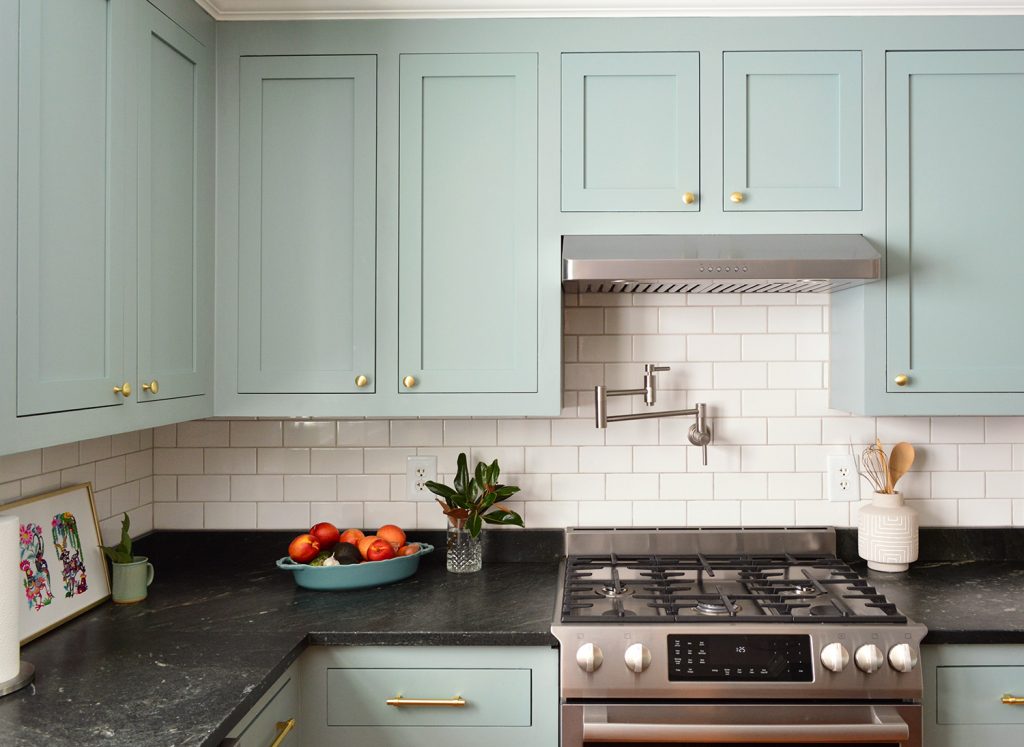
And now – thanks to some strategic upgrades like new appliances, new lighting, new wall paint, and new cabinet doors (but not entirely new cabinets!), here is the after. I’ll wait while you scroll back and forth a few times.
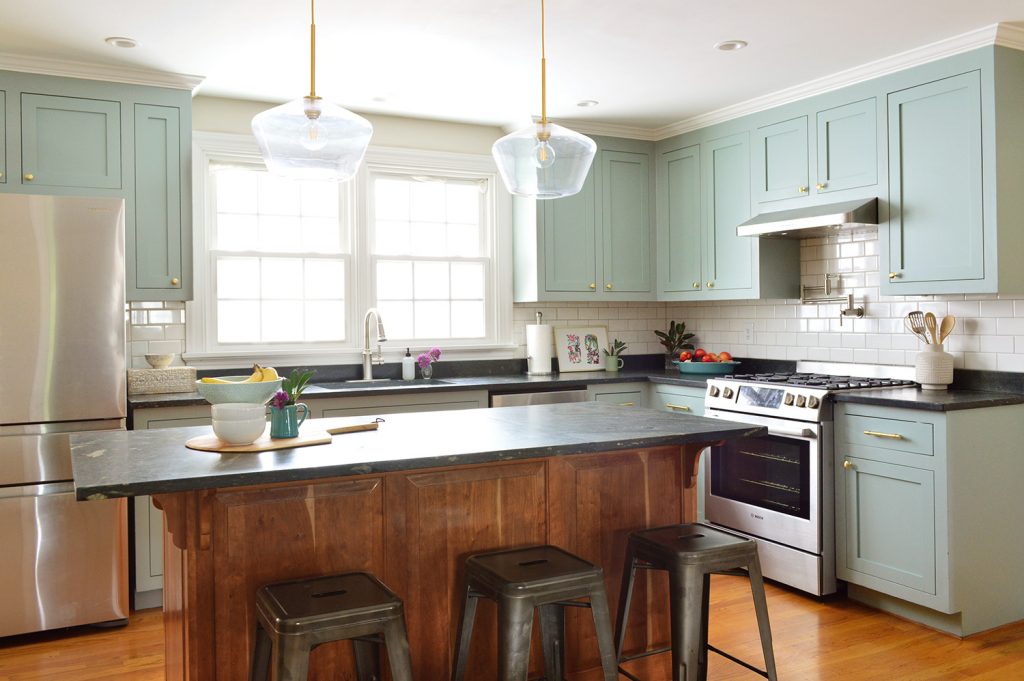
The first genius choice that Teresa and Andrew made was hiring a local cabinet maker to create new inset doors for their existing cabinet boxes. That decision saved them the expense of gutting the room and buying fully new cabinets (they got a few quotes for new cabinets, but then realized they could just update the doors and save over 50%!) AND it also meant that they didn’t have to rip out and replace their counters, sink, or backsplash in the process.
Those can all be pricey line items in a typical kitchen renovation, and since Teresa and Andrew had inherited great materials from the previous owner (soapstone! subway tile!) it was a win-win to work with them. I’m sure that not everyone looking at that before picture would “see the vision,” so I love that they went with their gut and kept so much! And the outcome is SO GOOD. Here’s that before shot again for reference:

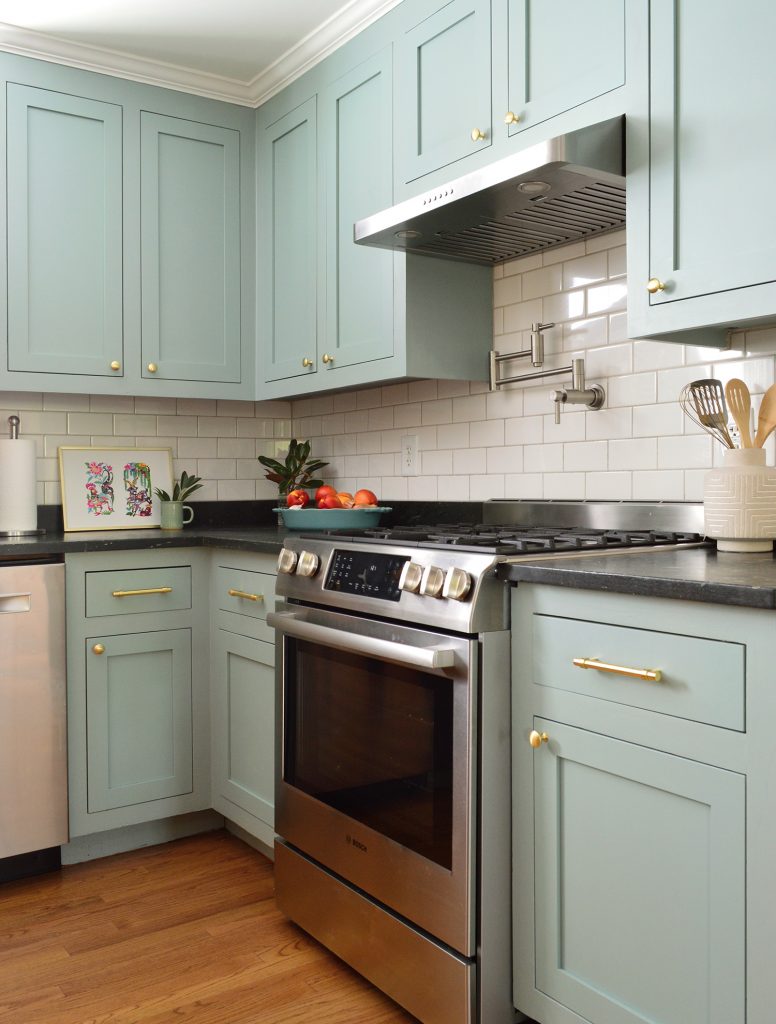
By eliminating new cabinet boxes, new counters, a new kitchen sink, and an entirely new backsplash from their overall budget, they also got to focus their dollars on other kitchen upgrades that were important to them. Andrew’s a great cook who always wanted a nice gas stove, so he was able to put more of their kitchen budget towards stuff like a new gas range and a pot filler. He was even able to match the existing subway tile and grout color to extend the backsplash up where the over-the-range microwave used to be. You’d never guess that small area is new and the rest is original tile.
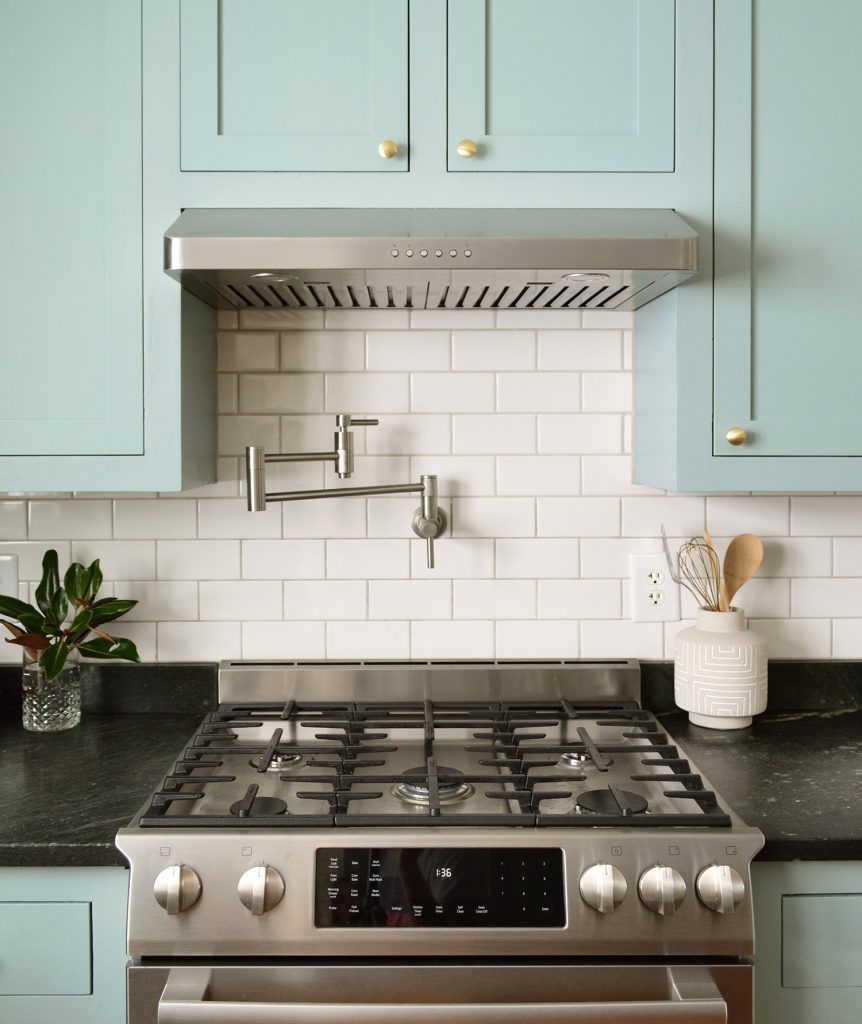
Did I mention they did all of their own cabinet box painting and additional tile installation themselves to help save even more of the budget? (here’s a tutorial for how to paint kitchen cabinets and how to install a subway tile backsplash if you want to tackle that too).
But I haven’t even shown you my favorite part of this room’s transformation yet. BRACE YOURSELVES, and please turn your attention to their new pantry / coffee station / drop zone on the left side of the room:
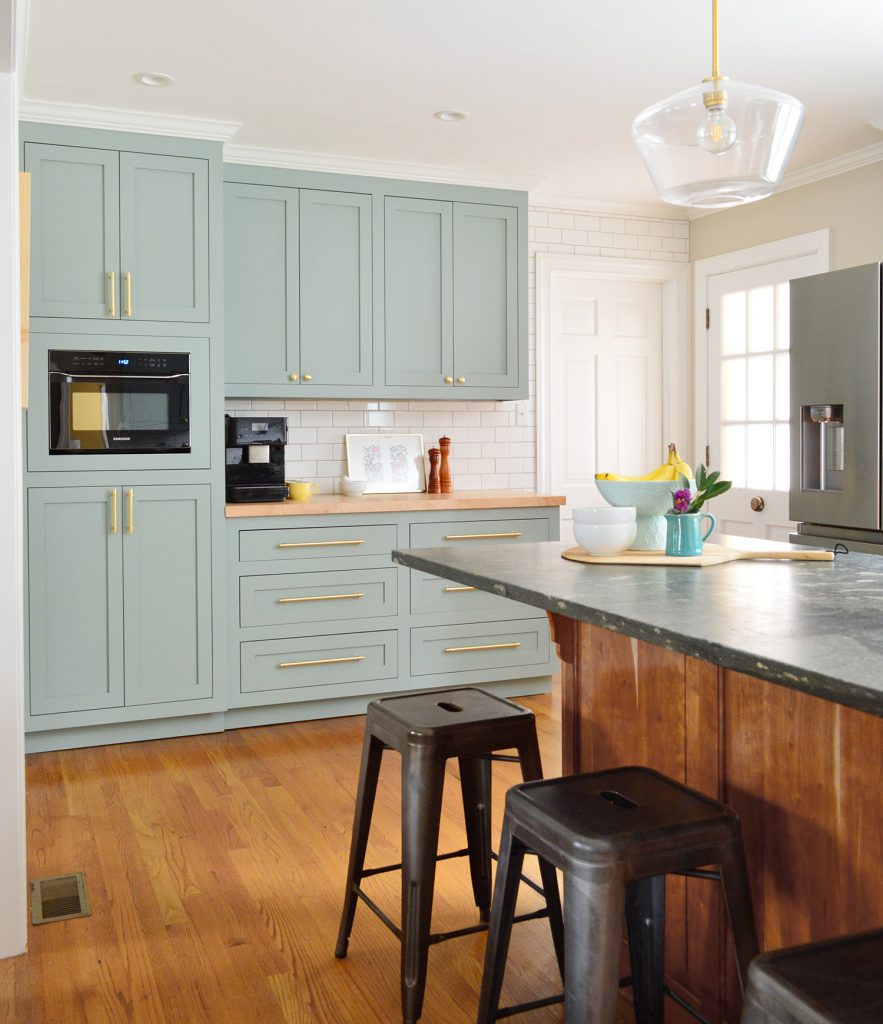
Believe it or not, this wall used to look like this. I’ll wait while you get your scroll on. It’s pretty amazing.
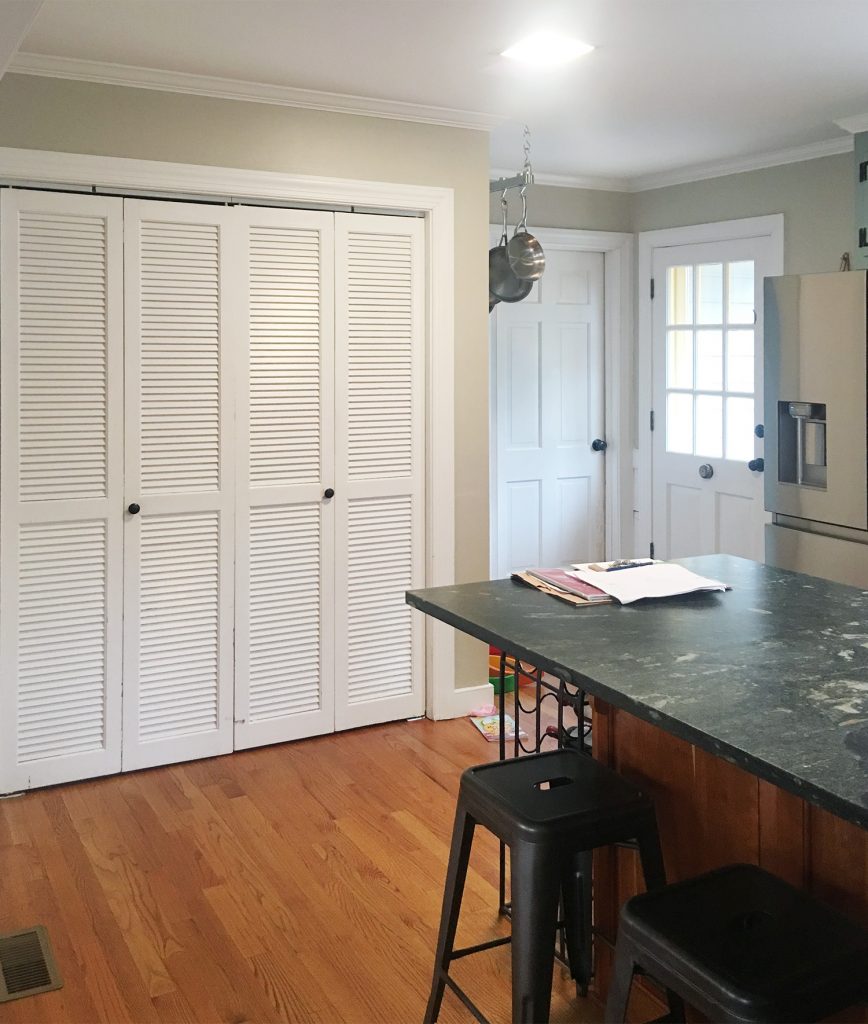
Their washer & dryer used to be shoved behind those bi-fold doors, and they always dreamed of moving them upstairs and creating more kitchen storage and usable space in that area. It didn’t happen right away (remember, they moved in 6 years ago), but earlier this year they were able to have them moved upstairs, closer to the bedrooms… meaning that this corner of the kitchen was freed up to become more open and functional!
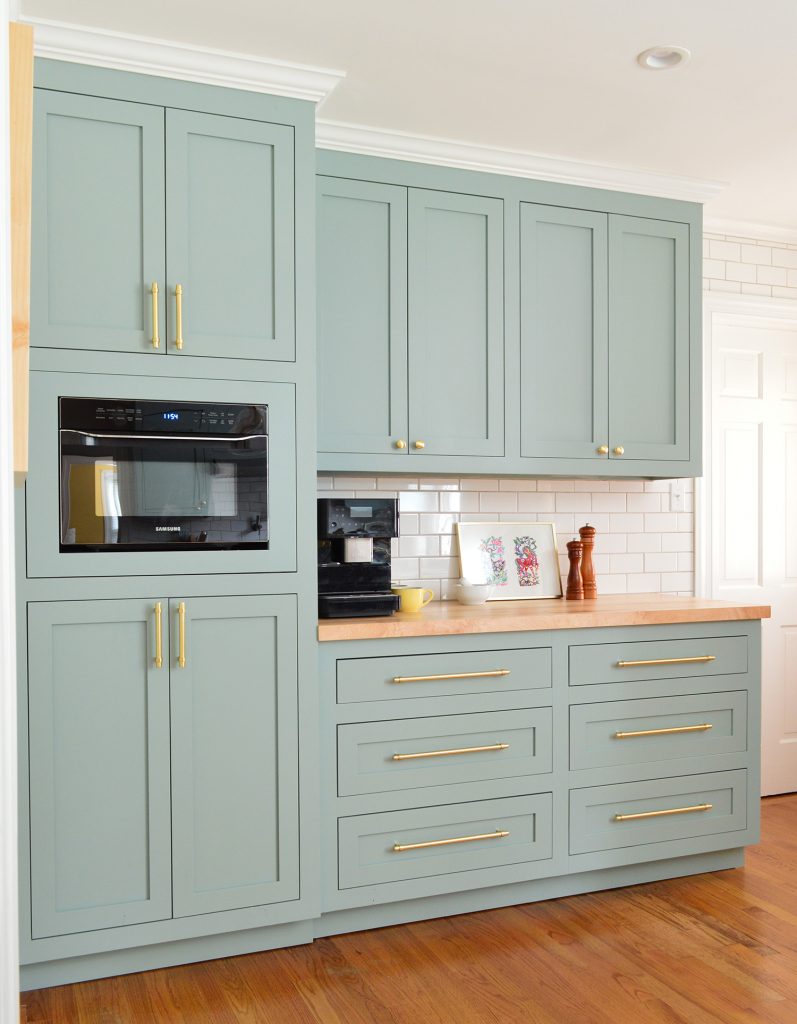
They found an awesome local cabinet maker after seeing my friend Carey’s rental kitchen (where she used the same guy to save her old cabinet boxes and replace the fronts). It was such a smart move because he’s a total artist! Not only did he build all of the new cabinet boxes and fronts in this corner to match the rest of the room – since he also replaced the doors on the other side, he could make everything look perfectly matched. Every last cabinet looks new and fresh – even though more than half of them aren’t!

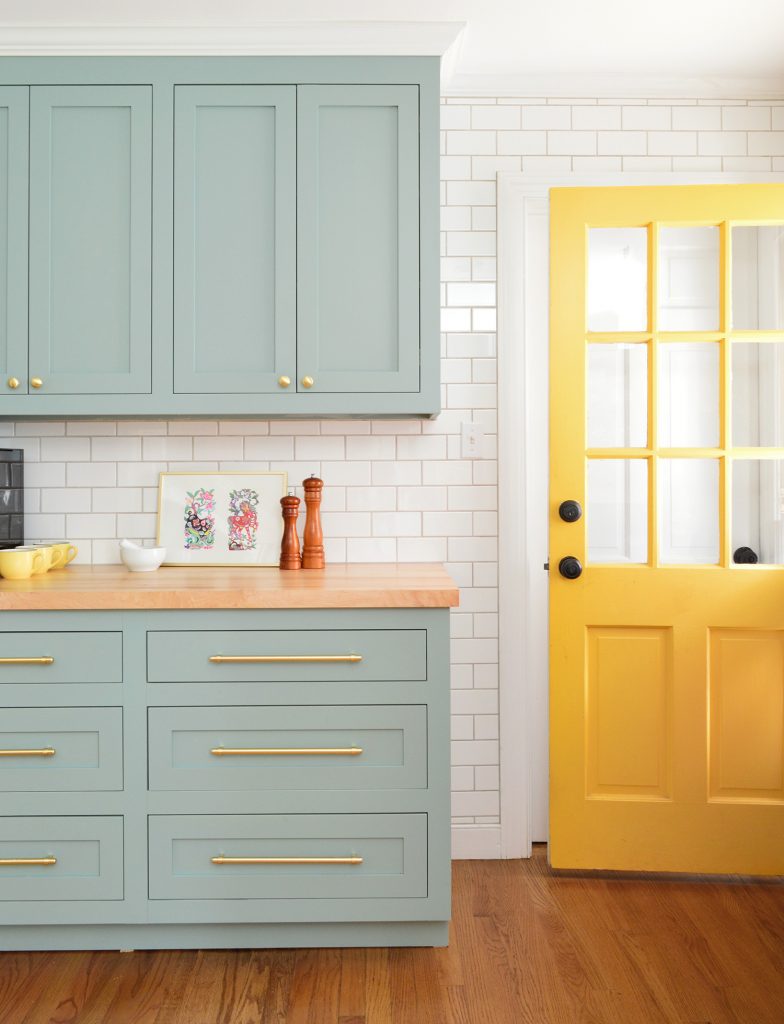
As I mentioned, to save money Teresa and Andrew color-matched the existing cabinets and painted all of the cabinet boxes themselves, and their cabinet guy sprayed all the doors (FYI, I brought over about 10,000 color decks and like the true paint detective that I am, was able to determine that this exact color is Sherwin-Williams Halcyon Green. So if you’re looking to duplicate this look, that’s the color… and it’s GOOD. Even better in person since photos can never capture the real feeling of something as well as standing right in front of it and seeing it at different times of day. It has a ton of depth and dimension.
To save the cost of buying new soapstone counters for this new corner area, they installed some simple butcher block instead, and then DIYed the matching subway tile backsplash. They even bargain hunted a fancy Miele coffee maker (Andrew found a broken secondhand one and repaired it himself!).
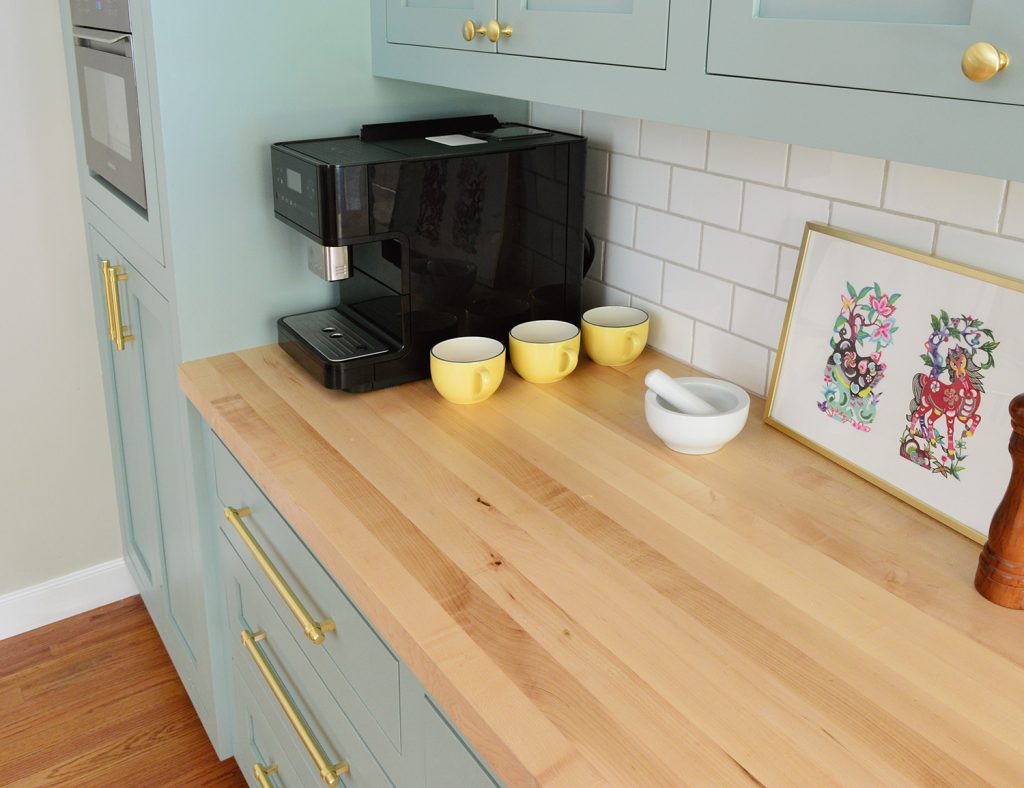
I’m not going to pretend that having your laundry appliances replumbed upstairs and getting custom cabinets built is a super quick and cheap endeavor – but spending 50% less than they would have spent if they gutted their original cabinets is a brilliant budget saver! And I can’t get over how many OTHER expensive line items they were able to dodge because they reused what they already had (existing floors, same exact kitchen island, original counters, same backsplash, same sink – even the same cabinet color).
And not to dwell, but let’s revisit the cabinet color for a second. The previous owner had paired it with bright red walls, but the minute Teresa & Andrew repainted them a more subtle gray (Benjamin Moore’s Revere Pewter) it allowed those awesome green cabinets to shine. Let the record state that I, Sherry “Love A White Kitchen” Petersik absolutely lives for these cabinets. Like I’m actively like “should I repaint my kitchen island this color?” It’s interesting but not wacky, moody but not dark, cheerful but not saccharine. It’s basically the G.O.A.T. cabinet color in my book. And I can’t get over that it was always there!
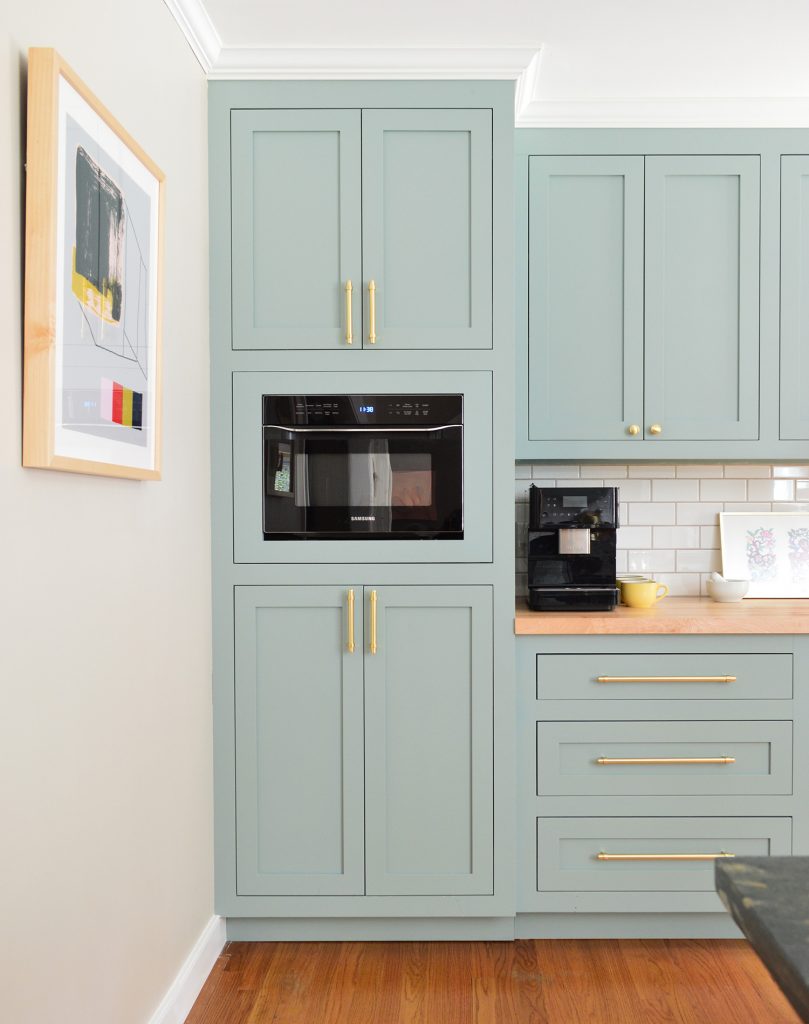
Let’s just take one more look back at where they’ve been, shall we?
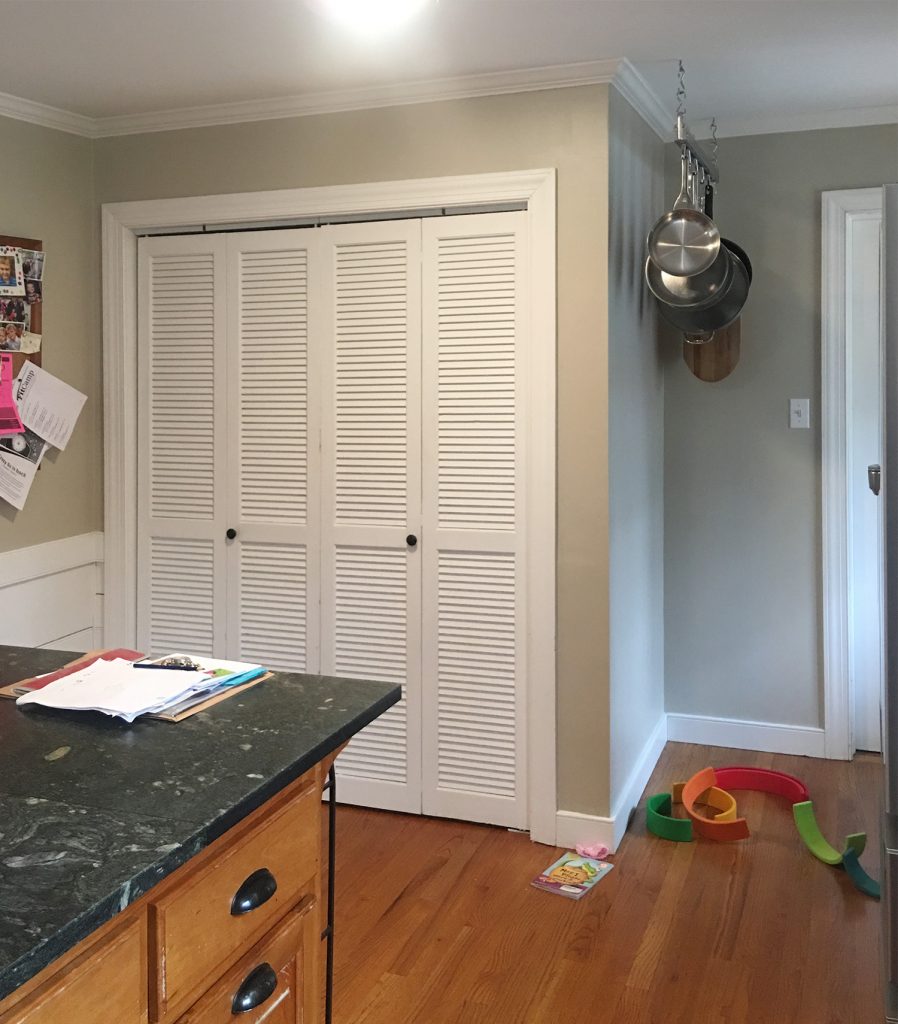
CAN YOU EVEN?! I CANNOT.
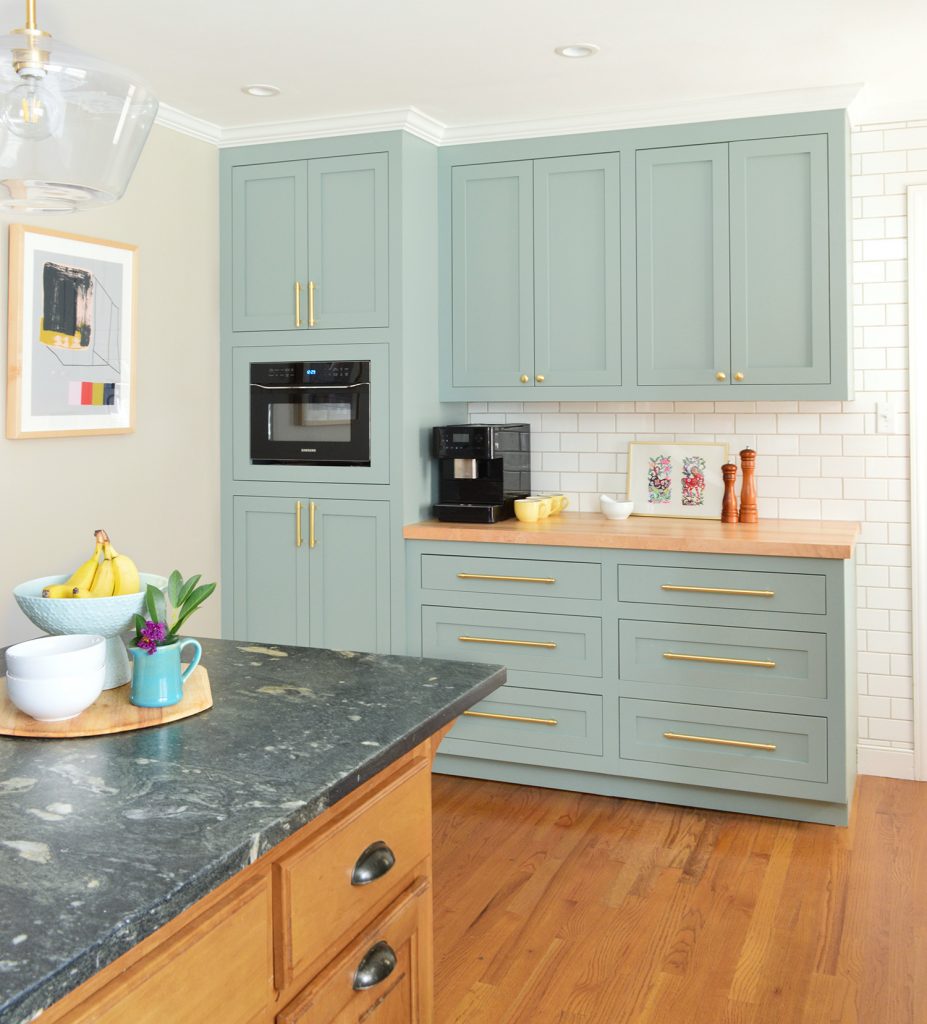
Let’s talk about the island for a second. This is one element they didn’t touch AT ALL. You might say that they lucked into the fact that mixing in contrasting wood cabinets is so hot right now, but a wood island is always a classic in my book. This one was showing some wear and tear though (the finish was starting to look scratched and dry in some areas that had gotten heavy use), to the point that Teresa worried that it would look bad for her big kitchen reveal. I texted her a series of ridiculous gifs and told her not to fret. $herdog had plans. Cheap zero-dolla-make-ya-holla plans.
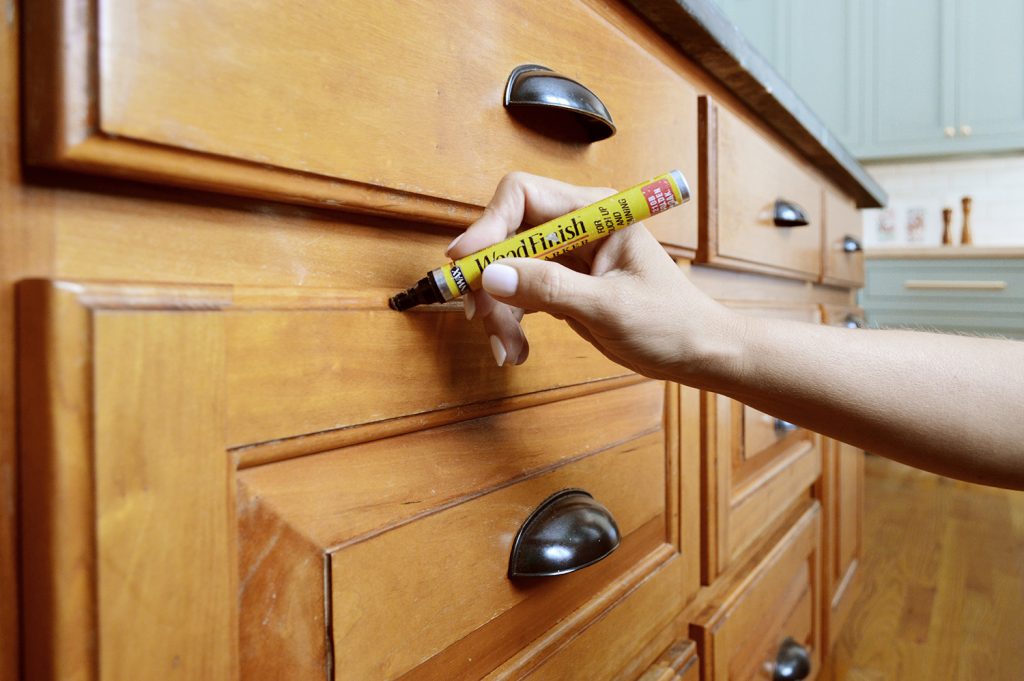
My big plan? I broke out a stain marker that I’ve had for like 5 years to show Teresa that they could look like new again with just a couple of scribbles around each drawer. I actually made a quick video so you can see exactly how fast and painless it was to freshen up these cabinets (the video shows it a lot better than any series of photos could). It literally took me around ten minutes total to refresh the entire island. I didn’t have to sand, seal, or even wipe up any excess stain (although in some cases you may need to if it doesn’t all soak up). Just use a matching tone, color over any worn spots on your cabinets or furniture or floors in the direction of the wood grain, and wipe it if there’s too much sitting on top (no worries if it all soaks in). Then let it dry. That’s it.
NOTE: If you’re viewing this post in a feed reader you may need to click through to see the video. You can also watch it here on YouTube.
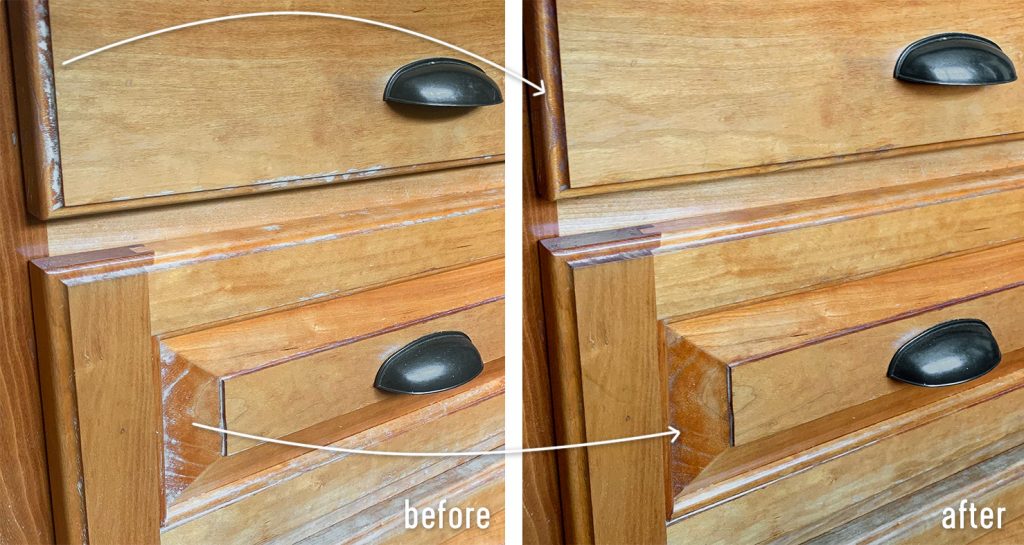
I used a Golden Oak colored marker (the brand name has changed to Varathane on these now – remember I told you this stain marker is like five years old – so don’t worry about hunting down a Minwax one). The color doesn’t have to be exact, so don’t panic if you don’t know the precise stain color of your furniture. You just want to get something close enough that it’ll blend. You can actually buy a multi-pack of various shades for the same price as one marker if you want to have some options. Here’s a little side-by-side of the magic it worked on Teresa and Andrew’s island (but seriously watch the video, it shows it better and you can see how I apply it too).
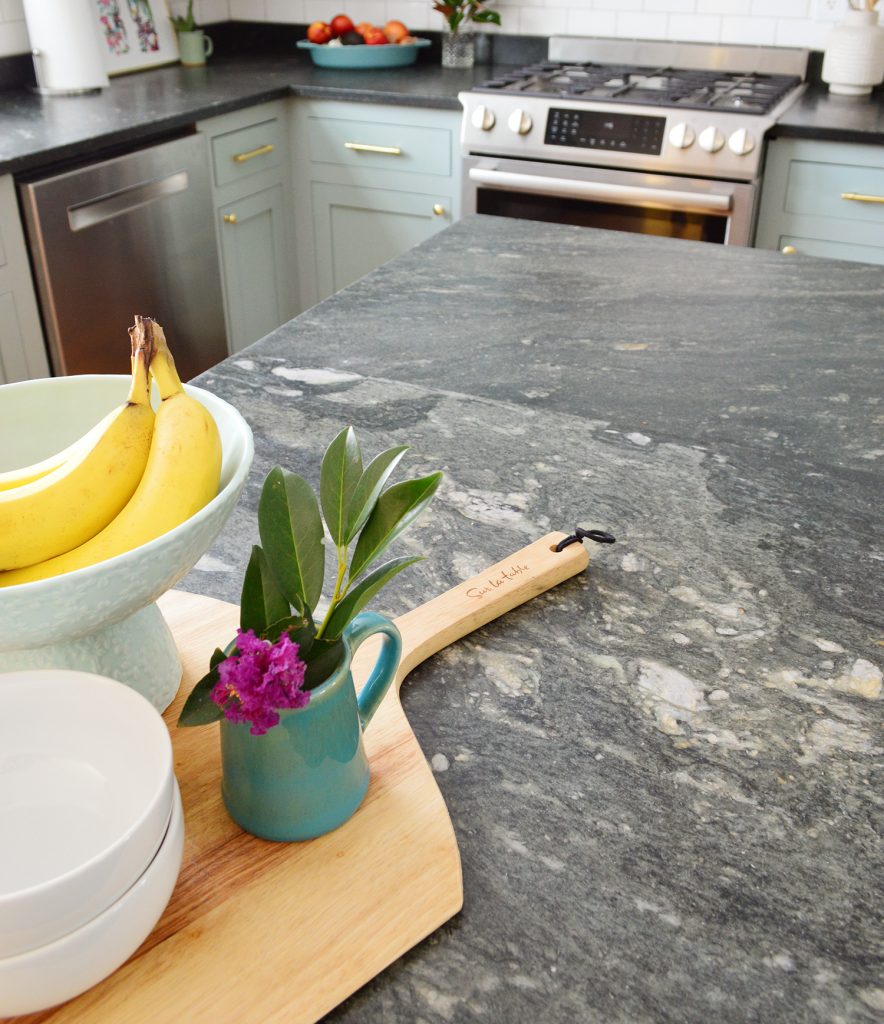
Lastly, a quick note about the soapstone counters because we’ve never had them and I know some people fear the maintenance of them. Teresa reports that they did have to get used to how soft it was (it can easily scratch it with a fork or knife or even the lid of a jar) but they’ve grown to enjoy the patina that adds, rather than fight it. They do try to oil it about once a month, which fills any scratch or ding, and they typically rotate between two products: this Boo’s Mystery Oil and this Soapstone Sealer.
So that’s the kitchen, folks. Can you see why I’m crazy in love with it? Coming off of the beach house and duplex kitchens (which required down-to-the-studs renos to fully update the old electrical and plumbing as well as reinforce the walls and floor so it was all safe and to code) it was INCREDIBLY CHARMING AND REFRESHING to watch Teresa and Andrew’s makeover – not only the result, but also the way they got there.
If you liked this tour, you might want to check out:
- Our friend Carey and Jordan’s rental renovation (they used the same cabinet maker for a similar budget-friendly refresh!)
- How To Paint Your Kitchen Cabinets
- How To Install A Subway Tile Backsplash
- Tips For Installing Your Own Ikea Cabinets
- Carey and Jordan’s whole house makeover
- This jaw-dropping historic house renovation
- …and anything else in our House Crashing category!
*This post contains affiliate links*
