BRB, just changing the name of this blog to “Solving Problems With Plants.” And I know we promised a huge pool post, but the pool is still very much in progress. Hopefully it’ll be done next month and we can write one big breakdown with approximately 473 photos. But back to how plants can not only hide ugly stuff, they can also offer some pretty great privacy, as we’re about to demonstrate below.
One of the things that contributes to our house being extra walkable to shops, parks, the beach, and restaurants is that it’s less like a sprawling suburban neighborhood due to the lots being a good deal smaller (you can read more about why a walkable neighborhood and a smaller house/lot really appealed to our family in this post).

It’s a similar feeling to our former beach house in Cape Charles, Virginia, which taught us that we really didn’t mind being that close to other homes. Even though the houses on each side of us there were nearly identical, which meant that many of our windows lined up perfectly (in fact from one of our upstairs bathrooms we could see into BOTH of the neighbors’ bathrooms on either side – but thanks to the magic of blinds it wasn’t an issue). You can read more about that house’s renovation here.
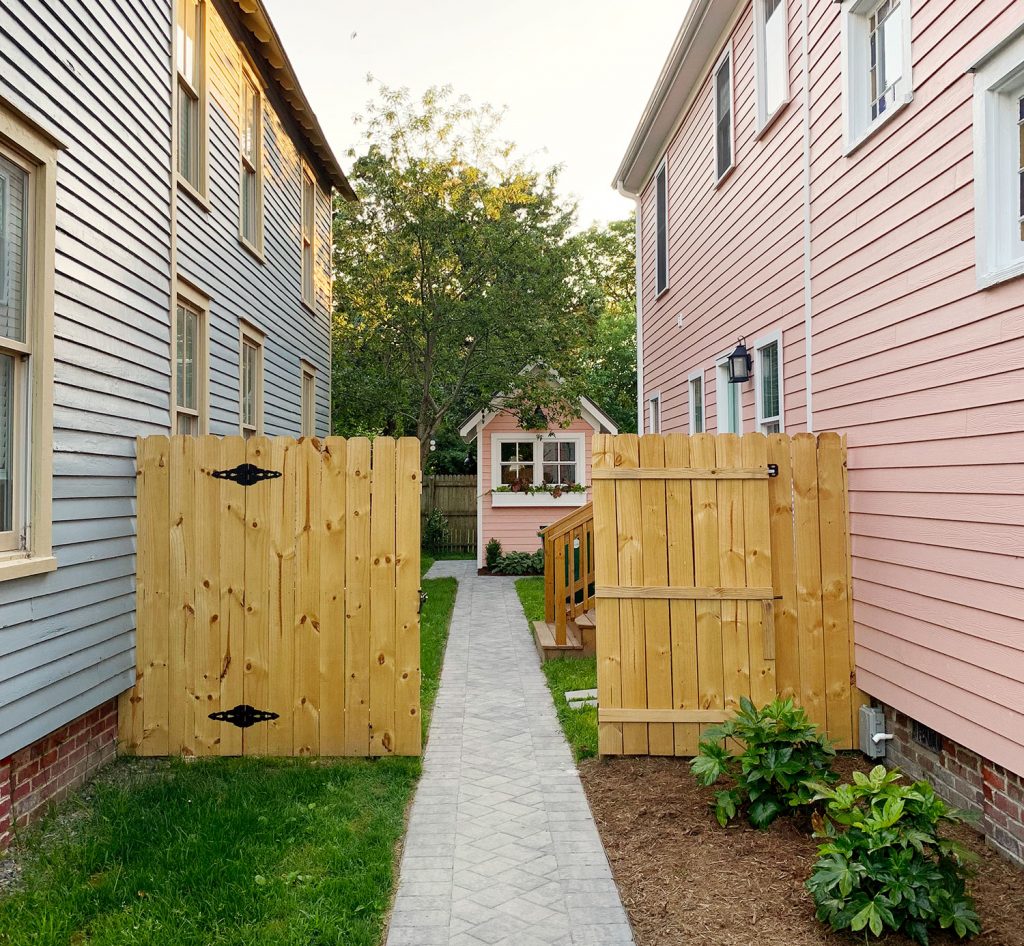
Here in Florida, our current home’s lot size is more than three times bigger than our Cape Charles lot (it’s around 4,800 square feet), but it clocks in at around eight times smaller than the one we had in Richmond (which was nearly an acre!) so it strikes a really nice balance for us. Not too much to maintain, but still roomy enough to add a pool, work in some great outdoor hangout areas, etc. And not an inch of grass to mow, which might be my favorite part. We’re also on a corner lot here, so we’re not sandwiched between two houses like our Cape Charles house was… but on this one side of the house, there’s another house that’s somewhat close:
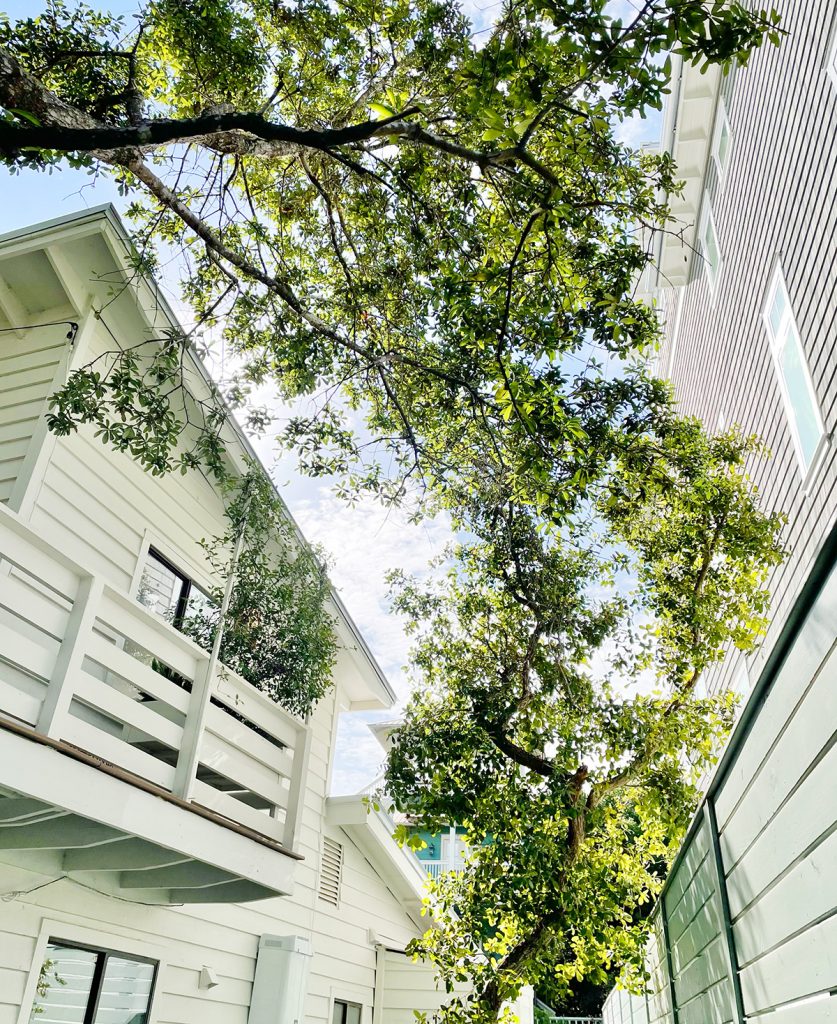
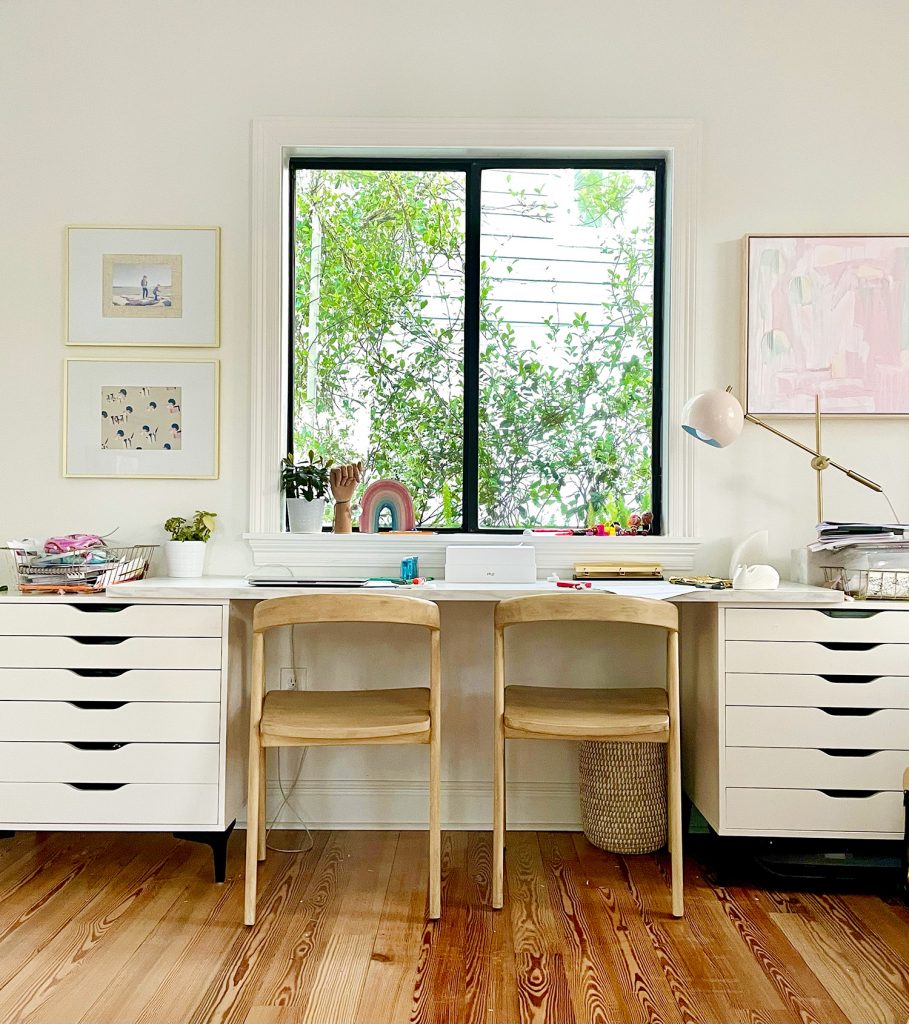
Luckily, that house doesn’t have any windows that perfectly line up with ours – and thanks to the mature trees and the privacy fence that we added, we don’t really feel like we’re ever going to be waving at each other from inside of our respective homes. In fact, after living here a while, the only spot that we felt a little more “exposed” than we wanted was one side window upstairs, above the kids’ art desk:
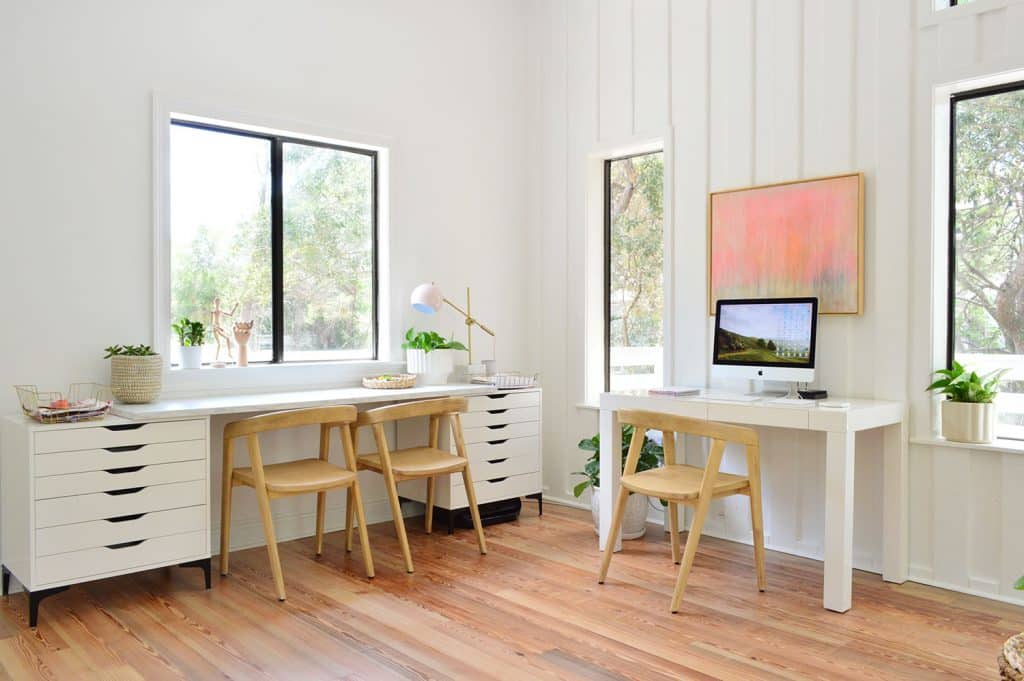
It’s hard to tell from the photo above because it blows out in the picture, but in person, the left side of the window behind those two chairs overlooked the house next door just a bit more than we’d like when you’re looking at it head-on (for example, when you’re sitting in the chairs at the art desk).
Yes, blinds could have easily done the trick, but we’ve really enjoyed NOT having blinds on these upstairs windows because the up-in-the-treees views from this room are otherwise quite beautiful, green, and secluded feeling (you can read more about this room here in this post).
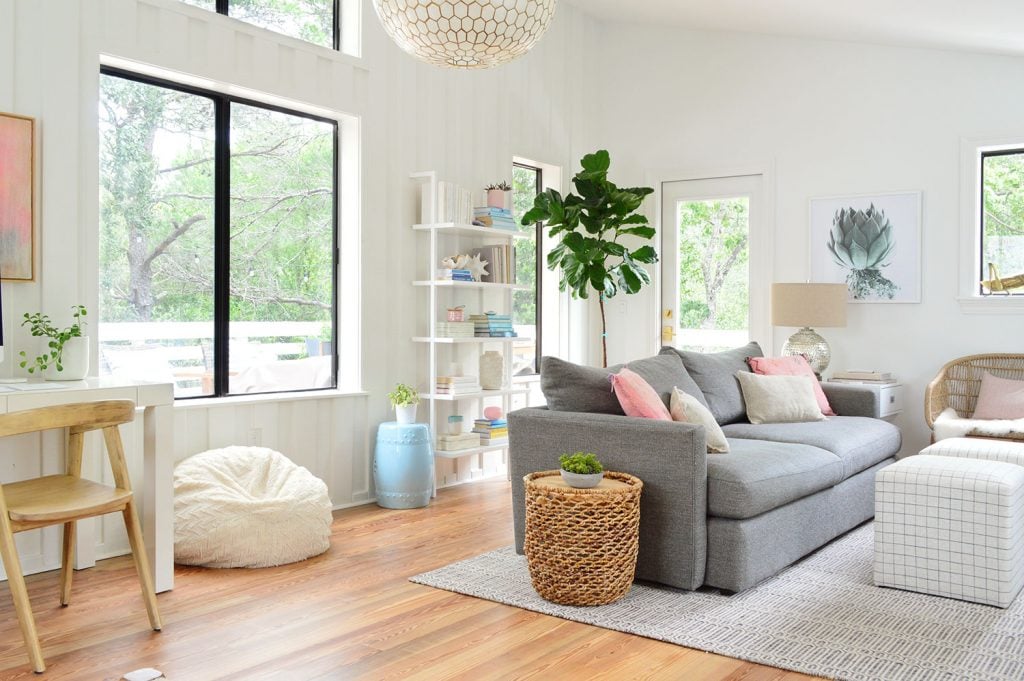
We figured there had to be a way to get that leafy enveloped feeling out this window too. So we hatched a PLAN with a capital T. What’s that spell? PLANTS!
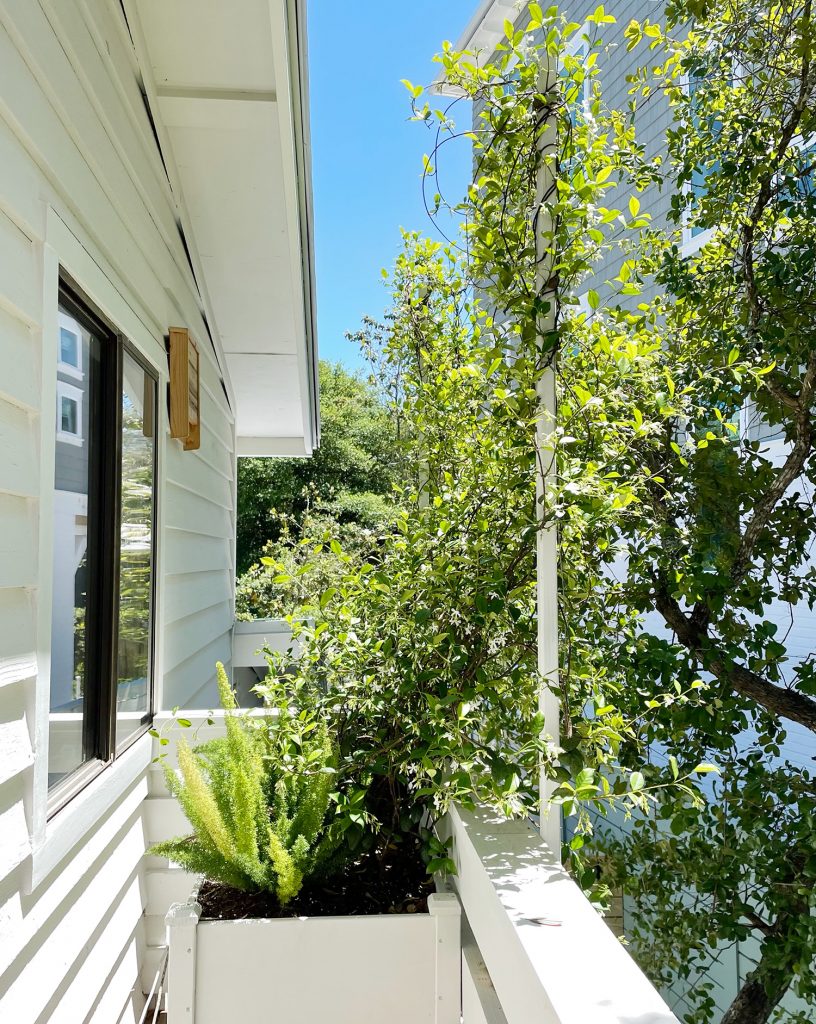
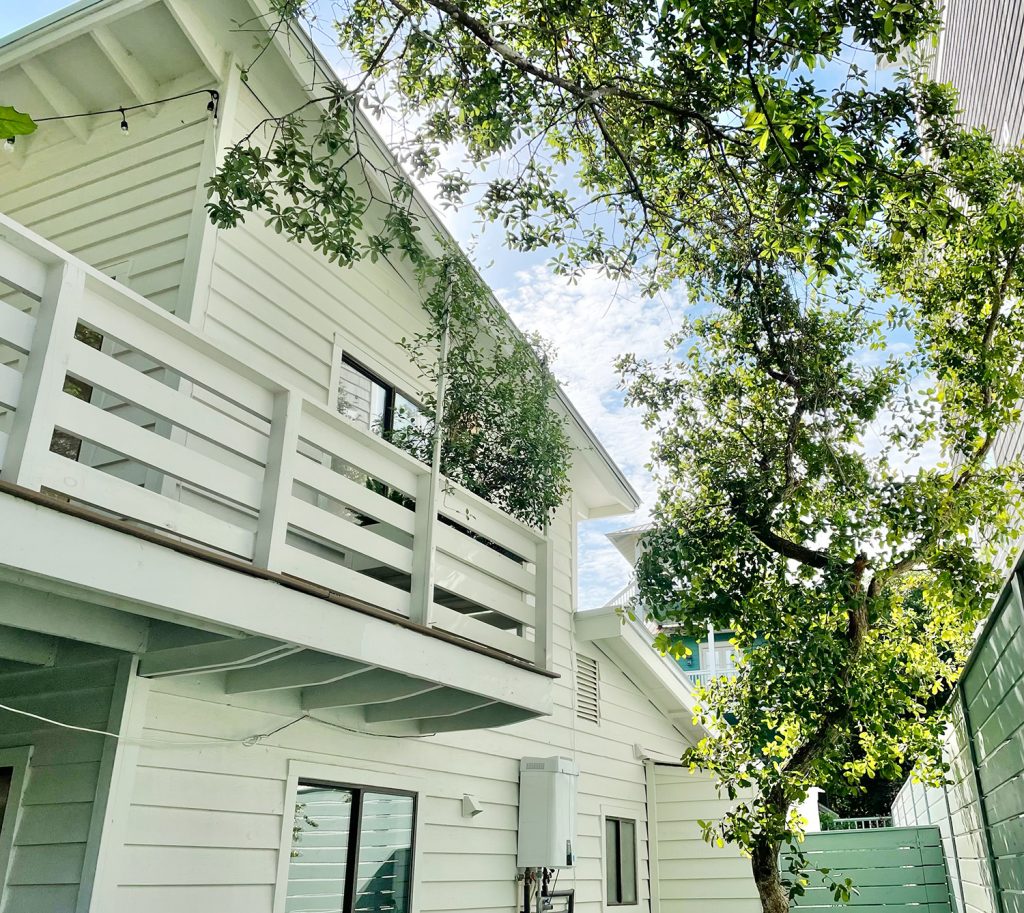
Fortunately, our deck wraps around just enough to go under this window (it literally ends right at the edge of the window, as seen below). So we used a simple raised planter box + trellis setup to create a lush wall of greenery that blocks our view of the house next door (and their view of us).
First, we bought this 48″ raised planter box (it’s on sale right now) and primed & painted it white to blend with the house.
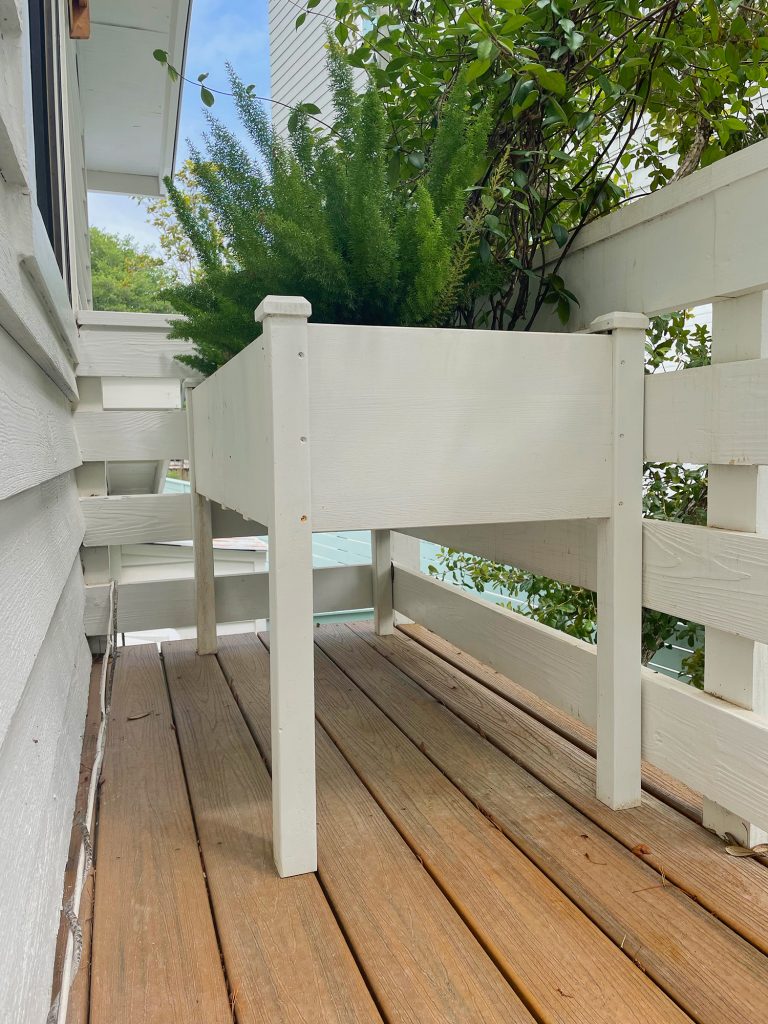
The raised planter box gave the plants a nice head start on getting them tall enough to actually create privacy, and the “trellis” was actually really simple to add too.
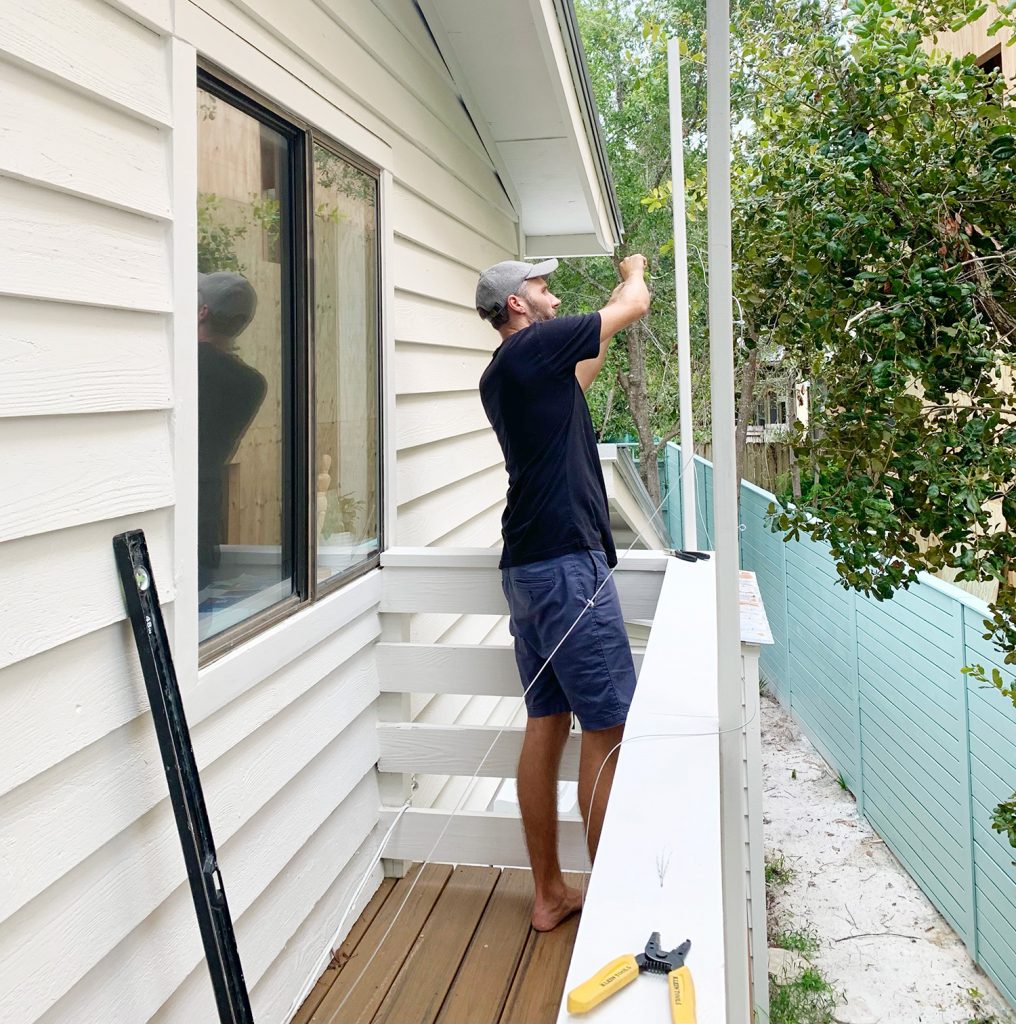
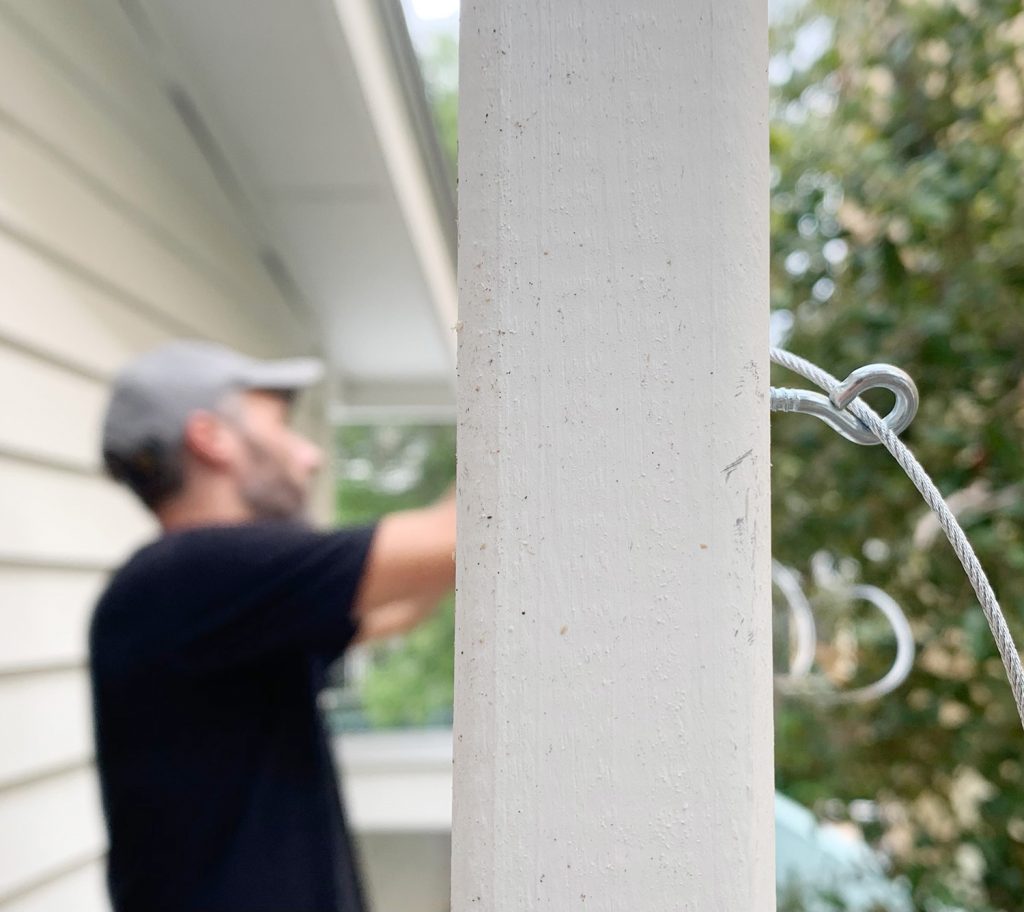
It’s just two pieces of 2×2″ lumber (also painted white) that we screwed to the outside of our deck railing. Then we just strung up some 1/16″ steel wire between the two, crisscrossing it between some evenly spaced out screw eye hooks. Sort of like a quick-and-dirty version of this wire trellis that we added at our last house.
The main difference here is that we weren’t trying to create a structured geometric pattern for the vines to follow. Our goal here was full coverage. So we just weaved the wire back and forth to create some wide X’s stacked above each other, creating a “wire ladder” of sorts to give our vining plants something to grab so they could easily grow up to the top and fill the whole thing in.
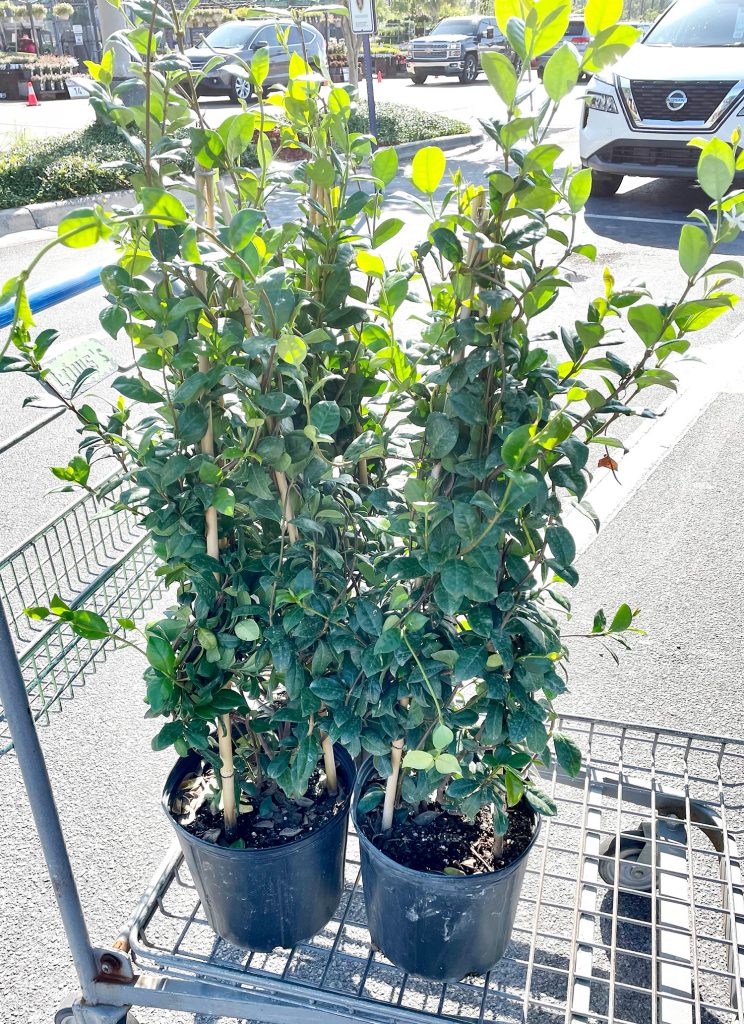
The last step was to add the stars of the show: the plants. Well, and the dirt. But who cares about dirt. The real stars are, literally, the star jasmine plants that we planted in the raised planter box, right below our freshly installed wire trellis. Jasmine does REALLY well in our area, so we knew this would be a smart bet (it’s all over everyone’s fences and pergolas and smells really good). So we just dug them in, untangled them from the stakes they came with, and gently wound them around the wire.
Then along the front of the planter box, since we still had some room we added some foxtail ferns for another layer of greenery. They also like our climate and grow to be large and full without any irrigation or high-maintenance needs, which is always a plus. To be clear, we don’t water this planter box. It just gets rain whenever that happens and it grows happily on its own, which seems to be the key for us.
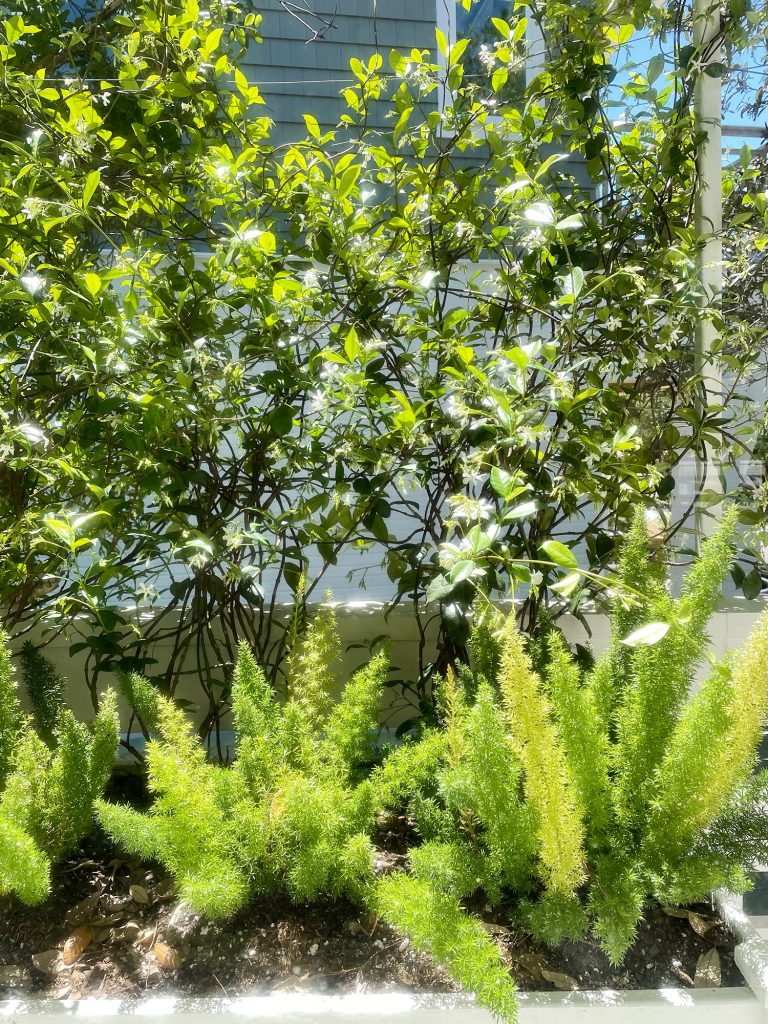
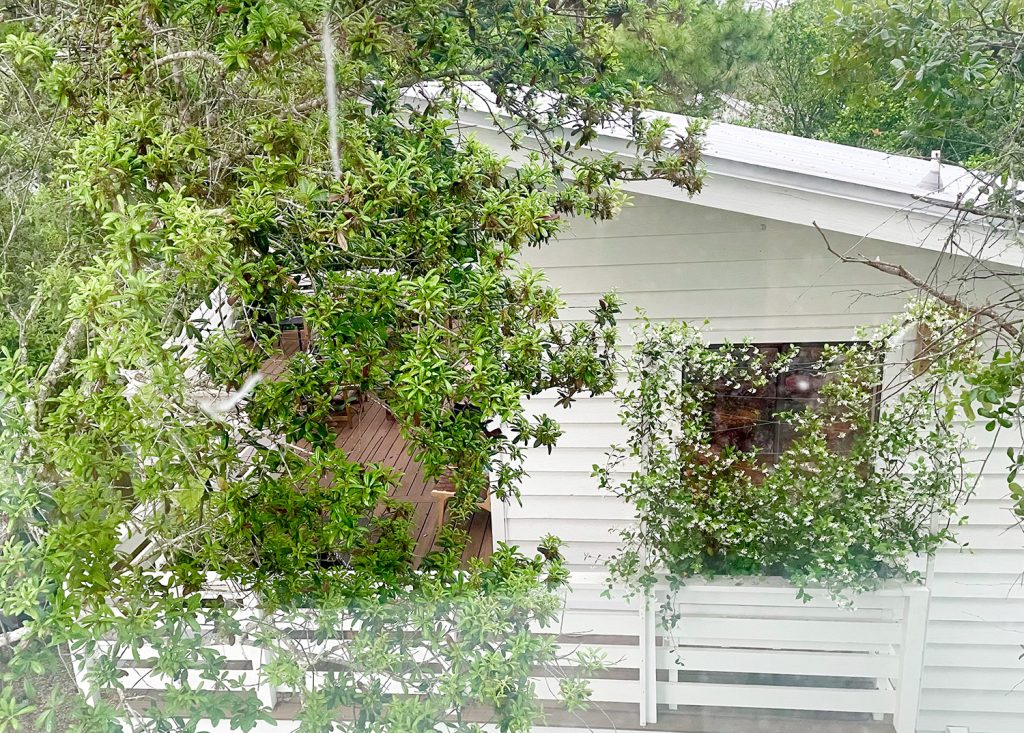
We actually planted this back in the fall and hoped for the best. And so far, so good. The jasmine is already taller than the trellis in some parts! We’re just keeping an eye on it, and occasionally we “re-route” some vines along a different part of the wire to help fill in some of the bare spots (there are a few empty zones towards the top that we’re still working on filling in).
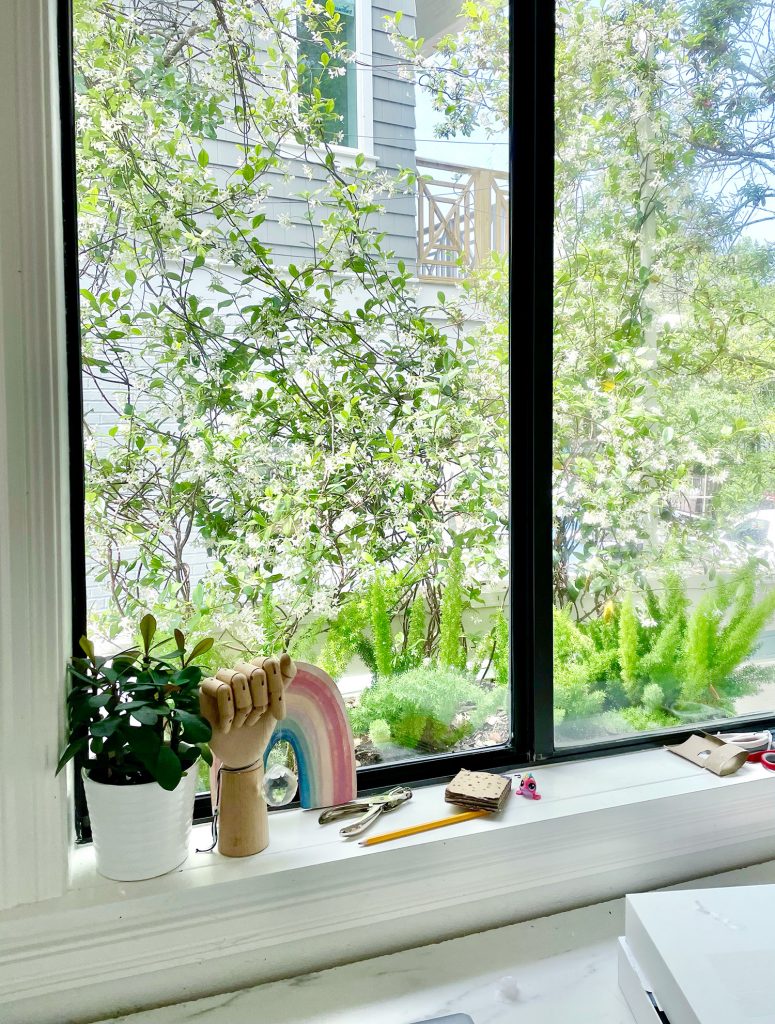
Here’s another shot of how it looks from the ground…
… and the other day we even had a chance to go inside the house next door to check things out from their vantage point (it’s under construction and we’re friendly with the builder). There are still some spots that need filling in, but it’s pretty awesome how much it already obscures that window, which used to be completely visible from this POV.
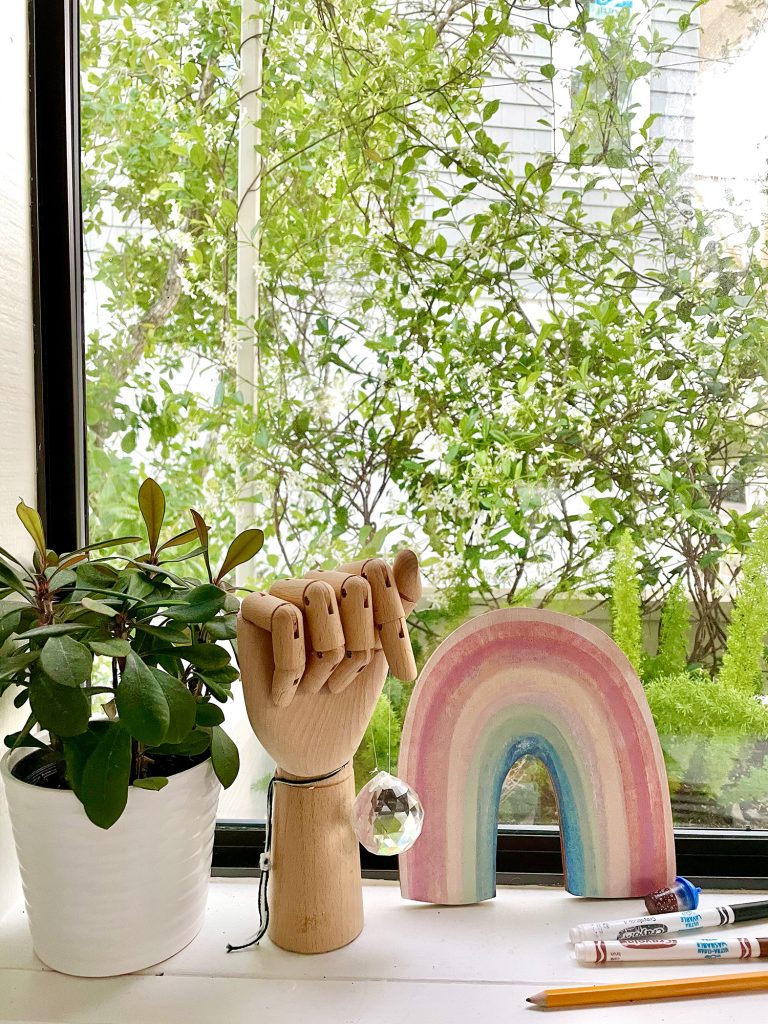
So while it’s certainly not as simple as adding a blind would have been, it only took us about an afternoon of work, and we’re thrilled that it has given us another lush view the enjoy from these upstairs windows.
And since we’re on the subject of landscaping, we thought we’d share a newer photo of the front of the house since that landscaping is filling in nicely too.
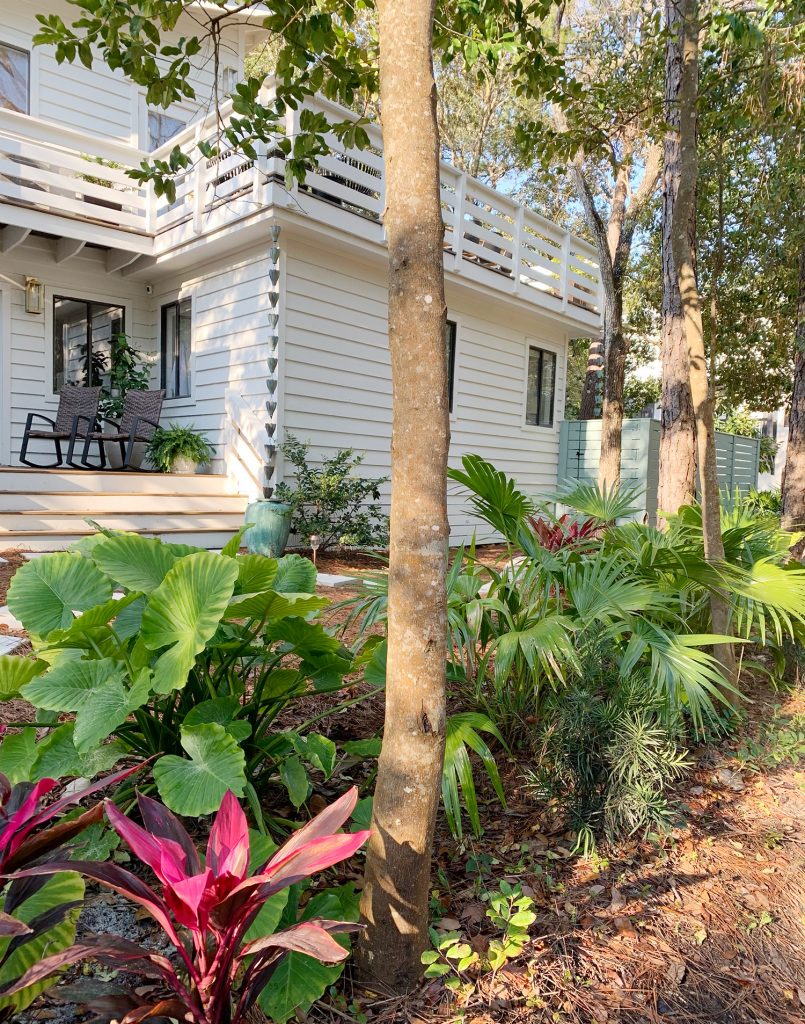
Plants here seem to be exceptionally happy, which is convenient because we don’t have irrigation but they don’t seem to mind.
More Trellis & Plant Guides
If you’re looking for more information on some of our favorite plants (real and faux!) check out some of these posts below:
- DIY Diamond Trellis for Vines
- Make a DIY Outdoor Plant Shelf
- How to Build a Window Plant Shelf
- Protecting Outdoor Plants In A Deep Freeze
- Fiddle Leaf Fig Care Guide
- Tree Philodendron Care Guide
- Monstera Deliciosa Care Guide
- Snake Plant Care Guide
- My Favorite Faux Plants
- Easy Houseplants To Keep Alive
- 10 Houseplants For Better Indoor Air Quality
*This post contains affiliate links, so we may earn a small commission when you make a purchase through links on our site at no additional cost to you.
P.S. To see all the other projects we’ve done over the last year that we’ve lived here, this page has them all rounded up in one place.
