Call it a baby step, but we’ve officially finished our first project in the nursery. And yes, that was a pun back there.
The room has always had a dimmer switch (back from its days as a dining room) but as long as we’ve lived here it hasn’t done a certain thing: dim. Yep, it went on and off, but did nothing in between. So as we brace ourselves for nights of sneaking into a sleeping baby’s room, we figured that being able to find some middle ground between blinded by darkness and blinded by light would be a totally useful thing.
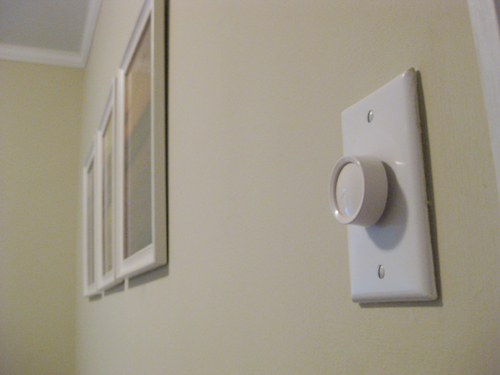
And thanks to our spot on the True Value DIY Blog Squad, we were able to tackle this lighting issue no problem. All we needed was a $14 replacement slide dimmer from True Value and a little bit of electrical know-how. After all, it doesn’t take a degree in electrical engineering to replace a simple switch…

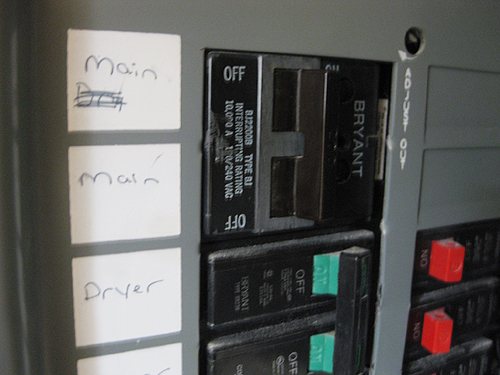
Our technique for most electrical projects is just to carefully watch what we’re undoing and then redo it with the new piece in place. Whether it’s a lighting fixture, ceiling fan or switch we just attentively observe which wires are connected to which wires and then recreate those pairings with the new wires which attach to the new fixture. And since we’re crazy paranoid about shocking ourselves (or worse) we ALWAYS turn off the main breaker to our entire house to be 100% sure that we won’t accidentally electrocute ourselves. You can’t be too careful when it comes to trying not to die.
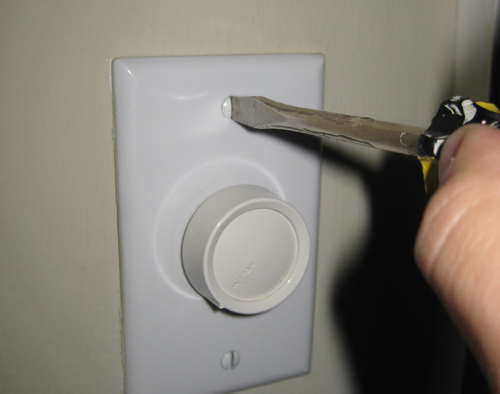
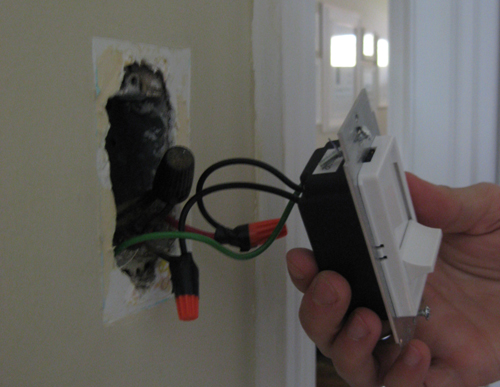
From there the first step was removing the old switch, which just takes some quick turns of a screwdriver to release the switchplate cover- followed by gently pulling the actual switch box out from inside the wall (don’t pull too hard or you could dislodge something).
What we uncovered was an old switch that was way past its prime. It looked like all the connections were right, though some were so loosely made that they pulled apart when I lifted it away from the wall. Maybe that was why our old dimmer switch wasn’t fully functional. Oh and the only noticeably missing thing was a green grounding wire, but the nice thing about all new switches is that they usually come with those these days so that’s a bit of added security.
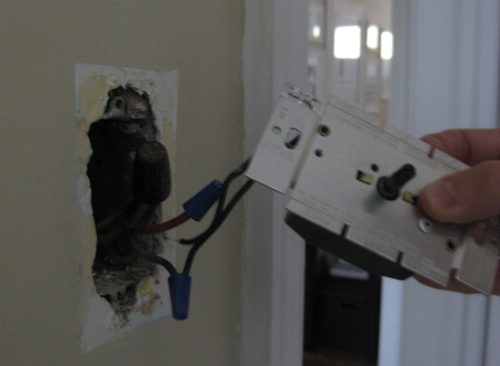
After untwisting the old caps to the connections that were still semi-secure-ish, we simply connected the new dimmer switch’s wires the same way. Granted this was all in the hope that the dimming issue was because of the old switch, not a greater wiring issue (which wouldn’t have been solved by a new $14 dimmer). But we crossed our fingers, twisted new wire nuts onto the new connections and even wrapped some black electrical tape around each one to ensure that there were no exposed stripped wires (the stripped parts of the wires are live, and those are connected beneath the nuts so electrical tape keeps them even more secure and safely out of reach).
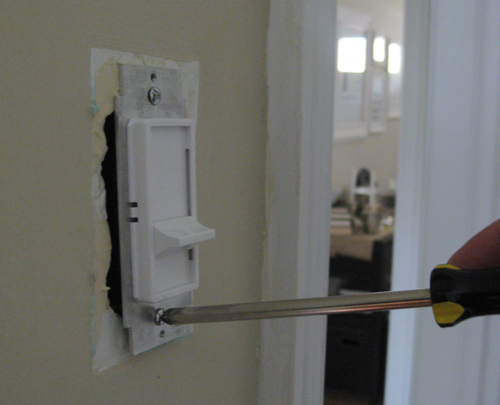
Before testing it, we actually went ahead and screwed it back onto the wall just to be safe (we didn’t want to be holding the switch when we flipped the breaker and sent electricity surging through our house again).
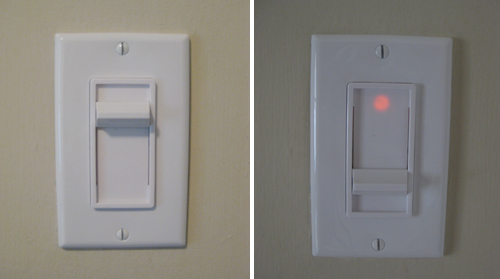
Lucky for us – it worked! Not only did we have fully on and completely off capabilities, we had everything in between. Woo hoo! Plus our new slide dimmer features a faint red locator light that glows when the light is off. That way we don’t have to fumble for the baby OR the light switch in the middle of the night.
Now, had it not worked so seamlessly, the dimmer came with instructions to help us further diagnose the issue. Plus, there’s always our friend google to turn to for research. But fortunately this was an easy-as-pie start to our nursery transformation. It just took about 15 minutes, a $14 replacement dimmer from True Value and one very good reason to finally fix our broken switch!
But enough about us. What about you guys? Have you tackled any simple projects lately (electrical or otherwise)? Or is there something small that you’ve been putting off that might just make it to the top of your to-do (or honey-do) list this weekend? We of all people know that sometimes the littlest projects are the last to get done…
Psst- Beyond turning off the power to your entire house every time, electrical work definitely calls for extra safety precautions. It’s always smart to take on your first few electrical projects in the company of someone who’s well versed in this area (for us it was having John’s dad around for a couple of light-fixture-switchouts to learn the ropes). Because as good as a new pendant or switch looks, it’s not worth a trip to the ER. Safety first!

Lisa says
Haha, we talked about that too – maybe we’ll just go ahead and do it! I’ll feel a little silly, but it’s a good solution.
Emily says
Yes! My dad came over for Thanksgiving and bought me block planer, which we used to scrape down the top of our bathroom door. Now it actually closes. An important thing when it comes to bathroom doors.
Lisa says
http://www.diynetwork.com/search/results.do?diySearchString=switch&diySectionId=33168&diySearchType=section
This is a link to the diy network for information on switches that answers many of the questions people had in the comment section. I hope it helps.
YoungHouseLove says
Thanks so much for sharing Lisa! It’ll definitely come in handy.
xo,
s
Erin says
We used the same dimmer in our baby’s first nursery- it was excellent! We paired it with a super cheap, very simple round hanging pendant light in the room and when the light was halfway dimmed it totally resembled a full moon hanging out over our heads. I miss that light and nursery and am now trying to recreate cool rooms for our toddler and new baby in our new house. It’s like starting over!
Good luck to you!
Amanda says
I had been procrastinating finishing the tile in my bathroom, but I finally broke down and did it. http://hiphousegirl.wordpress.com/2009/11/17/blood-sweat-and-death-to-procrastination/
And thanks to my wonderful brother, a couple of other small things got done recently as well- fixing the GFCI in the bathroom, and hooking up a vent and outlet for my dryer downstairs. I can’t really take credit for either of those, but it sure is nice to have someone to come over and say “Why haven’t you done this yet? Here let me…” and ten minutes later there’s a working outlet! I definitely have a few more that I need to get crackin’ on!