We recently shared how we created the wraparound fabric headboard in our son’s room, but today we wanted to tell you about the custom bookcase we constructed at the foot of his bed. It was a great DIY project to fill that space, while also giving him some super-convenient bedside book storage (plus a secret hidden compartment!). It was a remarkably easy build that anyone could do, plus you can customize it your particular space!
Why Create Custom Book Storage?
This is the smallest room in our small house and his bed fits nicely against this wall with just enough space at the end for some custom storage. Before building this bookshelf, his book were crammed unceremoniously in some baskets that baaaaaarely fit in the gap. It was hard to reach and definitely didn’t make the most of the space.
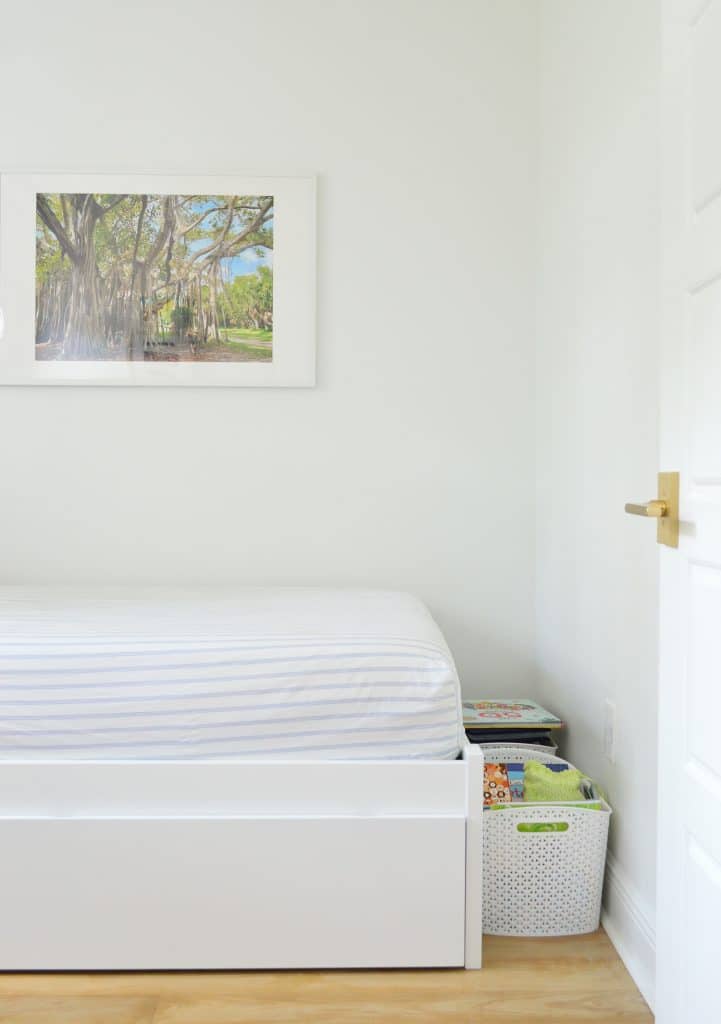
He doesn’t have a need for a tall bookcase-worth of storage right now, so we didn’t want some hulking piece that we just filled up with unnecessary stuff that he couldn’t reach (or be totally inaccessable below the mattress). Because in retrospect, the built-in bookcases in his last room ended up being mostly decorative – apart from the books he could reach himself on the lowest shelf.
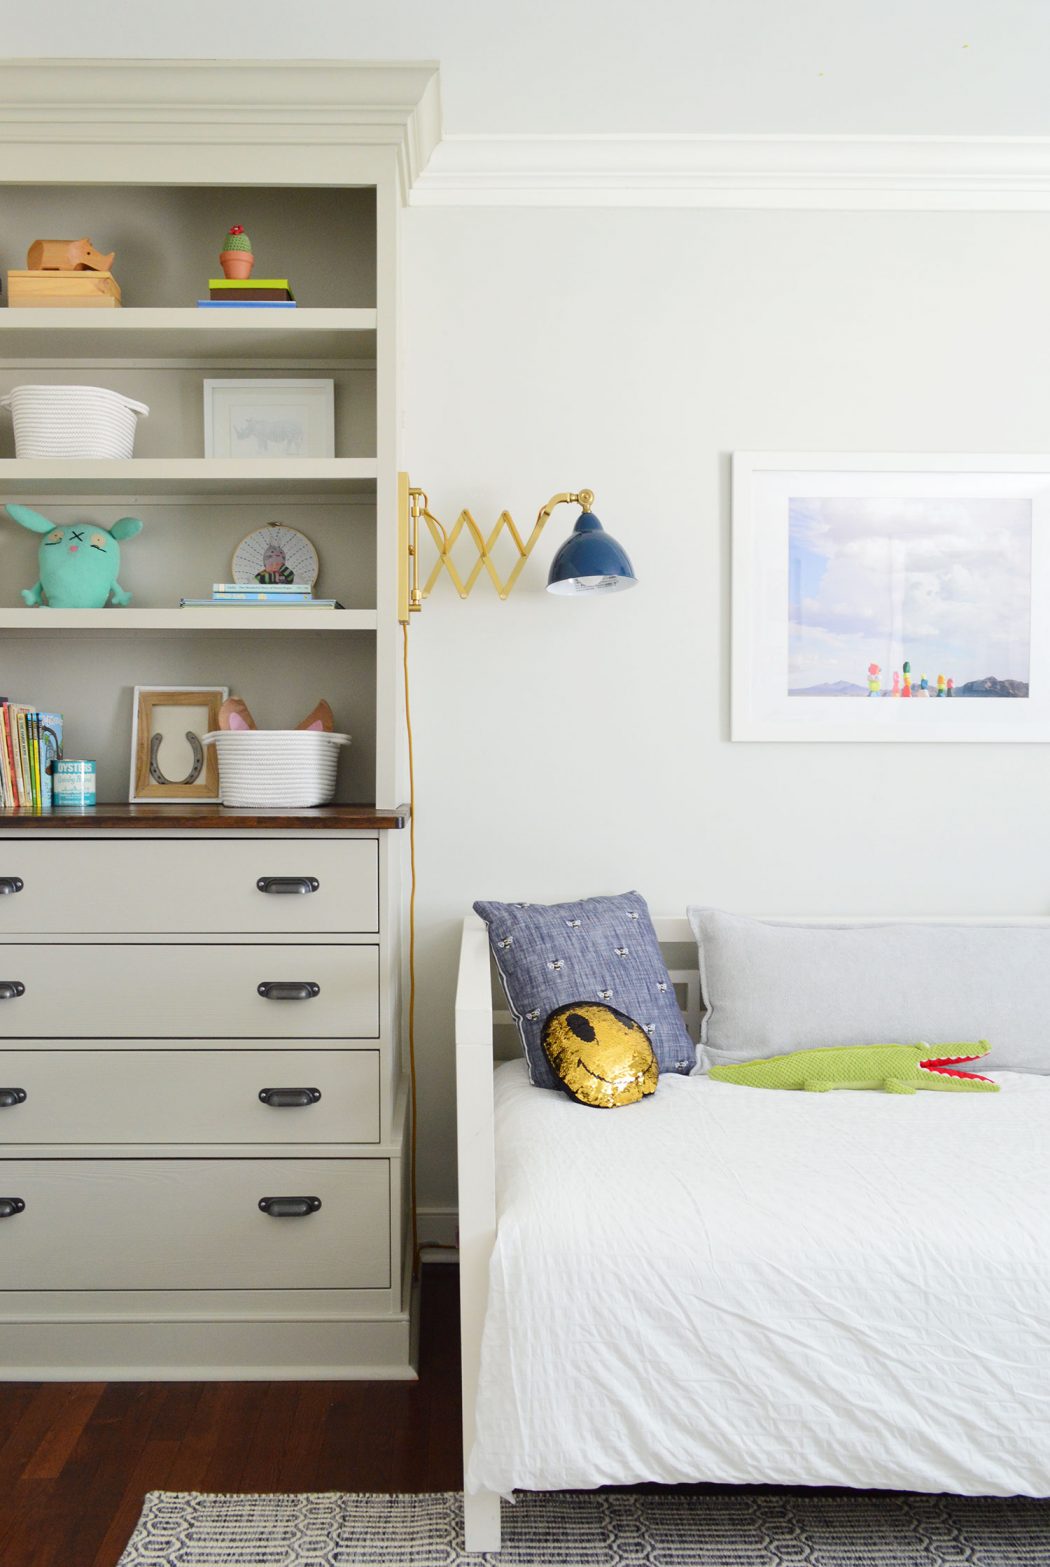
So in order to take advantage of that space below the bed AND not go overkill with storage, we decide to build something custom.
DIY Bookshelf Build Materials & Tools
We’ve built several custom storage shelves and built-in bookcases before, and we love using MDF as a primary material because it’s strong and smooth, so it finishes nicely.
- 1/2″ MDF panels for shelf box
- 1×2″ boards for finishing edges
- Miter saw
- Table or Circular Saw
- Nail gun
- Measuring Tape
- Stud finder
- Wood glue
- Primer
- Paint
Step 1: Cut & Dry Fit Your MDF Panels To Size
We used our circular saw to cut the basic MDF pieces to construct our bookshelf. It’s basically a single shelf built at mattres level with another box on top. The bottom shelf is supported by a 1×2″ secured to the wall (be sure to screw into studs where possible) and a flat MDF panel that I screwed into the bed’s footboard itself. That also created a solid that will keep books and stuffed animals from slipping under the shelf. The lost stuffed animal struggle is REAL!
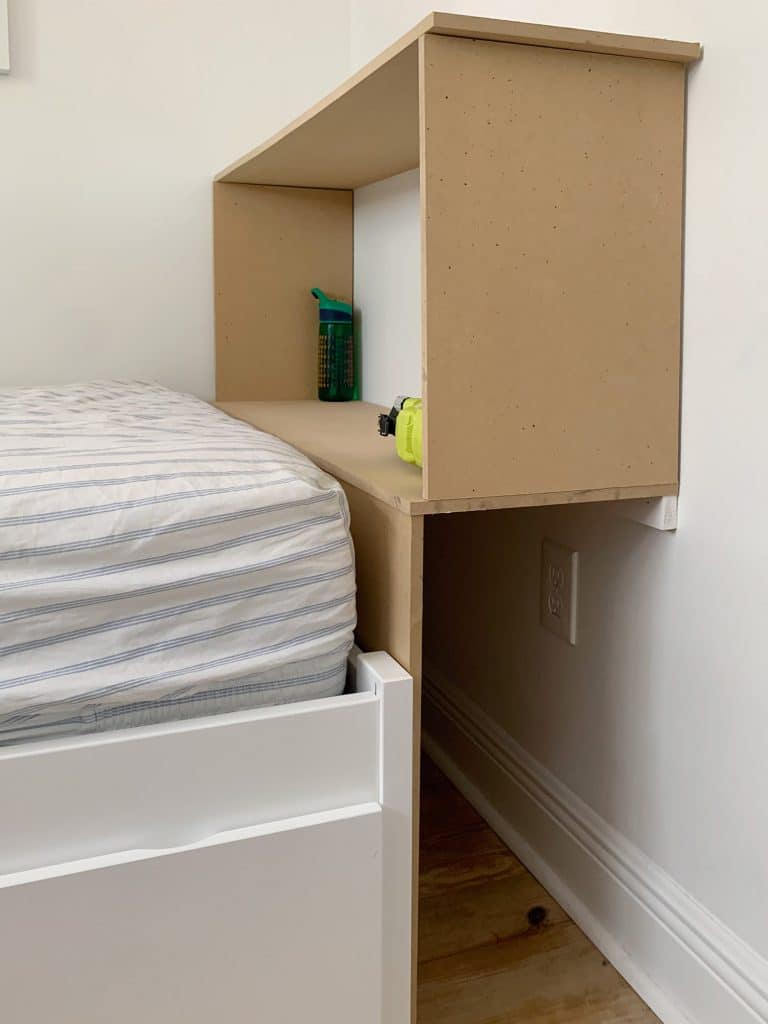
We’ll be adding some additional strength when we add the finishing 1×2″s, but you’ll see that in a second.
Step 2: Prime & Paint Your Pieces
We chose to primed and paint all of the main pieces before constructing it because we knew it would be a pain to paint it in place. So all the MDF you saw above was dry fit in place.
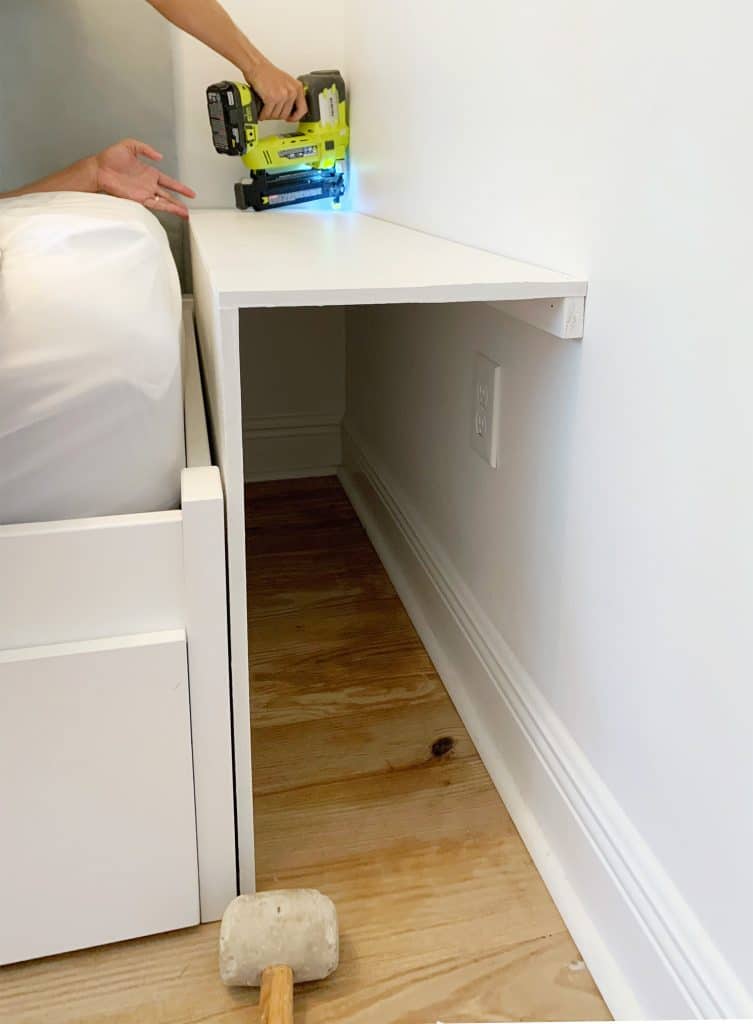
Step 3: Secure Your Bottom Shelf With Glue & Nails
Once everything dried we started assembling it with glue and nails. Nails secure things in place quickly but the wood glue will add more long term strength. Don’t worry about nail holes. You can fill those later when you do your touch-ups. Note how I’m just nailing the shelf into the two support pieces below it.
Step 4: Add Your Top Shelf & Middle Divider
We added a middle divider to help with the integrity of the bookshelf and better support the top shelf. It’d also help to keep his books more organized than one big open box would. You can also see how all of these top pieces are a little bit shallower than the bottom shelf. This accounts for the 1×2″ face pieces that we added to finish off the raw edges and make everything look more polished and substantial. Again, all of these were nailed in from the top.
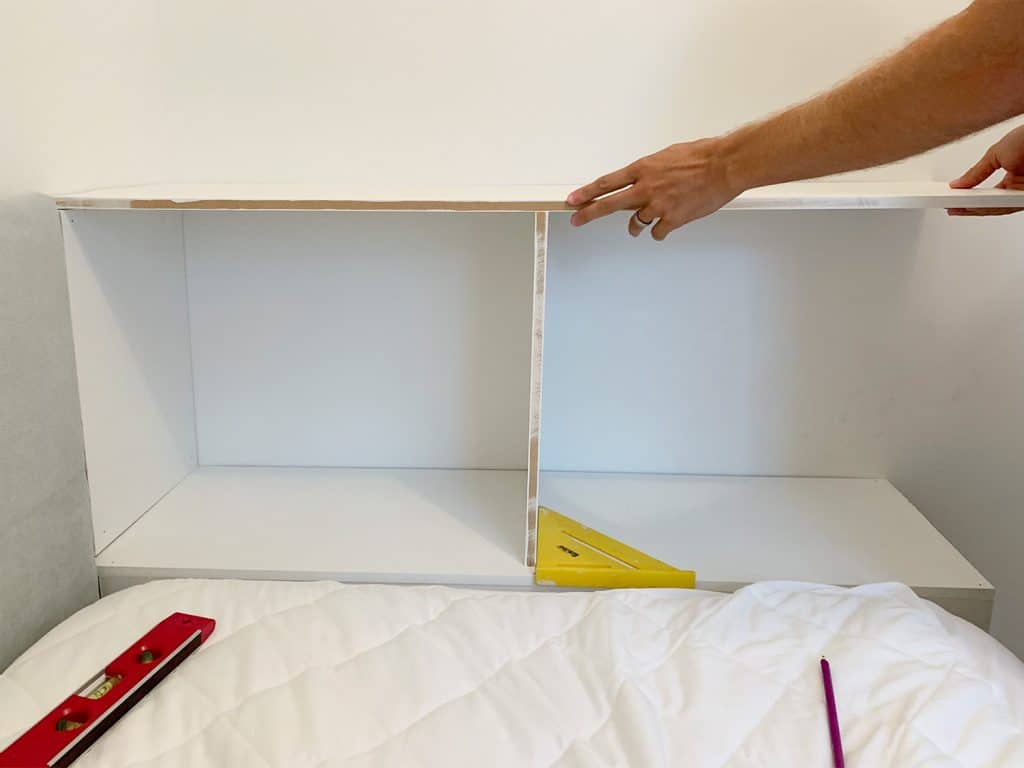
Step 5: Add Your 1×2″ Finish Pieces
We opted to use 1×2″ boards as both finishing pieces for the raw edges AND as supports on the open end of the shelf. Up until this moment, we debated whether or not this end should be another solid MDF piece. But after cutting pieces of both options, we decided the open-ended design felt better for the room.
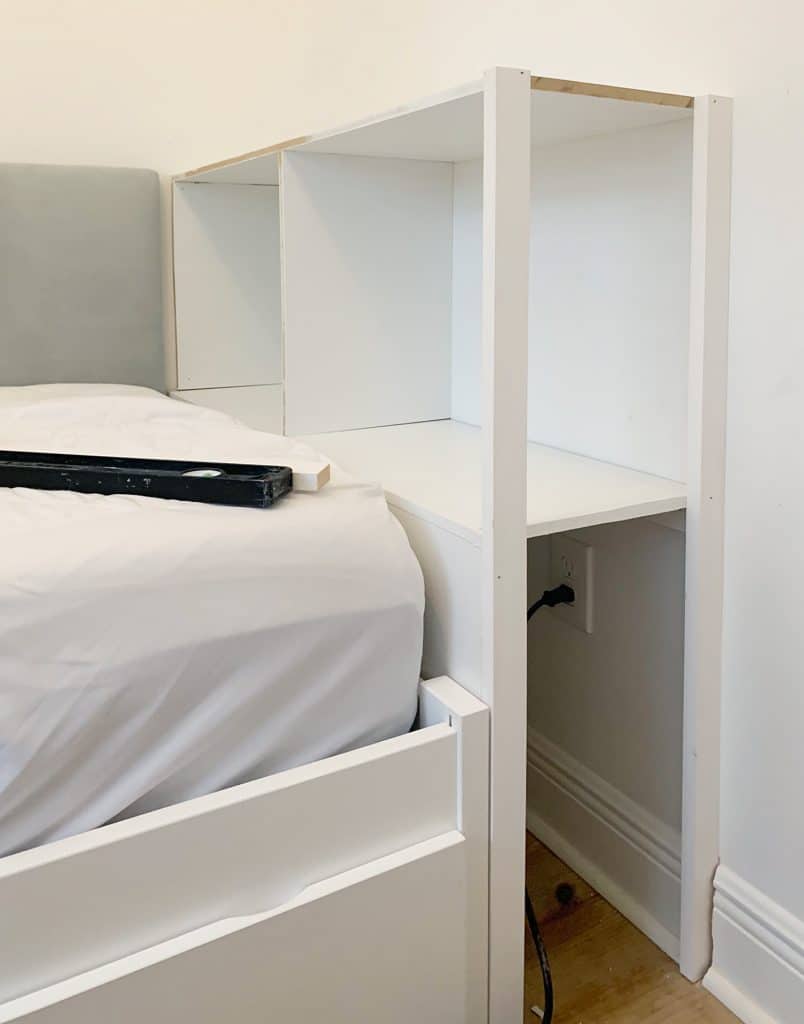
Step 6: Caulk Seams, Fill Nail Noles & Touch Up Paint
Once everything was secured in place, we caulked all of the seams of our construction and filled the small nail holes with a bit of caulk too. After that dried, we gave everything (well, everything we could reach!) one last coat of paint. And voila!
BONUS STEP: Add A Secret Compartment
Since we didn’t want the space under the bookshelf to go to waste, we created some secret bonus storage. Instead of nailing in a solid piece to cover that hole, we cut carefully to fit snugly but still pop out when you push on the right spot in the right way. We nailed in a couple of scrap 1×2″s along the inside lip so that the removable piece has something to rest again too.
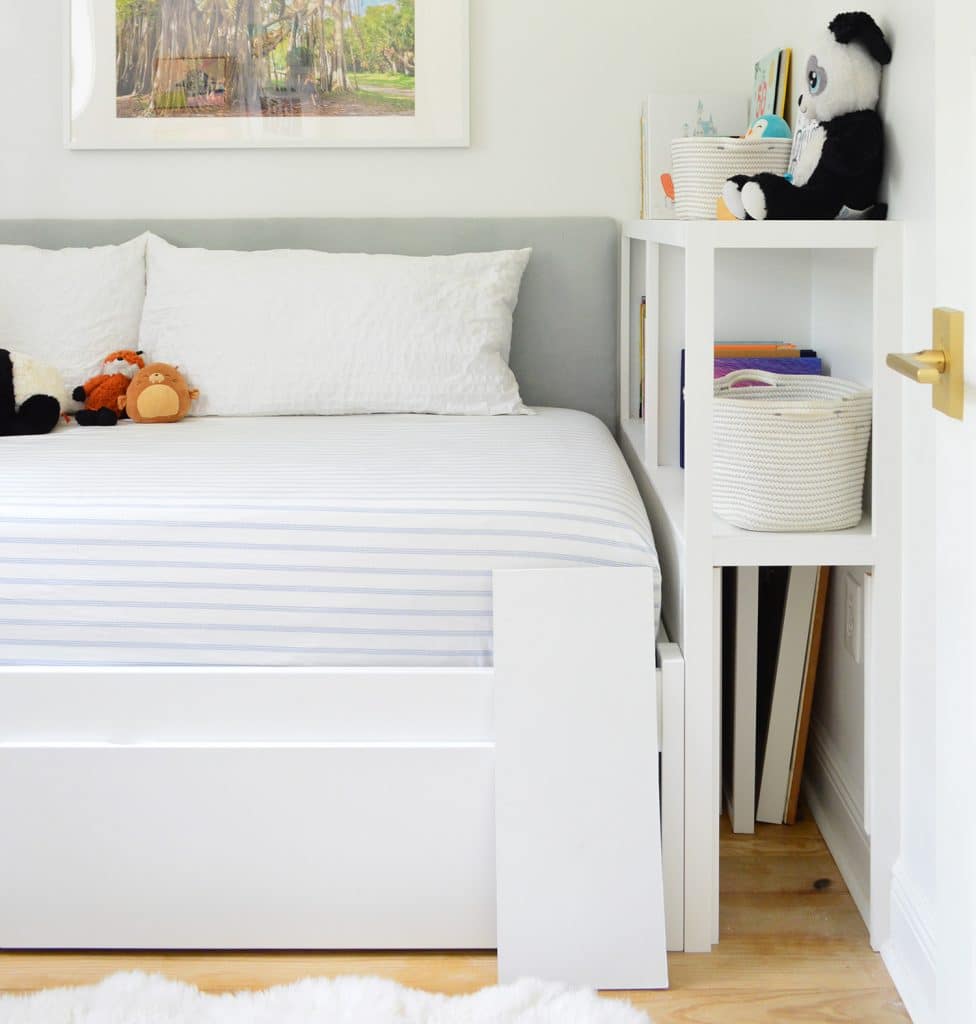
Right now it’s hiding some spare picture frames because our son doesn’t have any need for additional storage (remember he also has a closet, a dresser, and those two huge drawers under his bed). But as he grows if he does have a need for it, we’re happy to hand it over. We could even add a handle to pop the door off a little more easily anytime he wants to access things down there.
The Finished DIY Bookshelf
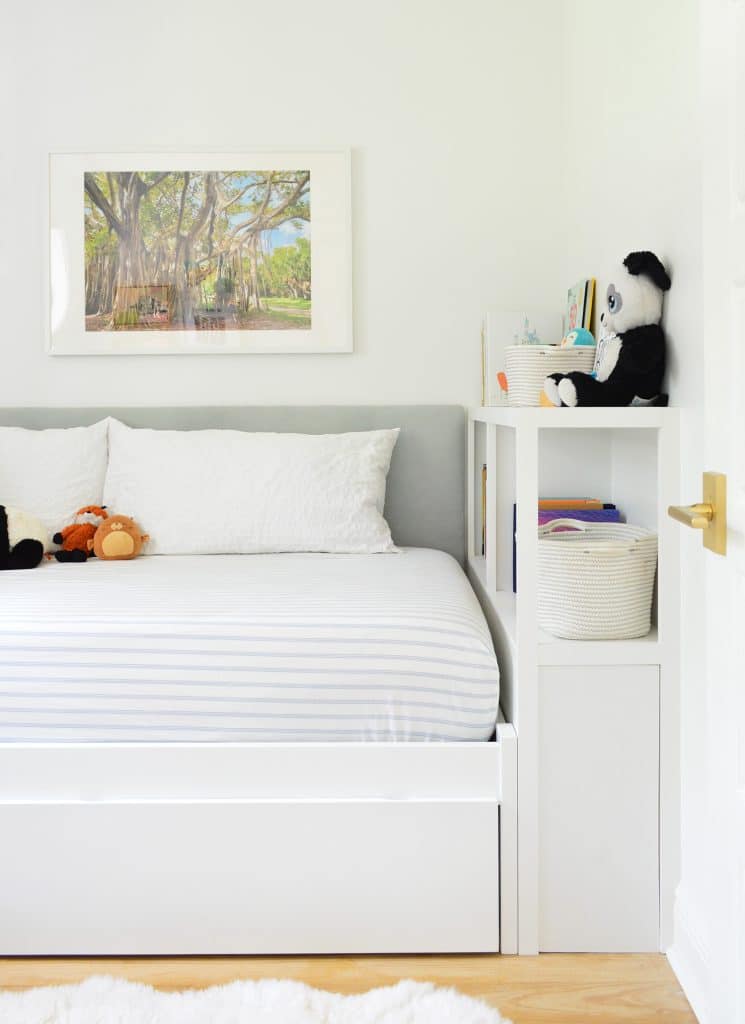
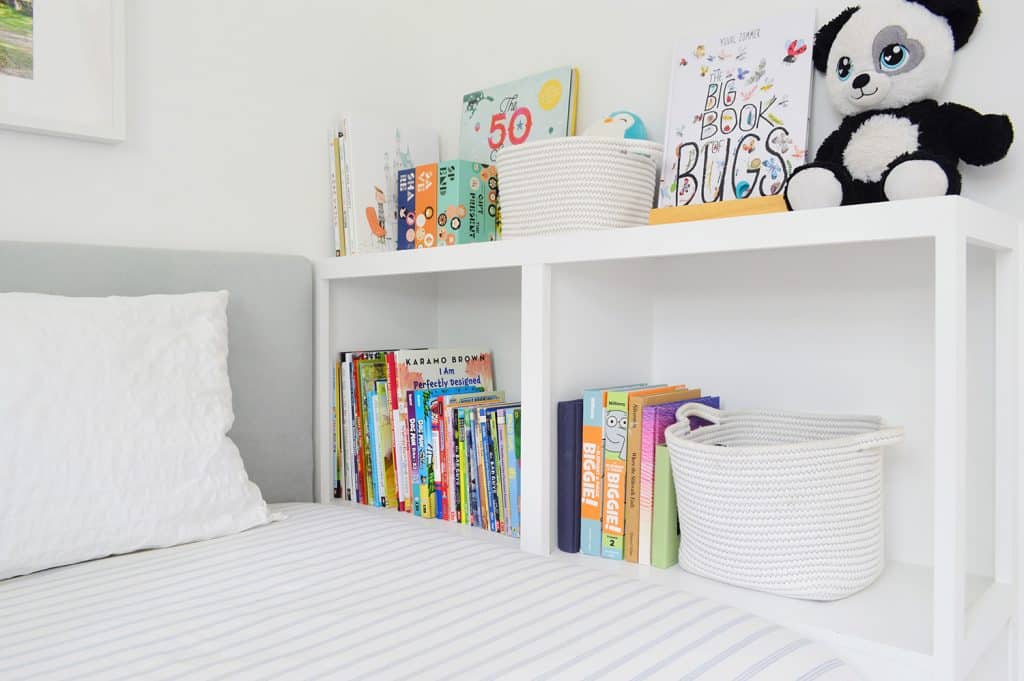
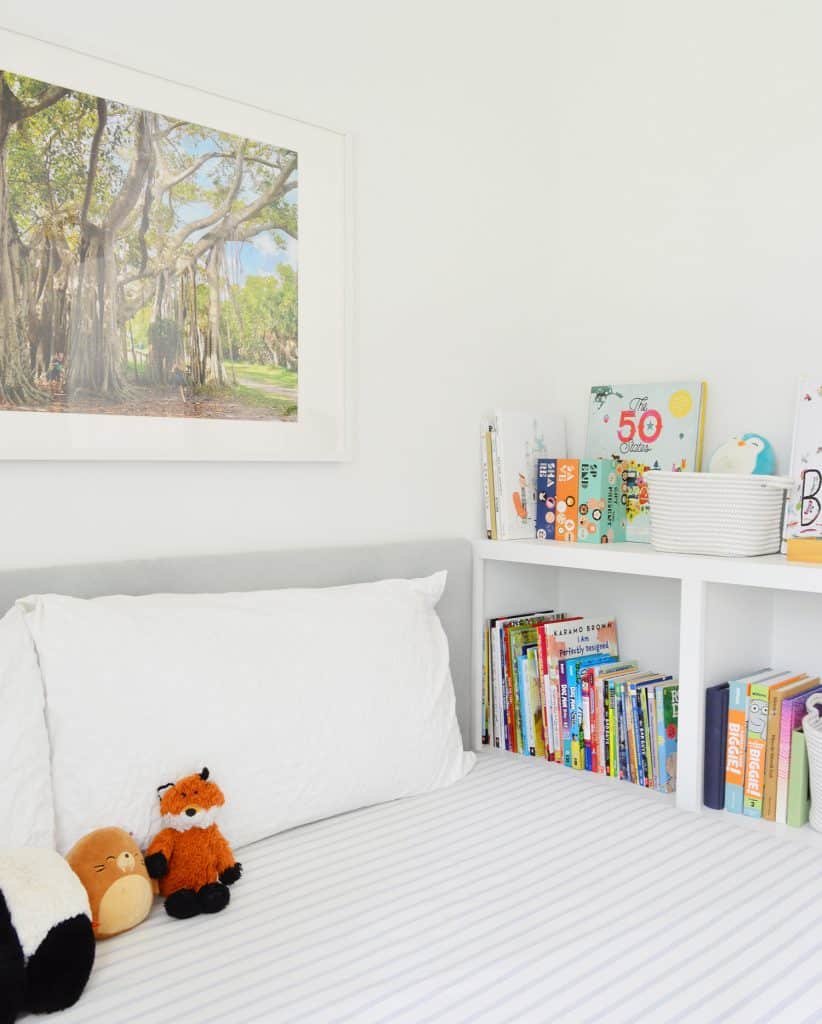
As you can see from the photo below, we built the bookshelf to the exact height of the upholstered headboard we made so that it all reads as one sort of wraparound unit that cozies up his bed on all three sides. We debated painting it to match the blue-gray headboard (and at one point were both leaning that way) but once it all came together we thought it was nice for it to blend in with the walls.
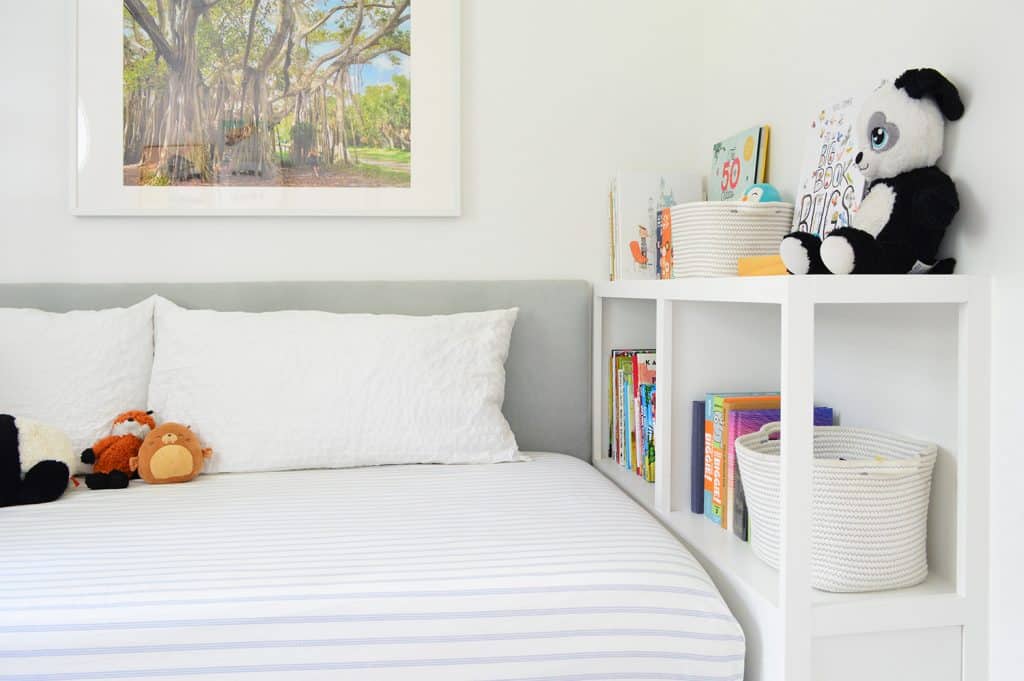
So yeah, this room is far from done, but I can’t express how great it has been to have all of our nighttime reading books RIGHT THERE when it’s time to pick out a bedtime story. He’s also happy to have a spot for those baskets which each house some very precious collections (like Pokemon cards). It’s crucial to have those nearby in case there’s a middle-of-the-night Pokemon emergency, amiright?
How Much Did Our DIY Bookshelf Cost?
Our grand total for both this and the fabric headboard was less than $135 (it broke down to about $35 for MDF, $30 for the 1×2″ face pieces, and $70 for the fabric & batting). We even had enough extra fabric to complete an entirely separate headboard in another room!
Boy’s Room Update
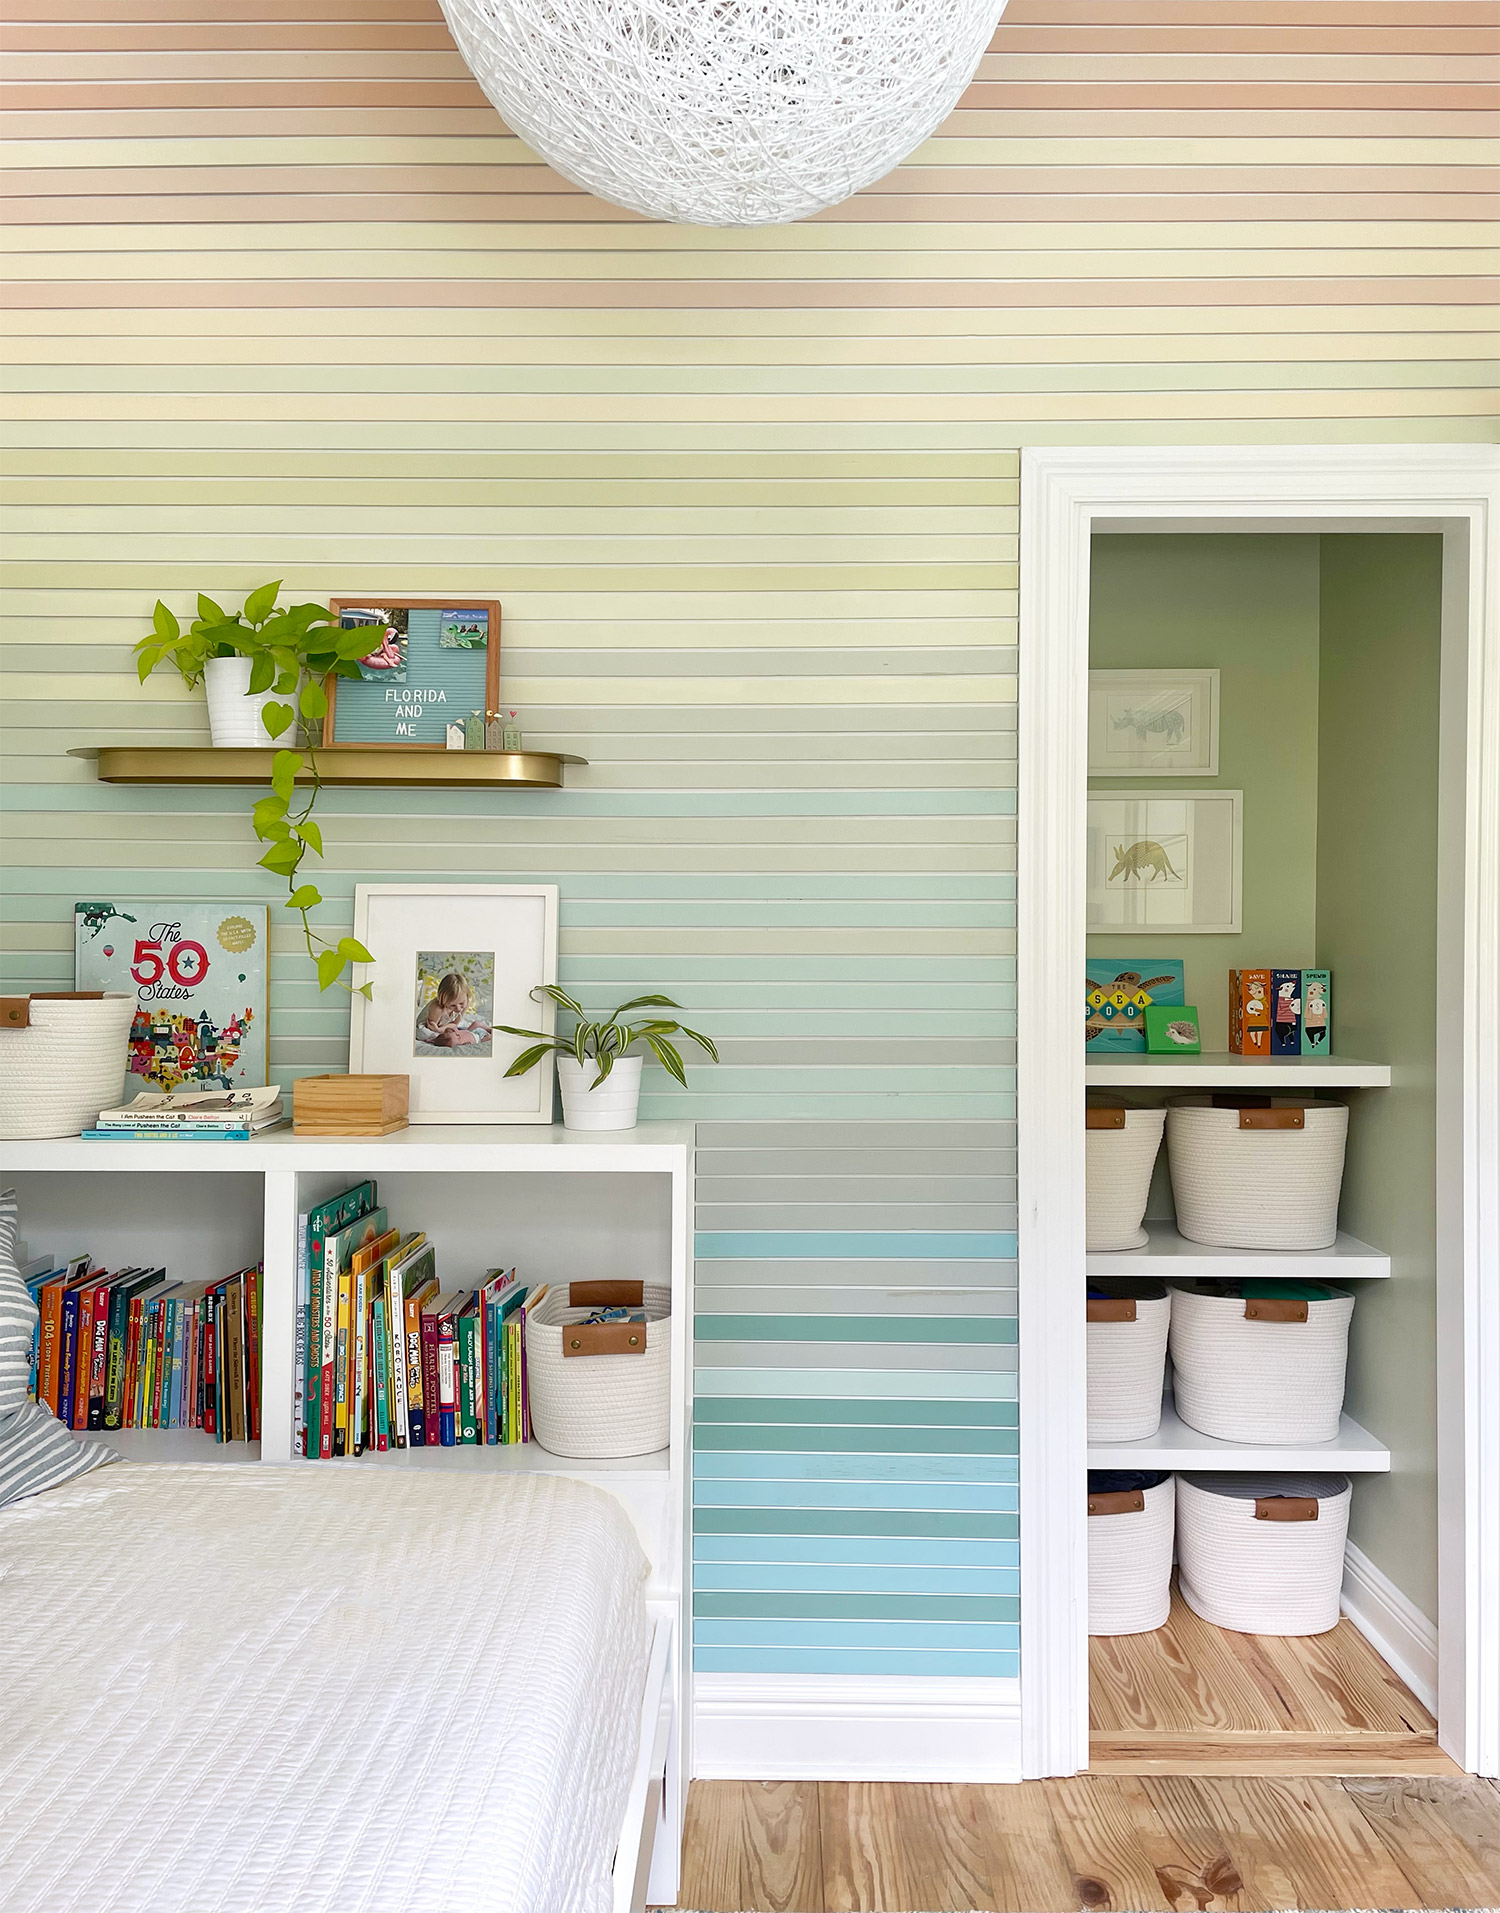
This is just what the room looked like about 8 weeks into living here. But you can see how we’ve added even more built-in storage to this space along with a colorful planked wall treatment right around this custom bookshelf.
P.S. To follow along with our entire reno of this house, you can see every single update we’ve made right here in this FL House archive.
*This post contains affiliate links, so we may earn a small commission when you make a purchase through links on our site at no additional cost to you.
