After using our favorite method to make a simple headboard for our son’s room last week, we actually had enough leftover materials to try out a new trick in our daughter’s room – which yielded a completely free headboard for her. Three cheers for $0 projects, right? Especially since she helped us settle on the design and make it, so it’s not only cozy to lean back on (you know that function is my love language), but she’s also super into the finished result because she had a hand in it. Literally.
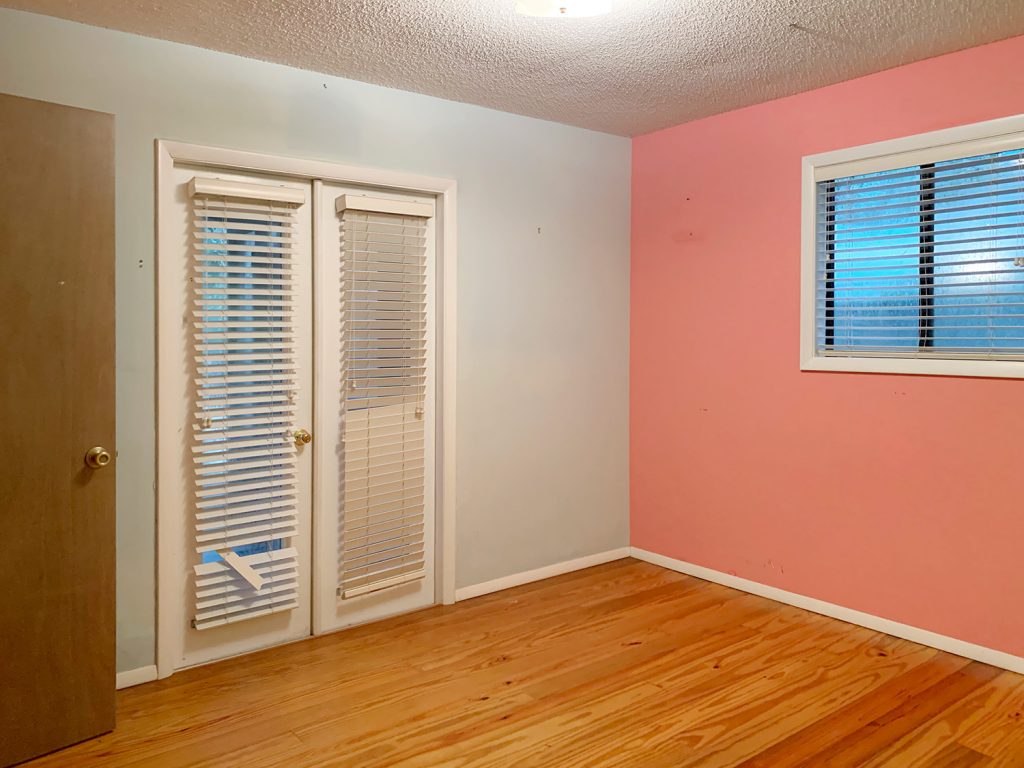
Before we dive into that how-to, we realized you haven’t seen how her room has shaped up since we moved in. In case you forgot, it looked like this when we first saw the house.
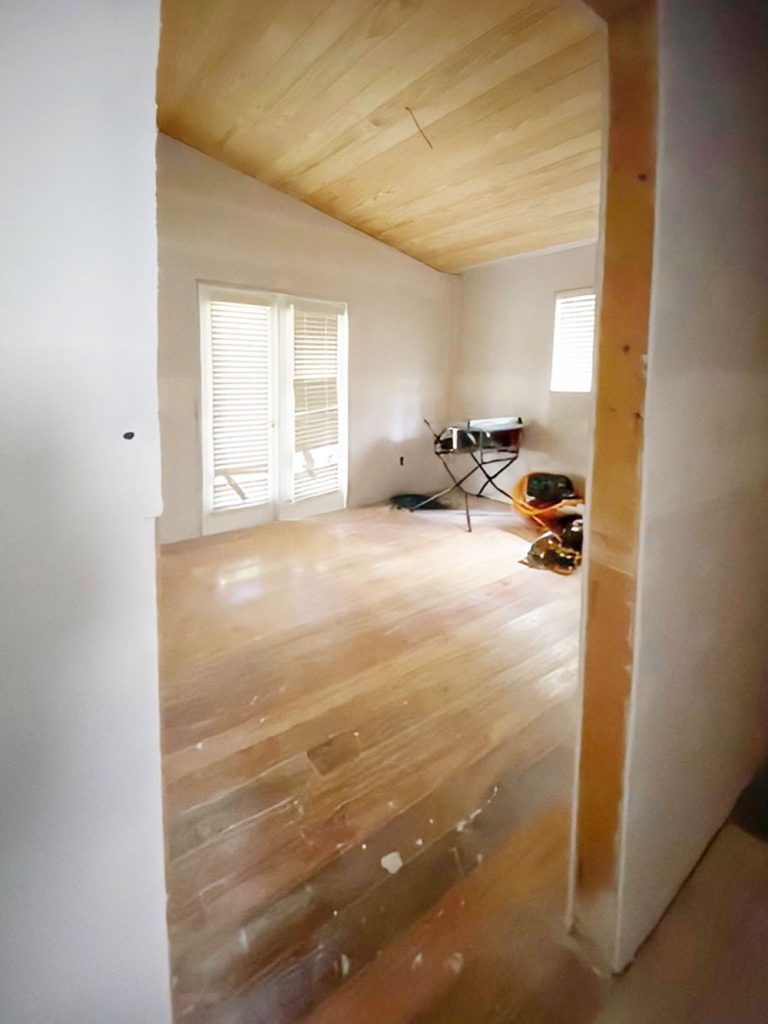
Just like with our son’s room, we discovered we could vault the ceilings to make the room feel more spacious (there was nothing but an empty attic above this room and the roof always sloped this way – so nothing structural had to happen). Plus we could swap out the popcorn ceilings for a plank + beam look while we were at it. This all got done through our contractor while we were still living in Virginia, which is when we got progress pics like the one below (here’s a post full of other progress photos & info on how we renovated this house from afar).
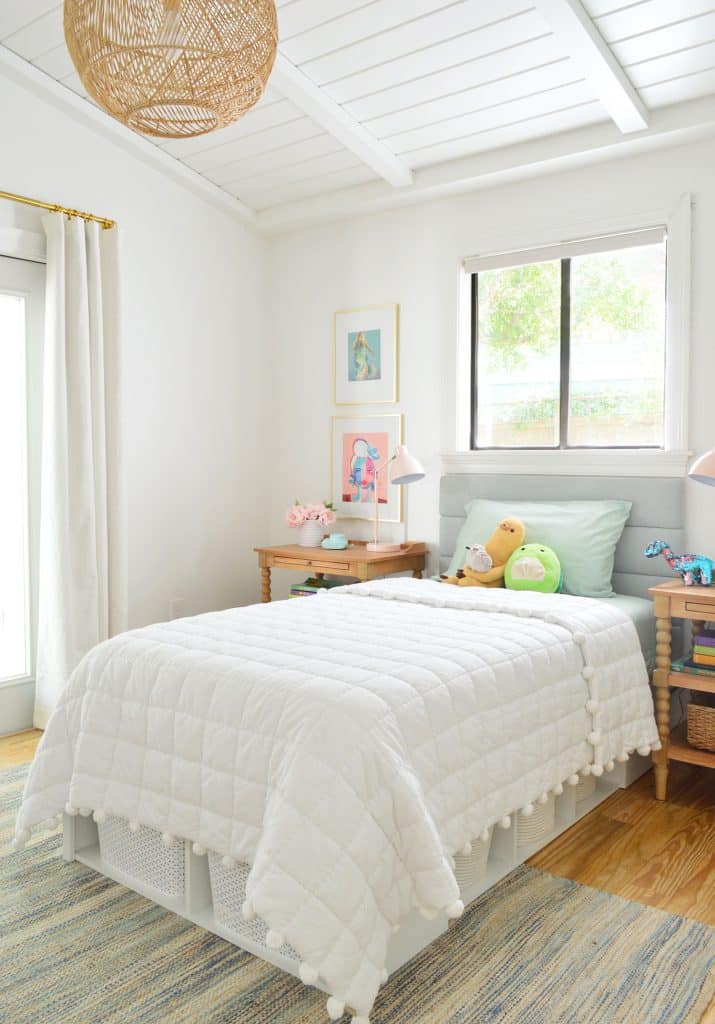
And here’s what it looks like now, a little over two months of living here. It’s almost entirely full of things that we already had. You may recognize the rug from our kids’ art room in our last house. The nightstands are from the pink house. The dresser (not visible, but it’s on the opposite wall) and the bedside lamps are from her old bedroom.
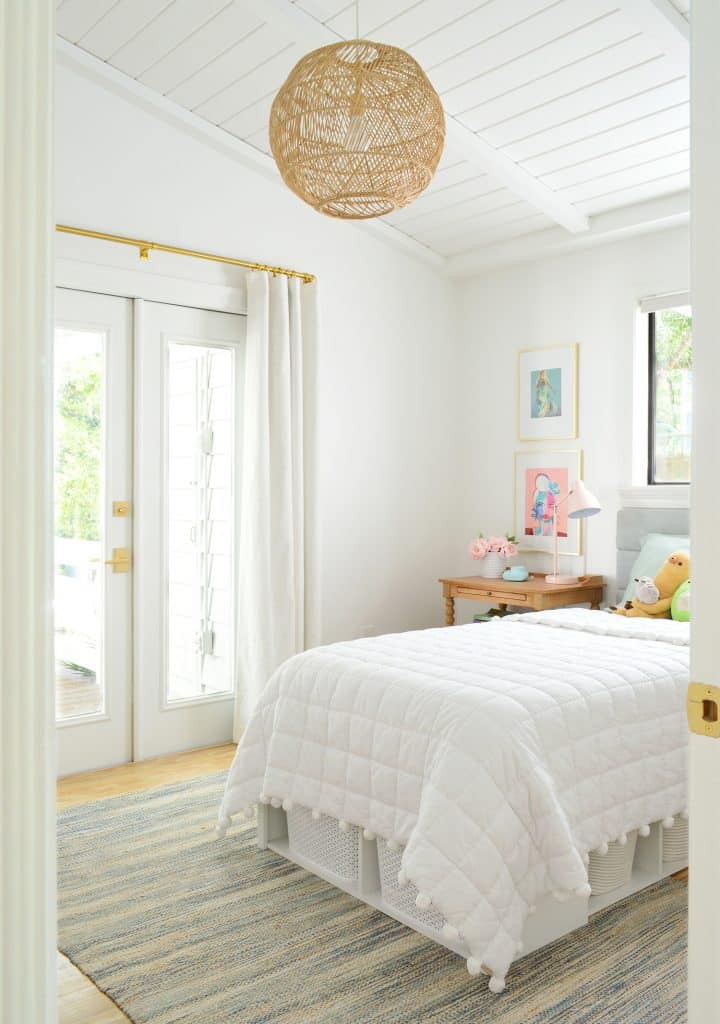
We just bought a pendant light and some window coverings (here are the curtains, the curtain rings, and the curtain rod), along with the bed frame, which is the only new piece of furniture. As we mentioned in this podcast, we chose it because she’d get 3 sides of under-bed storage for books & toys. It amazes me how much stuff fits under there thanks to eight full cubbies that accommodate bins of everything from games and Legos to toys and books, books, and more books.
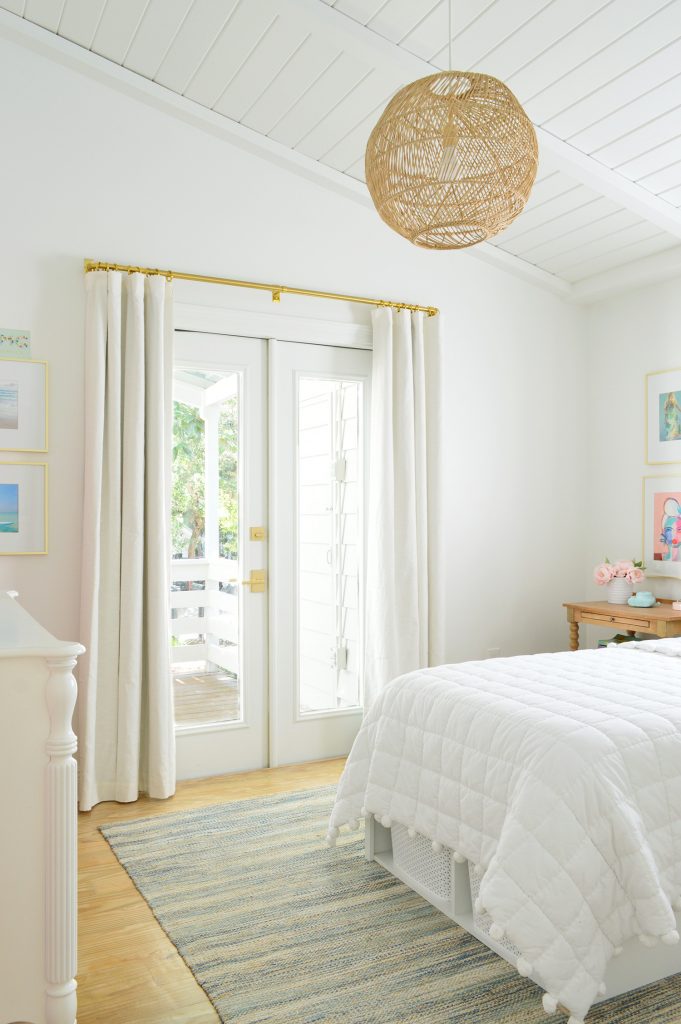
When we bought the house we initially had some reservations about having an exterior door in a kids room (would teenage sneak-outs occur?) and planned to switch it out for a nice big window. But we added a secure deadbolt along with one of those robust whole-house alarm systems that screams if this door is open even half an inch (or ever gets smashed). The unexpected plus side is that we realized in a fire she and her brother – who both sleep on this side of the house – could just walk outside. We’d still consider converting it to a window at some point (if nothing else for more furniture placement options) but it feels nice & safe for now.
Okay, but I said this post was about a headboard, didn’t I? Let’s get to it.

Floating her bed under the window made the most sense in the room, but it didn’t leave much space for a store-bought headboard. We’re no strangers to putting a headboard in front of a window (like we did in the duplex here) but this didn’t seem like the right situation for that.
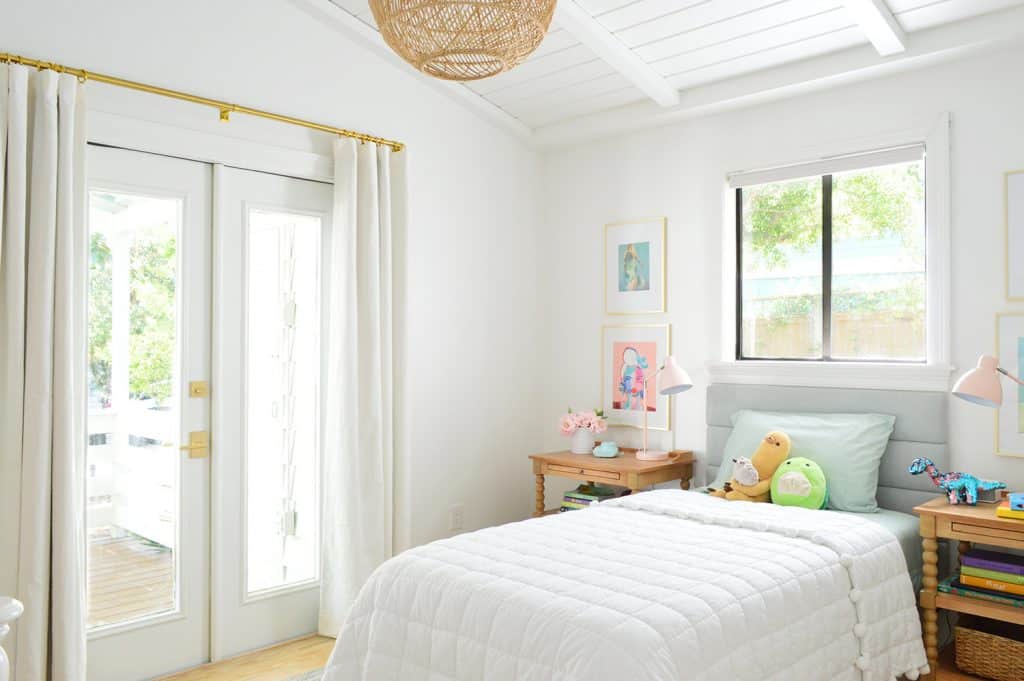
After making our son’s headboard, we had a fair amount of scrap fabric – but nothing big enough to be “headboard-sized.” But we realized we could piece them together to maybe try a look that I later learned was called “channel tufting” – kinda like this headboard or this headboard.
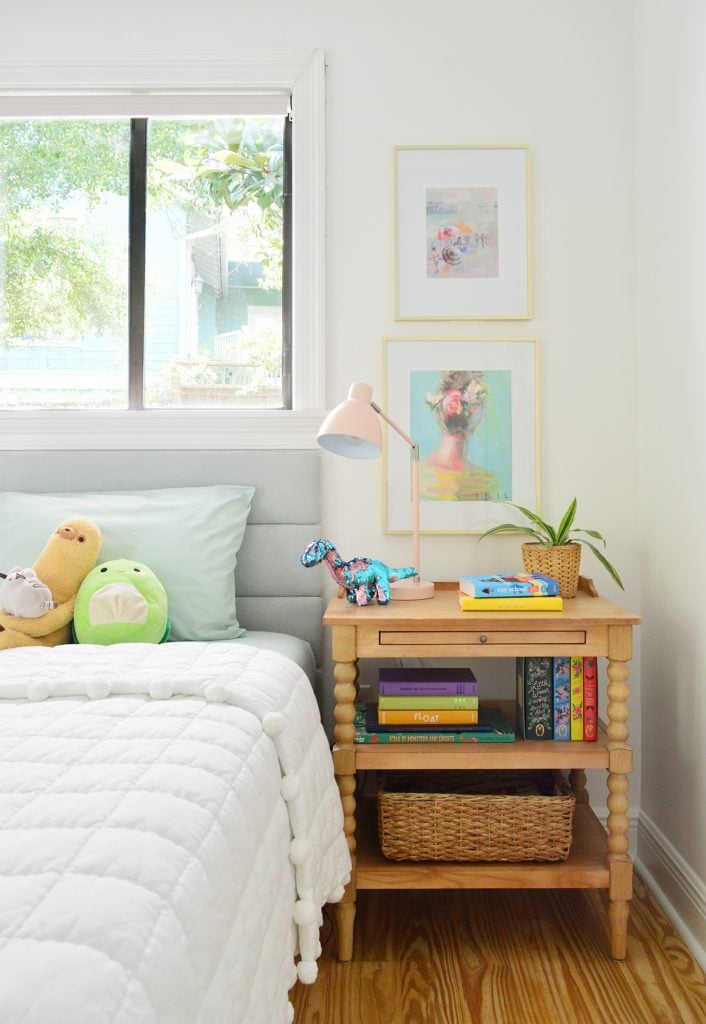
So we brought in the designer (aka: our ten-year-old) for a consult. We showed her photos of various vertical and horizontal channel headboards and she decided on horizontal and wanted three panels that showed above the bed (which actually meant that we should make four of them since they extend all the way below the mattress to the top of the bed frame to keep things from falling back there).
So we cut four identical strips of scrap plywood (leftover from another recent project!) using a circular saw. In our case, they each measured 39″ wide by 7″ tall, knowing that the batting + fabric would add another 1/2″ to each one of them in the end.
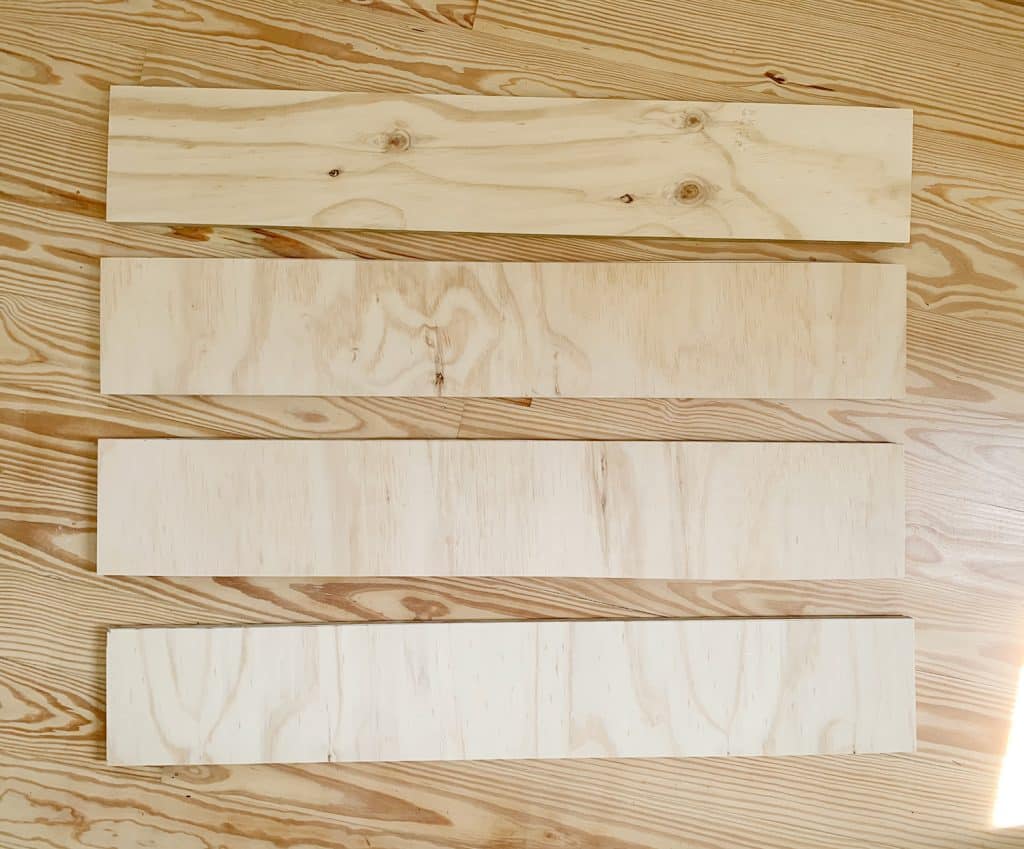
Then the process was just like any other DIY upholstered headboard we’ve made. The only difference in this case is that you’re upholstering each piece individually before attaching everything. So start by cutting, wrapping, and stapling two layers of batting around your cut wood panels. You can involve your child in the cutting and stapling if they’re old enough to handle it (and have the hand strength for the stapler).
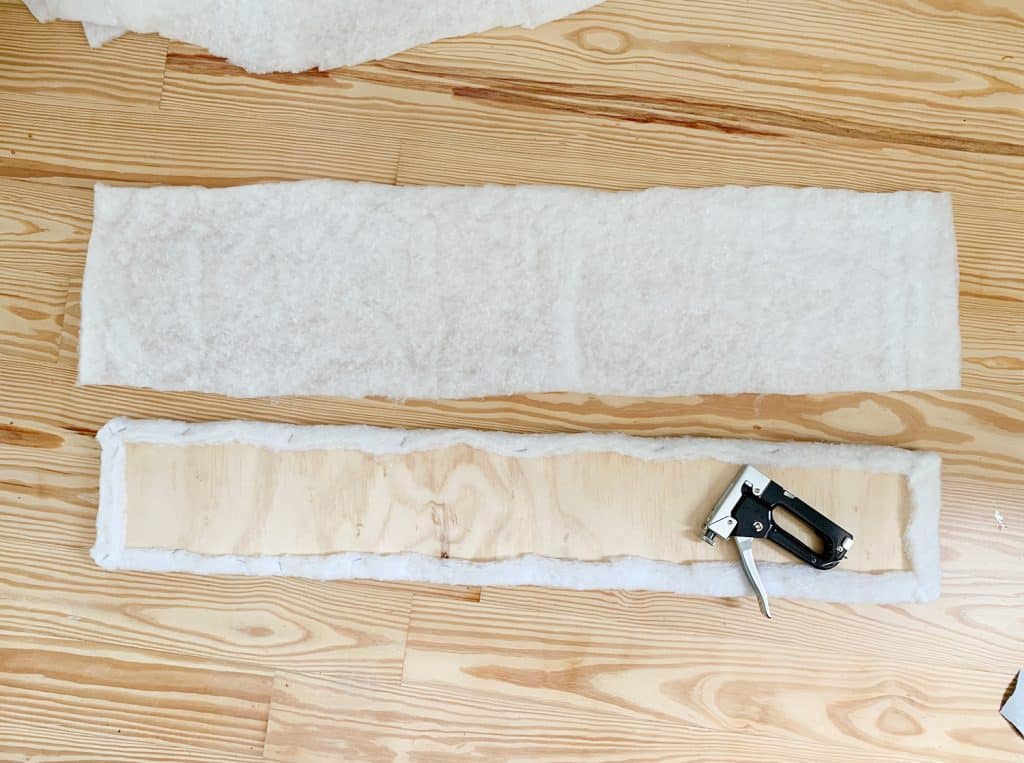
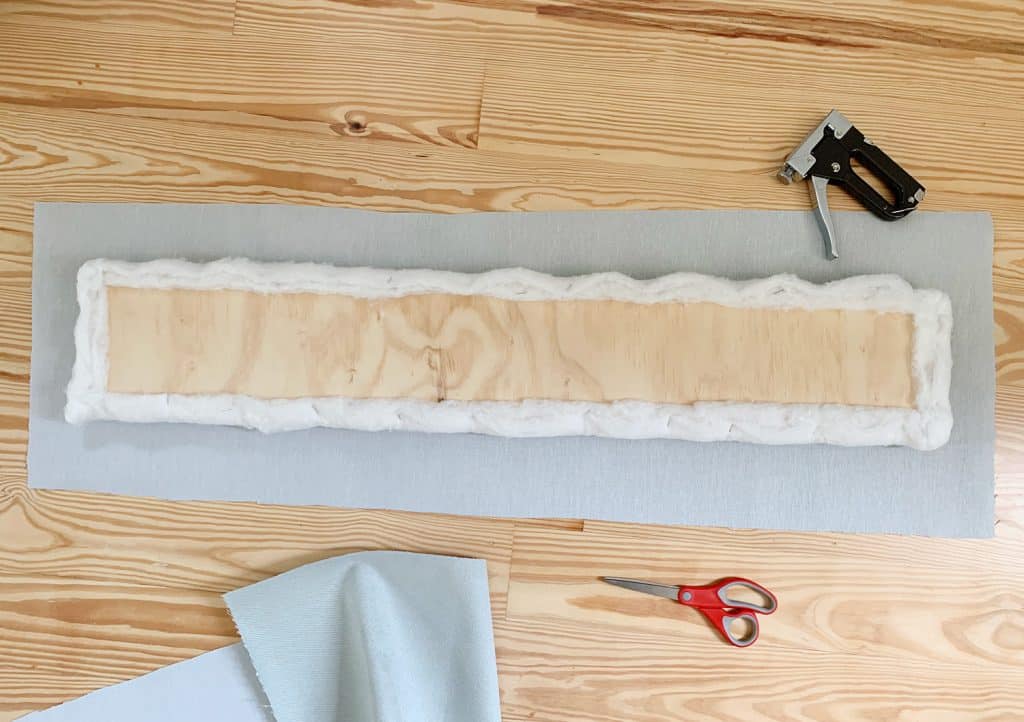
The next step is just to repeat that process again with your fabric. We have more tips in last week’s post, including how to treat corners and a reminder to be mindful of your fabric pattern (if you’ve got one). That’s especially important in this application since you may want to make sure your pattern lines up across your different pieces. But for our fabric it wasn’t a concern.
Once each piece is upholstered, you should be left with something like this.
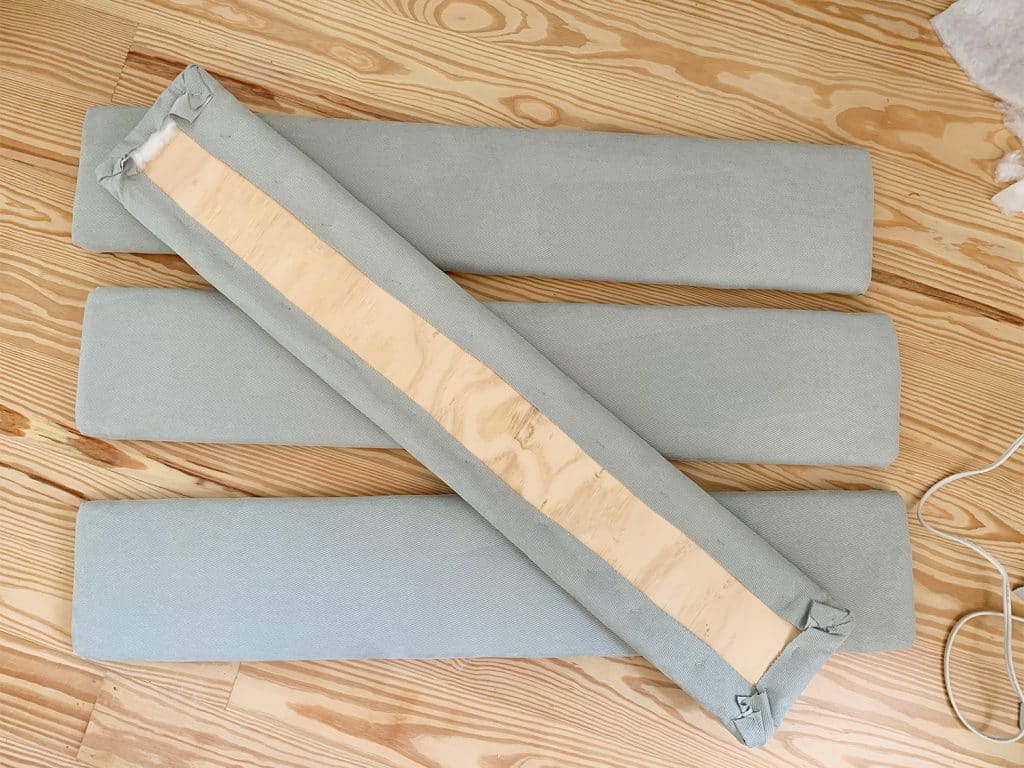
There are probably lots of ways for attaching them, but we just used two other pieces of scrap plywood that we nailed (and then screwed) across the back on either side – sort of as a connector that spans all four planks. Make sure that your nails and screws are not long enough to go through the upholstered plywood strips (you don’t want them to come out the other side of the wood or you might feel them through your batting & fabric).
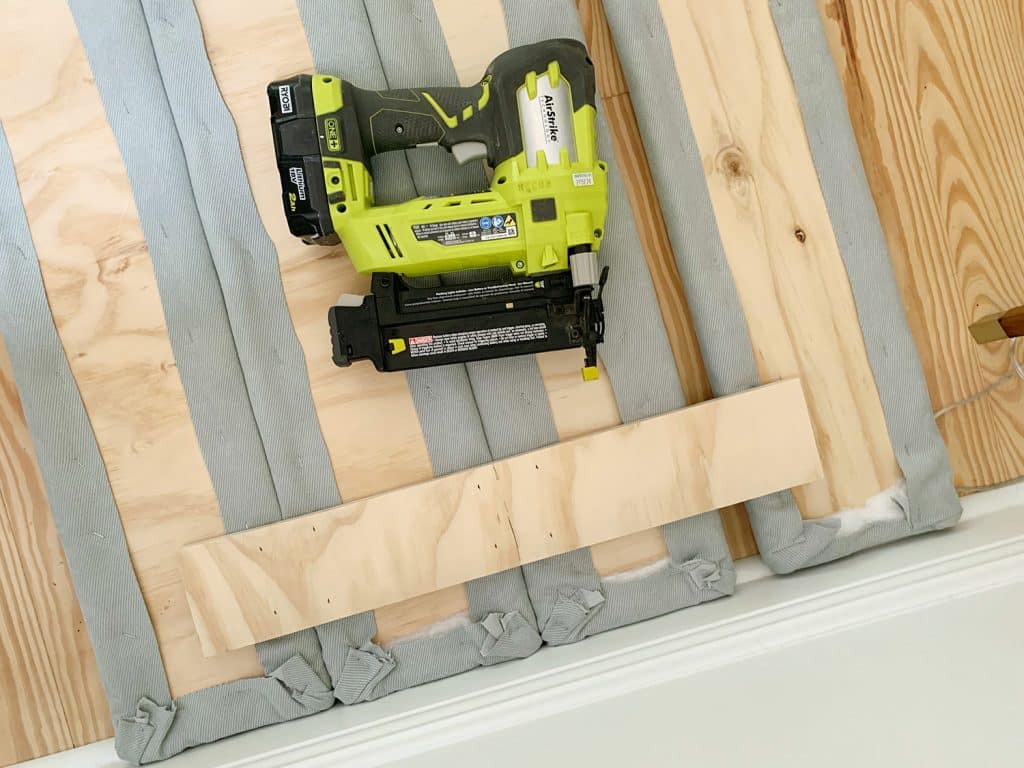
As you can see from the photo above, to make sure they were nicely lined up, we just shoved ours against the wall while we did this to keep our edge even. I also recommend really pushing the pieces tightly together as you attach them to ensure there’s no gap between them.
Then you can hang your headboard on your wall in whatever method you prefer, like by attaching some D-rings to it or, what we did, which was: cutting a “cleat” using your circular or table saw with the blade set at an angle (they also sell pre-made cleats). You can see more about how we make our own cleat back in this post.
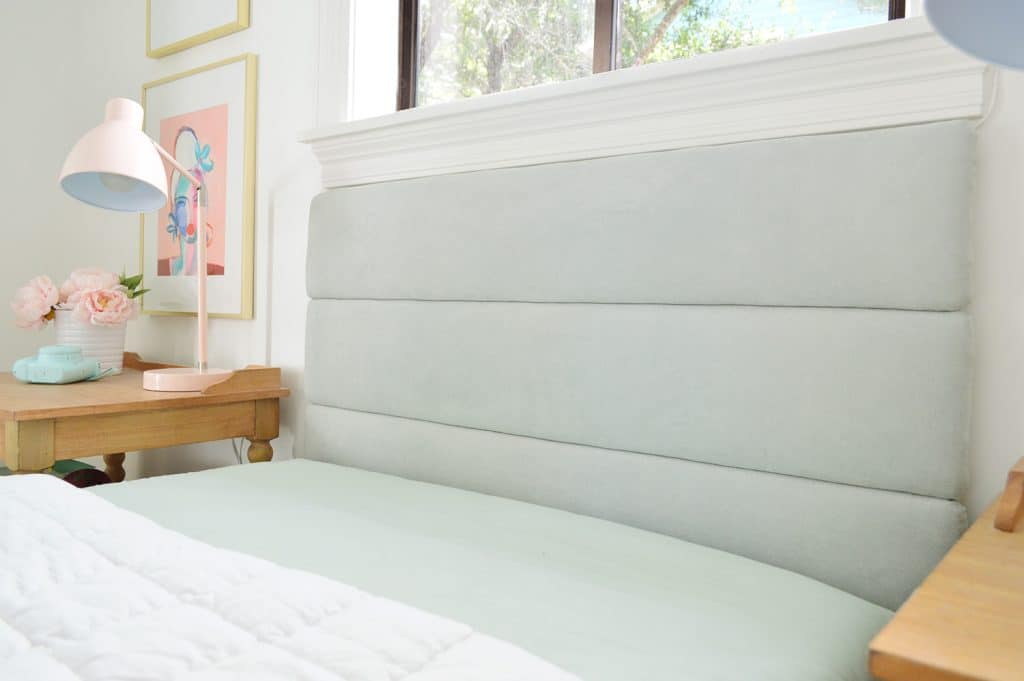
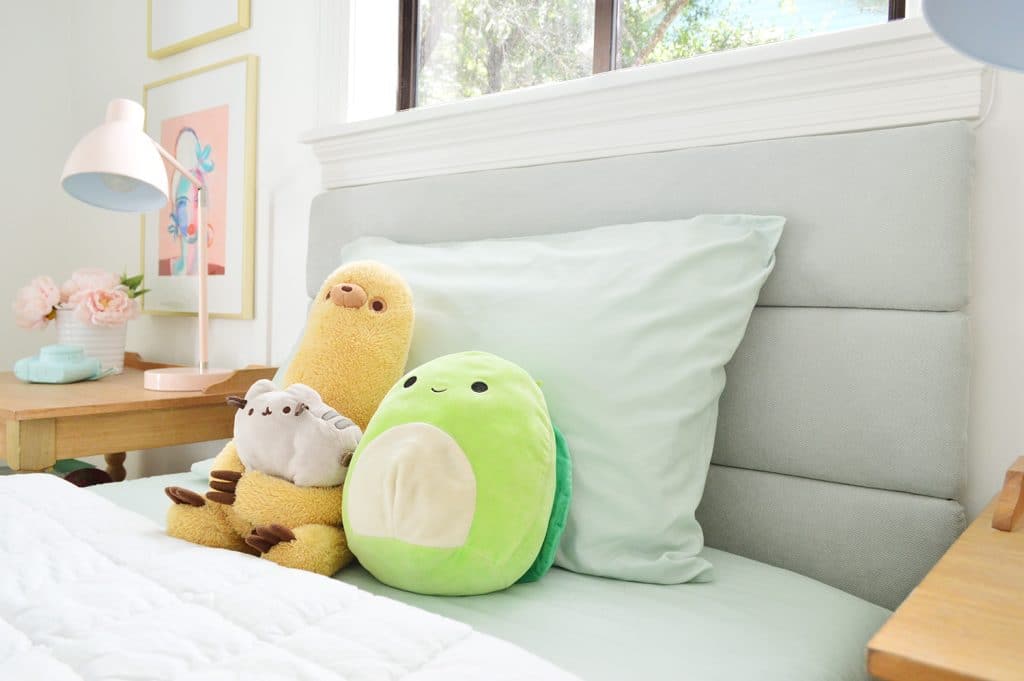
As I mentioned, you only really see three of the upholstered channels above the mattress, but we intentionally made a fourth one so the headboard would extend all the way below the mattress to the top of the bed (which you can see in the photo below since I pushed the mattress over a bit). So if you’re planning one of these for your house, be sure to consider how the headboard relates to this area. Sometimes if a headboard stops right at the mattress it can leave some gaps that you wish you had accounted for.
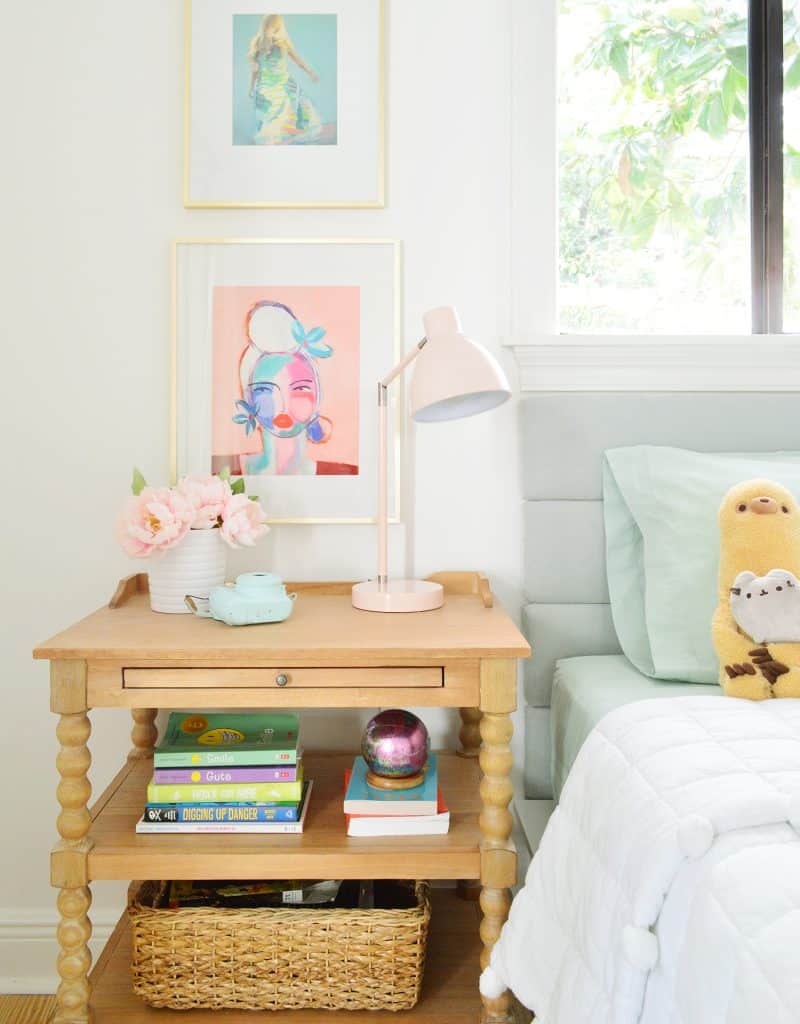
This is what it looks like when the mattress is pushed back into place, so it wouldn’t have been super obvious if we hadn’t added that fourth panel, but avoiding that gap between the bottom of the headboard & the top of the bed frame feels more well-planned, so we’re glad we took the time to make four of them.

There’s more to this room that we want to show you – including some large canvas artwork that we DIYed a frame for (it’s so easy and we loved the result so much that we immediately made one for another large piece of art that we have). Plus a huge colorful painted wall treatment behind the dresser that we can’t wait to share. But that’s a tutorial for another day. Just know that we strategically cropped a few things (like two entire walls) out of this post to avoid giving away the surprise…
We’re also going to take some photos of our bathroom for you too, so there’s lots of stuff in the pipeline. But for now I’ll leave you with this room’s transformation one last time, because vaulting the ceiling was one of the best things we could ever do for this space. In person it literally feels twice as big. Before…

…and now!

It’s funny how a horizontal photo cuts off half of the room when it used to capture the whole darn thing.

Ah that’s better.
More DIY Headboard Tutorials
Want more DIY headboard ideas? Check out these other projects we’ve made using the same basic techniques:
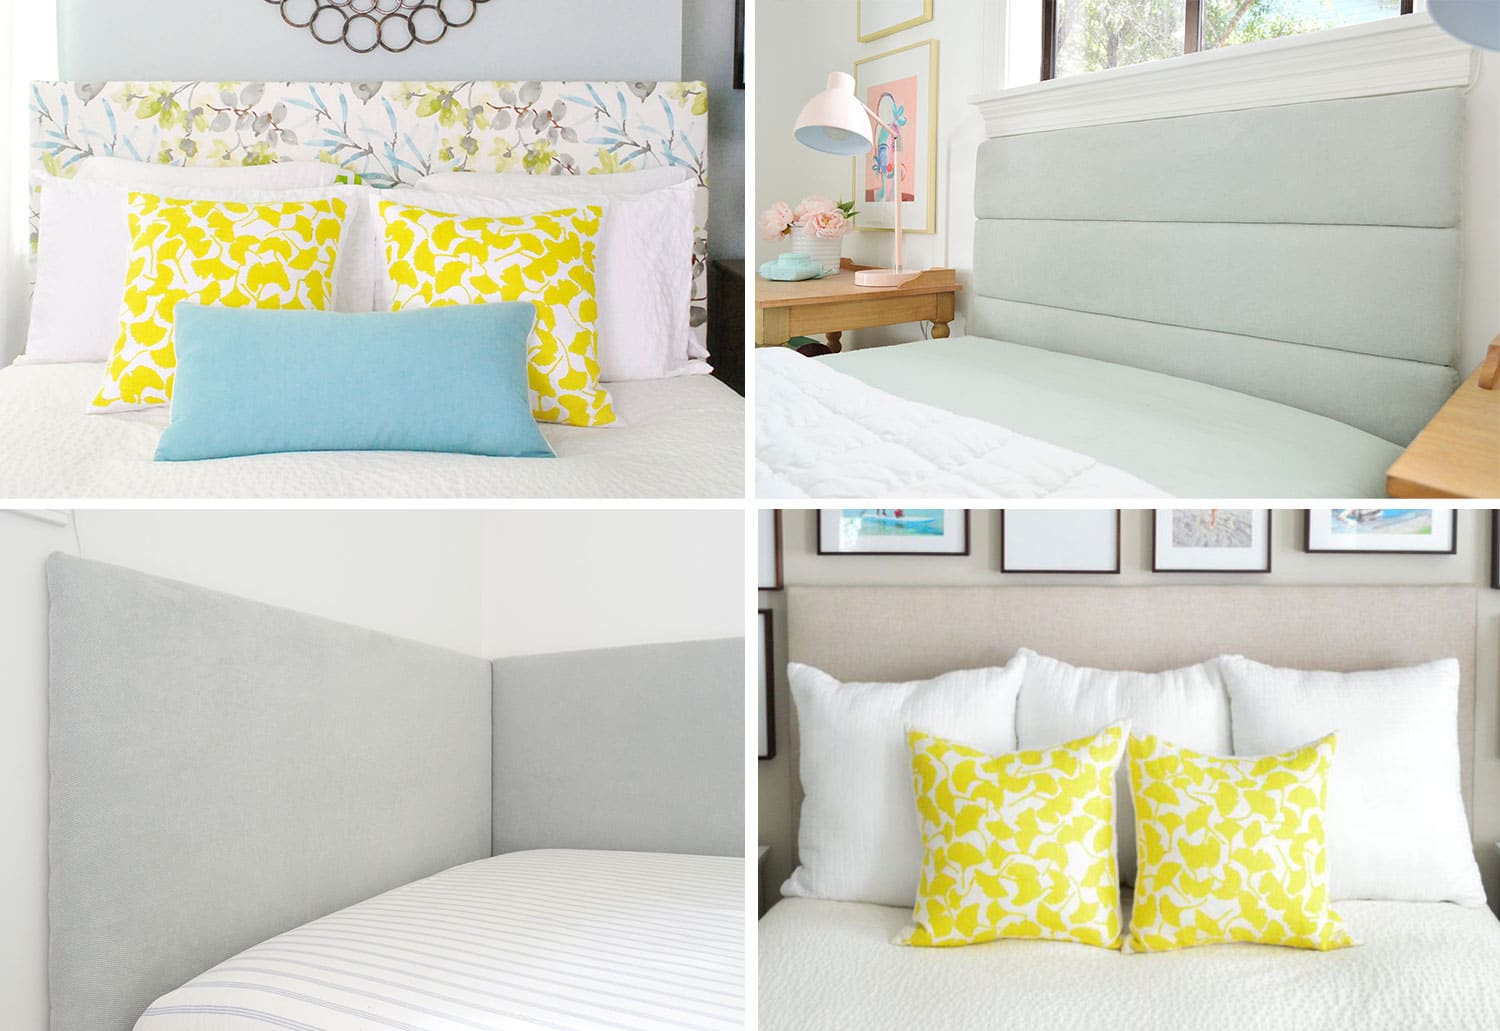
- Adding an upholstered headboard to an existing bed’s headboard
- Creating a multisided upholstered headboard for a daybed
- Making a lightweight fabric headboard
P.S. To follow along with our entire reno of this house, you can see every single update we’ve made right here in this FL House archive.
*This post contains affiliate links, so we may earn a small commission when you make a purchase through links on our site at no additional cost to you.
