The scrap wood pile in our garage was getting out of hand, so creating some scrap wood storage was a top priority in our new shed. And, better yet, we wanted to use as much of our scrap wood to actually build it! So this post covers the steps we took to construct this easy and functional storage system for you collection of leftover lumber.
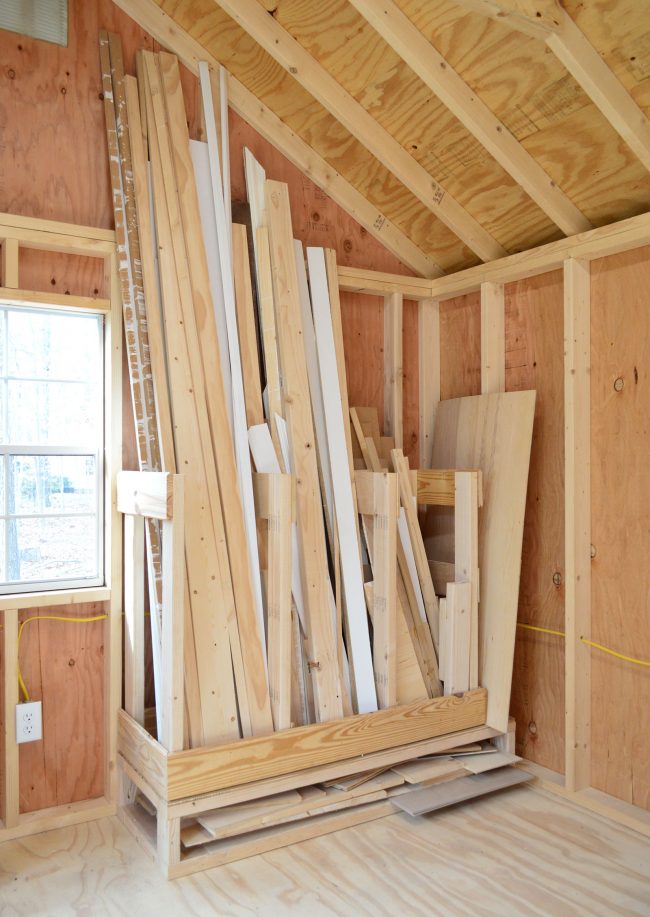
It may not be the prettiest scrap wood storage on the Internet (and it’s a little hard to see with all of wood-on-wood tones), but it’s way better than the garage pile we started with!
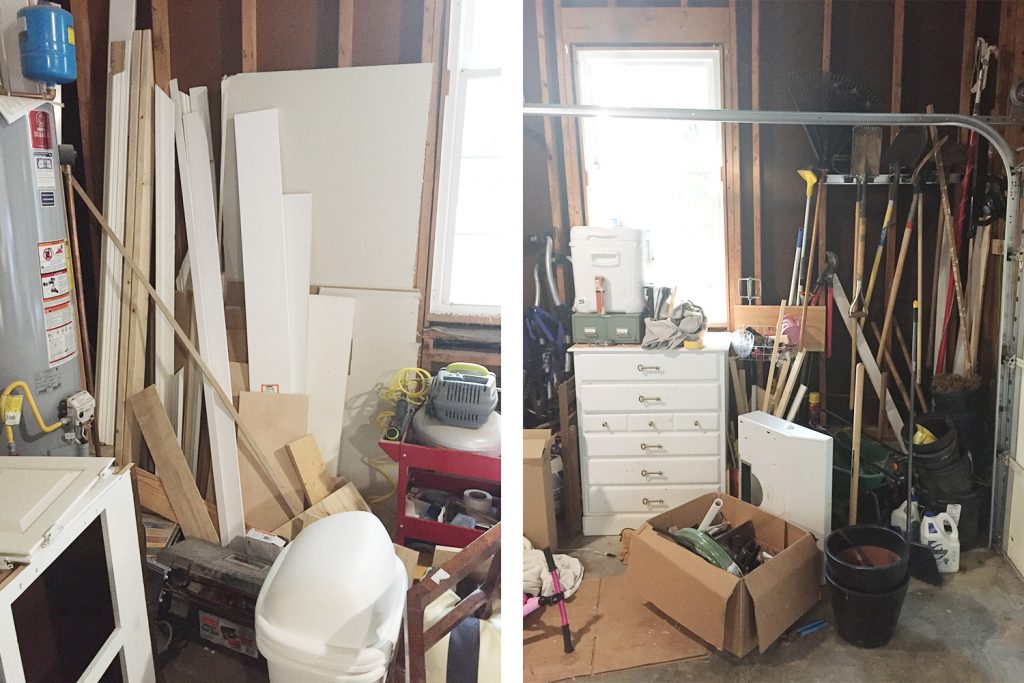
Step 1: Assess Your Scrap Wood Pile
To build this organizer, we started by bringing all of our existing scrap wood into the shed to assess the situation. You can see we had a wide mix of long boards, short molding, and plywood panels of various sizes. So rather than sort things by material or use, we decided to build something based on size.
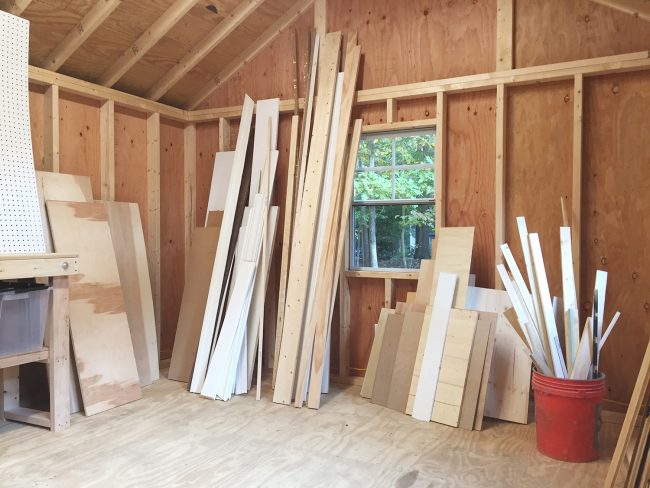
Most of the scrap wood storage systems I found on Pinterest were very elaborate (it spins! it folds out!) but I wanted to keep it simple. I also wanted to use as much scrap wood as possible to build it. I did buy a few new 2×4″s for stability, but I otherwise I didn’t buy lumber to corral my existing lumber. Here’s where I ended up, and then I’ll show you how I got there.

Step 2: Build A Base For Flat Storage
To create the flat storage area at the base, I cut some 2 x 4″s into two matching boxes. My sizes were determined by the space where I was putting it (the corner beyond the side window), but you can adjust the lengths based on your needs.
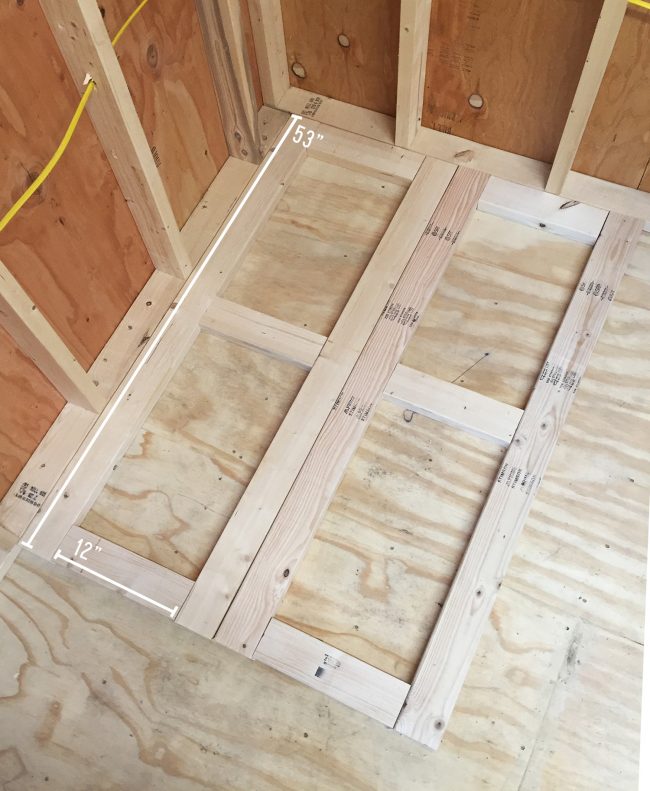
I used my pocket hole jig to attach the pieces and form the two flat rectangles, and then broke out my nailer to secure some thin plywood scraps over the top to create the bottom platform.
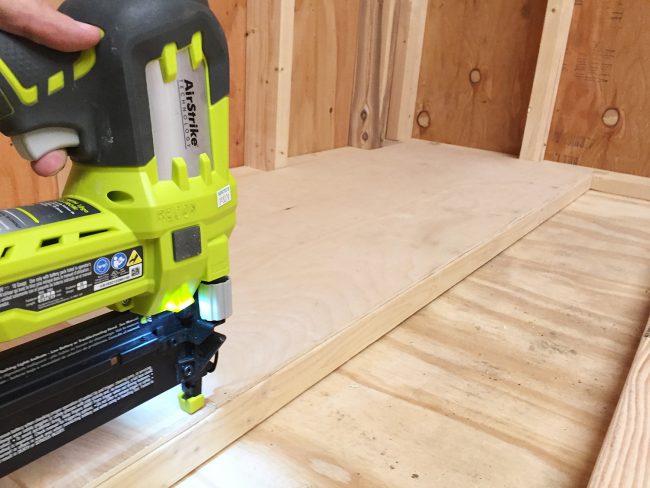
Step 3: Create A Low Storage Cubby
Using more 2 x 4″s, I cut and screwed several short “posts” along the side and back edges of the bottom platform (again using pocket holes). The front stayed open so I could slide my pieces in that way.
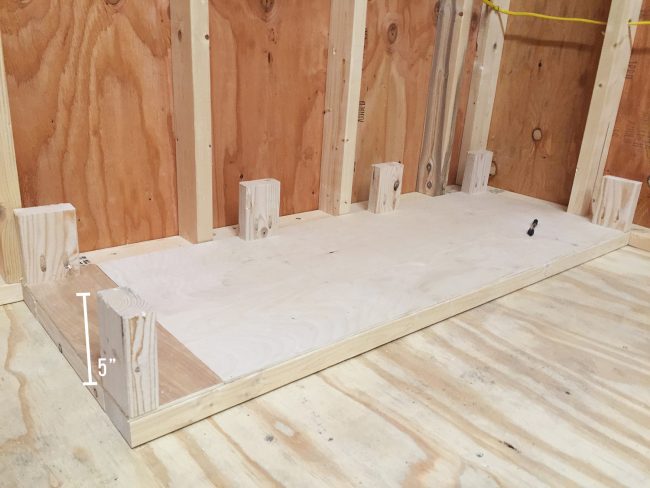
Then I secured the other platform on top of the posts by screwing directly through it into each post.
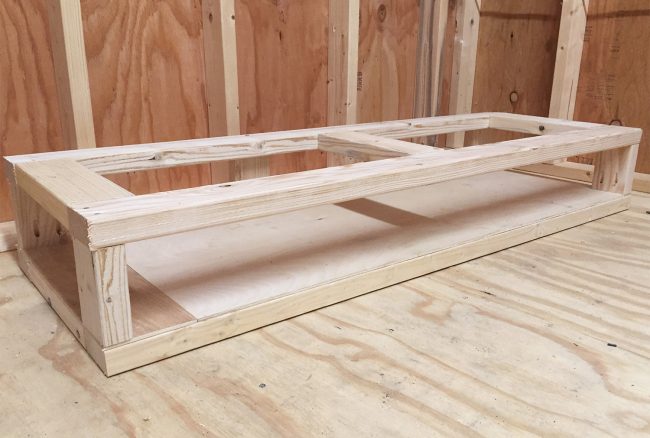
Next I nailed a thicker 1/2″ piece of scrap plywood on top. The heftier top shelf not only added support to the structure, it also would better withstand the weight of all of the wood that would be resting on it eventually.
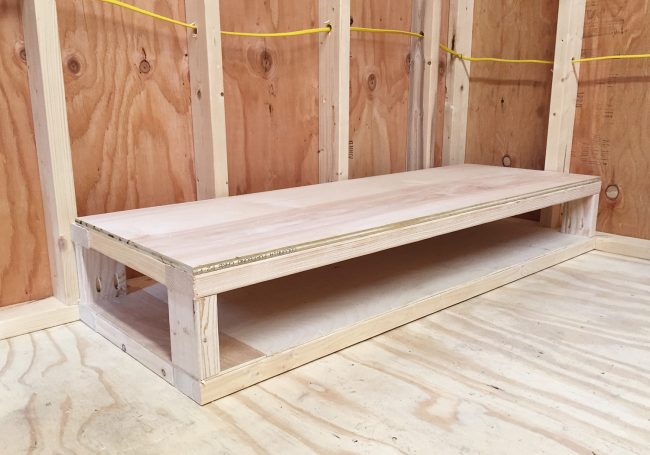
Step 4: Add Vertical Dividers
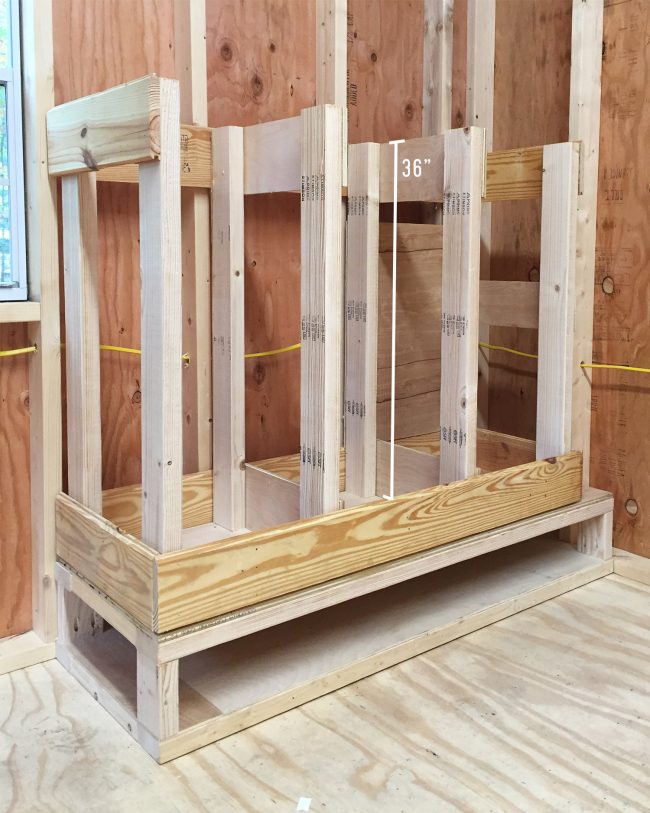
Then I cut 8 three-foot pieces of 2 x 4″ and used pocket holes to secure them to the base. I steadied each post and gave the whole structure more stability by nailing a frame around the top and bottom perimeter, leaving the top front open so I could easily lean pieces inside each open cubby. But the bottom front piece is important to keep the leaned wood from slipping out, so don’t leave that out.
Step 5: Install Backing To Contain Small Pieces
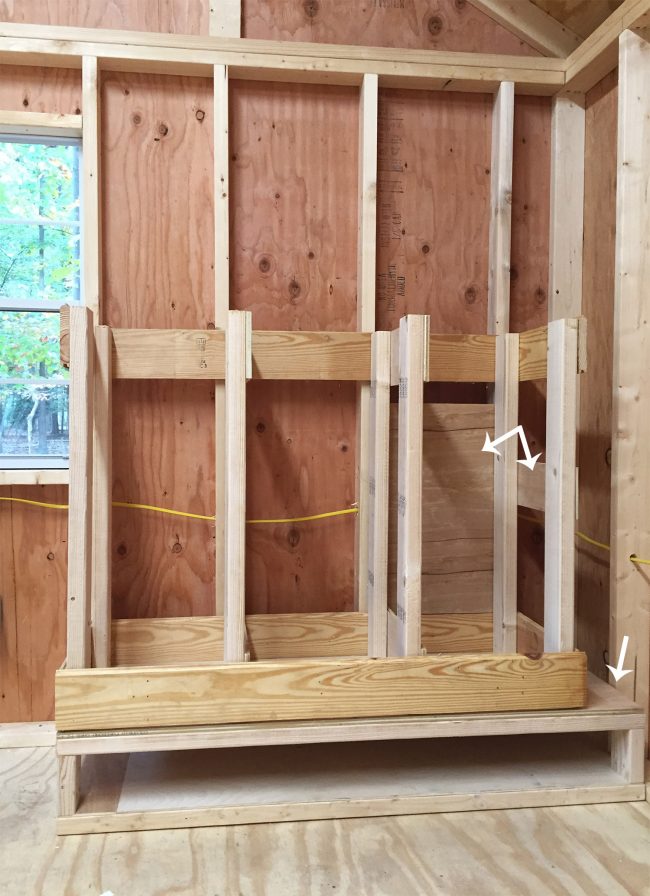
You can also see from this angle that I added extra back & side pieces to the far right compartment (which would store the smallest pieces of wood) to keep things from falling through the sides. I also left a gap on the right side of the organizer where I could slide in large flat pieces against the wall.
Step 6: Fill With Your Scrap Wood!
Here’s that after again. It’s a bit fuller than I wish it was, but now that I can find pieces more easily than before (it’s all in one spot! it’s organized by length!) I’ve already found myself making fewer runs to the store and relying more on leftover scraps.

The only thing I might still add is a small basket or bucket mounted to the wall so I can toss in small leftover blocks of wood. I find those handy to have around for things like propping up an item that we’re painting or spray painting so it doesn’t get stuck to the tarp or cardboard underneath. Also, I clearly have a problem not throwing any wood away. The first step is admitting you have a problem.
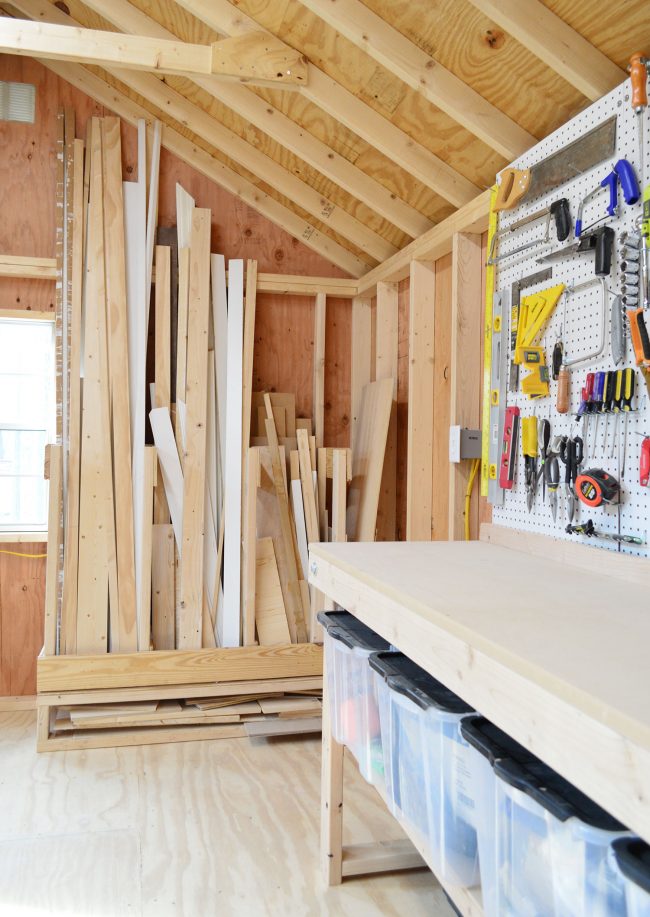
If you’d like to see more of this shed along with a bunch of other shed storage ideas, we’ve got a round-up in this shed organization idea post.
