We had a totally different post planned for today, but then a super fun/random project fell into our laps on Monday night. We weren’t sure how things would turn out (we were kinda making up a DIY technique as we went along), but to say that we’re pleasantly surprised is a giant understatement. This might be my favorite under $10 project in the history of my life. And it could easily be repeated with any window you find at a thrift store, architectural salvage shop, or even at your local Habitat for Humanity ReStore. SAVE ALL THE GORGEOUS OLD WINDOWS, GUYS!
Or you could just wander the streets hoping to be in the right place at the right time – because that is actually how my tale of inheriting this window begins. If you follow me on Instagram Stories, you may have heard me gleefully tell The Fateful Tale Of The Old Diamond Window, wherein I randomly took a longer route on my evening walk and it resulted in me coming down our street about 10 minutes later than I usually do, and at that exact moment I bumped into our neighbors as they were loading an old diamond-paned window into their truck to take it to the dump. They looked up as I walked by and said “Hey Sherry! Do you want this old window? It’s super rotten so we were going to take it to the dump, but maybe you can do something fun with it?!”
I hope you know how insane my face was when I essentially screamed into their faces “YES I WANT IT SO BAD THANK YOU VERY MUCH!” and ran away clutching it and whispering “my precious.”
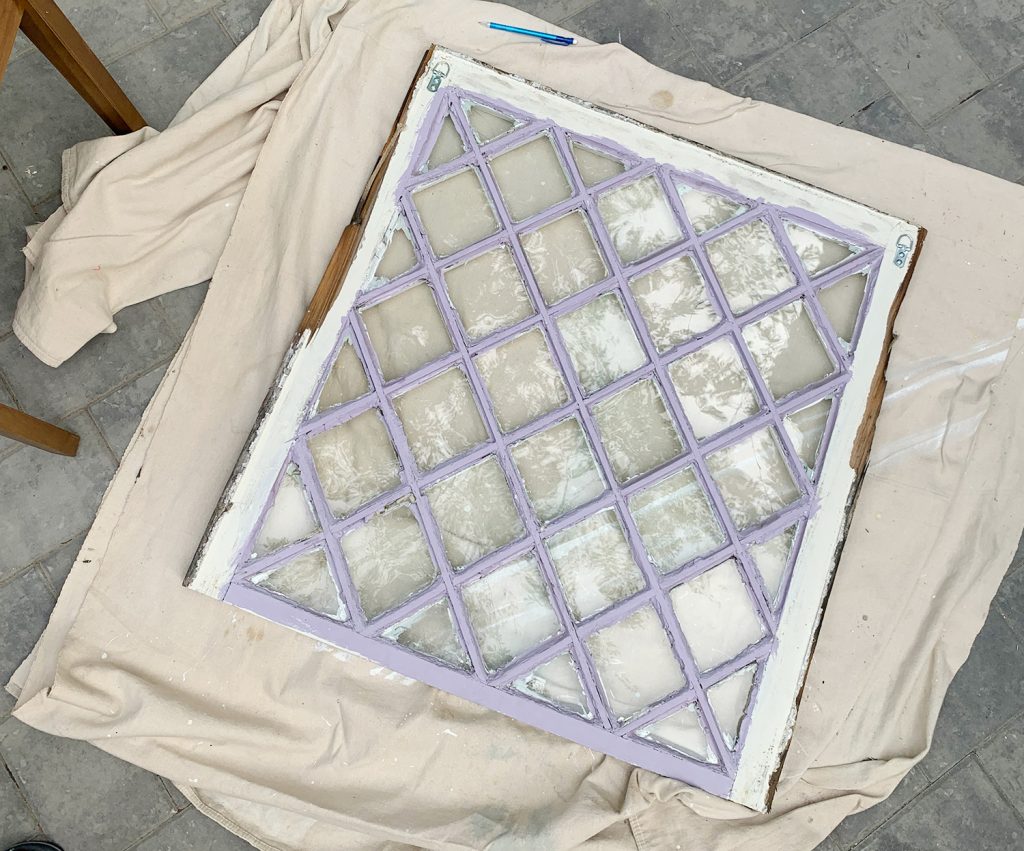
It’s white on the other side, and the purple side above was the street facing side of the window, which is, in fact, extremely brittle and water damaged (some of the trim was missing and just filled with caulk, the actual sides of the window trim were splintered and even missing, etc). So my first thought was that maybe I could paint it with exterior paint and use it in the back garden – maybe as some sort of cool trellis-alternative for something leafy to grow up.
Well, within a few minutes of excitedly chatting about some alternative possibilities yesterday, John & I concocted another plan (PIVOT!) which would mean it wouldn’t continue to get wet & rot outside… and, well, all of the pictures you’re about to see were actually taken THIS MORNING. That’s right, we started (and finished!) this project today. As in, just hours ago. And I was too excited to share my other already-written post today, so I whipped up this one for ya.
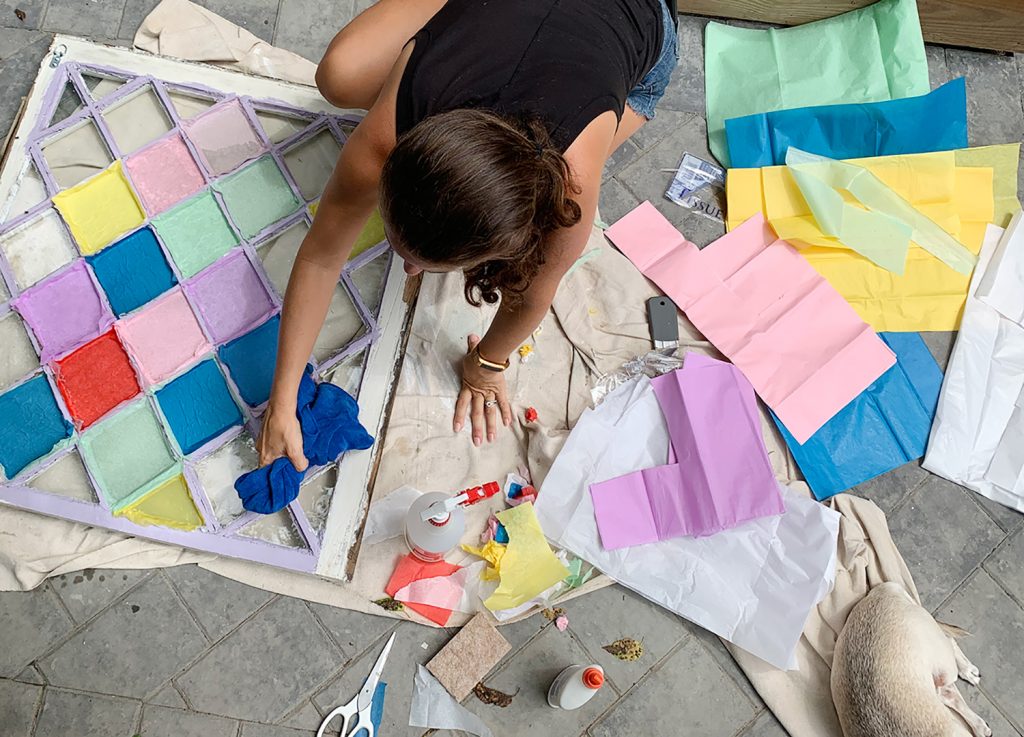
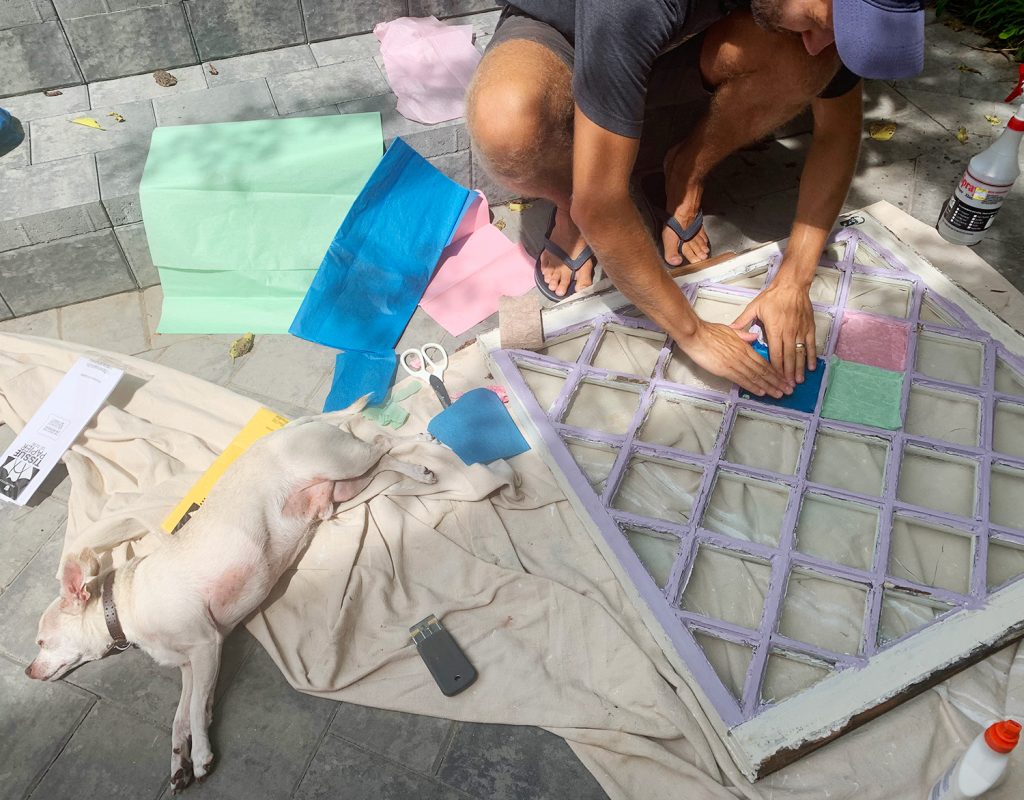
As for our materials, all we used was our free secondhand window, two D-rings to hang it, about $9 in tissue paper, and a spray bottle full of water that we already had on hand. And within about two hours (by about 1pm today) we had turned this old window into something we’re crazy about. I KNOW THIS PICTURE MAKES YOU WORRIED. It all worked out, even though this looks like a preschool project gone wrong.
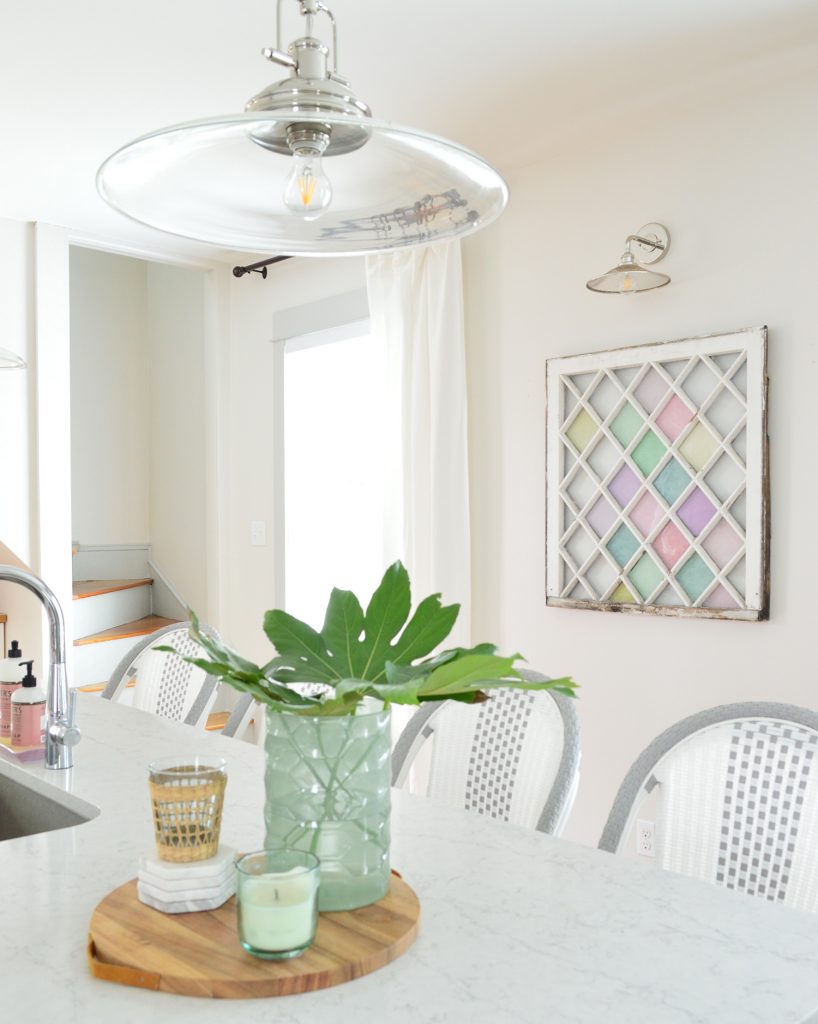
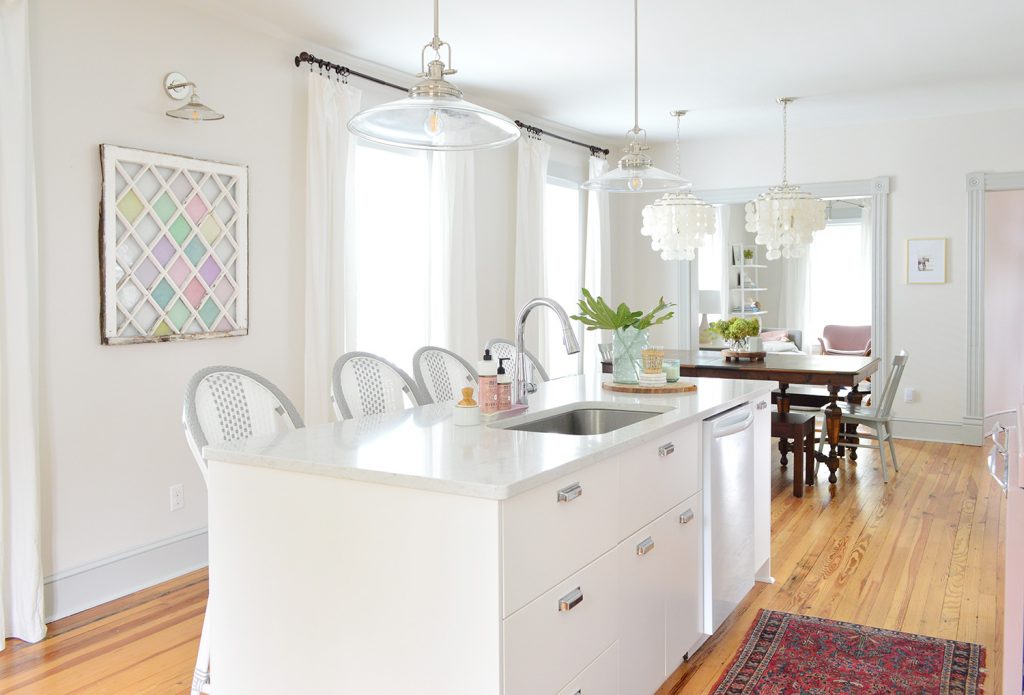
This whole thing started because I wanted to find a way to use the diamond window INSIDE of the beach house, somewhere that we could see it more than having it tucked away in the backyard and somewhere that it would be protected from the elements so it wouldn’t eventually just fall apart completely. And this spot across from the island ended up being perfect. You may remember that we had this large beachy print there before. We LOVE this print – it’s the perfect colors and is pretty affordable for a framed art piece this large, but I found a better spot for it AND it opened up that area right under the sconce for my piece de resistance: The Diamond Window Of My Dreams.
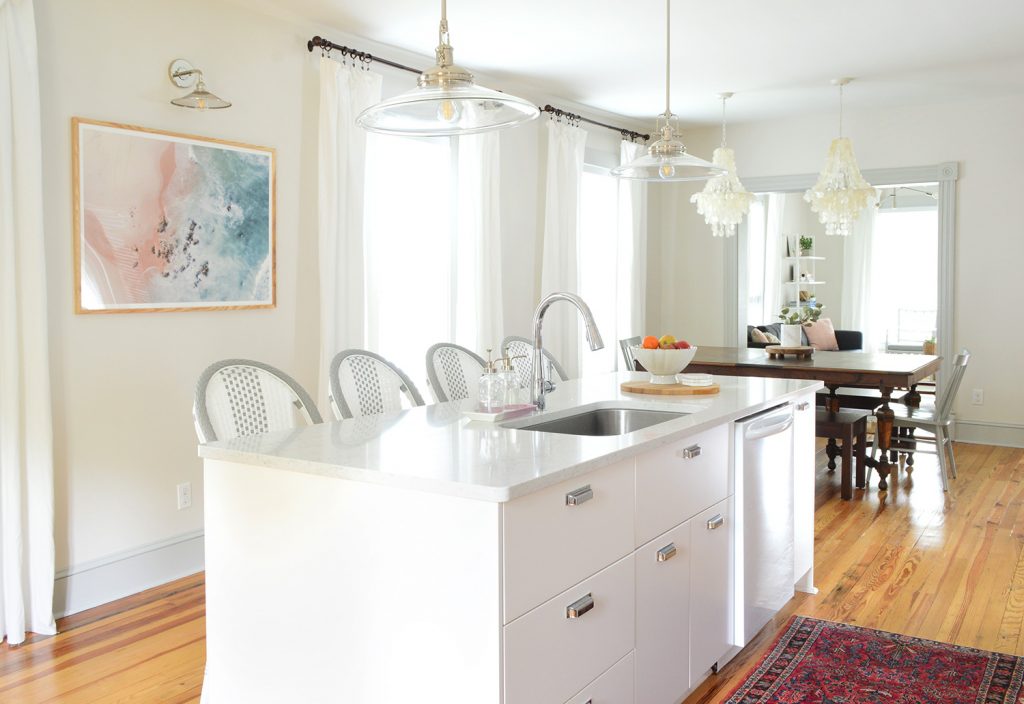
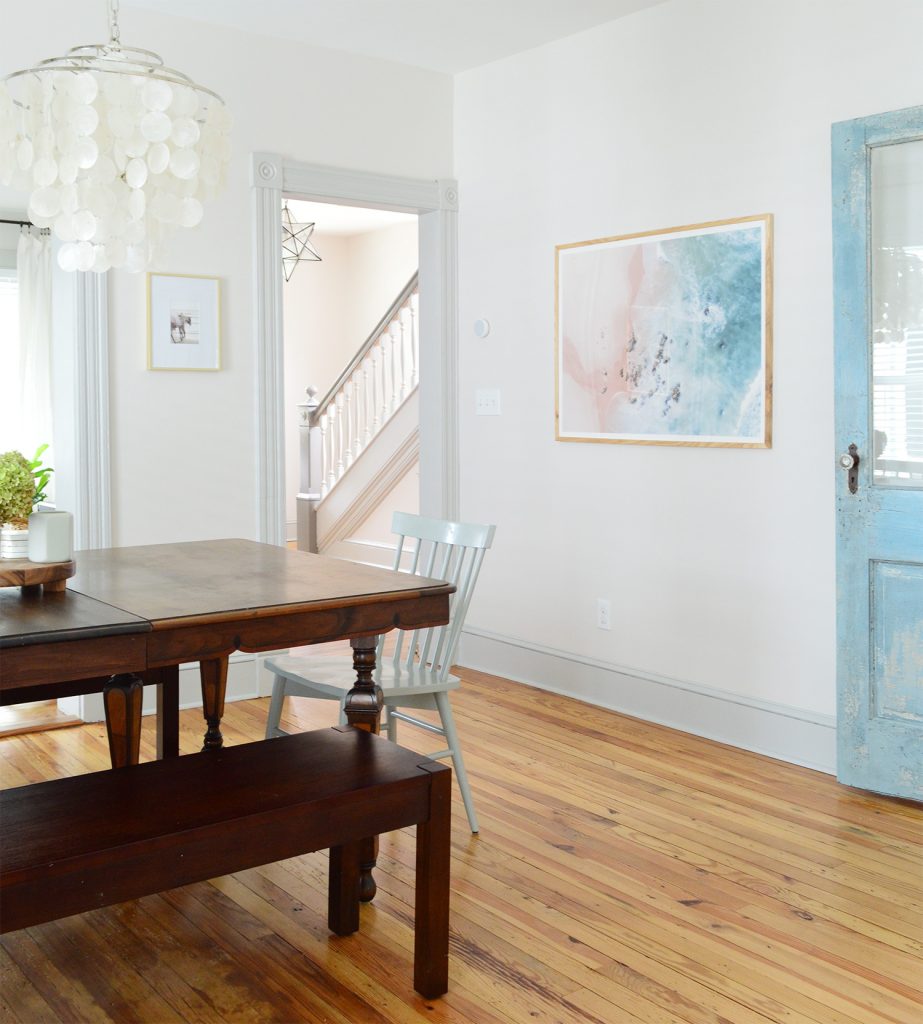
Because I know you like closure, here’s a picture of where we moved that framed print. Looks so nice over by the dining table. The colors go so well with the old chippy blue door to the laundry room.
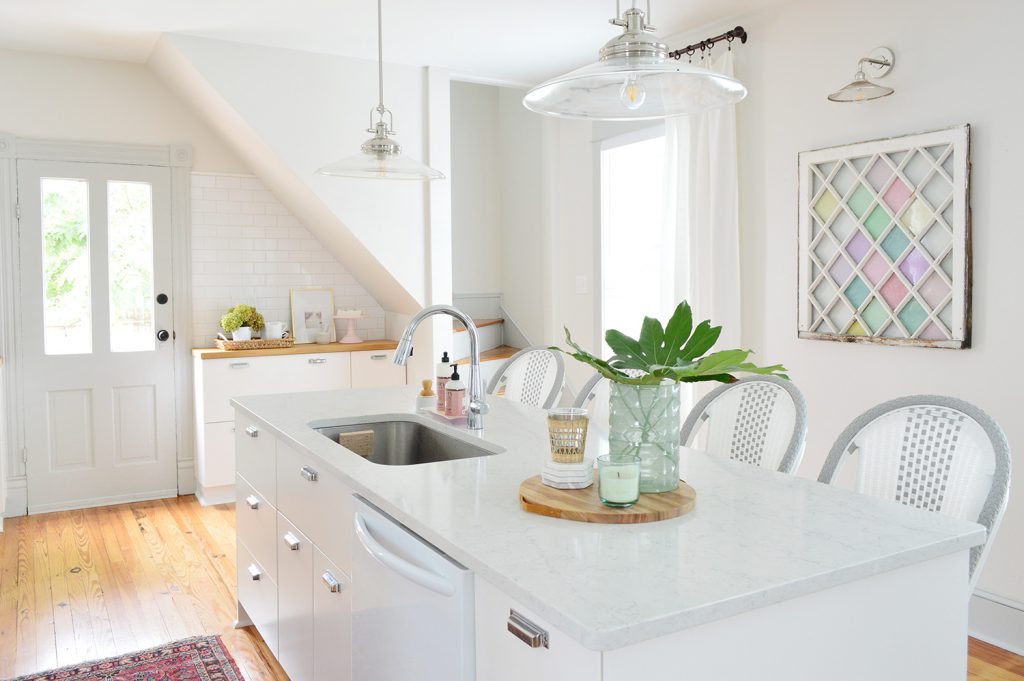
Heading back over to the sconce that now highlights The Window That I Would Marry If That Were Legal – we think it’s the perfect spot because the window is thick and sticks off the wall a decent amount, so having a sconce that sticks out above it and shines down on it feels really proportional and balanced. As soon as John held the window up in that spot yesterday I knew it would add some nice balance to the room. WINDOW DESTINY IS A REAL THING, GUYS.
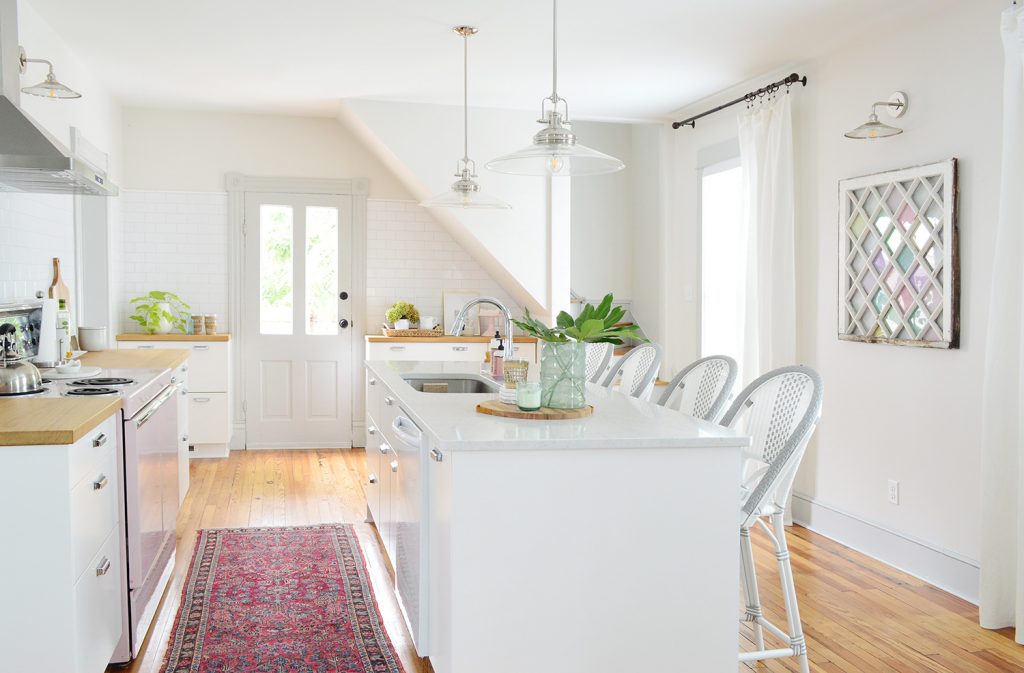
We were both happy with the idea of just hanging the window as it was and calling it a day (well, sealing it with some clear Safecoat Acrylacq since that safely encapsulates old paint that might contain lead). Buuuuuut we both agreed that it might be fun to see if there was a way to bring in some color just because it was feeling kinda white on white (white walls, white window, white cabinets & countertop in front of it, etc). That’s when the idea to try to give it a DIY stained glass look emerged. I KNOW. UH OH. That sounds like it could go SPECTACULARLY WRONG. But we already have FIVE colorful real stained glass windows in this house (two going up the stairs, and three in the attic on the front and sides of the house), so it just felt like another one would fit right in… if we could make it look good and not cheesy… (which was a big IF).
Ultimately we knew we had nothing to lose since glass can be scraped if you paint it or cover it with something you later hate. In fact we knew things like glass paint exist for these types of projects… but the craft store scene out here near the beach house is bleak. As in, the closest thing is about an hour’s drive away with an $18 toll. So we decided to improvise using a popular kids craft medium: tissue paper. I KNOW I CAN HEAR YOUR FEAR THROUGH THE COMPUTER BUT HAVE FAITH. Remember: nothing to lose. Tissue paper can go on… and it can peel right off if it looks like something a toddler made at the library and subsequently glued their hair to the paper.
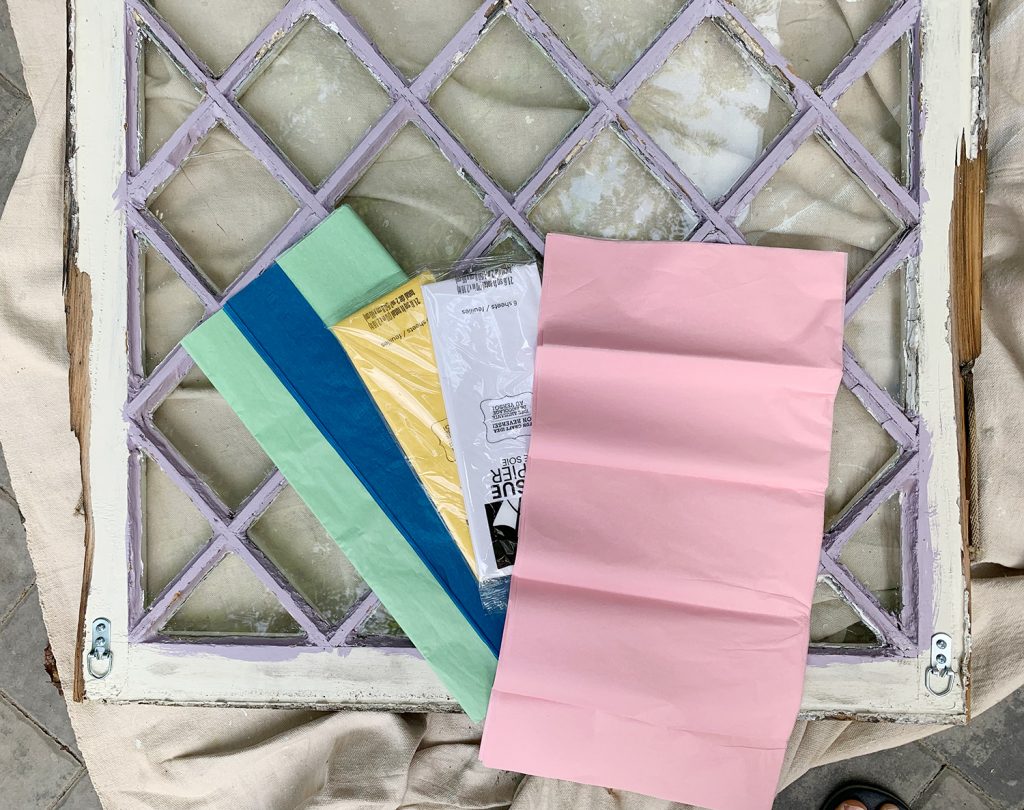
We actually already had some blue and mint tissue paper on hand for gift wrapping – and we darted out to the small local drugstore and grocery store after breakfast (THIS MORNING!) to grab whatever else we could find that thought might be fun… which ended up being some pink, violet, yellow, red, and white.
But before we could start messing around with the paper, we had to prep the window for hanging.
Prepping Your Window
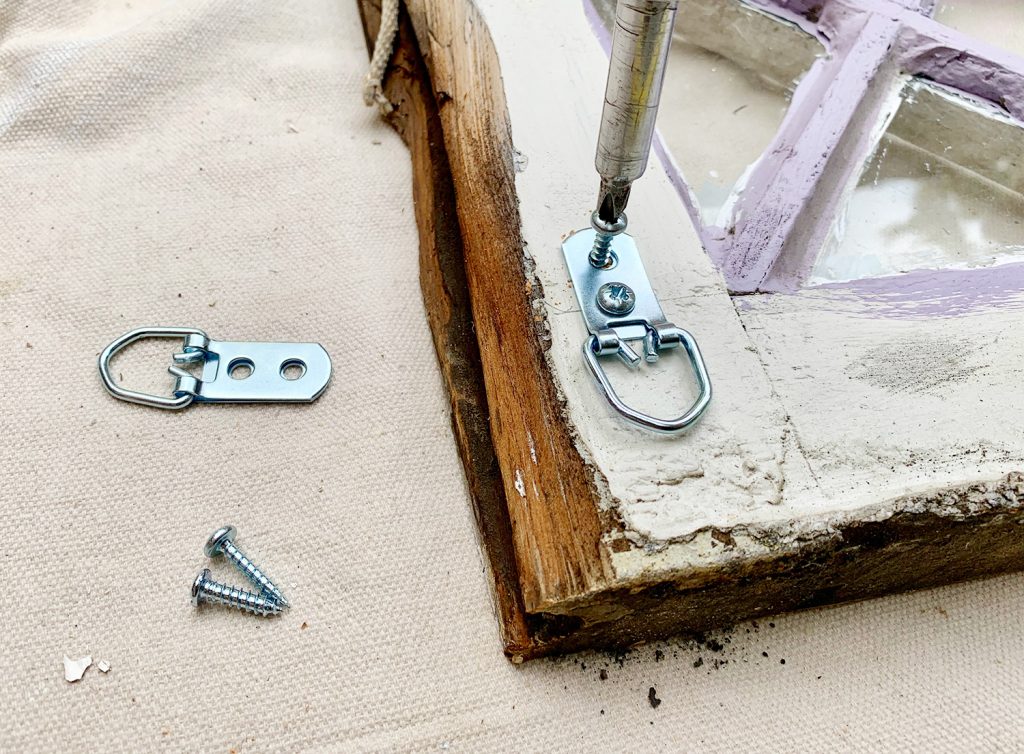
John ended up having some heavy-duty D-rings that we screwed into the back of the window to make it easy to hang. If you don’t have them, they’re just a few bucks at any hardware store. Make sure you’re hanging them equidistant from the top of your frame, since this will make it easier to get it level on your wall. We also subbed out the screws that came with the D-rings with slightly longer ones for a stronger hold (just make sure they won’t poke through the front of your window).
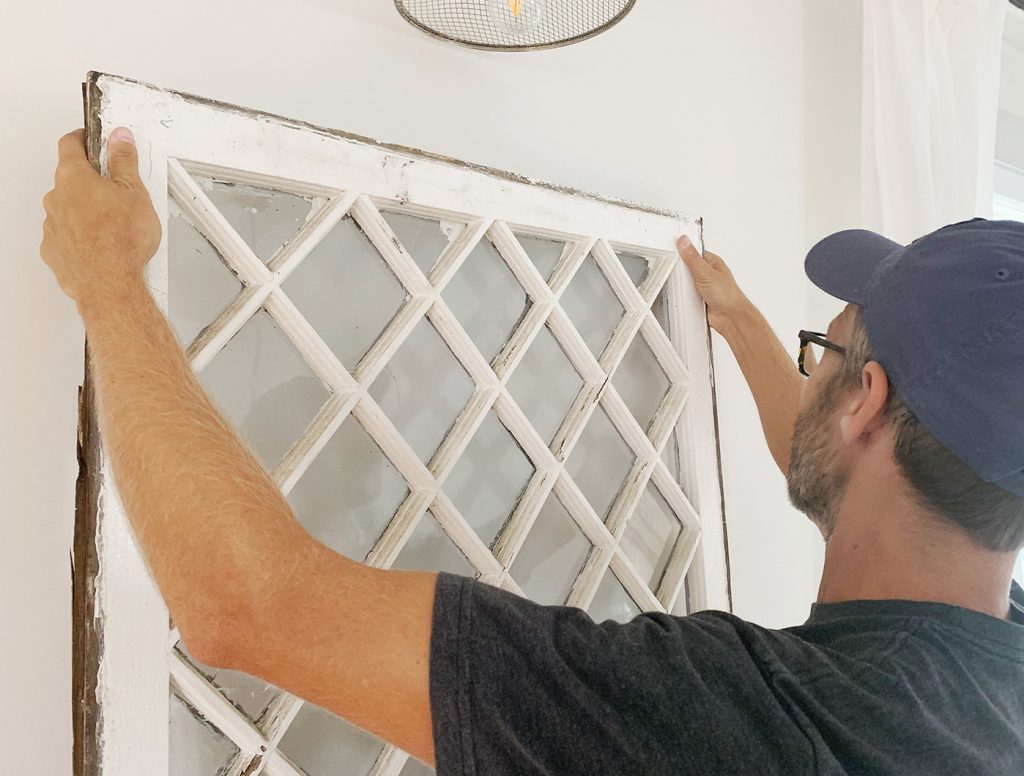
We hung it using these drywall anchors, which are becoming our go-to anchors because you don’t have to pre-drill a hole. You’ll obviously want to use a level and a measuring tape/yardstick to get it exactly where you want it on your wall. We made sure ours was centered on our sconce and the whole hanging part took under 10 minutes.
Once we “test hung” it to make sure we liked it, I spent about 30 minutes “tidying up” the glass. This meant scraping off some of the crusty paint around the edges that overlapped the glass. I like using a flat glass scraper like this and then I vacuumed up the flakes with our shop vac to dispose of it. I DID NOT SAND because there could be lead paint under the newer paint that could aerate and be breathed in (scraping could even stir up lead dust in some cases – mine were just big paint flakes that remained on the glass – but we heavily encourage tons of care with lead).
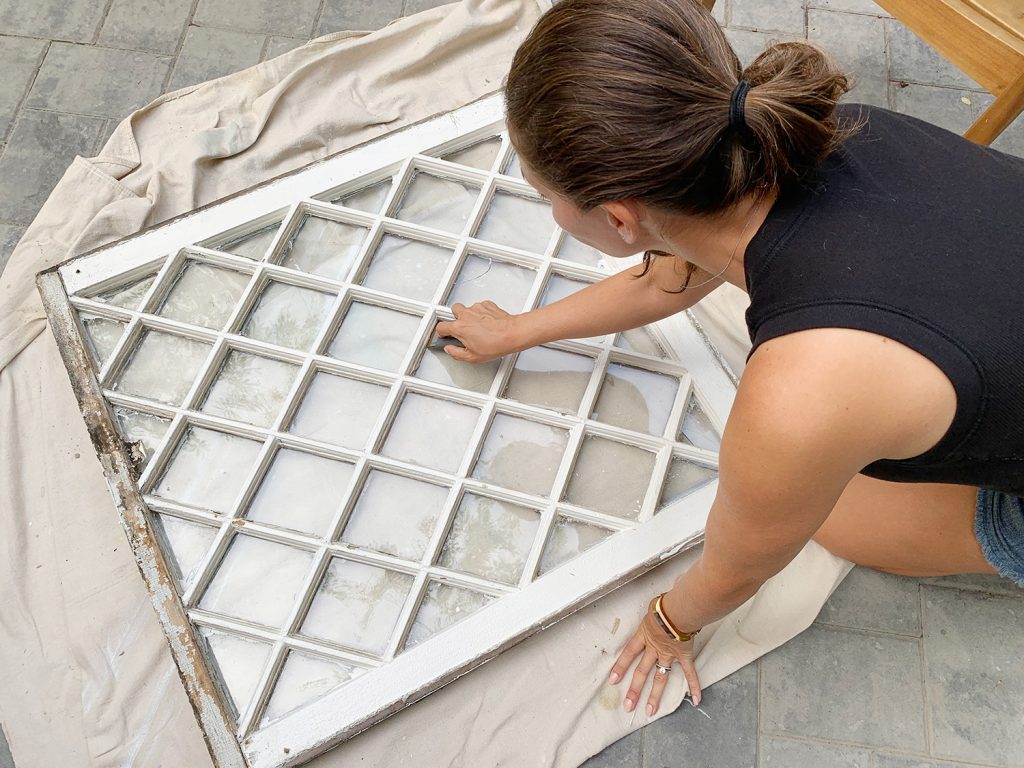
After scraping both sides clean, I used white vinegar in a spray bottle to clean the glass itself (that’s actually how I like to clean glass and mirrors all over the house – so cheap and it works!).
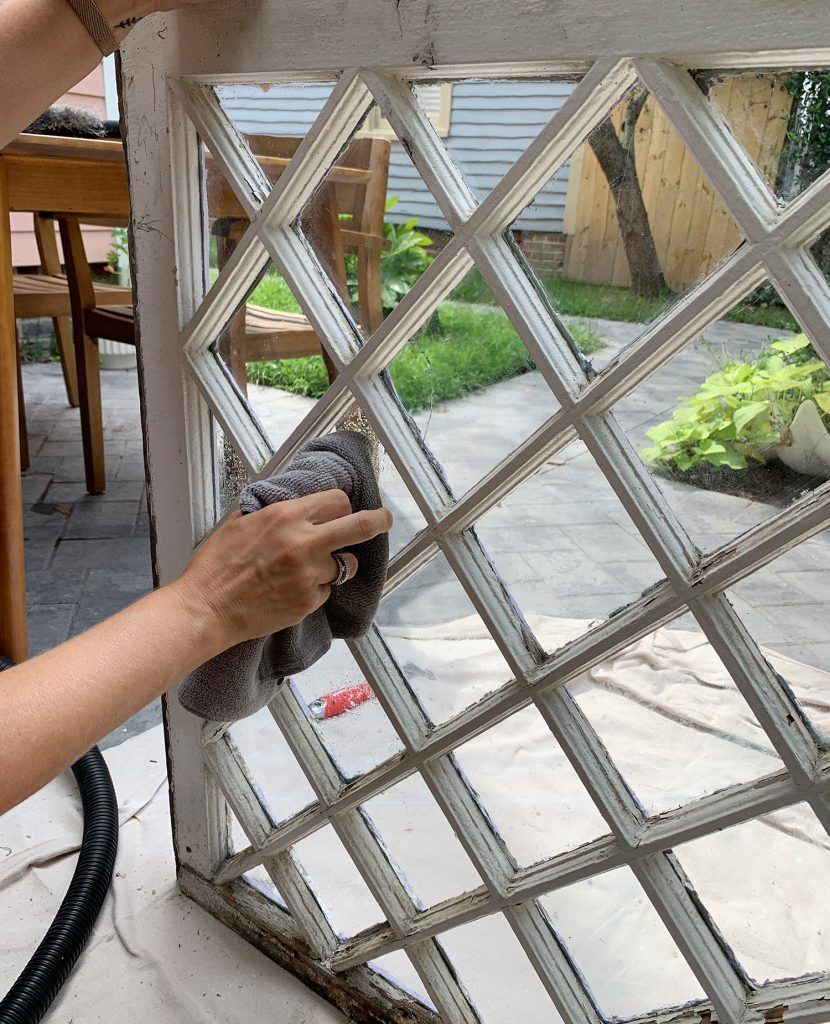
If we wanted it to look less rustic and old we could’ve done a lot more (scraping more, patching the wood with Bondo, repainting…) but we liked how it looked old and interesting. So at this point we were pretty much ready to get to tissue papering!
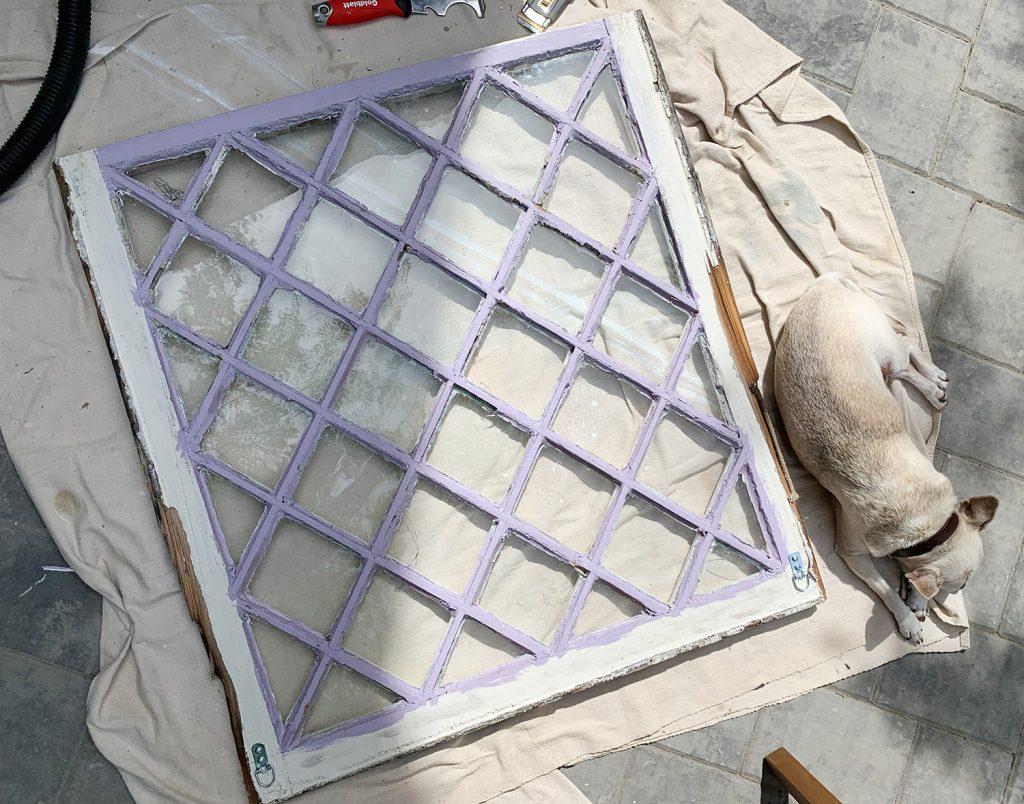
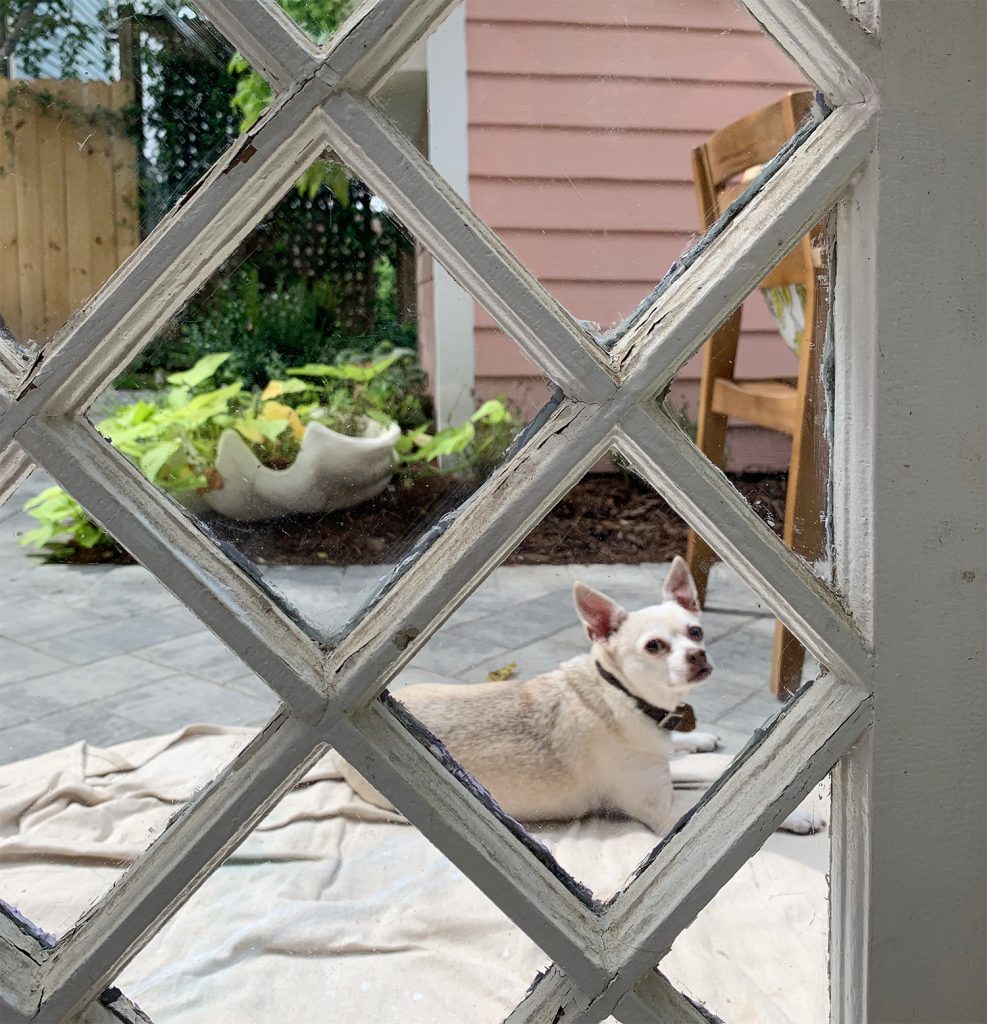
Oh, and I should point out that our chihuahua Burger was very interested in posing throughout this project. Scroll through this post when you’re done reading and count the cameos. He definitely thought he was supervising.
Applying Your Tissue Paper
We tried a few different application techniques using what we had on hand, but I’ll just share what ended up working the best for us.
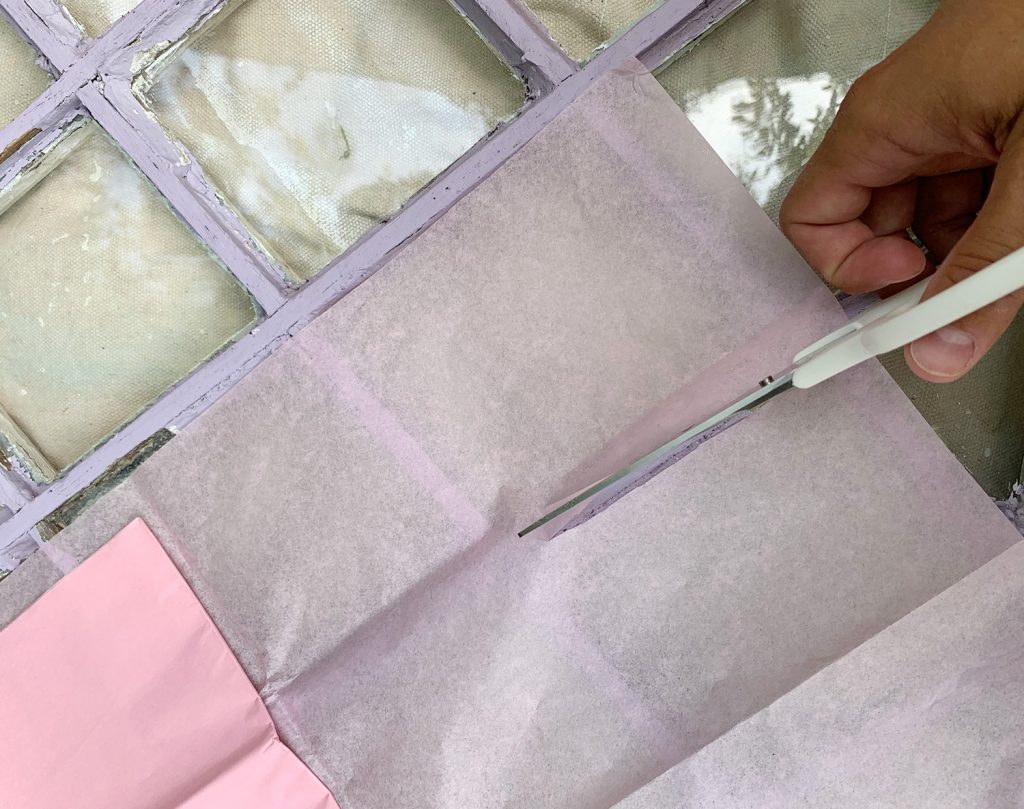
First, cut your tissue paper roughly to size. It doesn’t need to be perfect and you definitely want some overlap so it’s not too small for each window pane. You can also keep your tissue paper folded if you want to cut multiple pieces at once.
Next, spray the glass surface generously with water using a spray bottle. You don’t want a puddle of water, but generally we found more water was better than less.
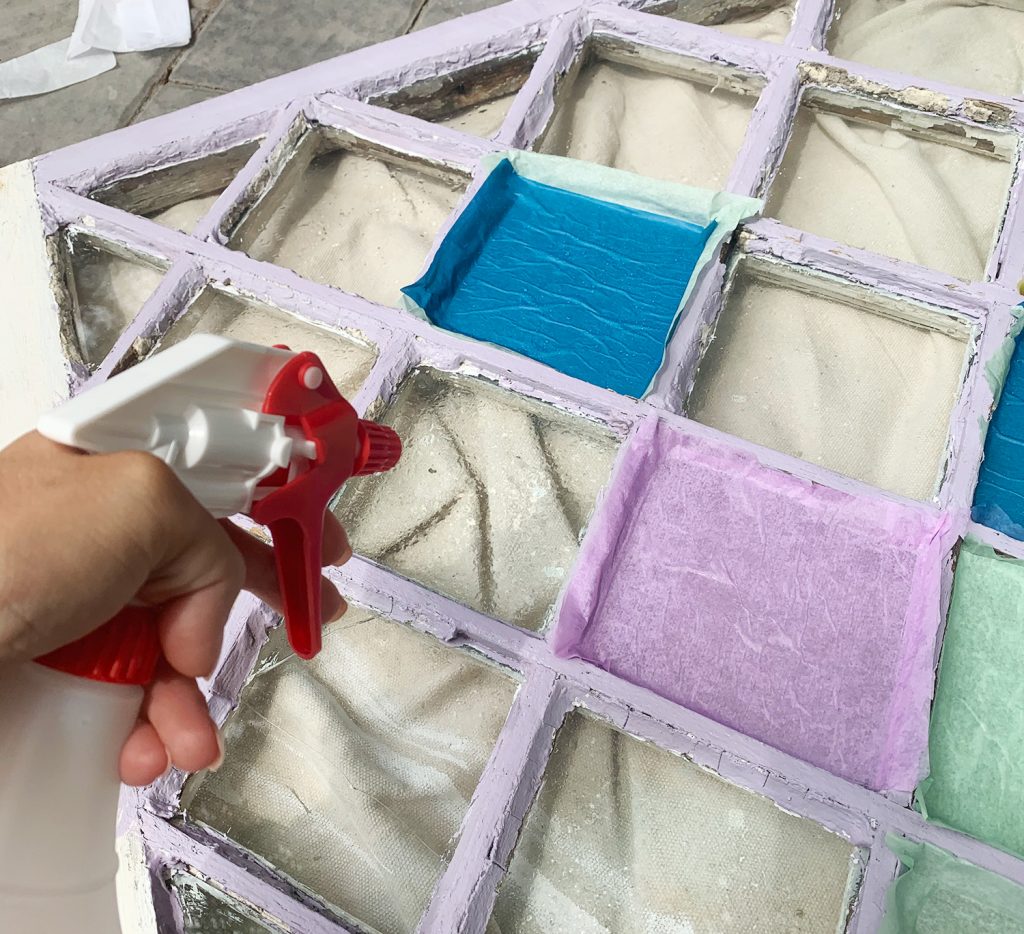
Next, place your tissue sheet on the glass, starting in the middle and gently smoothing it towards the edges. You can use your fingers to press it into the creases, but wet tissue paper is delicate, so take it slow. We tried pushing it into the corner with a straight edge (like a credit card) but it often tore the paper, so we found that just using our fingers was best.
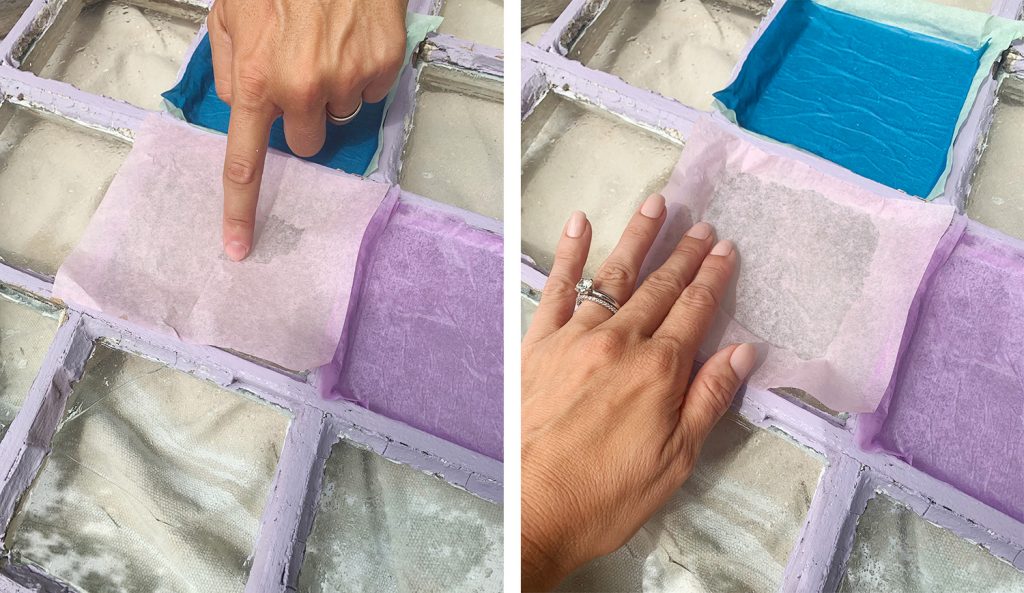
We experimented with multiple layers of tissue paper too (sometimes of different colors) to create different hues and varying opacities (the more sheets = the bolder the color). To add a second or third sheet, repeat the steps above. Spray over the existing tissue paper and press down your next sheet – first with a finger in the center, and then tap it down all around the rest of the pane.
You can see that our papers hung over the edges a lot, but as long as there’s not too much excess – it’s not at all visible from the front side.
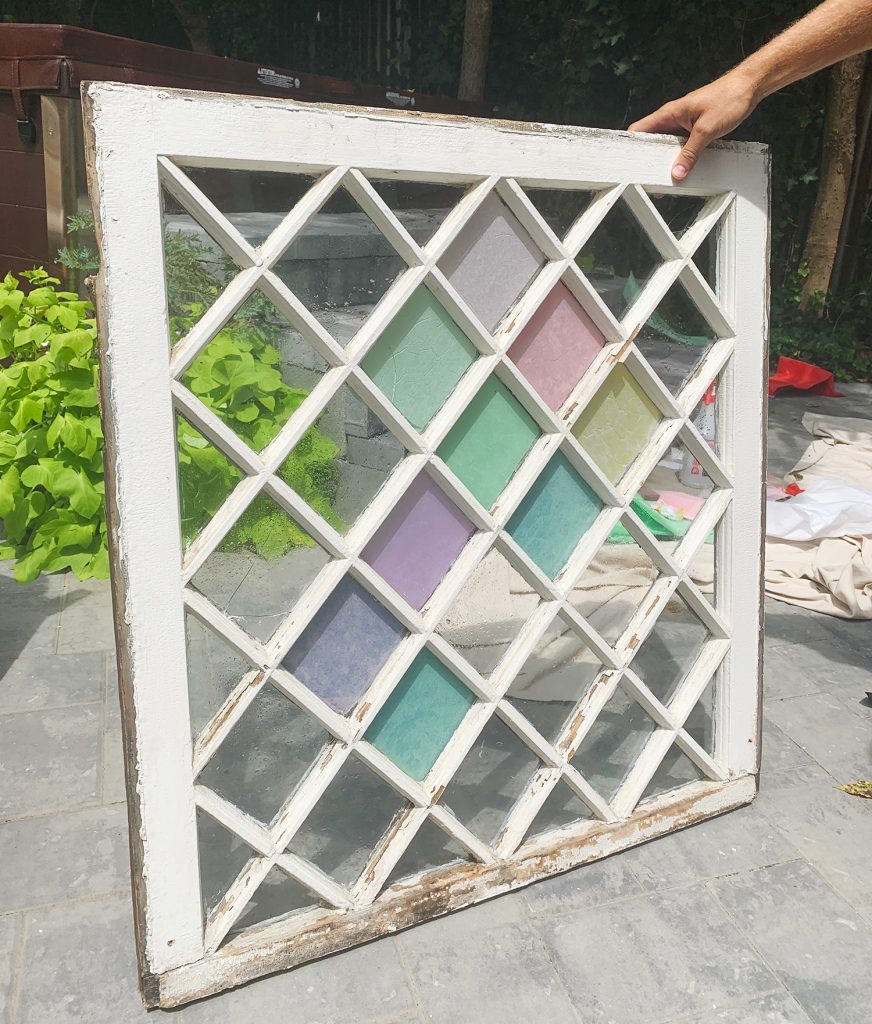
Even though it looked kinda crazy from the back…
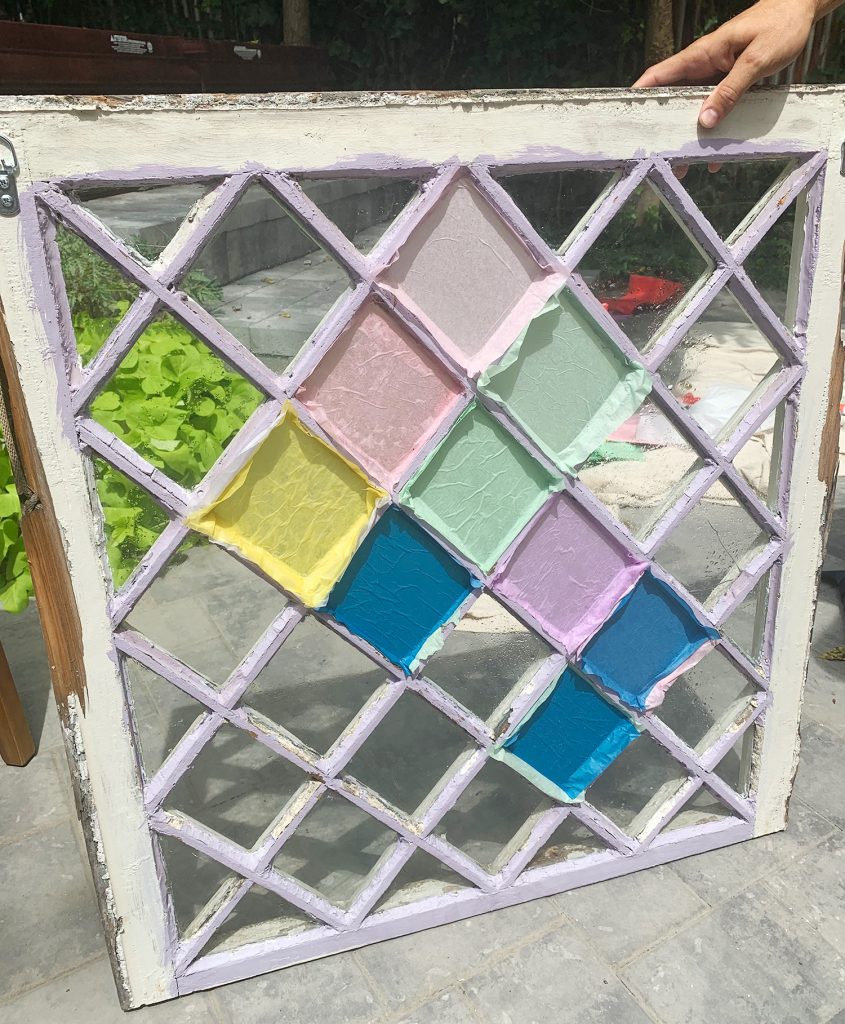
Oh and when you finish with your spraying & sticking technique – let it fully dry in that horizontal position. I think if we hung it while it was still wet it would have stuck to the wall and made a huge mess. Only hang it once it has all dried and molded to the glass firmly.
NOTE: Obviously this method only works if you hang the window on the wall so you just see the front because the back is butt ugly. Also, this project is less than 12 hours old, so we’ll update you on how well this water only technique holds up. Our tissue paper completely dried and molded itself into place without anything bubbling or shifting or coming loose. If things somehow change over time and unstick, my next attempt would be to mix Elmer’s Glue or Mod Podge with water and stick them on from behind with that concoction, which I’ve heard works but might result in more creases and obvious “this is tissue paper” evidence, hence the water-only first attempt.
Picking Your Colors & Pattern
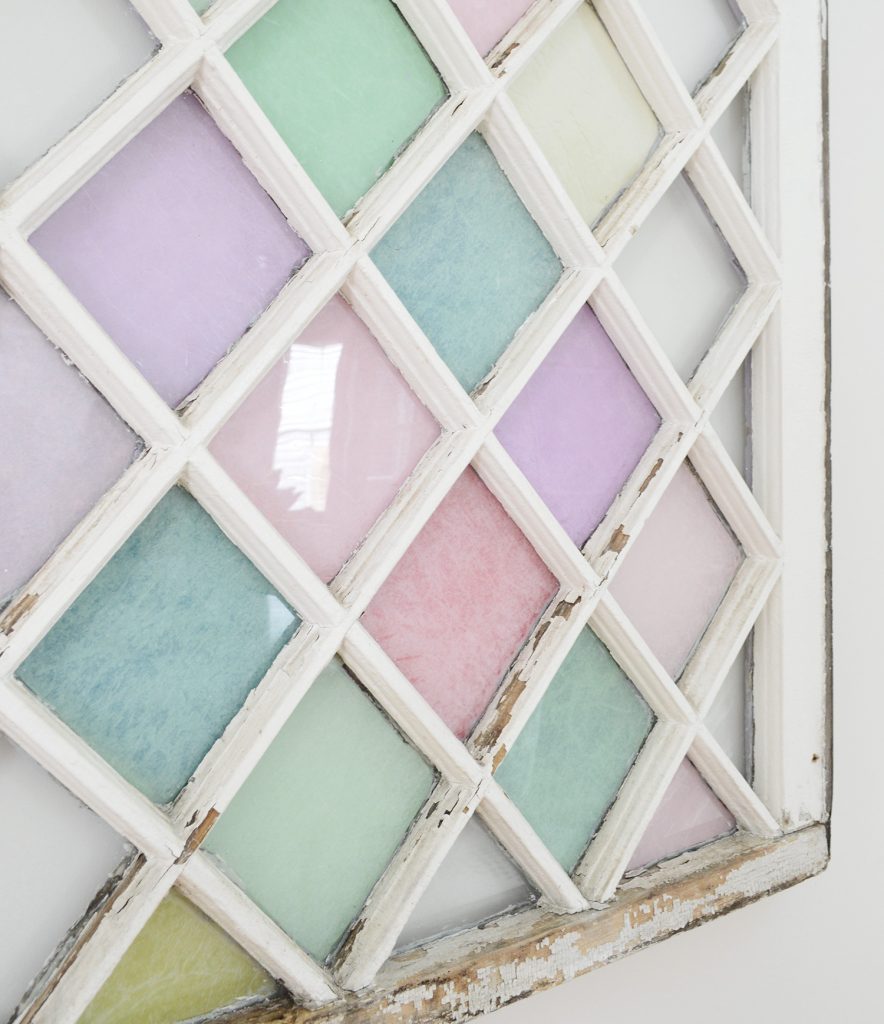
Not only were we winging this technique, we were also making up the pattern and colors as we went along. So it’s worth taking some time to just test out what colors you can create using whatever tissue paper colors you have on hand. The photo below is of our “test board” where we were just seeing what would happen when we combined different layers of different colors (the water spray method meant anything we didn’t like could very easily be peeled off without much effort before it dried).
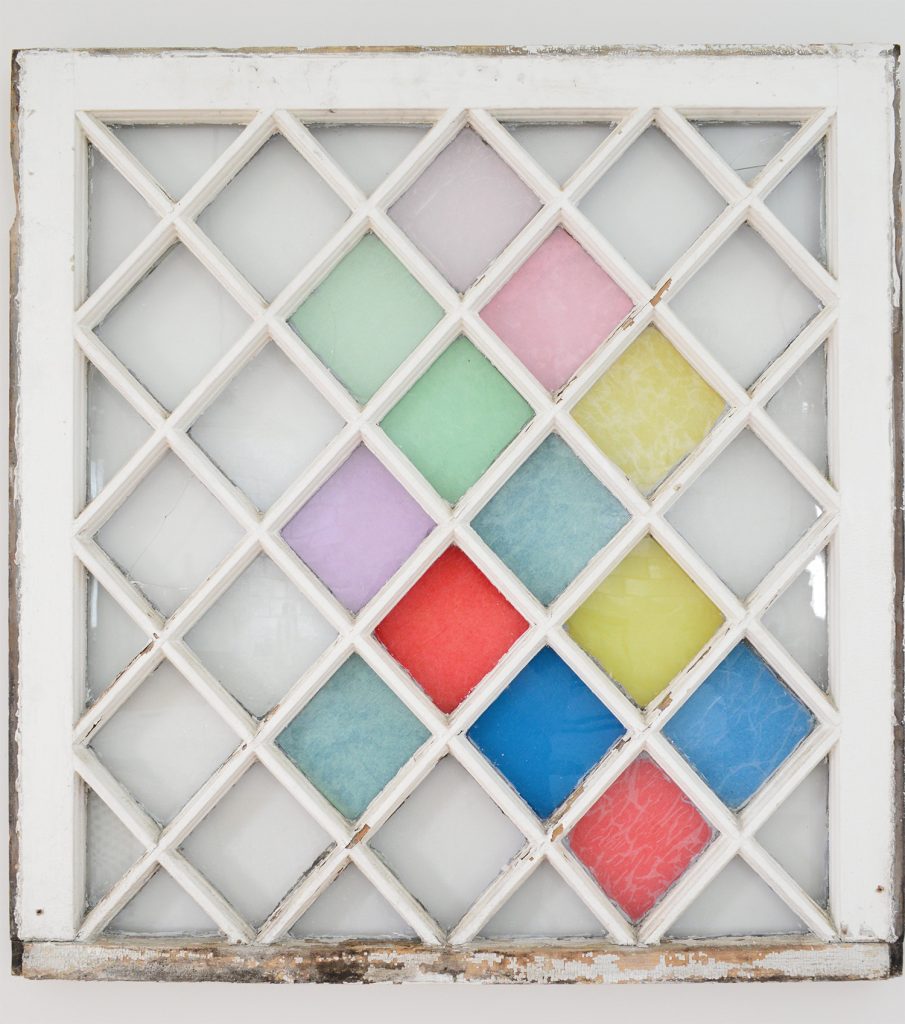
You can see a few of the lower colors we tested were more bold and primary than we preferred, and we noticed that the brighter colors looked a lot more veiny and uneven – especially when we layered white under them to try to mute them a bit from the front (FAIL!). So we very happily peeled off the too-bold primary colors we didn’t love, as well as the white + primary ones that looked all veiny and wrinkled in the bottom left. Then we rejoiced that the colors we liked the most tended to look the most like actual stained glass (the top ones).
All of that experimenting also taught us that layering the royal blue behind a few layers of lighter colors (like two mint sheets or two pink sheets) or putting a fire engine red square behind two sheets of the violet paper gave us interesting variations, which helped to create a more varied final look.
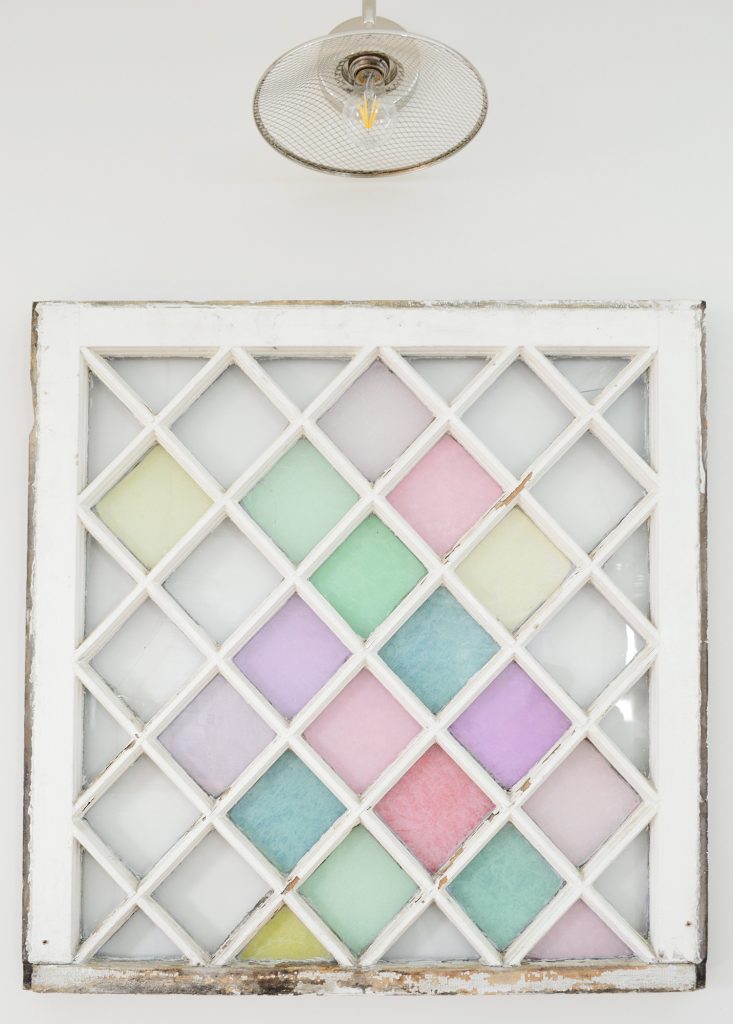
As for the pattern, we contemplated a super symmetrical/traditional stained glass look at first. But whatever I doodled on my phone ended up looking more traditional than we wanted. So we ended up just kinda making a random/organic pattern. Basically putting a few down, holding the window up, and making judgement calls about where to put the next one and what color to make it.
We realized afterwards that the whole thing ended up looking very Matt Crump-y. I love this notebook of his so I’m completely enamored to have a window version to call my own.
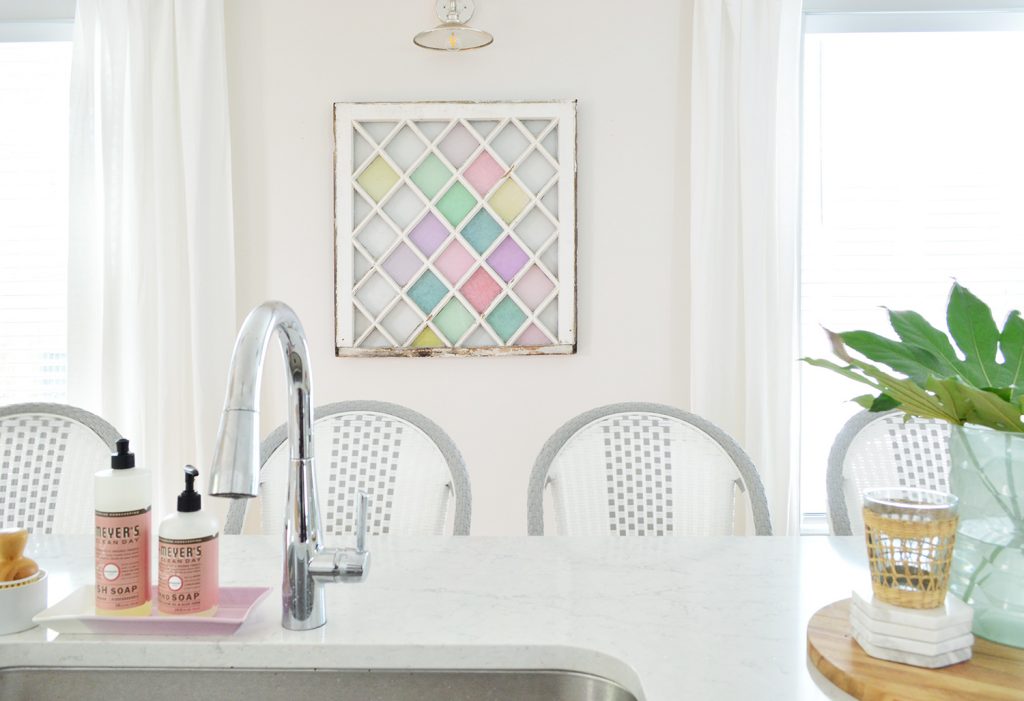
I am glad we decided to leave some of the pane totally empty, because I think the reflective glass surface itself is a big reason why it looks so pretty hanging in this room. It’s constantly catching reflections from the various windows and doors in the space, meaning it almost glimmers as you walk through the room. And it’s old wavy glass. MY FAVORITE.
Pictures can’t do it justice. Wish you could all come wash dishes at my sink and stare at it with heart eyes.
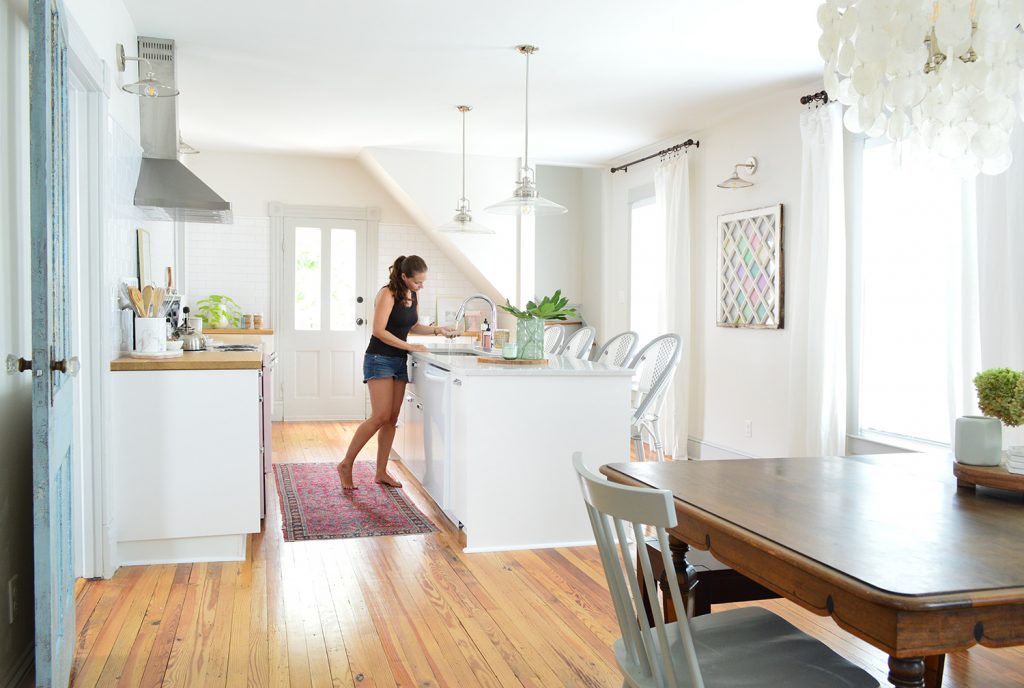
So again, I’ll keep you posted on how this DIY stained glass technique holds up over time, but for now we’re feeling pretty plucky about what we were able to pull together in a few hours.

Oh and if you’d like to see some other affordable projects that we’ve tackled over the years, this Crafting & Art category has a lot of ideas for ya. The big home renos are fun, but nothing makes you feel all giddy and excited like a quick & easy project that actually goes your way! They do exist!!!
P.S. Speaking of art, our sweet friend Jenny Komenda is now carrying two photos that we took & framed at the duplex in her print shop (Juniper Print Shop). They’re available as digital downloads that you can print & frame yourself or as prints that you can order that come right to your door. We’re so excited to see Love and Station among all of her lovely prints!
*This post contains affiliate links*
