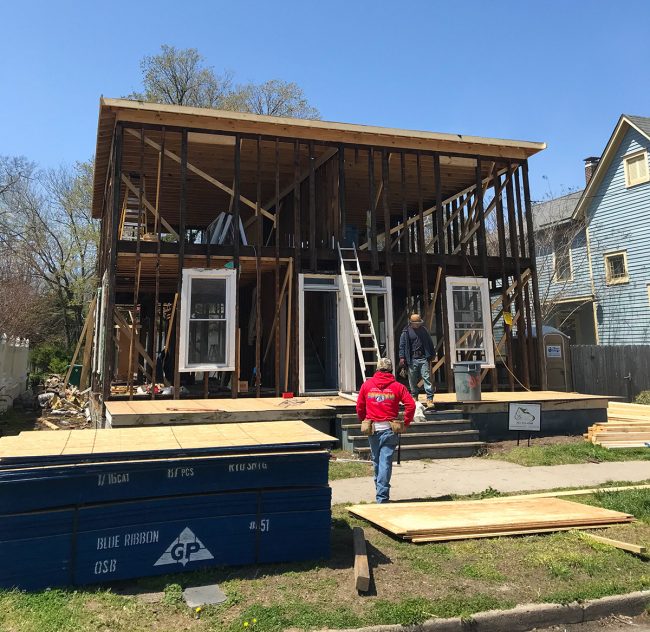
Last time our duplex renovation was on the blog, it was still looking like shell – er, skeleton – of its former self (see below). The stench of potential was thick in the air (how’s that for a mental picture?) and today, nearly a month later, we’re gonna blow a big whiff of progress in your general direction.
We’re starting to see our new floor plan come to life, the second story additions on the back of the house (two more bathrooms!) are nearly complete, and the rain held off just long enough last week to get the front windows in – including Sherry’s precious diamond-grille windows in the top middle (if you follow us on Instagram, you know she’s more obsessed with them than I think any normal human has ever been).
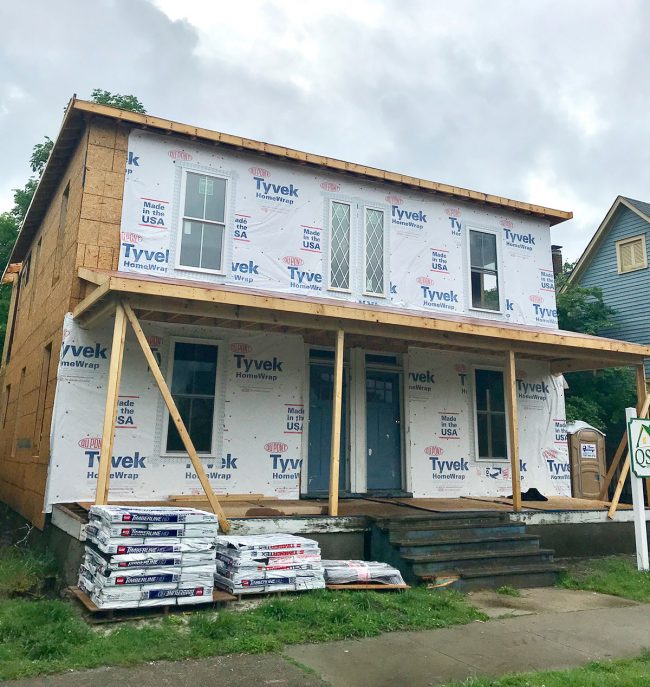
As you can see from that picture above, it’s actually starting to look like a habitable structure again. Sherry made a video walk-through to show you all of the progress, so pressing play below is the best way to get the full picture of what has changed (and what’s up next on the agenda). There’s also another tweak that we made in the back bedroom that makes a GIANT difference, which is a lot easier to see on video. Just watch it below or here on YouTube. NOTE: If you’re viewing this in a feed reader, you may need to click through to see the video.
Since our last video tour, the biggest interior change has been the completion of structural repairs and new framing. You may remember that during demo we discovered some areas were worse than we thought, namely the back corners where a porch had been enclosed. How could you forget this GIF of our contractor Sean demonstrating how flimsy the old framing was?
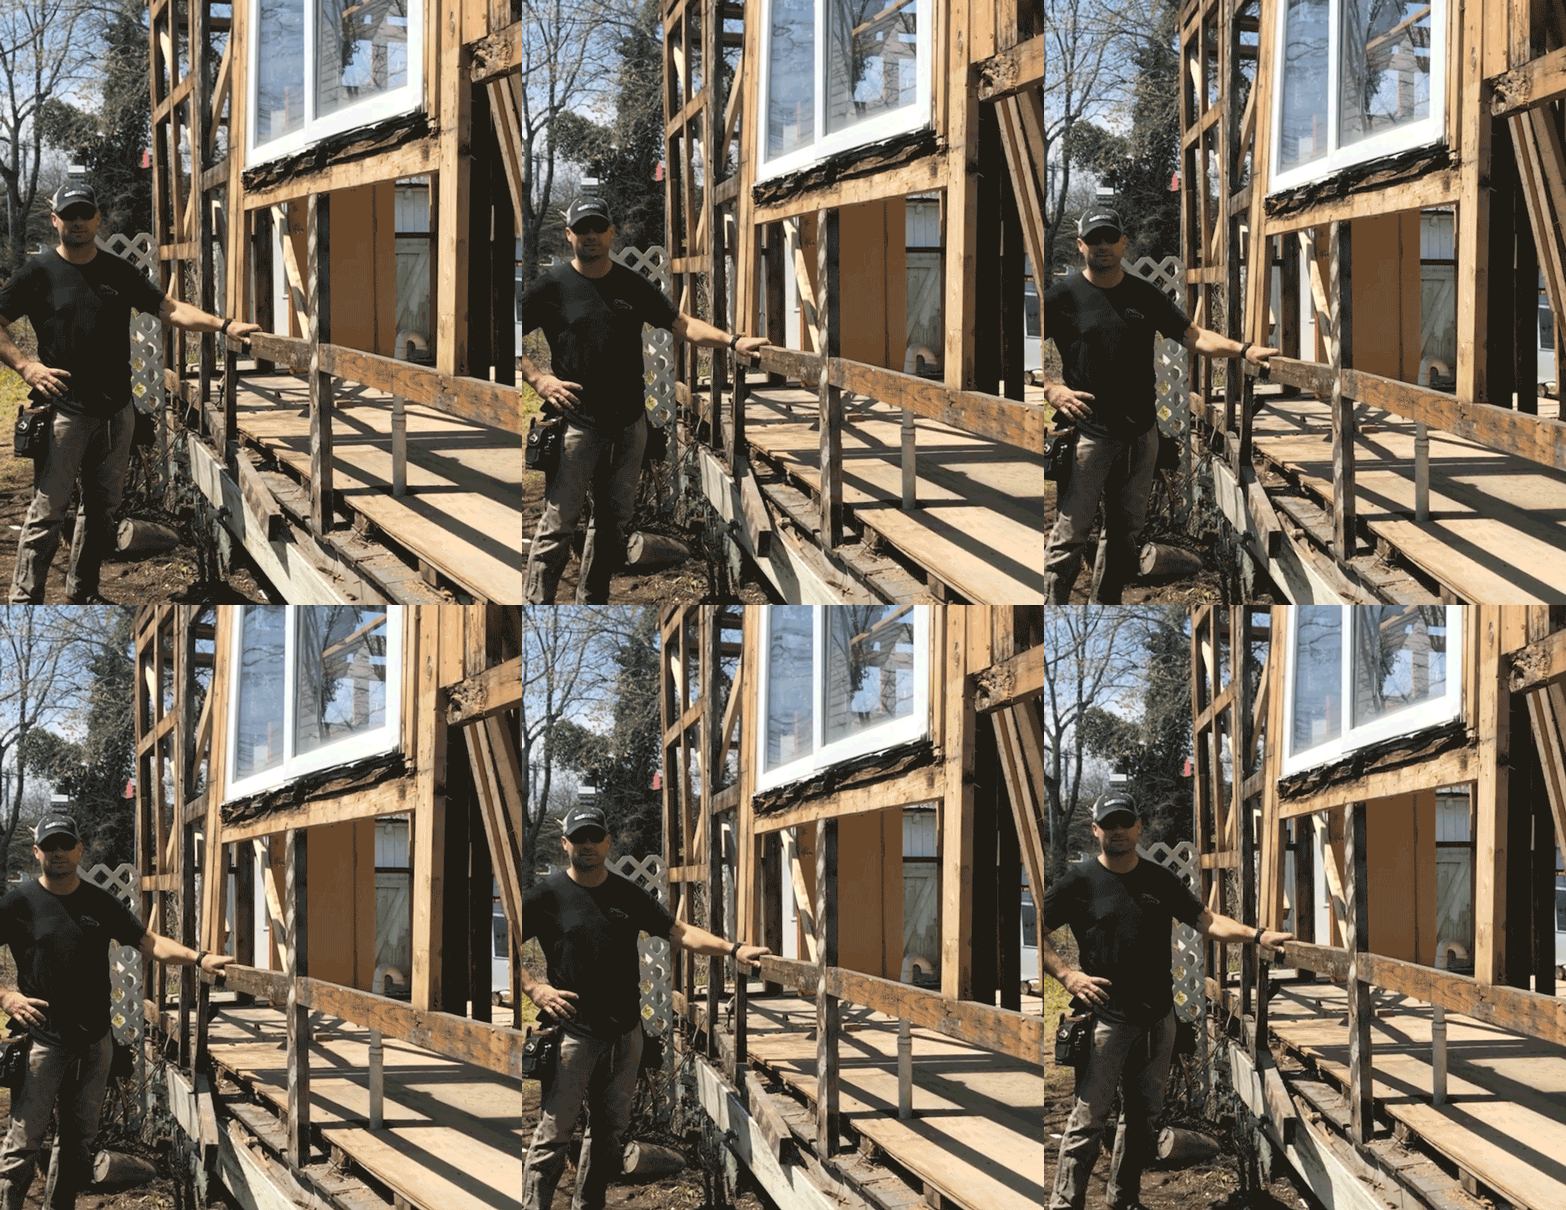
Well, a couple of weeks ago Sean texted this to Sherry. How can you not love a contractor who uses a Boomerang to show you that your house doesn’t shake anymore?
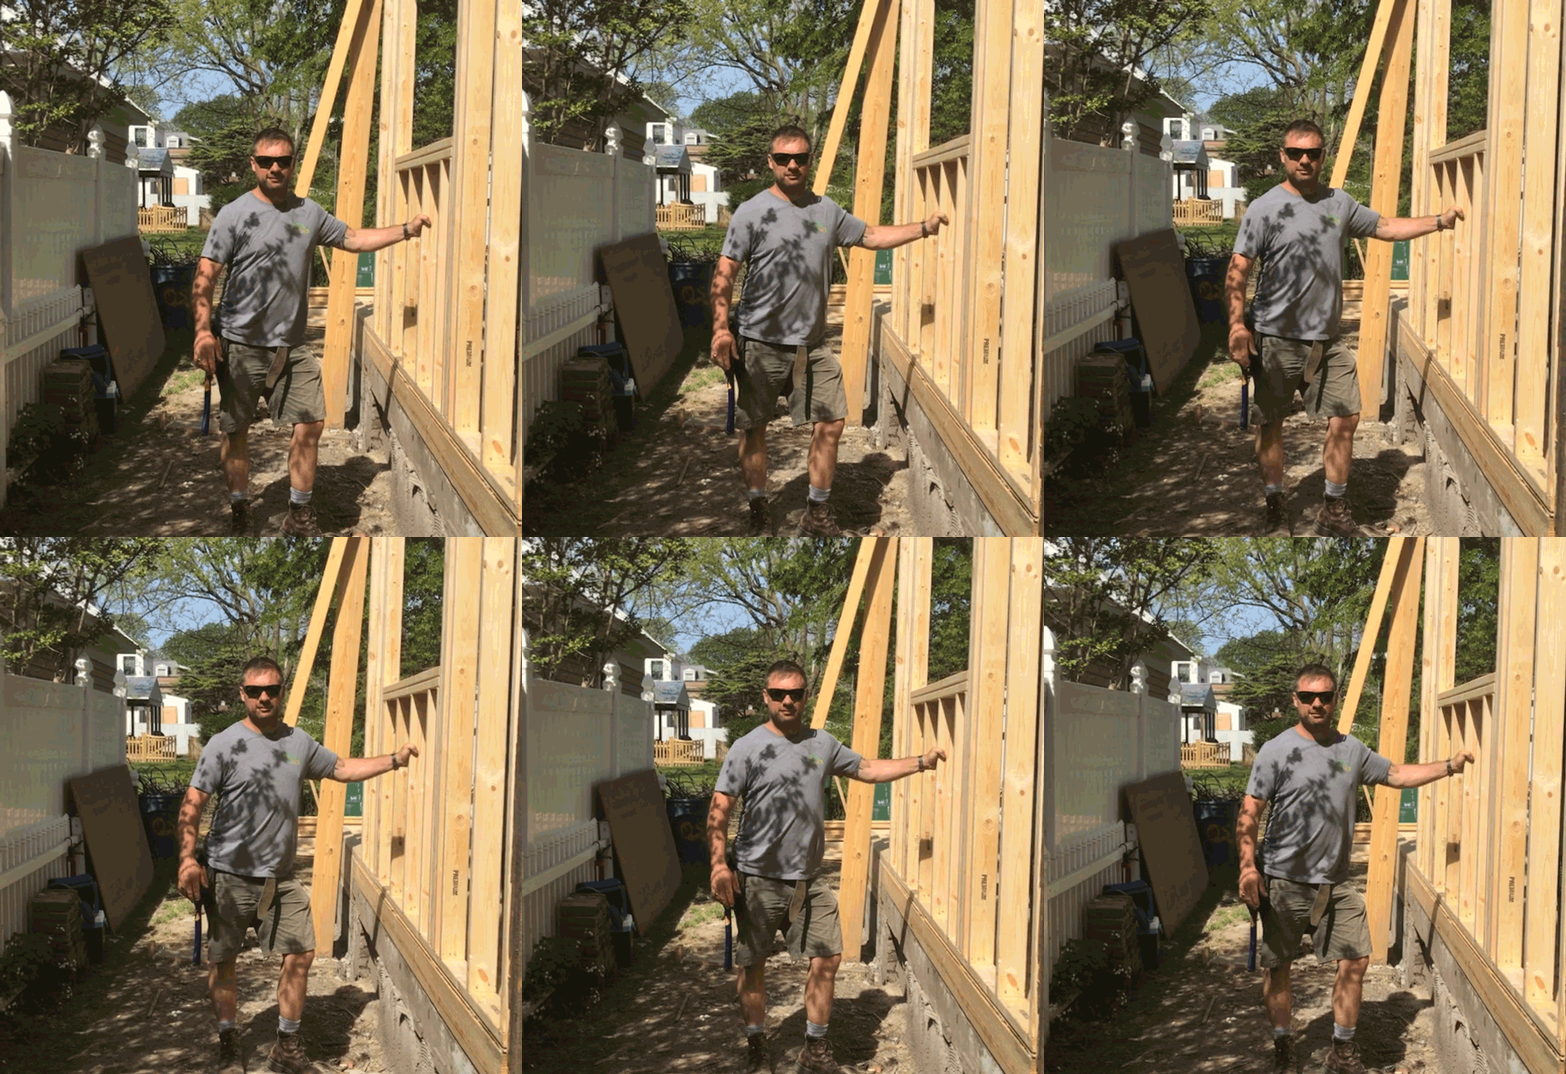
Just around that back corner is where the bathroom additions are being added on the second floor. They’ll give the back bedrooms an ensuite bathroom – and take each side of the duplex from having 1 full bath to 2, plus a powder room we’re adding downstairs). The shot below is from a couple of weekends ago, after it had been fully framed.
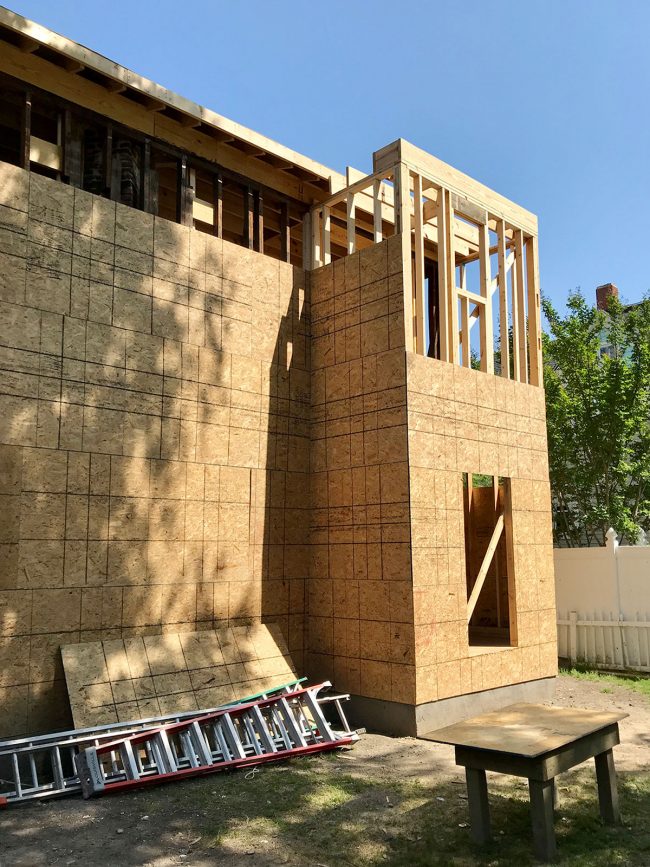
For reference, this is what the back of the duplex looked like when we bought it. A small bump-out had been added to the first floor at some point, so we thankfully got approval from the Historic Review Board to extend the bump out up to the second level (they care waaaay less about changes that are on the back of the house since you can’t see them from the street).
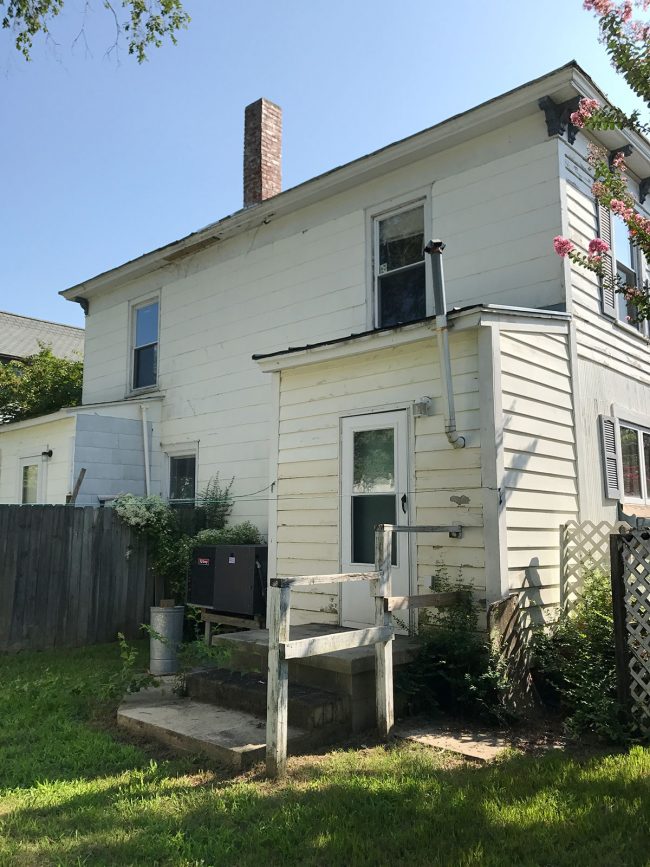
Here’s a similar angle now, which we photographed last weekend while the crew was trying to squeeze in some work on the roof between rainstorms. Things were a bit slow-going last week because of the nonstop downpours we were getting on the East Coast, but at this point we’ll take any progress we can get! In fact, as you read this today, we’ve been told all of the windows and almost all of the plywood sheathing should be in place – and that bathroom on the right should extremely close to being under roof as well.
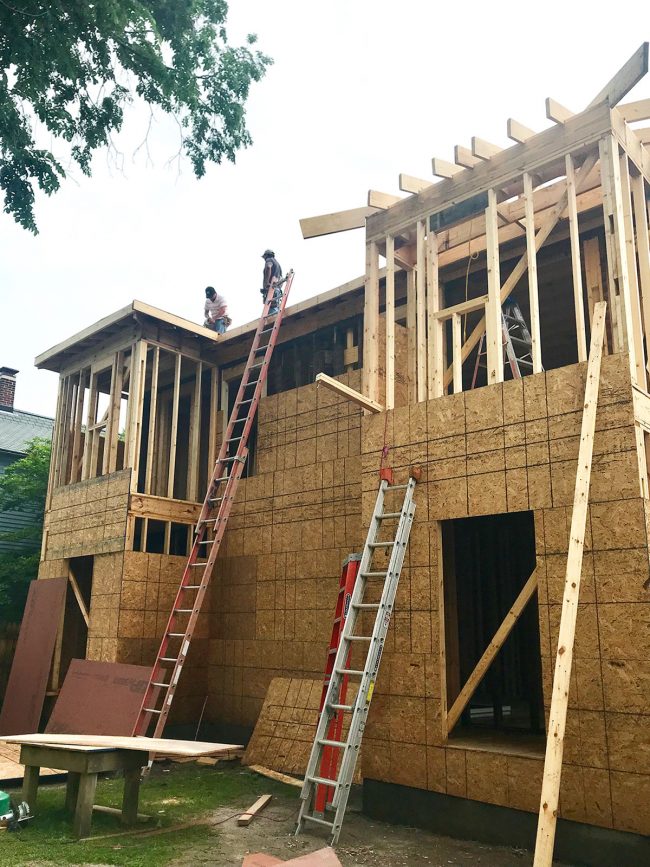
The new bathrooms will each get a window to replace the original window covered by the new additions, but we also asked the Historic Review Board (read: Sherry begged) to approve an additional window in the back bedroom to increase the natural light in there. It otherwise only would’ve had one (while the front bedroom has three) and we felt like a main bedroom really should be a nice, light-filled space.
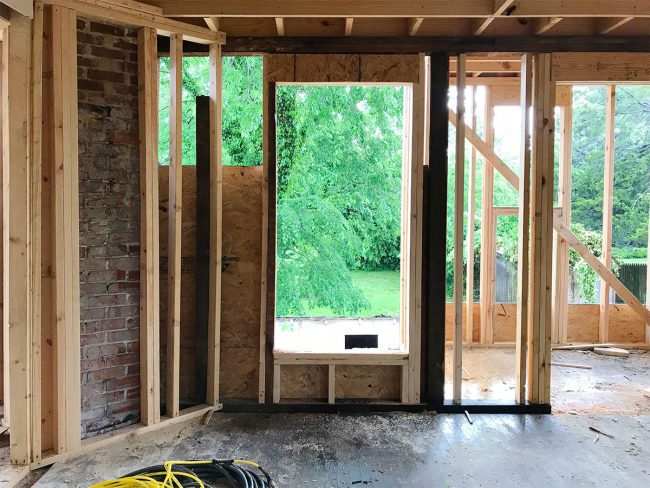
Happily, it was approved, and as soon as they cut the opening, we realized that not only does it add a ton of light to that room, it can actually be seen from the upstairs hallway and even from THE BOTTOM OF THE STAIRS as you walk up! So the fact that you can enjoy that light shining into the back bedroom, even from your first few steps in the front door, is pretty exciting. You can see this in action in Sherry’s video above.
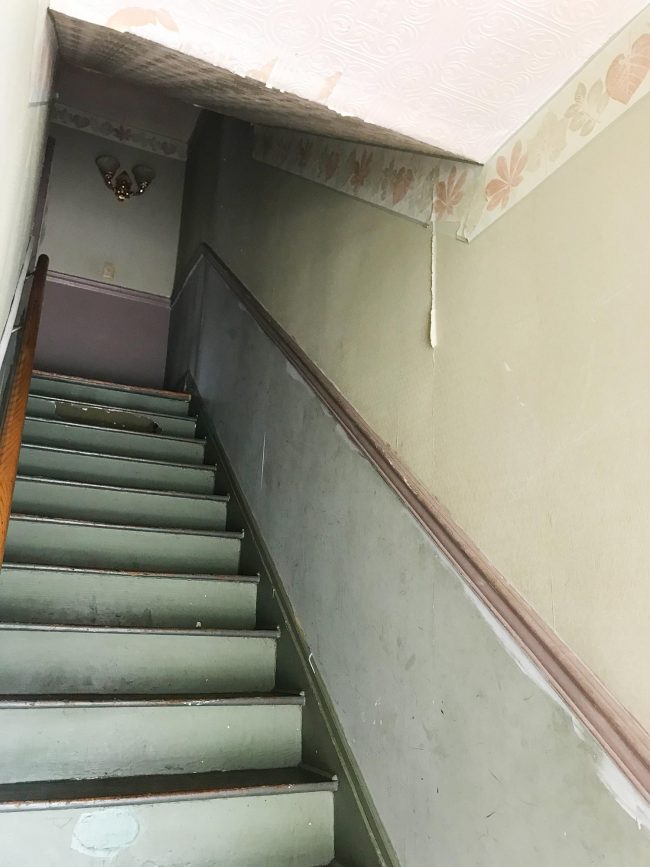
This before photo below shows how claustrophobic the original staircase felt. This was taken from the front door on the left side, and you basically walked into a wall as soon as you got to the top of the stairs.
The photo below – which I took standing on the stairs of the right side – also shows how we were able to make the upstairs landing much larger by pushing that wall back several feet. And actually, it’s not a wall anymore. It’s the doorway to the back bedroom that leads your eye right through to that new window (although the window hadn’t been cut yet when I snapped this picture). But you get the idea! It’s right next to that brick chimney you can see exposed.
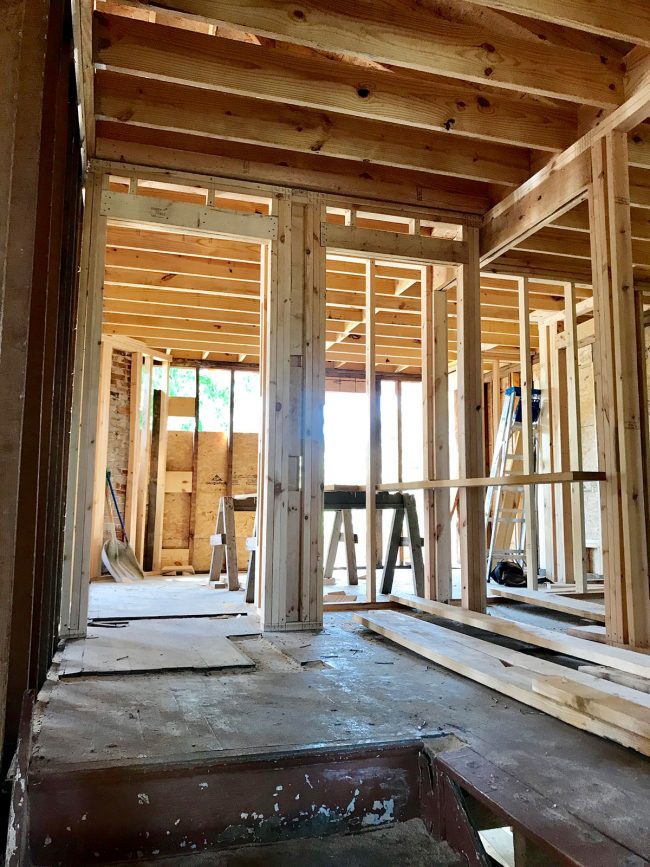
Here’s another view of the new upstairs landing (taken from the doorway to the front bedroom). You can still see the footprint of the old wall there in the floor, just to give you an idea of how much more we opened things up. We basically doubled the size of the landing!
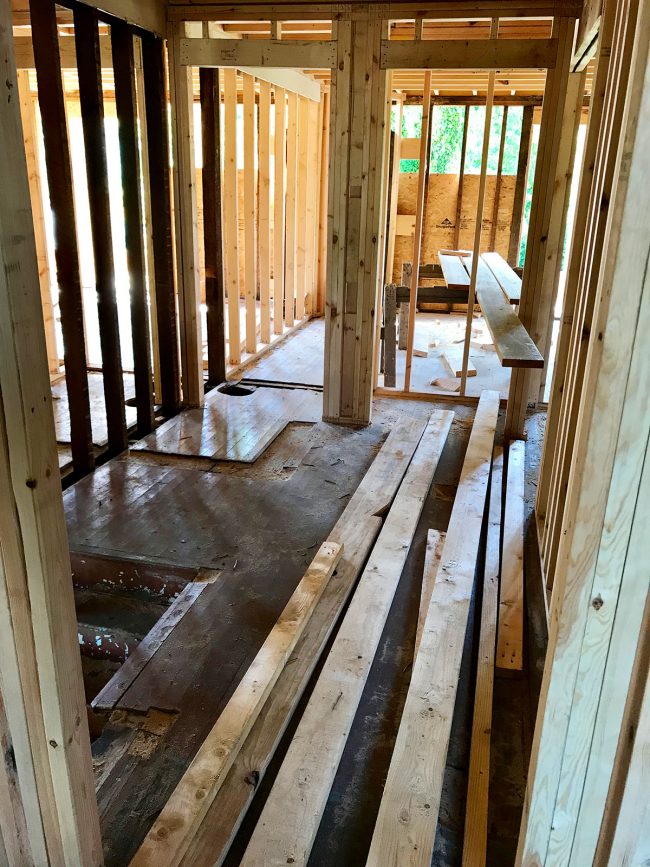
I won’t try to show you all of the framing up here, just because it’s hard to decipher photos that are basically just a forest of 2x4s – but Sherry goes over the whole floor plan (and all the what’s-going-where details) in the video if you want a quick tour. Just know that what used to look like this…
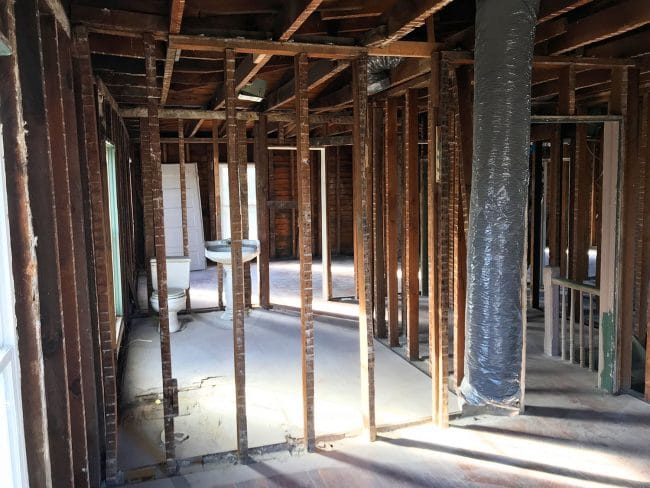
… now looks more like this. Progress!
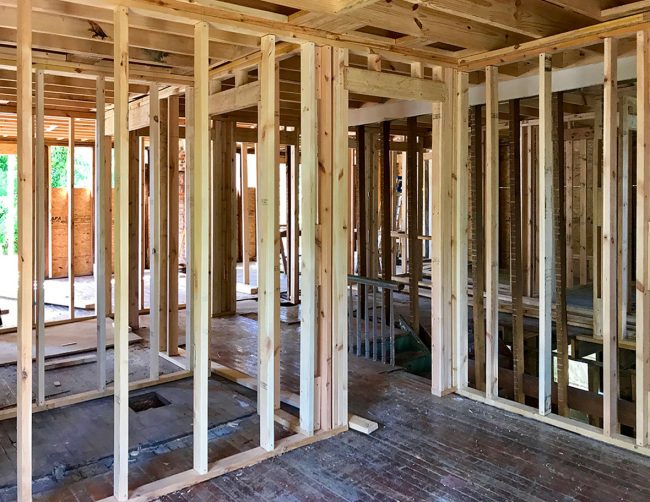
Downstairs is a little easier to see because there are fewer rooms and the floor plan is more open. For instance, the opening between the main living/dining area into the kitchen is much wider now. You can see in the floor how narrow the passage was before (it was less than half this size before).
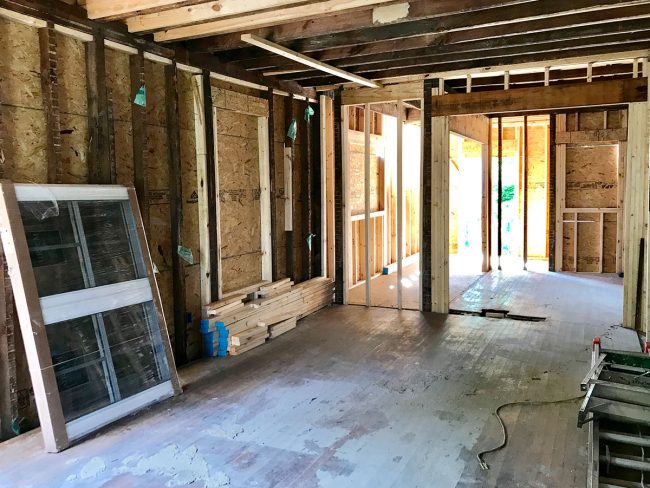
Since I couldn’t let Sean be the only GIF in this post, here’s the progress of that vantage point: taking from you from the before, though interior and exterior demo, to now all reframed.
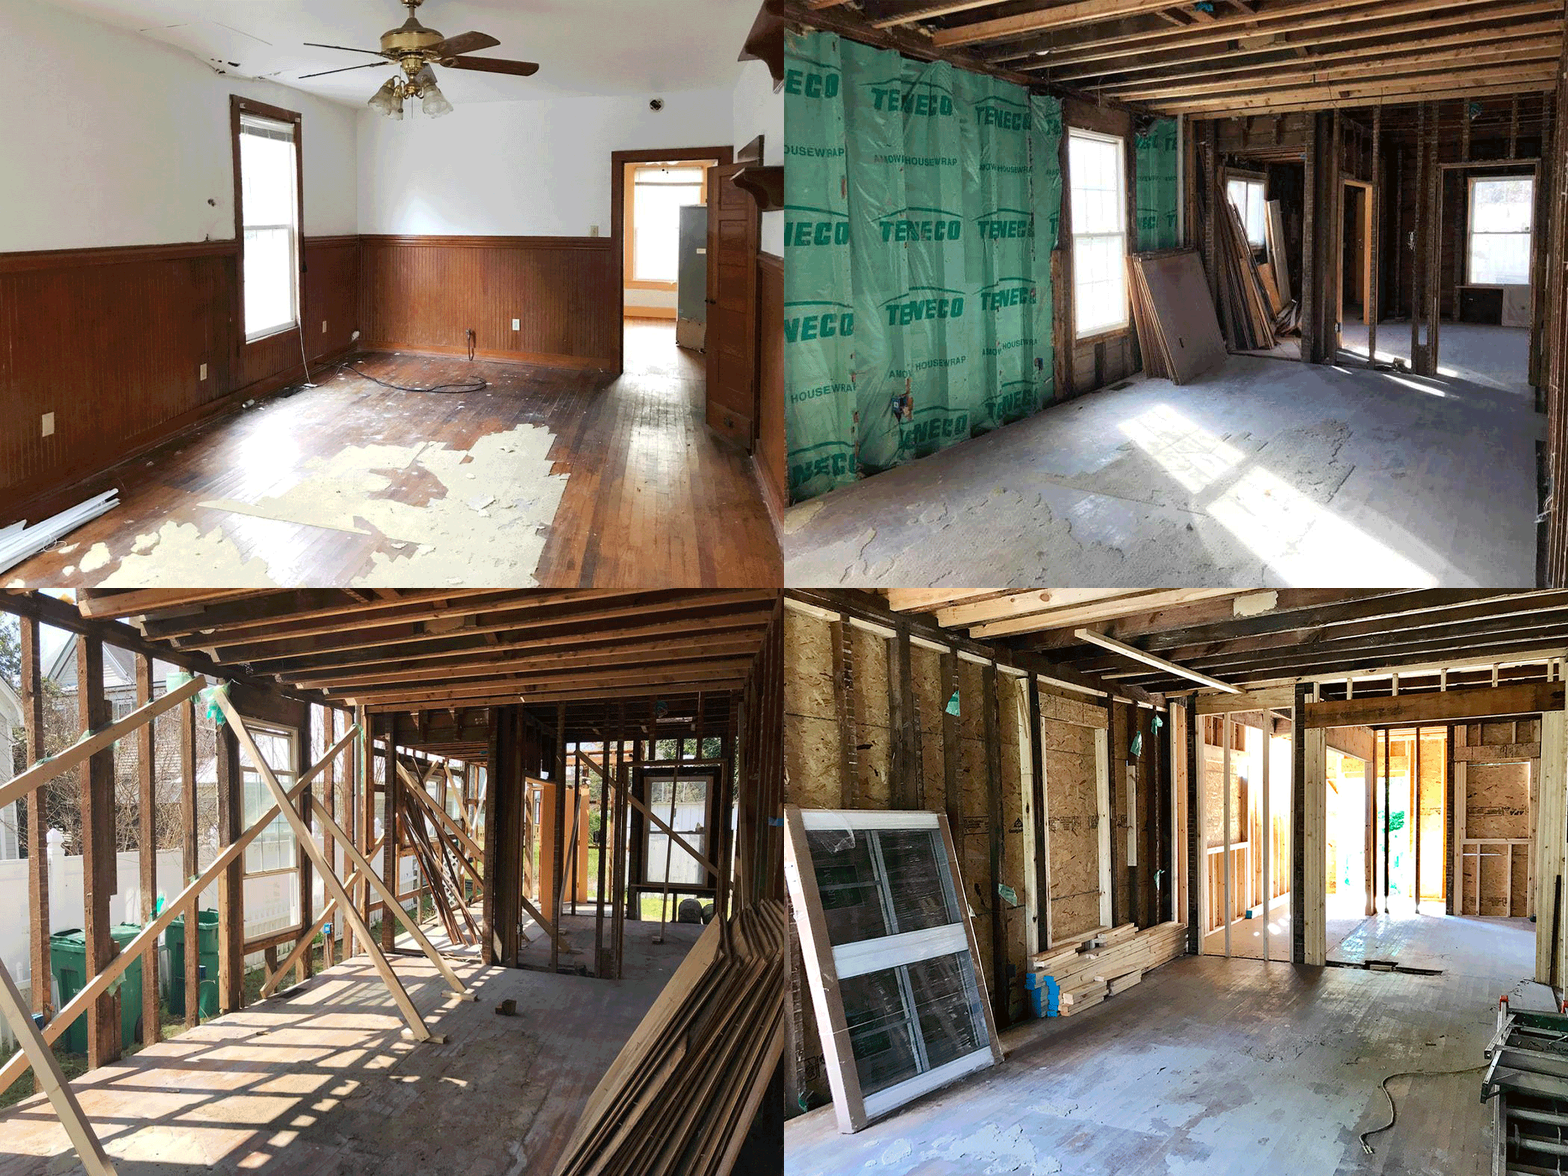
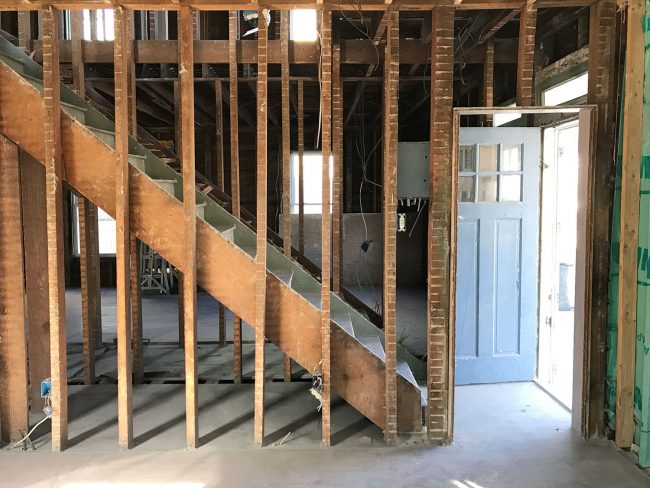
The opening at the base of the stairs is finally wider too and we couldn’t be happier with it. We not only made it larger, but Sean was able to raise the height of it too so that you’ll be able to see the transom window (however tiny it might be!) from the living room.
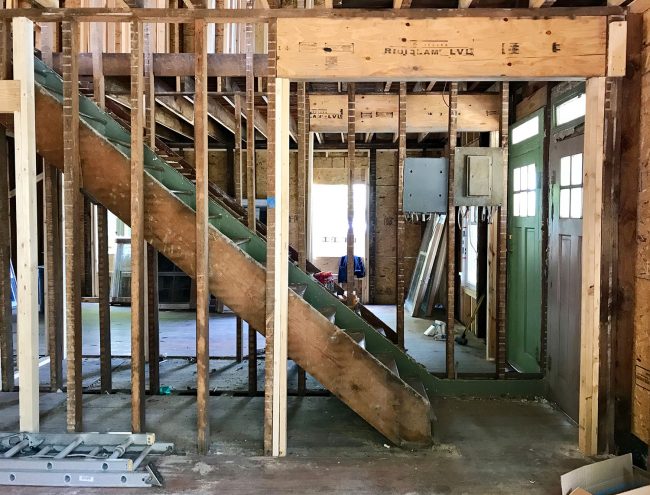
Obviously, the stairs will need a railing and stuff, but you can see from this old shot after it was demo’d that the previous opening was super cramped, which made walking into the house very uninviting. It’s a little change, but we think it will have huge impacts on how the house feels.
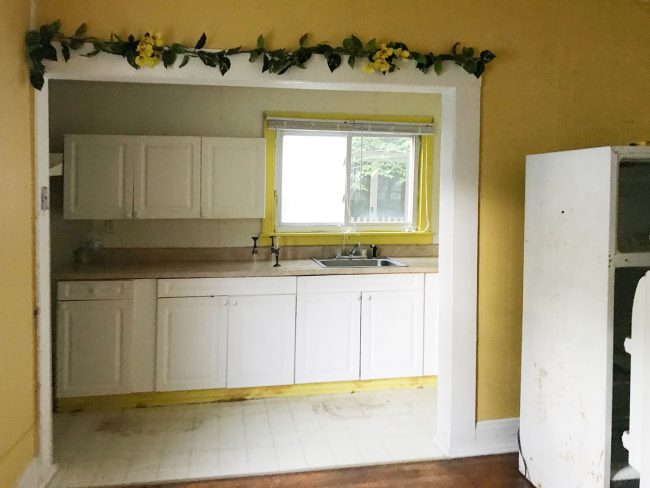
The other opening that was widened was the one between the kitchen and laundry/mudroom. It looks CRAZY wide in this shot below because we’re installing pocket doors to separate the two areas, so you basically have to leave twice as much area open during framing (so the doors have somewhere to slide into). So once we get the pocket door system and drywall installed, it will only be half as wide. But it’ll still be a nice, big, nearly-6-foot-doorway. And Sherry has some exciting pocket door plans for this space (like this or this).
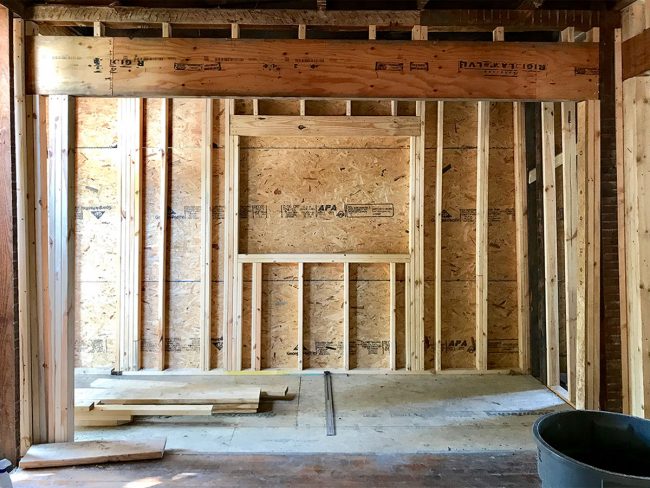
It will actually be close in size to the original opening (a little smaller) – but the window will be centered and you’ll have pocket doors. We like the idea of pocket doors with a frosted window on top so people can still get light into the room, even with the doors closed. Sadly, I don’t think the faux greenery garland will make a reappearance.
Assuming the weather cooperates, the next couple of weeks should mean that roofing and siding will start going up. Then once the porch starts coming back together (we’re adding a tin roof, thicker columns, and a wood railing that looks as original as possible), it should really start looking like a completed house from the outside. Inside we’ll still be working on mechanicals – aka, plumbing, electrical, HVAC – which will take longer, but it’s always a relief to have the outside all airtight and waterproof again.
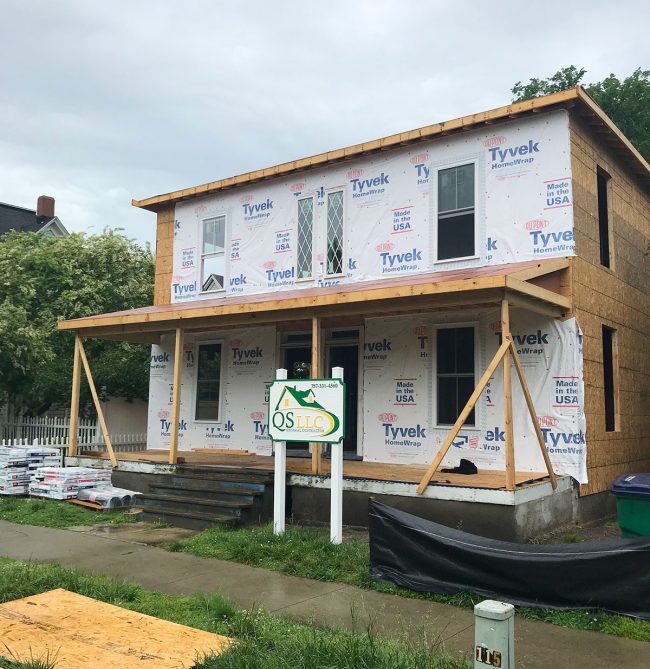
And yes, Sean’s company sign is gigantic. Here’s Sherry for scale:
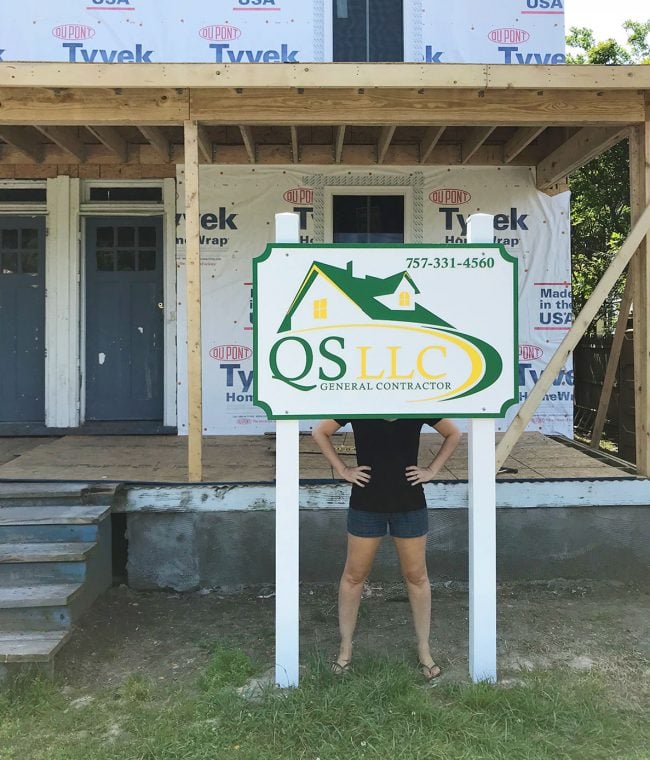
We texted him after seeing one in front of another project that he’s doing in town and said (sarcastically) “I don’t think your sign is big enough.” And now he’s basically trolling us by putting one at the duplex. Touché Sean, touché.
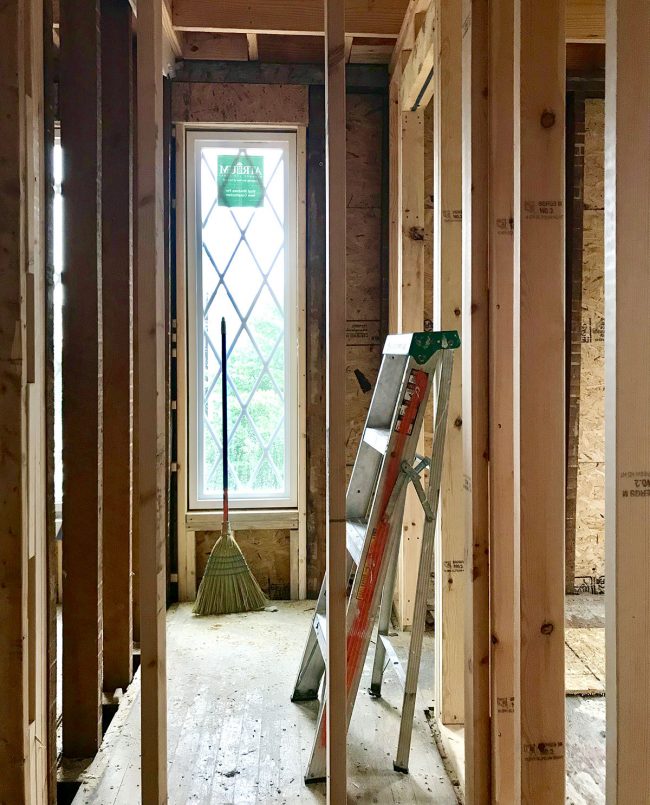
Sherry has obligated me to end this post with one last shot of her beloved diamond windows. The original ones we had hoped to preserve were just too brittle to reuse (no matter how many times Sherry said we “could just glue them”) so Sean helped us hunt down a company that could replicate them to the exact size and proportion of the old ones. Not only the window size – but the exact diamond scale and size as well. If only I had moved that broom before taking this.
Cross your fingers for dry weather and hopefully we’ll have even more progress to show you soon! Sherry keeps Instagram and Facebook (especially Instagram Stories) pretty well updated these days, so you can always catch up to the minute duplex news there! And probably hear Sherry squealing about the diamond windows again.
P.S. You can catch all of our previous duplex posts and projects right here, and if you’re interested in going back to read all of our pink beach house updates and posts, here’s that category for you.
