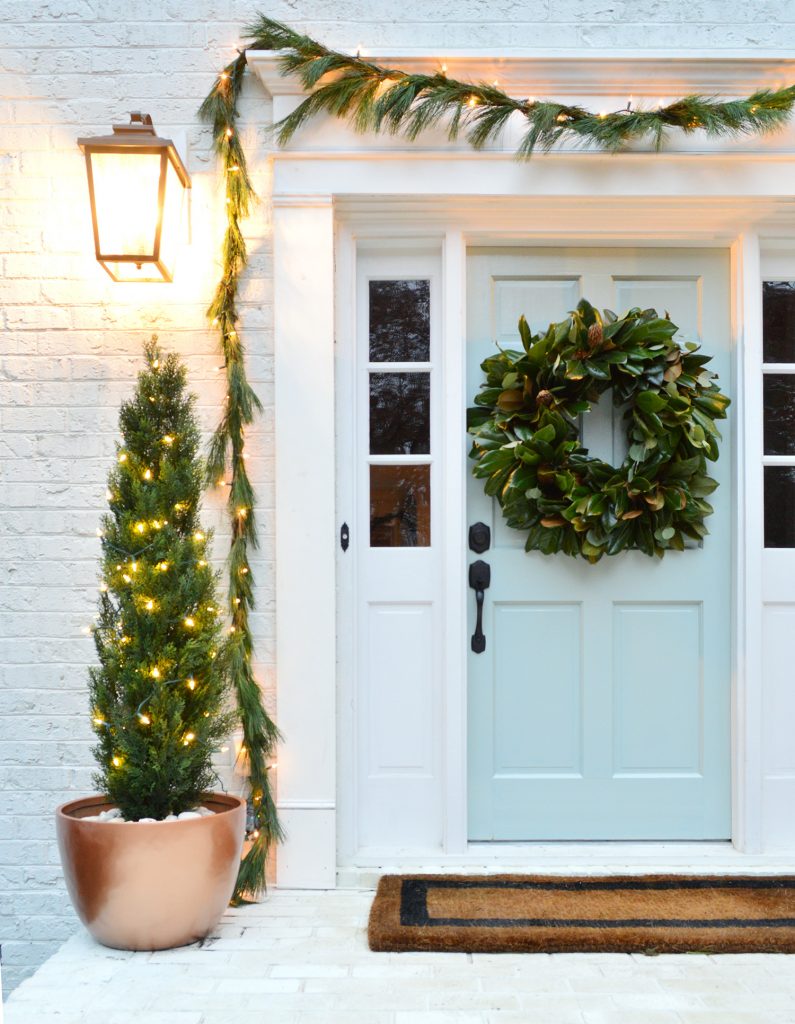
You know we painted our front door a new color back when we painted our brick house white in October, and I even mentioned back in that post that I used a new-ish specialty paint that’s made for front doors. It’s called Grand Entrance by Benjamin Moore and the paint color is Tranquility also by Benjamin Moore, and it can either be made in a satin base or a super hyper glossy mirror finish base.
Based on all of those excited adjectives I used to describe the latter option, it should be of no surprise to you that I jumped at the chance to buy and try “high gloss” for the first time.
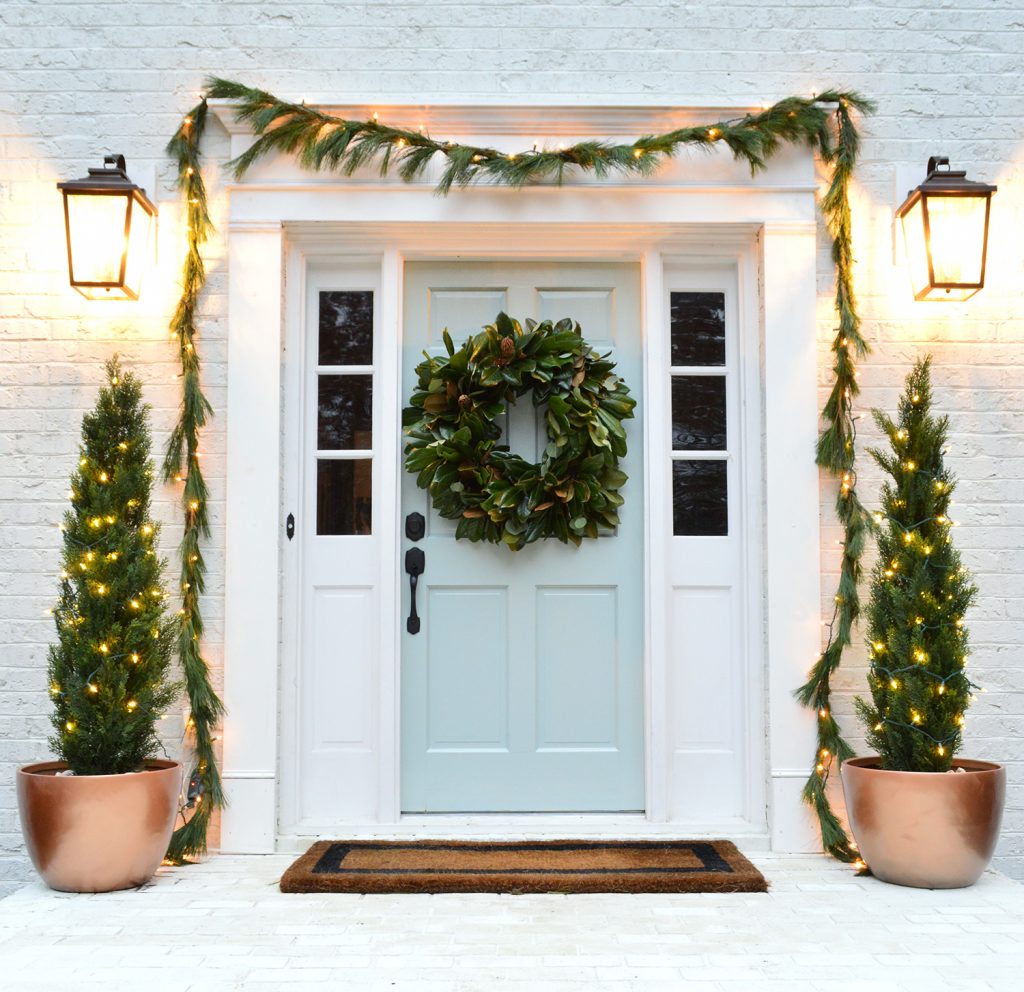
Photos don’t do it justice. I mean the picture above is nice, but you don’t get the shiny and luxe effect at all (which is especially awesome in contrast to the super matte paint that we used on our bricks).
This paint is so shiny, you can see your reflection in it. Basically Cardi B would scream MONEY if she saw it. It’s amazing and EVEN THE FED-EX GUY NOTICED AND SAID IT’S SUPER COOL AND RAN HIS HANDS ACROSS IT LIKE A DOOR PAINT AD! (Have I mentioned that I paid for this and it’s not sponsored or anything? I’m just really into this stuff).
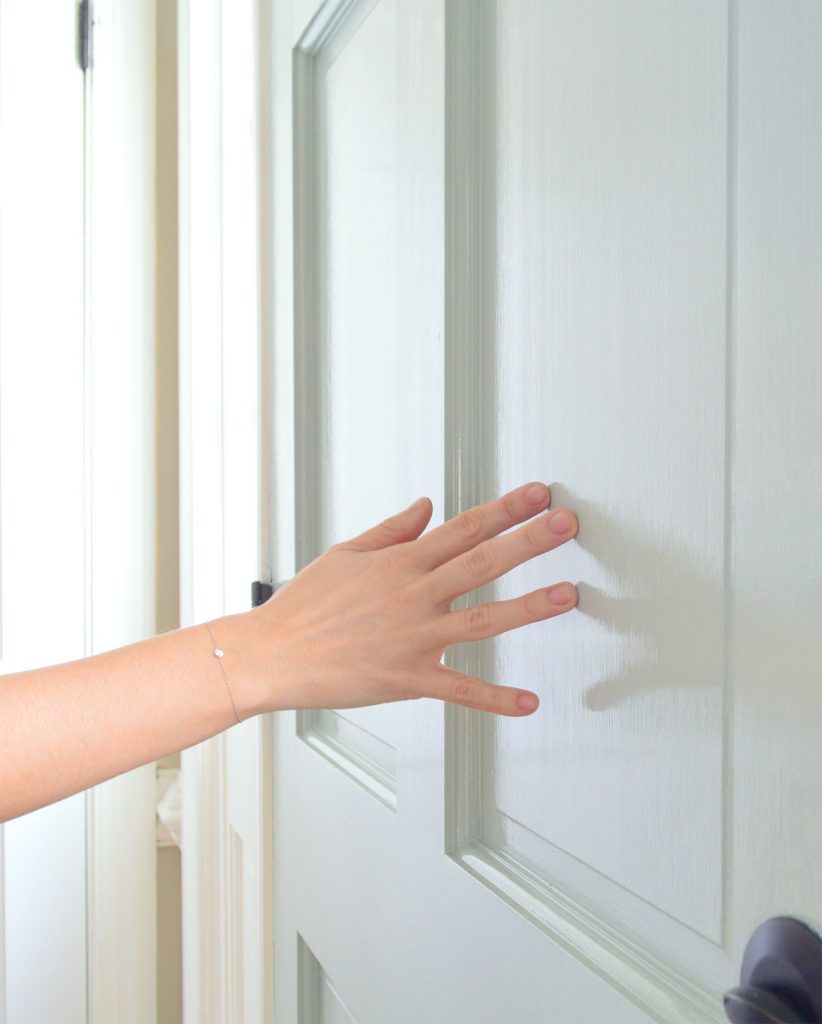
In the picture below you can kind of see how glossy and mirror-like the finish is. See how my fingers are reflected in the paint? They would’t do that with semi gloss paint, which is what’s typically used for interior and exterior doors.
Not only did I take this paint for a test drive on both sides of our front door, I’ve slowly been working my way around the rest of the house, repainting all of the exterior doors. And after so much door painting (I’ve done four doors and counting in this same color with this same product) I have a bunch of tips & tricks to share, as well as a video of the process. Videos always seem to help me when I’m looking for a tutorial online – and best of all, it captures the shine on the door in a way that these photos don’t.
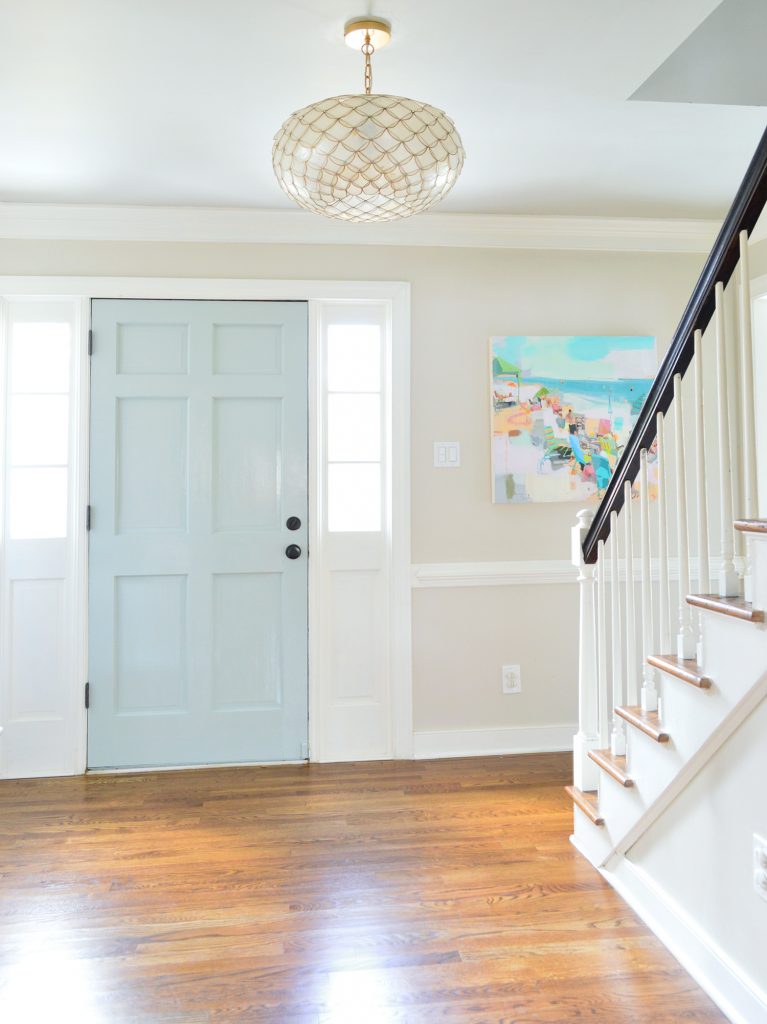
You can kind of see the light gleaming off the right side of the door panel above the handle in the photo above, but again, the glossiness is kinda lost in these pics, so make sure you watch the video. That’s where these doors really shine. Har har.
There’s actually a super premium brand of paint called Fine Paints of Europe that costs $110 to $150 FOR A QUART OF PAINT, which sounds insane (is it made of GOLD?! Will it FOLD YOUR LAUNDRY?!) but it does look amazing. Super shiny. I just wasn’t ready to make it rain that hard with my painting budget, so I thought I’d try Grand Entrance, which it’s basically Benjamin Moore’s take on that same look, and it runs $44 a quart.
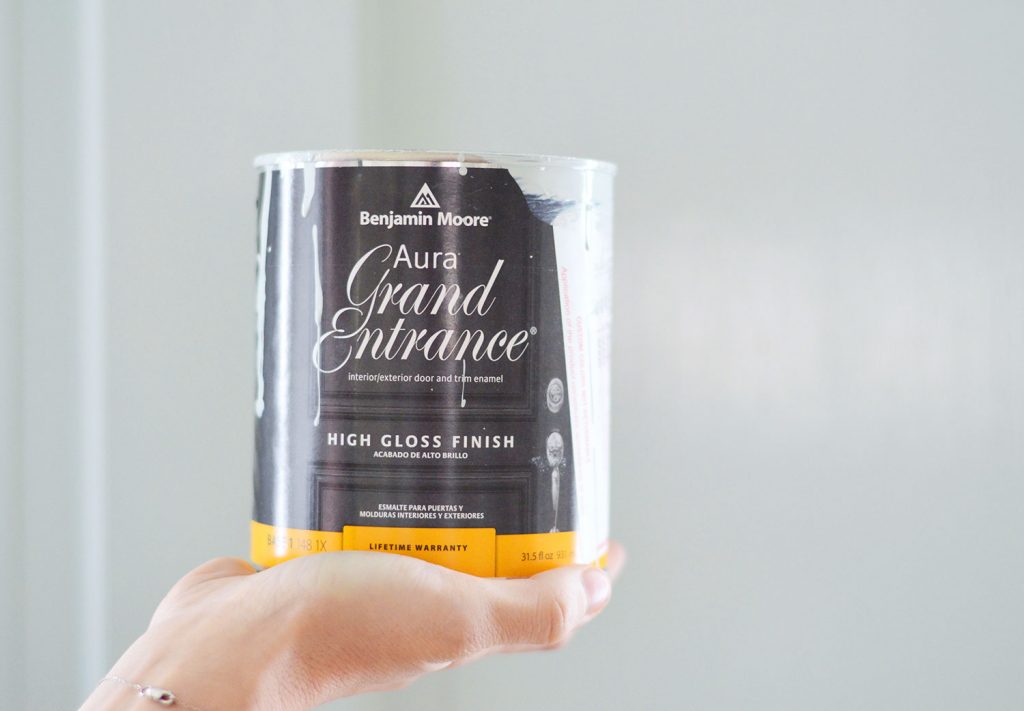
That’s still a TON OF MONEY FOR A QUART, but I still have about 1/4 of the quart left and I’ve painted four doors (one on both sides, and the other three on one side since the other side of the door is staying white) so around $11 a door feels completely fine to me.
Ok, so that’s why I love it. Now let’s get into the HOW of applying it. I just need to stress something I have already said, but feel like I need to say again, with emphasis. It’s really great looking…. but you can mess it up, so you have to do it right. Or you’re not going to be shout-it-from-the-rooftops-happy with the results like I am right now. You might actually hate it and have to redo your door. So this is one of those prep-and-diligence-actually-matters projects!
To further explain what I’m getting at, let’s go back to that Fine Paints Of Europe brand for a second. My friend shelled out over $120 for a quart to paint her front door a glossy red color up in DC. And even hired a handyman to paint it for her so she’d get the best result… and it was bad. Like so bad he had to sand it off and repaint it with regular paint.
The paint itself wasn’t bad, but applying super high gloss paint is not for the faint of heart. It can magnify every last flaw on a door, so with improper prep, it can look battered and bruised and MUCH MORE dinged up than it did with regular old semi-gloss paint on it. You have to sand every last bump down before you paint, so that is lesson numero uno. Fill any crack. Sand any raised part. Scrub it down so it’s not covered with dirt or cobwebs. This paint shows no mercy if you skip that step.
After my friend had that experience, I got super wary of high gloss paint (literally every expert says it’s the hardest to use since it magnifies flaws) but something compelled me to give it a try when we painted the house white. I walked into the paint store and I just felt like I needed to try it because I knew it would look amazing next to the extra matte brick paint we chose. And I’m SO GLAD I went for it.
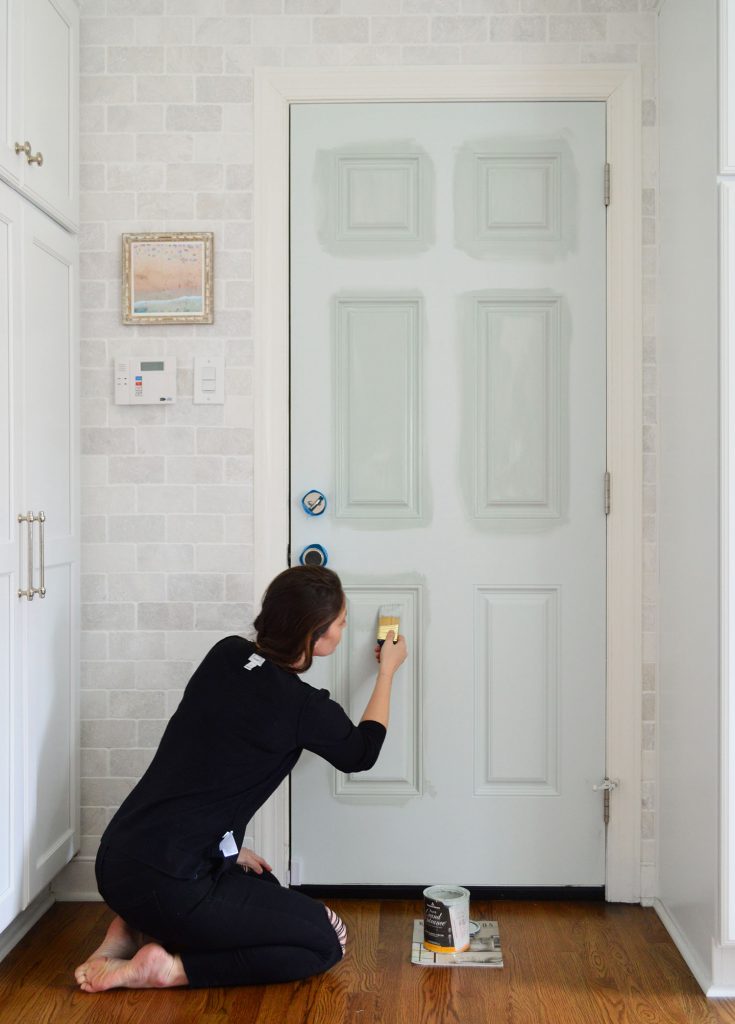
Here I am painting the kitchen door that leads out to the garage, which had been a lighter and more chalky blue, but with the foyer door repainted, I wanted the kitchen one to match and have that same high gloss texture (which also looks great next to the tumbled marble tile). P.S. I paint with my clothes inside out, hence the tags you see below.
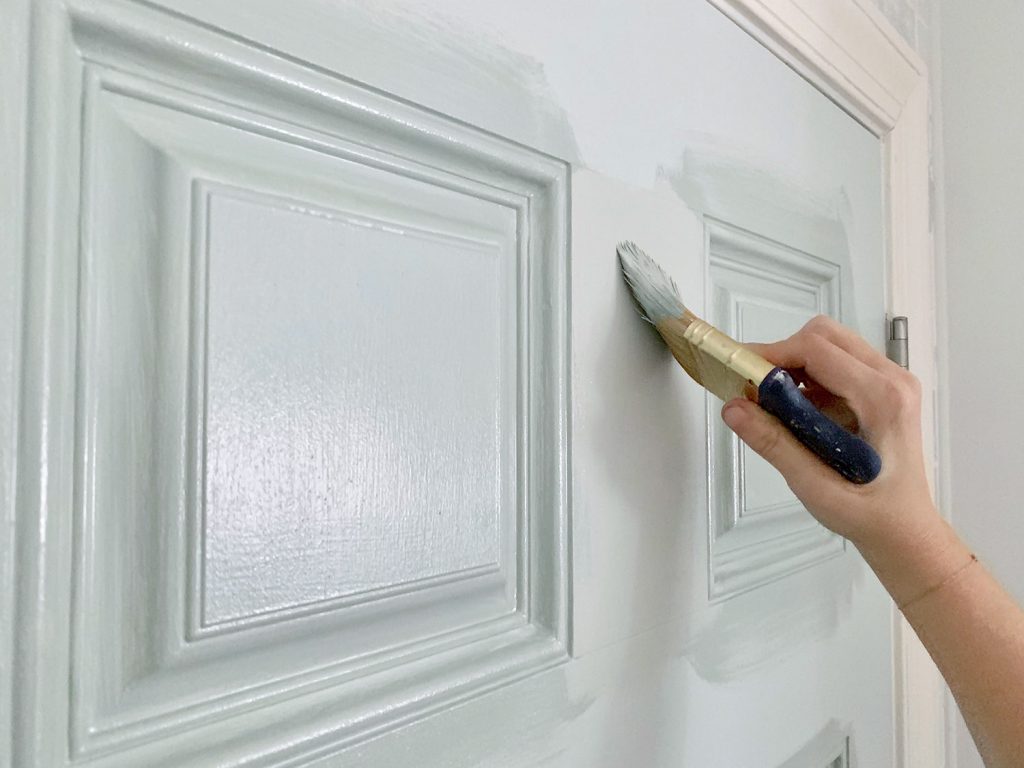
As for WHAT to use to paint with this stuff, I used a brush on every single part of every single door that I painted. I know that sounds weird. You’ll be tempted to ask me if you should spray it or use a small foam roller for a better result. The answer is no, use a high quality 2″ angled brush (this is our favorite kind), which will leave some subtle brush strokes, which you can sort of see here…

… but you’re bound to end up with SOME sort of stippled texture from your roller or sprayer with high gloss paint that shows this much of everything, so the long smooth brush strokes are actually much more pleasing to the eye when it comes to a project like this. We love how ours turned out.
In fact, the pro painter who did our house’s brick exterior told me he only uses brushes for doors with high gloss paint. So there you go. Your girl $herdog & Lance The Pro Painter are Hashtag Team Brush for this project.
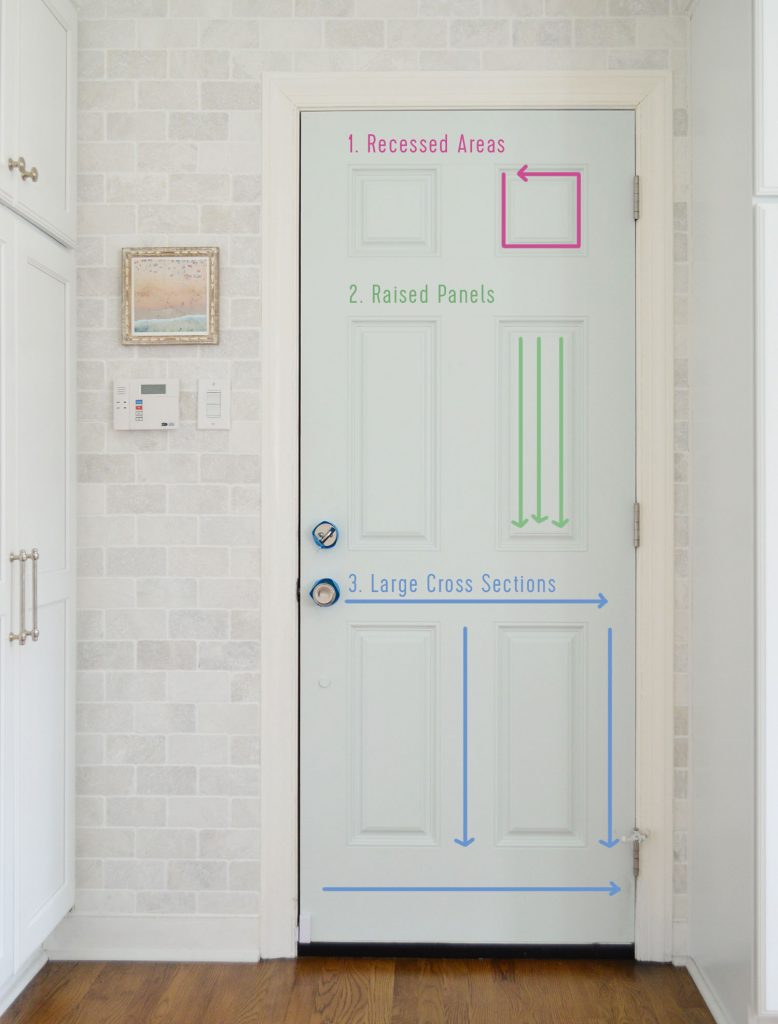
As for the process, when I’m painting any door with panels on it, I follow this order:
- Paint the recessed areas first (in the direction of the arrows below)
- Then I paint the raised panels (in the direction of the arrows below)
- Then I tackle the large cross sections last (filling in the horizontal rails and vertical stiles in the direction of the arrows below)
If you want to see the process in action (and see the super shiny result much better than in a still photo), John shot a quick video of me putting the first coat of the very last door on my list:
NOTE: If you’re viewing this post in a reader, you may need to click through to see the video. You can also watch it here on YouTube.
Oh but one thing to note, if you’re using this on doors with glass windows, I’m a fan of the paint-on-the-window-and-razor-it-off-later method, but this paint dries as hard as a diamond. Like for real. It’s Housewives tagline would be: “Diamonds might be shiny and hard, and darling, so am I” (*spin to camera to reveal super glossy shine*). So my big tip is that scraping it after waiting too long is super difficult. It was dulling my new blades in about a minute. So if you get paint on the glass, don’t wait a week to scrape it off like I did – attack it within a day or two if you can.
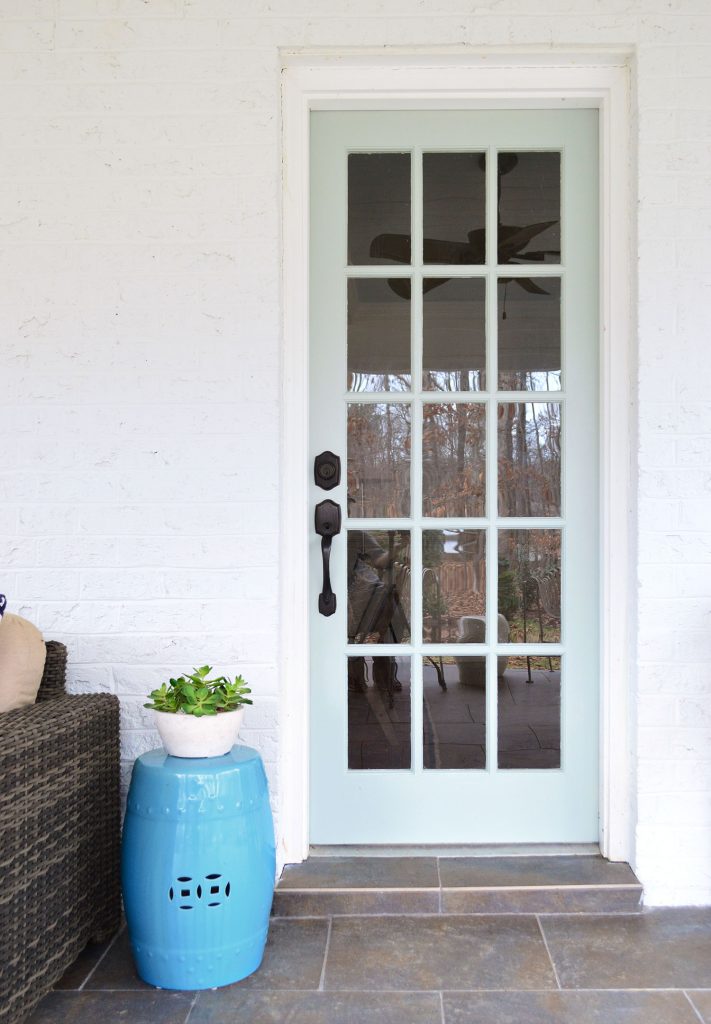
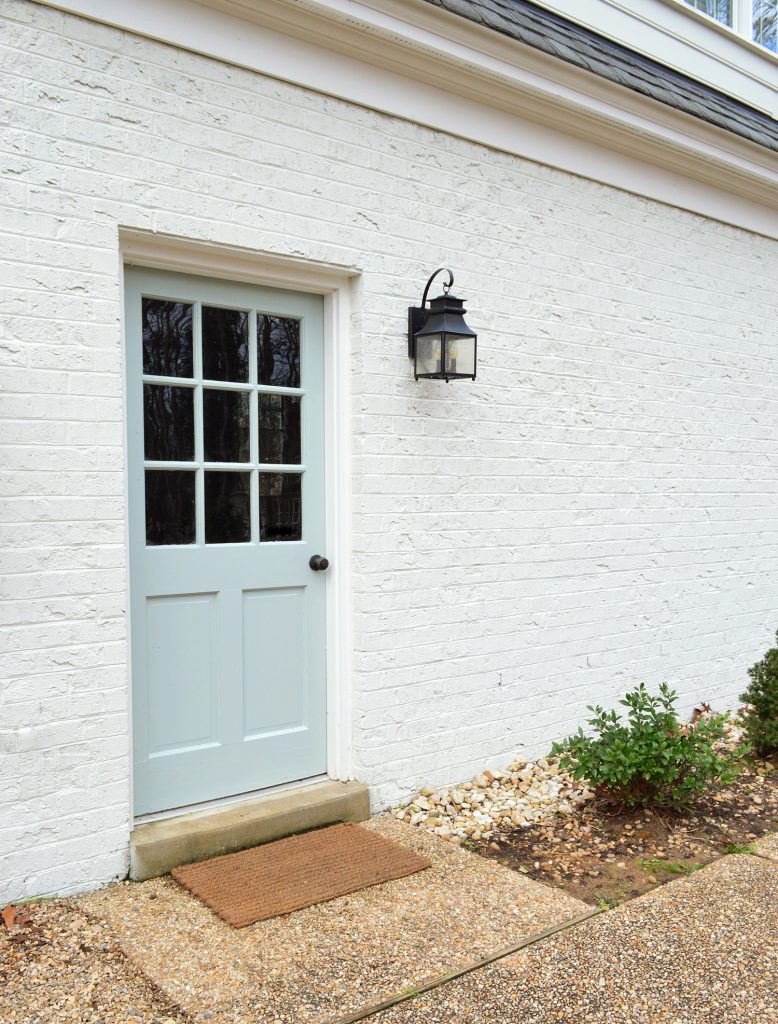
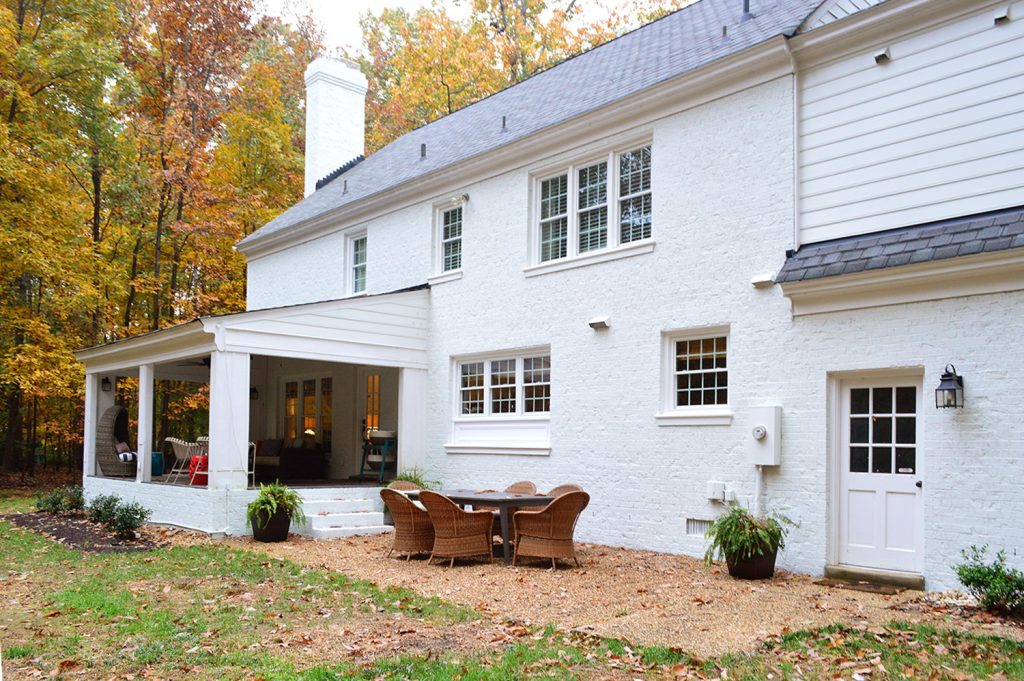
You can see in the picture below that the door that leads to our garage used to be white when the house got painted. I’ll take a wider shot in the spring once the back yard doesn’t look all bleak and wintery, but it’s really nice to have a hit of shiny blue paint on that door, as well as on the french door that leads into the living room on the other side of the house.
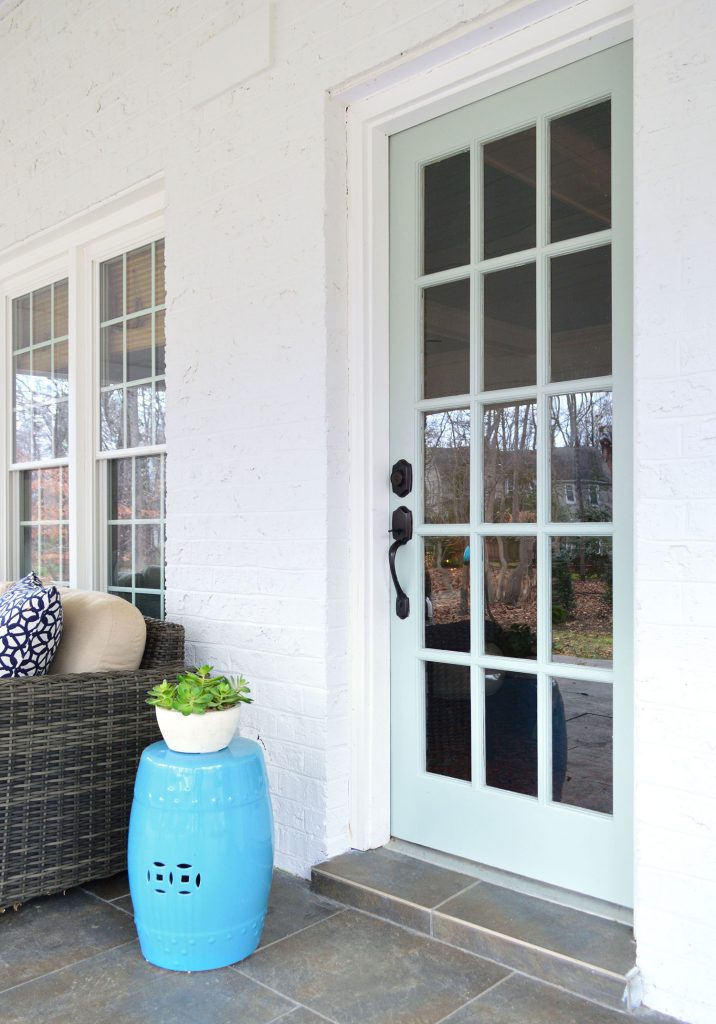
Here’s that other back door up close, which is under our covered porch and leads to the living room.
So there ya go. I hope hearing about this paint is helpful, and the video demystifies how I tackle a project like this. Most of all, if you’re my friend or neighbor who is reading this, you are totally invited to come pet my front door like the Fed-Ex guy. It really is my happy place to sing this paint’s praises to anyone who will listen.
Oh and to revisit our post about painting the house’s exterior brick (what we used, how long it took, how much it cost) you can click here. And who remembers when we converted the back room off of the living room from a stinky sunroom into a covered porch and lofted the ceiling? Here’s a post about removing the sliding doors (and one about planking the ceiling and one about tiling the formerly carpeted floor). And as for our favorite neutral wall color that we have used in many rooms, here’s a write up all about why we love Edgecomb Gray the most.
*This post contains affiliate links*
