We’ve been enjoying this fire pit hangout spot for months now, but it hasn’t been on the blog… until today. This is basically a lesson in how a fence can make a HUGE difference in defining an area, which can lead to adding some simple outdoor furnishings (in this case, it was four adirondak chairs and a fire pit – which hit the ground and instantly created an entirely new “outdoor room” for our whole family to enjoy).
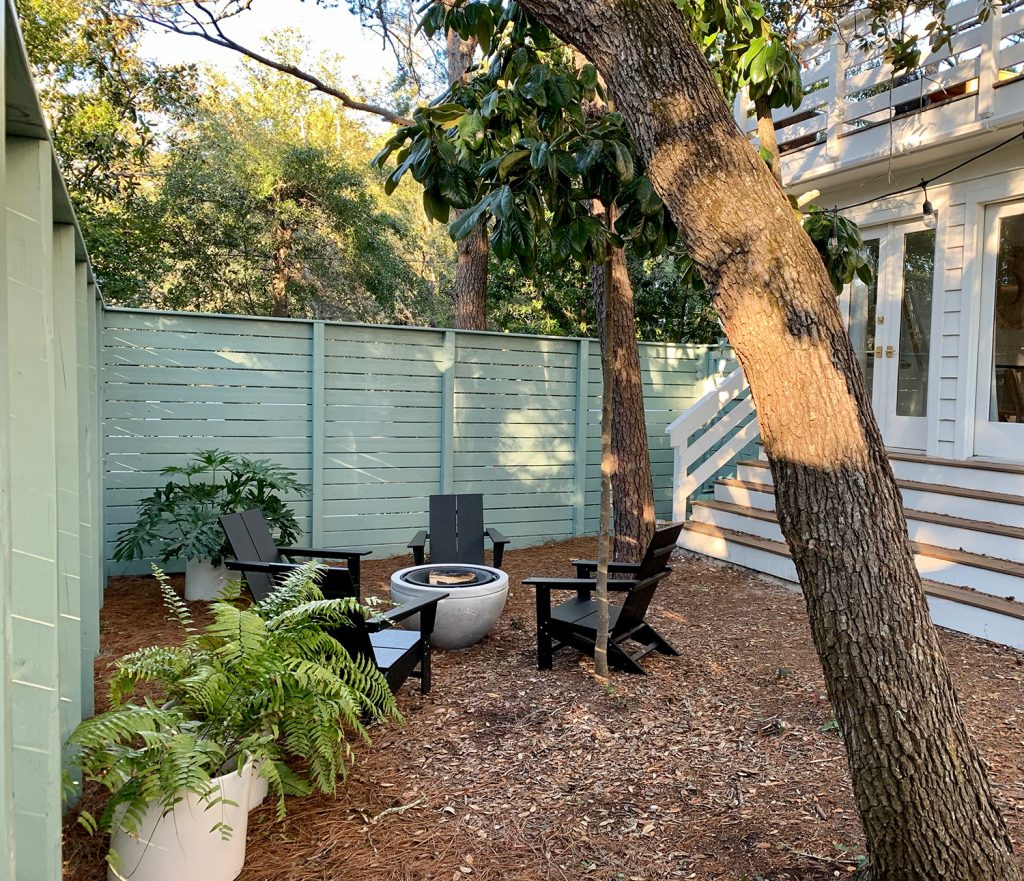
We hang out here and make s’mores at least once a week (and sometimes a lot more than that), so it has been a very welcome addition. Especially during a time when everyone is spending A LOT of time at home, so something novel and new like this bonus hangout zone feels extra special We even made s’mores for dessert on Thanksgiving and New Year’s Eve, so it’s quickly becoming quite the family tradition.
Here it is even before we got the fence painted. I’m telling you, the chairs and the fit pit hit the ground, and we were immediately SO EXCITED to start using them right away.
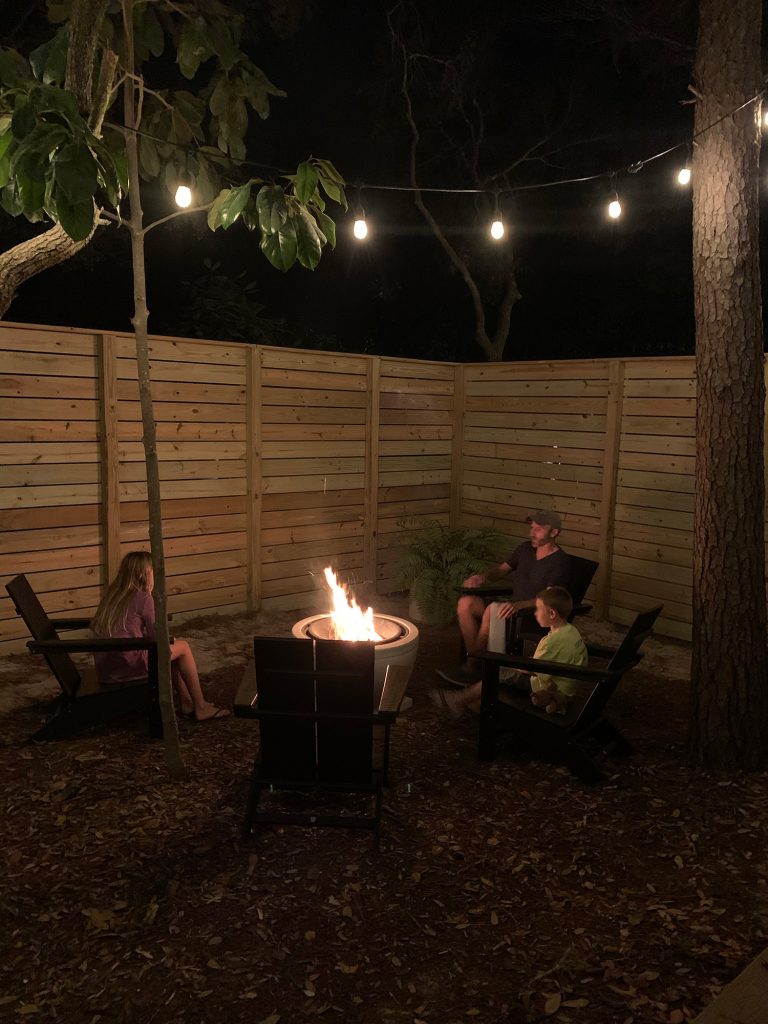
We also now consider ourselves to be s’more aficionados, so we can tell you all sorts of fun mashups we’ve tried, like cookies instead of graham crackers, peanut butter cups on top of the Hershey’s chocolate bars – and maybe our favorite alteration: Andes mints instead of chocolate (I know that sounds weird, but trust me on this).
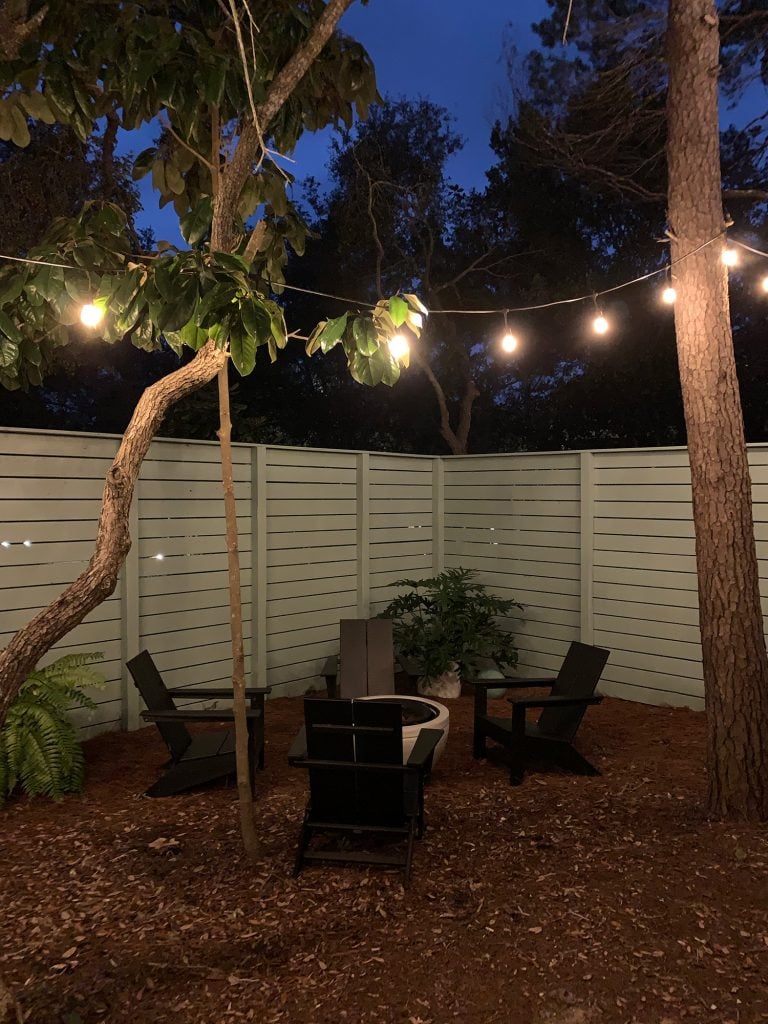
Here’s the setup at night with the fence painted. You know John has our string lights on a smart outdoor plug so they automatically come on at dusk, which draws us outside like moths to a flame.
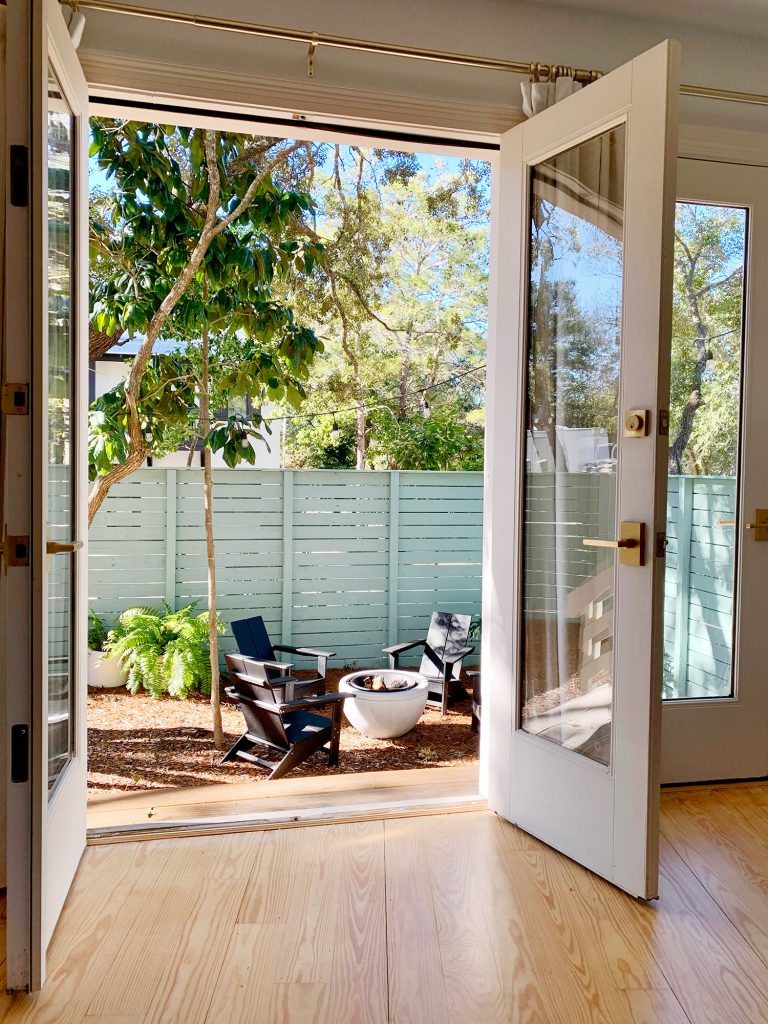
And here’s the new view from our bedroom during the day, which is about 780% better than what it used to be (we used to just look out onto the street). From the very beginning, we envisioned creating this private little patio off of our bedroom for enjoying some adult hangout time after the kids went to bed, which definitely happens, but with the addition of the fire pit, we also all get to enjoy this area together – which is even better.
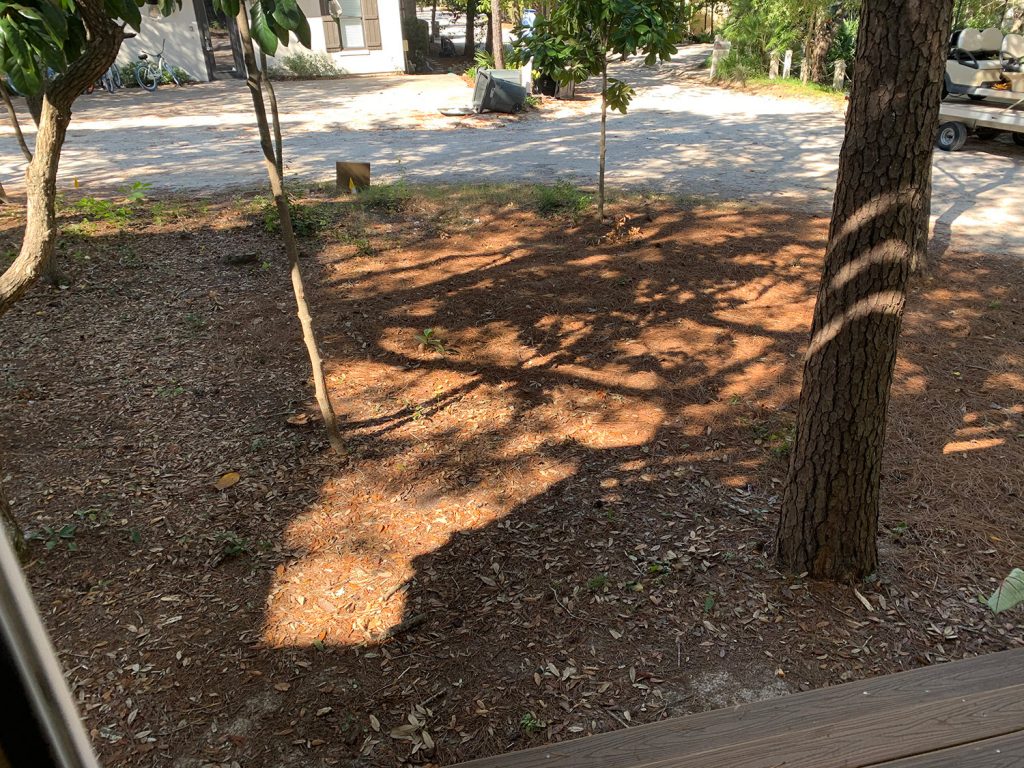
Remember how I said the view got about 780% better? Well, this is what that area looked like without the fence. Our house is on a corner, and was mostly just a field of dreams pine needles bordered by the street on two sides. We always envisioned fencing in this area thanks to our neighbor up the street who has a similar situation and their fence made allll the difference.
Here we are now, with the fence added and painted (the color is Halcyon Green by Sherwin Williams, which changes colors all day long – hence appearing greener or lighter in some of these photos, depending on the cloud cover, time of day, etc).
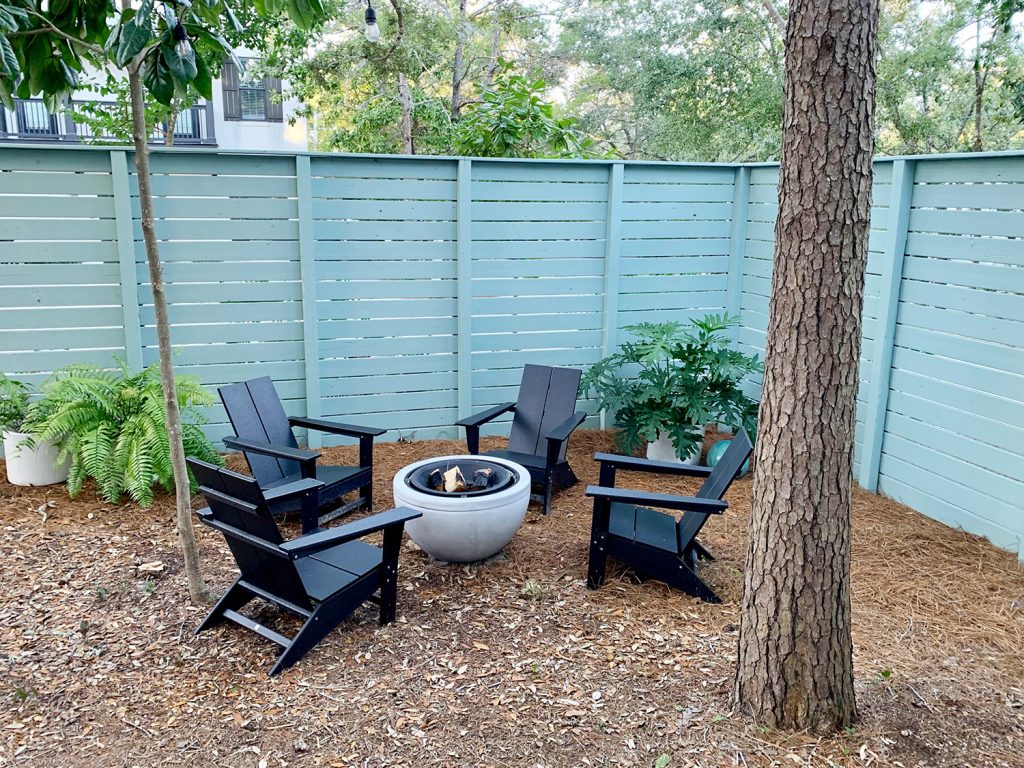
The hue below is probably what it looks like most often (it seems bluer than usual in the photo above, likely because the sun was behind a bunch of clouds). We were aiming for a nice calming color that layers into the greenery outside without feeling too loud and crazy or too boring, and we’re really happy with it. Note: our friend’s kitchen cabinets are this same color and they look amazing! You can see them here.
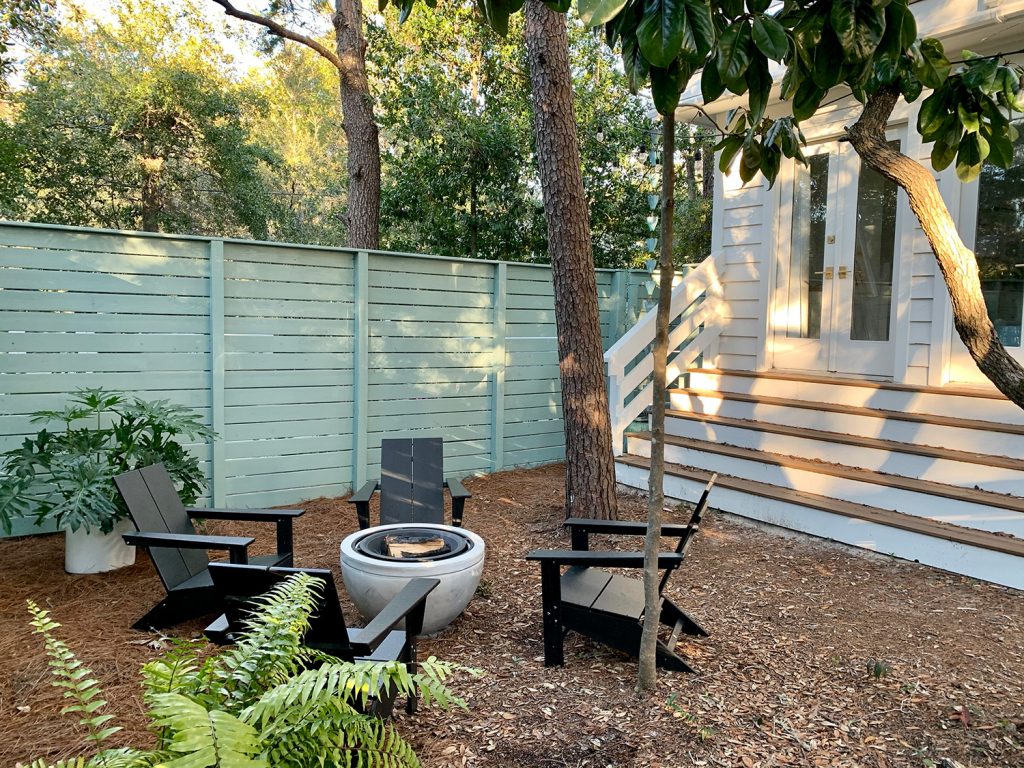
As for the details on the chairs and the fire pit, this is the exact fire pit that we purchased. We really wanted a substantial solid-looking one, and finding a pit that’s a whopping 30″ wide with a nice clean concrete-looking bowl wasn’t easy – especially at this price point. We’ve used it a ton and so far we’re really happy with it.
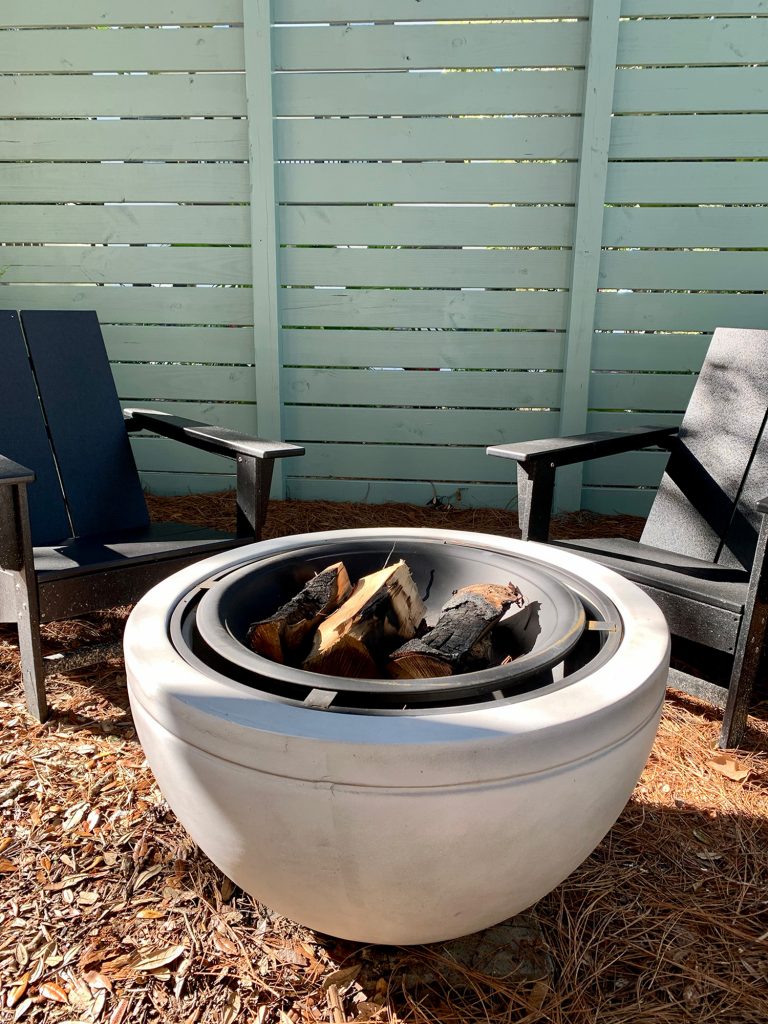
You can see in that photo above that the fire pit is sitting on a large square concrete paver (it’s easiest to spot the gray corner of it to the right of the base in the photo above). Here’s a closer shot below:
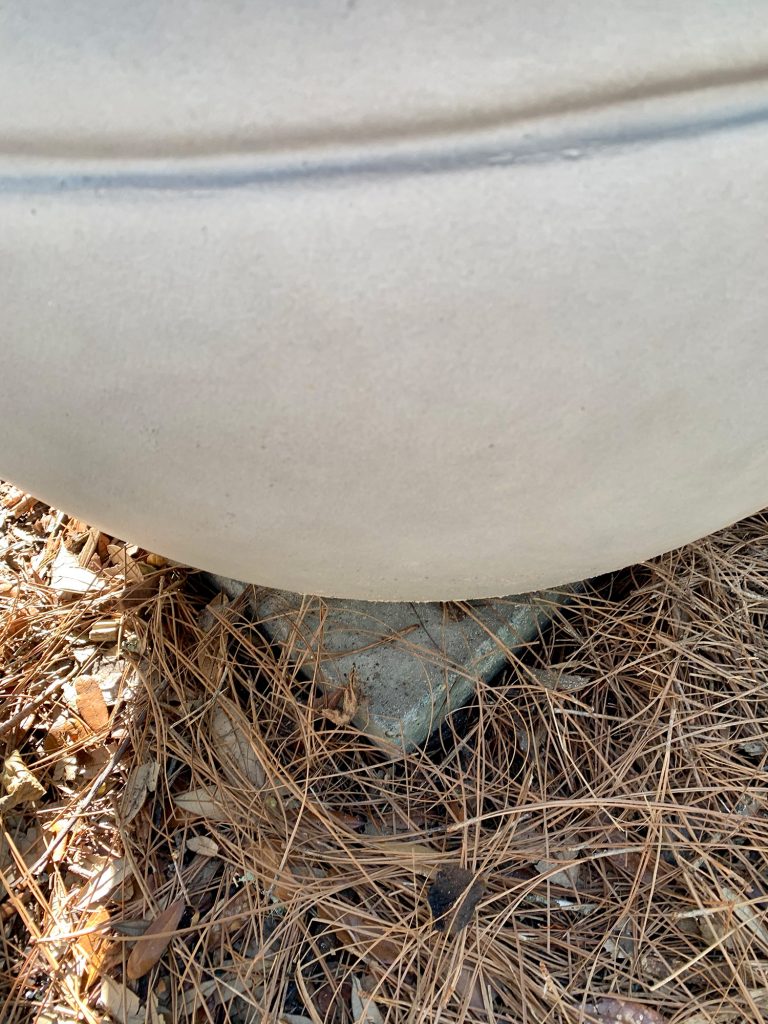
The fire pit instructions make it clear that it shouldn’t sit directly on a wood deck, and recommend setting it on a concrete base, so we slid a big concrete paver under ours. The white part of the bowl doesn’t really heat up at all (the metal one that actually holds the flaming logs up top does for sure though!) but we’re a fan of following directions. So we wanted to point that out for anyone else who gets one. You don’t just want to set it down on pine needles or a pile of leaves or old wood… aka: kindling.
As for the chairs, these are the exact ones that we bought. We were aiming for zero maintenance, so their no-rot fade-resistant construction was appealing, and their eco-friendly design is cool too (they’re actually made from a blend of plastics which includes recycled milk jugs and detergent bottles!).
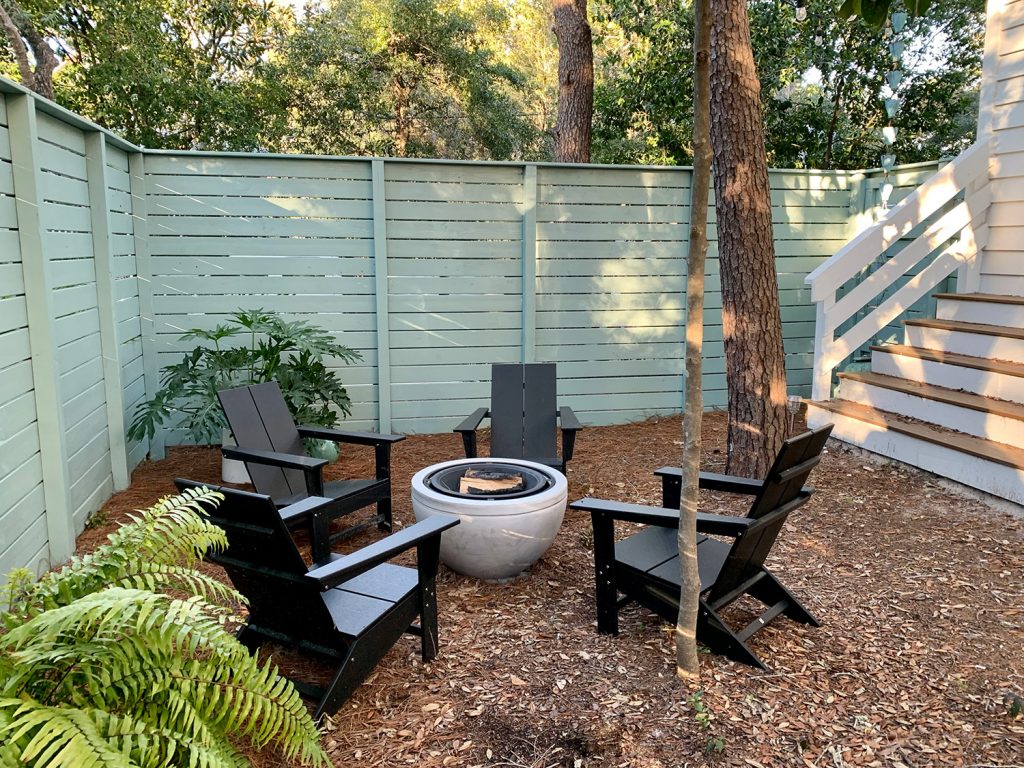
They’re also super comfortable (the extremely good reviews are what tipped the scales for us to choose these out of 679 options – and they’re accurate – these chairs are GOOD). Like none of us want to get up and go to bed once we sit down. We stay in them for hours, even when the fire dies down to glowing embers and we definitely should go to bed.
So that’s basically the story of how a fence plus some simple outdoor furniture created yet another spot outside for us to enjoy. And let me tell you, when you intentionally choose to have a lot less indoor space… AND you move somewhere warmer in the hopes of spending a lot more time outside… maximizing your outdoor zones is one of the best things you can do! Not only does it give you more space to spread out and enjoy beyond the walls of your house, but it draws you outside all the time too.
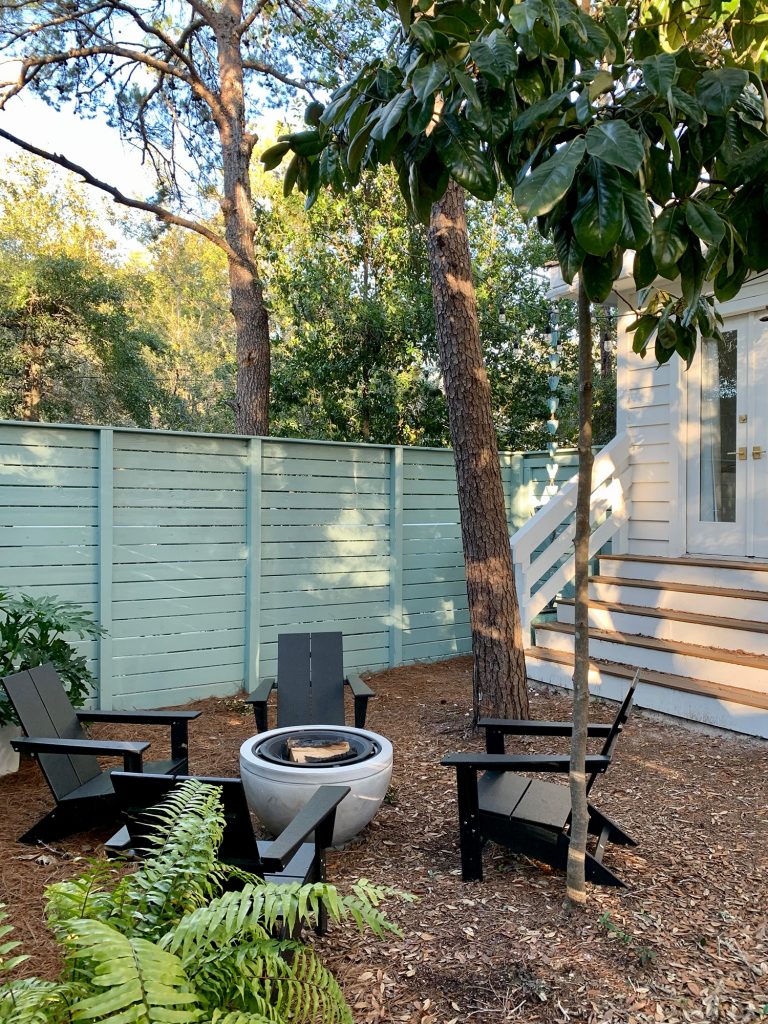
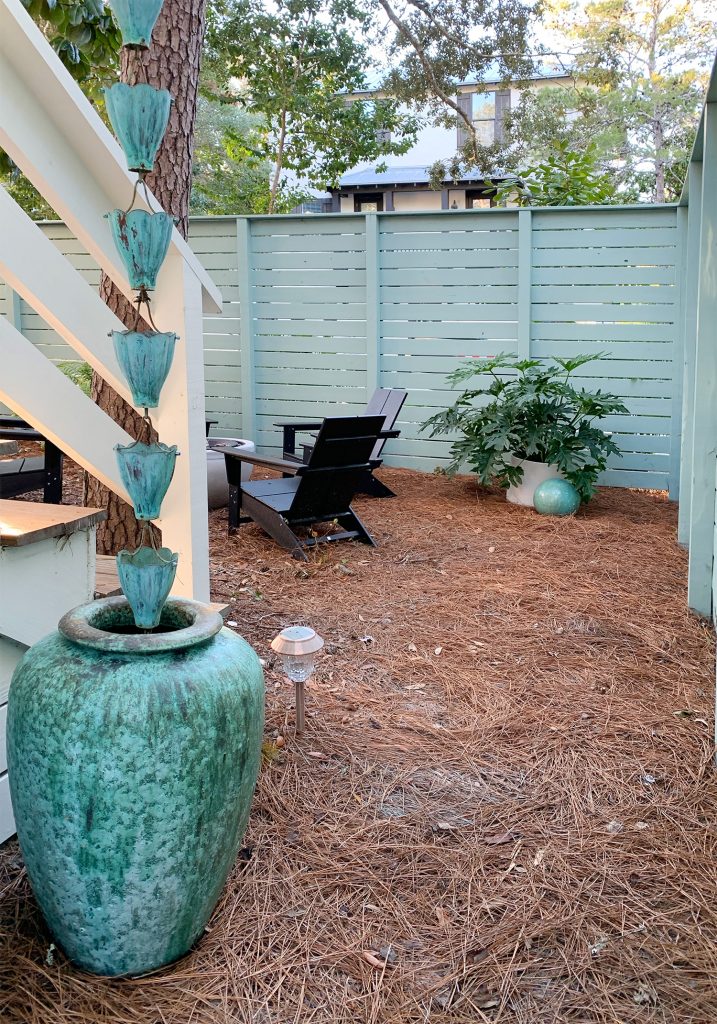
As for how we get to the fire pit area, we can access it from the glass doors in our bedroom, or from the front door, since we added this gate that swings open to let people in right here by our rain chain.
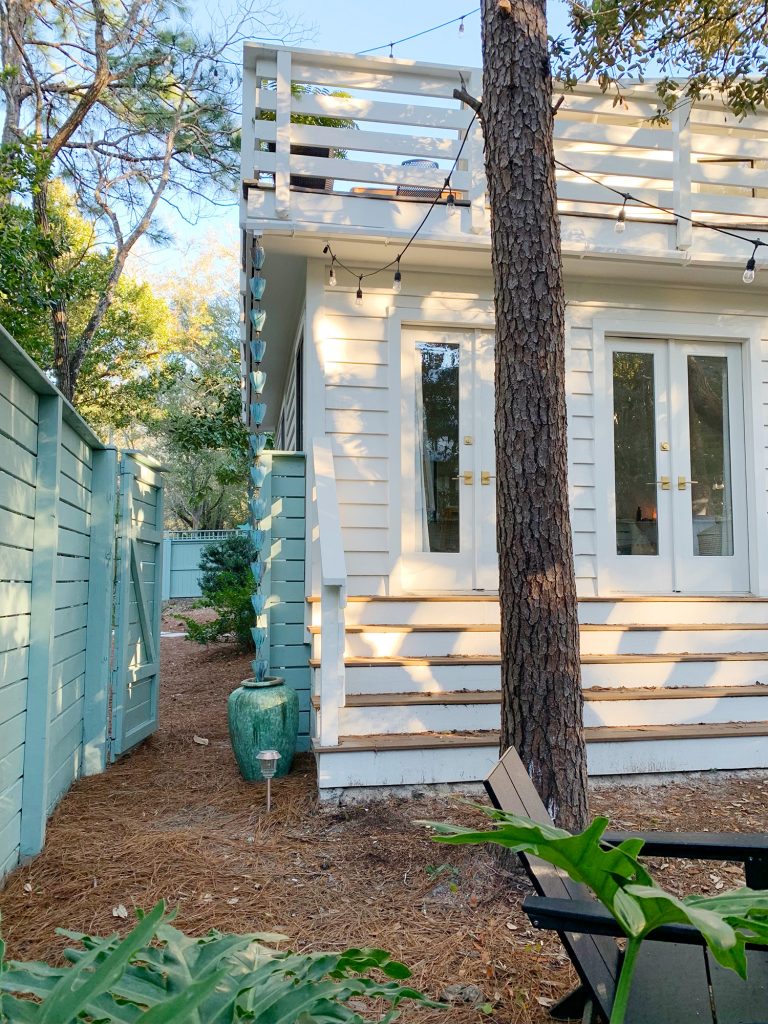
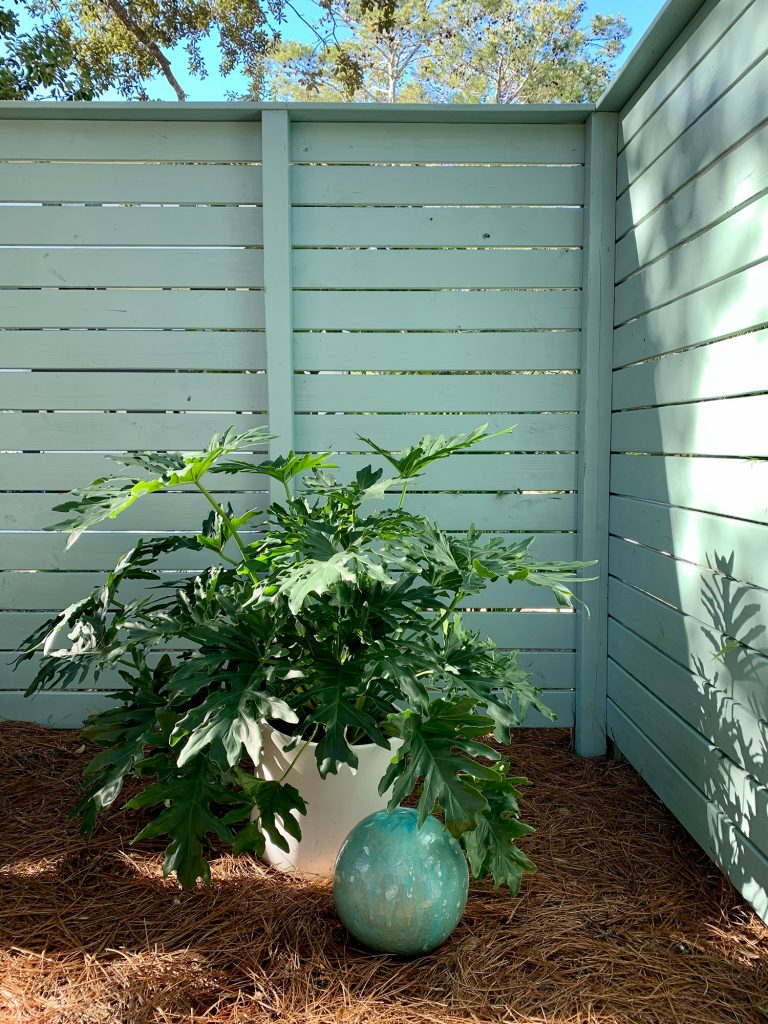
Here’s the view from that gate as you enter the fire pit area. I love that little decorative garden ball next to our big white planter (we found the ball at a local garden center, and have about a million of these large affordable white planters around our house). The garden ball (here’s a similar one) is almost exactly the same color as our patina’d rain chain (here’s a similar one of those) and they’re both a deeper/brighter version of the fence color so it’s really calming to have those tones layered throughout this area.
Here’s a closer shot of my beloved glazed garden ball, just for kicks.
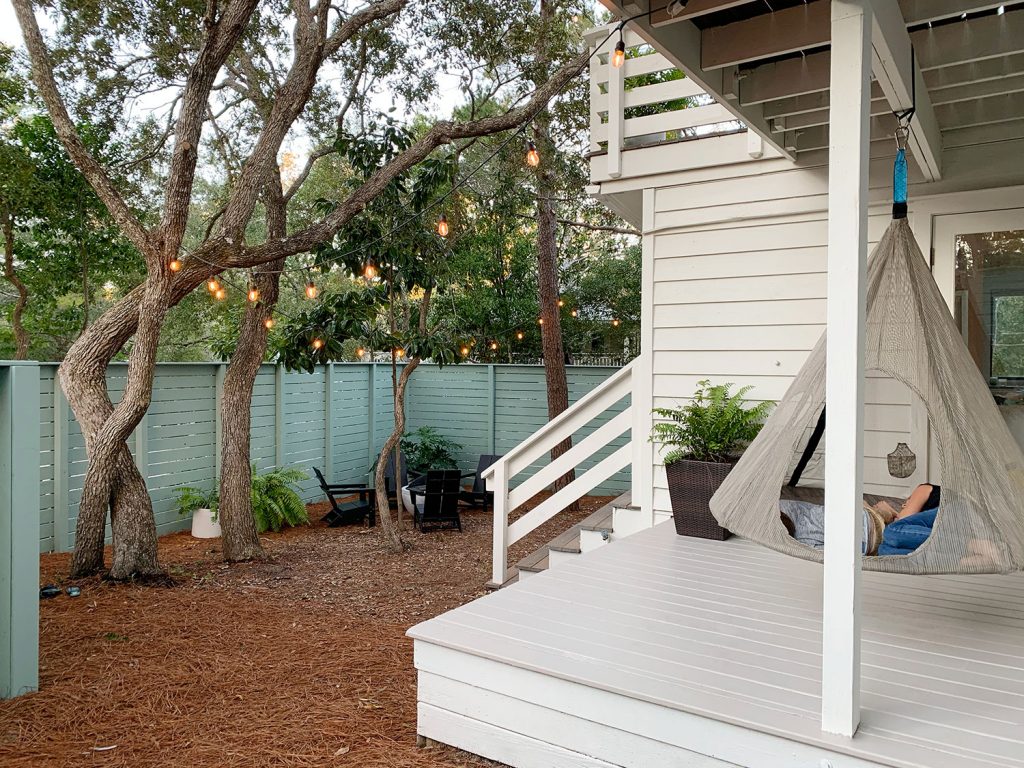
Oh and to orient you a bit more, here’s the hanging tent we added for the kids (more on that in this post) so you can get a better feel for this side of the house as a whole.
And because a video walk-through is basically worth 1,000 photos, here’s a quick spin around the fire pit area:
Note: You can also view this video on YouTube, where you can turn on auto-generated closed captions if that’s helpful for you.
Ok, now we can sleep at night knowing that this area that we love has finally been documented on the blog. Unless we’re currently sitting in the adirondack chairs, in which case we are tired but also very comfy so we will keep putting off getting up for a few more hours.
P.S. You can see every single update that we’ve made to this house over the last 9 months in this spot. From the exterior updates to each indoor room, there has been lots of progress.
*This post contains affiliate links, so we may earn a small commission when you make a purchase through links on our site at no additional cost to you.
