If there’s one thing we’ve learned about living here, it’s that we do a ton of living outside. Between each at-home learning break the kids are out there running around, we make s’mores at our fire pit every week or so, we sit on our front porch and watch the neighborhood dogs go by, and we often eat or hang out on the second-floor deck (we even work on our laptops up there on especially nice days – which is where I’m writing this post right now).
We can really feel the house working extra hard for us thanks to the location/climate (good weather definitely encourages us to be outside a lot), but also due to having so many great outdoor areas for us to enjoy (we had no idea how awesome an upstairs deck would be, but boy do we appreciate having it!).
Another pretty fortunate occurrence is that a lot of these outdoor areas just needed one or two simple updates to go from “things we used to walk by” to “a spot that gets used every day.” Like this covered porch…
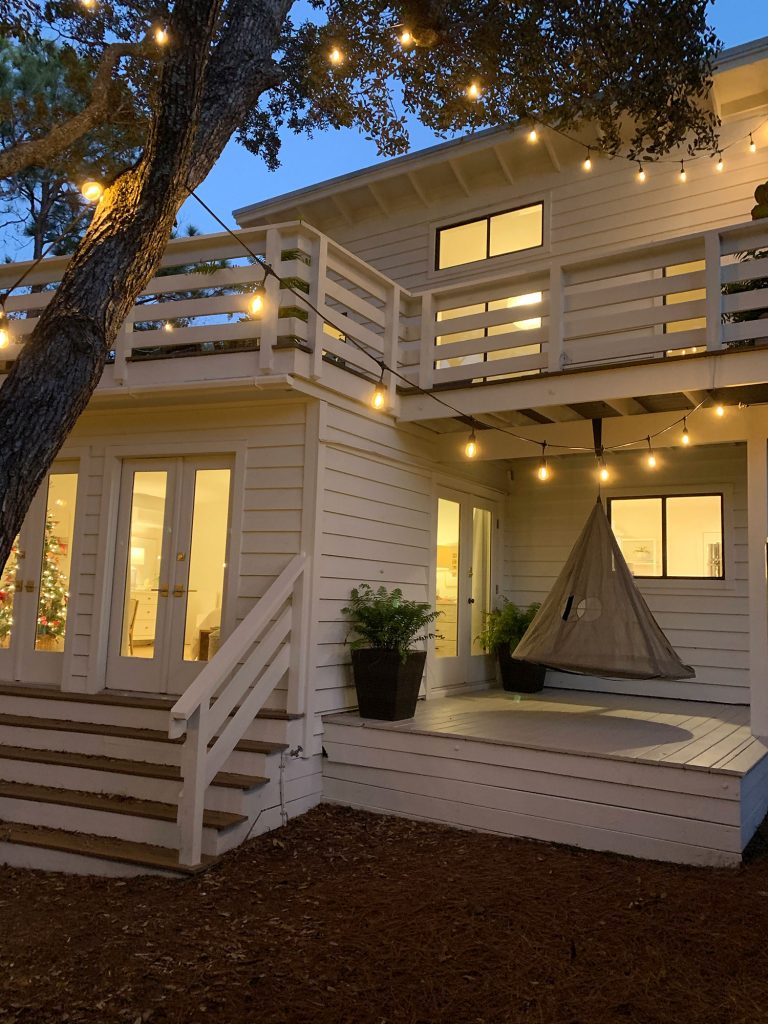
You last saw it in this post about our house’s exterior updates (there’s also this more recent exterior post) – and it sat pretty much unused for the last 8 months until we realized it was the perfect spot to hang a big hanging tent that we got for the kids for the holidays.
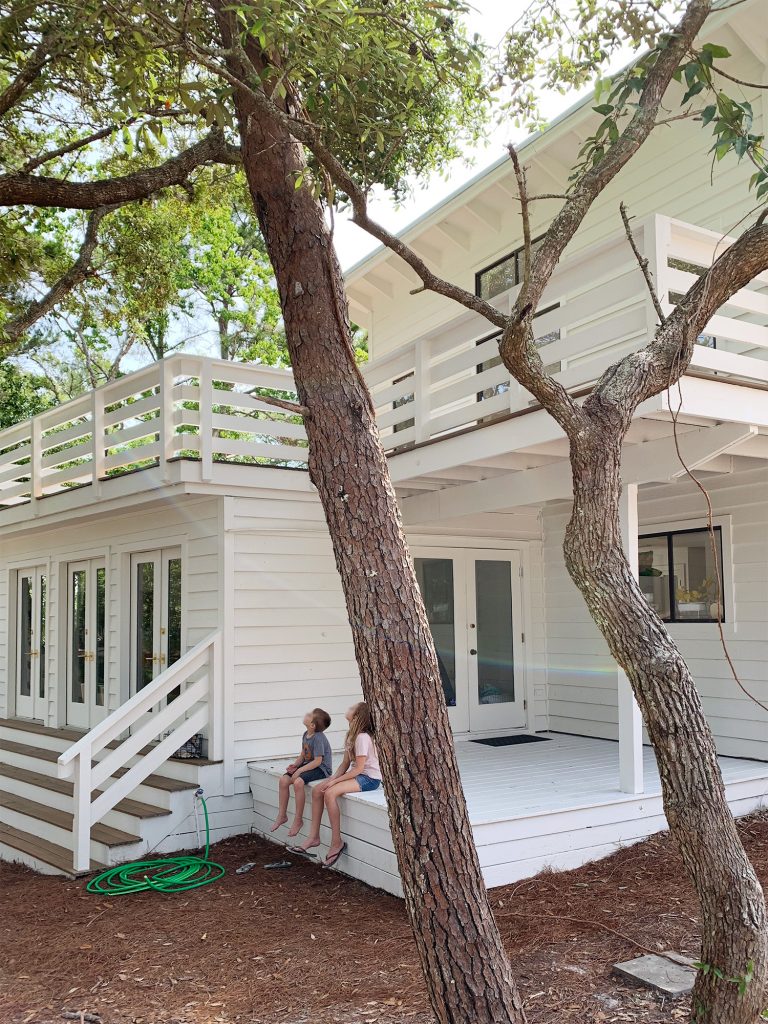
Since it’s right off of our bedroom, our plan is to eventually convert some of that covered porch into an ensuite bathroom – but since sharing a bathroom with the kids has been much less of a big deal than we expected, we really don’t have any urgency to start a major reno like that. We’d much rather work on adding a pool & a little detached guest studio first (we’ve applied for the pool permit but it’s pretty slow going). So creating a place where the kids can lounge around, read books, color, and just have some chill time feels like a perfect “for now” use for that covered porch. Especially since we have about 56 other trees we can use to hang the tent after this covered porch is no longer available ;)
But first… the wood floor had seen better days. It had been painted the same white color as the house by our contractor back in April (our best guess is that it got some drips on it and since he thought we’d be turning it into a bathroom soon he just said “eh, paint the whole thing white for now”). But white decking isn’t the best for hiding leaf stains & dirt and all the stuff that ends up on your feet or your flipflops, as you can see below:
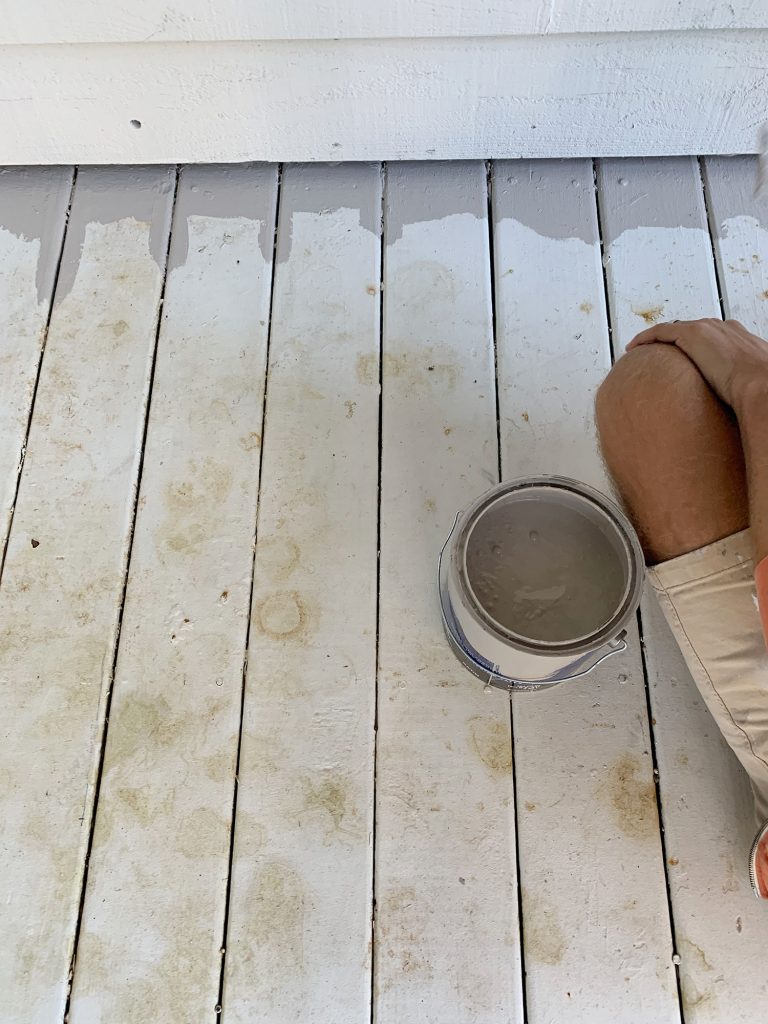
Thanks to our stair runner project, we had some interior/exterior porch & floor paint already on hand. And we thought a medium gray tone would be just the thing to freshen this area up for free in an afternoon. I don’t have photos of our prep work, but all we did was blow all the loose leaves & pine needles off the deck, and then we pressure washed it to get it as clean as possible and let it fully dry. As you can see in this photo below, there was still a ton of discoloration and staining that didn’t lift off…
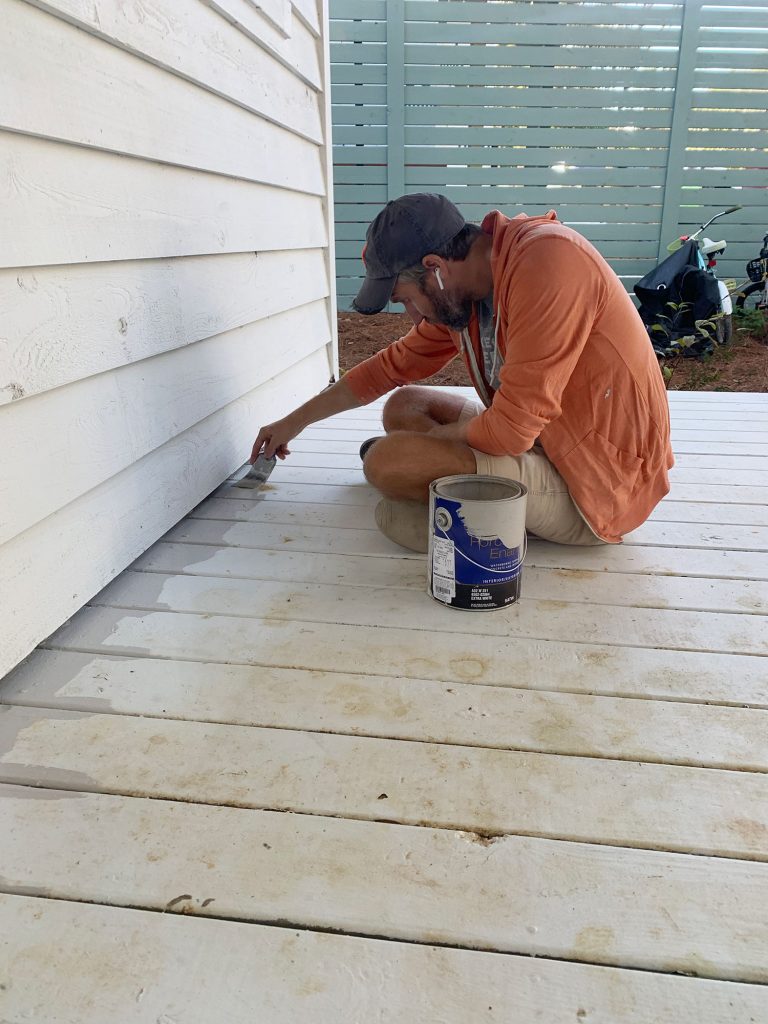
… but thankfully the porch & floor paint covered it all right up. As for the paint specifics, we chose this Porch & Floor Enamel that was recommended by the pro at the paint store for our stair runner project, and the color is gray but it’s a nice warm one (Requisite Gray by Sherwin-Williams – you can also see how it reads inside on our stairs here).
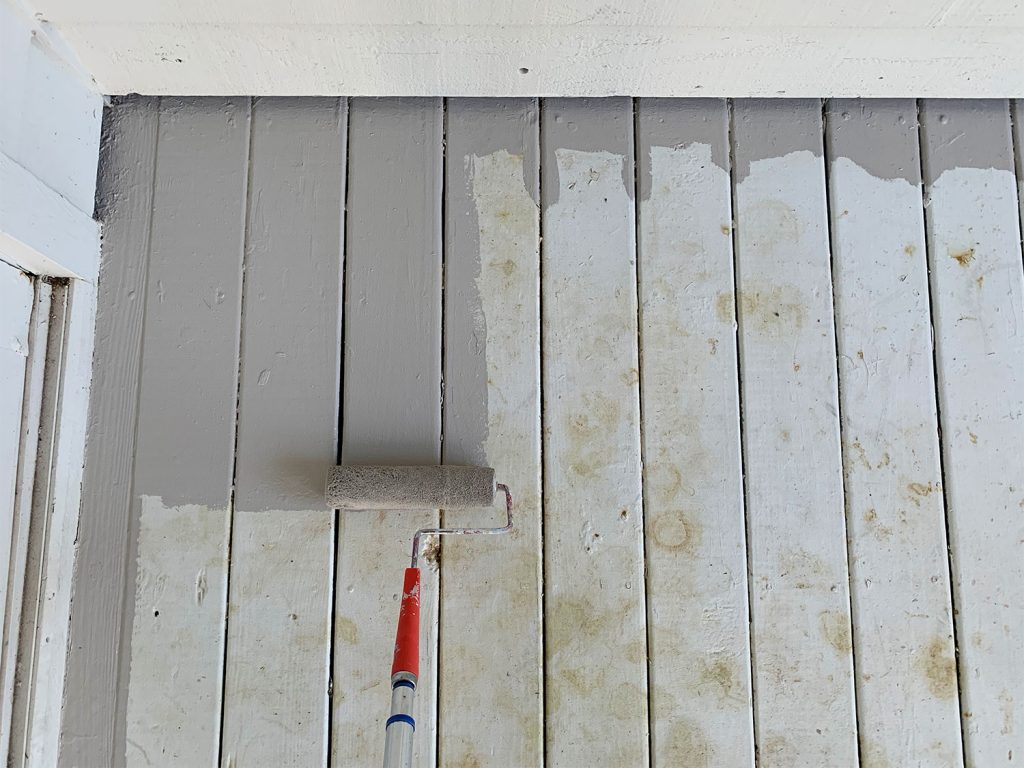
Ta daaaaaa. So much better. It’s funny how much darker it looks above than below, but in person it definitely looks significantly darker than when the decking was the same white color as the house. We hope this Requisite Gray color holds up well, but the beauty of this update is that it just took an afternoon, so if this ends up staining and we want to go even darker with the color down the line, we now know that it’s supremely easy to do. Really, this entire update took under 3 hours total (between prep, paint, and hanging the tent).
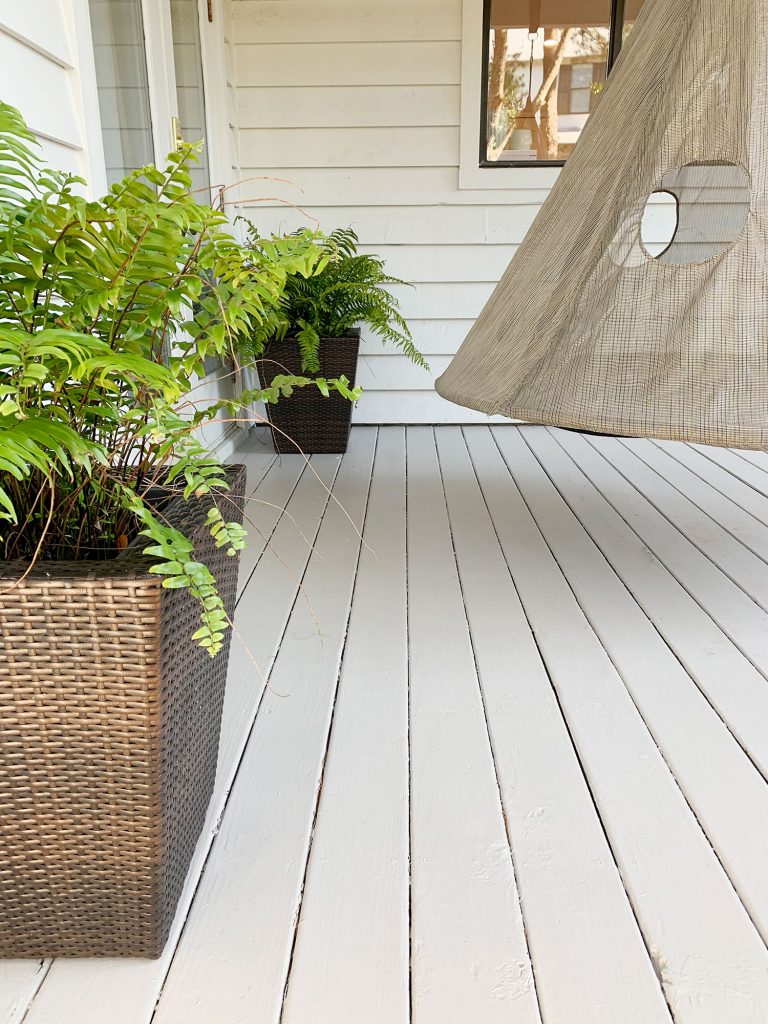
This is the view from the side window in the kitchen. Our beloved green fence is the real MVP of our outdoor upgrades. More on that, our new-ish firepit area, and some landscaping that we added around the fence soon! Note: if you’re wondering about the fence color, it’s Halcyon Green by Sherwin Williams, and you can hear more about the building of the fence here.
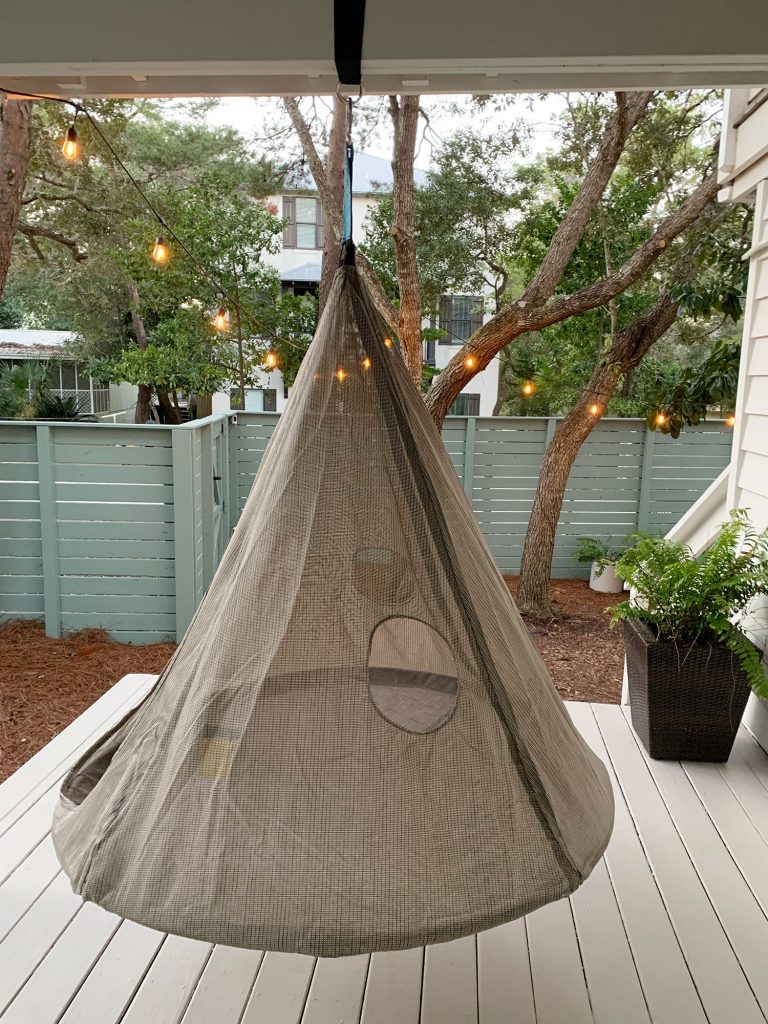
As for the tent, this is the one we got, and it’s huge! It’s 60″ wide and has a weight capacity of 450lbs, so it’s essentially like a double hammock where you can lay in any direction (in fact both kids are laying in it in the photo below). The nice thing about this versus a double hammock is that it’s more stable (can’t really tip this very easily) – and you don’t roll towards the middle or anything – each kid can have a spot without feeling like they’re drifting into a crack in the middle.
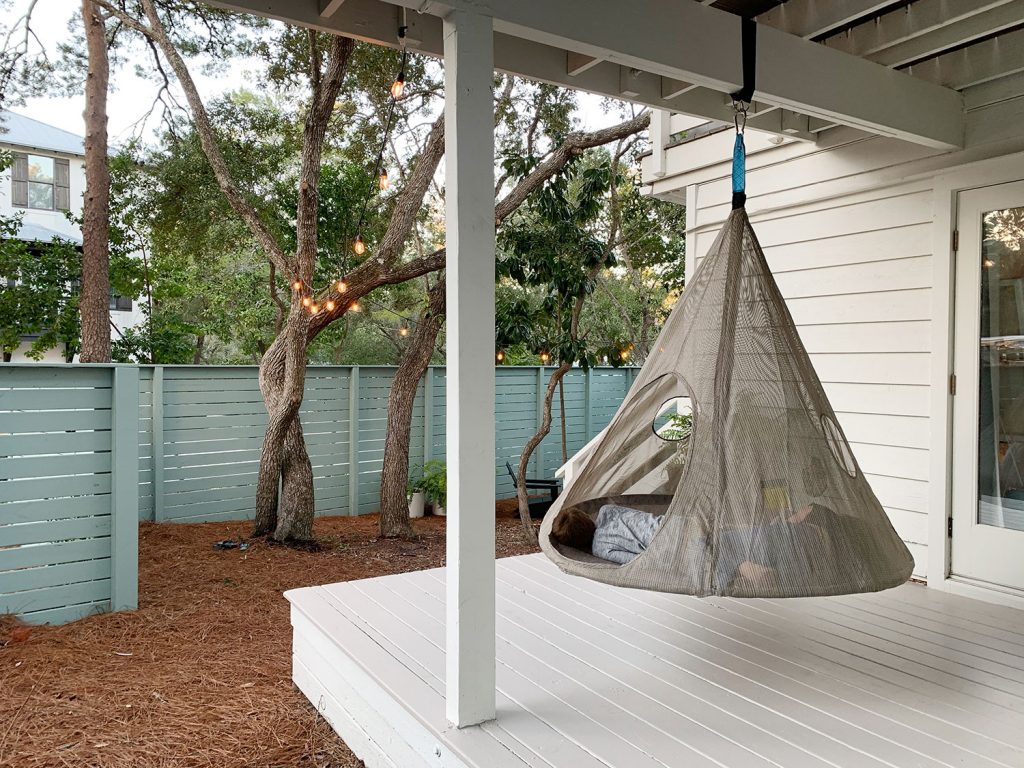
Our kids use it to hang out and read, color, do activity books, just play some imaginary game that involves it as their “car” or “house.” They’ve even attempted to play board games inside and to “have a daytime sleepover” (have I mentioned they really like being in this hanging tent?). It’s a nice counterpart to their webbed tree swing (which is for wild & crazy swinging in the side yard – you can see that in this post). I’ve also laid on this hanging tent in the evening after s’mores. It’s good.
As for how we hung it, we used one of these straps (the other one that comes in the set is what we used to hang the webbed tree swing). It all feels nice and secure – and was super easy to hang (the tree swing that we hung over a branch this way was just as simple).
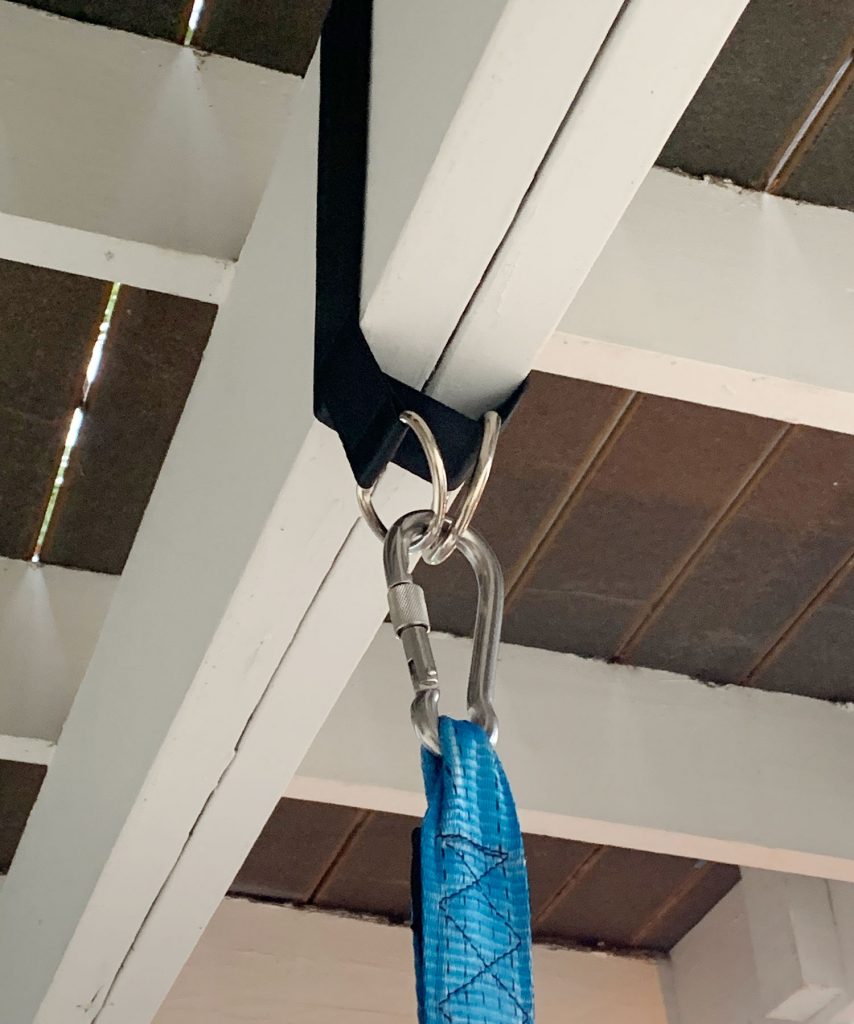
The hanging tent itself is a sort of thick semi-translucent fabric (it’s much stronger than a sheer curtain or even mesh). You feel cocooned inside, but it’s not like a dark hole. They can easily read and see things well inside, but also feel like it’s their own little world.
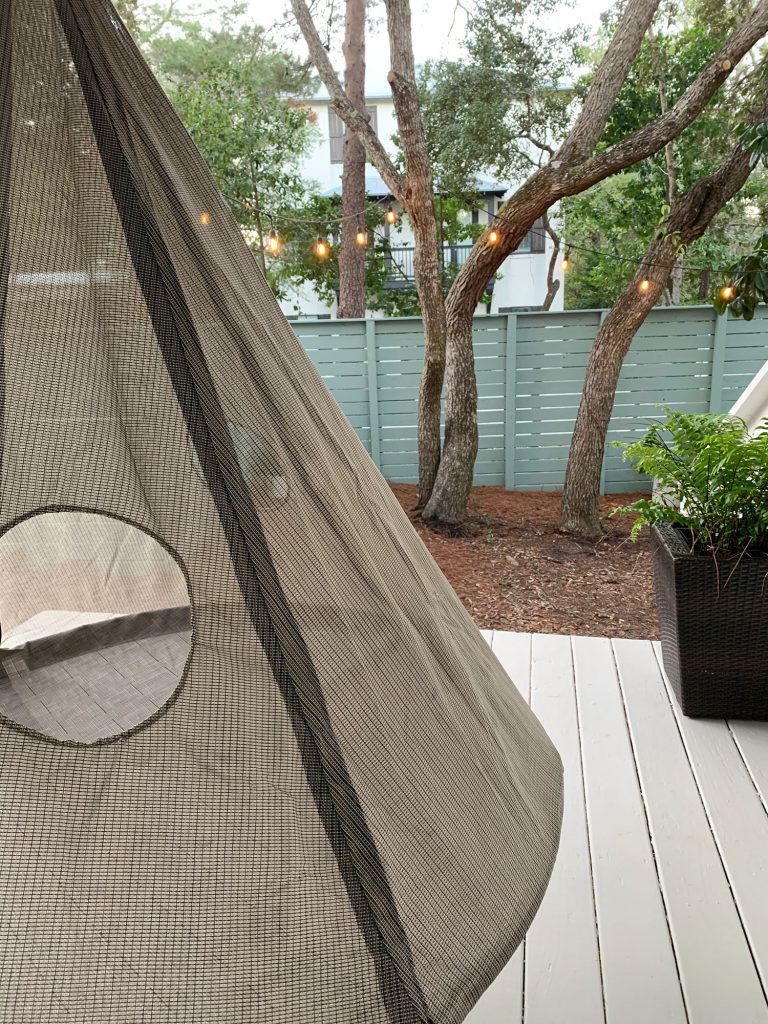
Oh and it has a cup holder, which you can see in the picture below. That was John’s favorite part when he climbed in (he and I took it for a spin to make sure it wouldn’t come crashing down, and he was downright wowed by the cup holder).
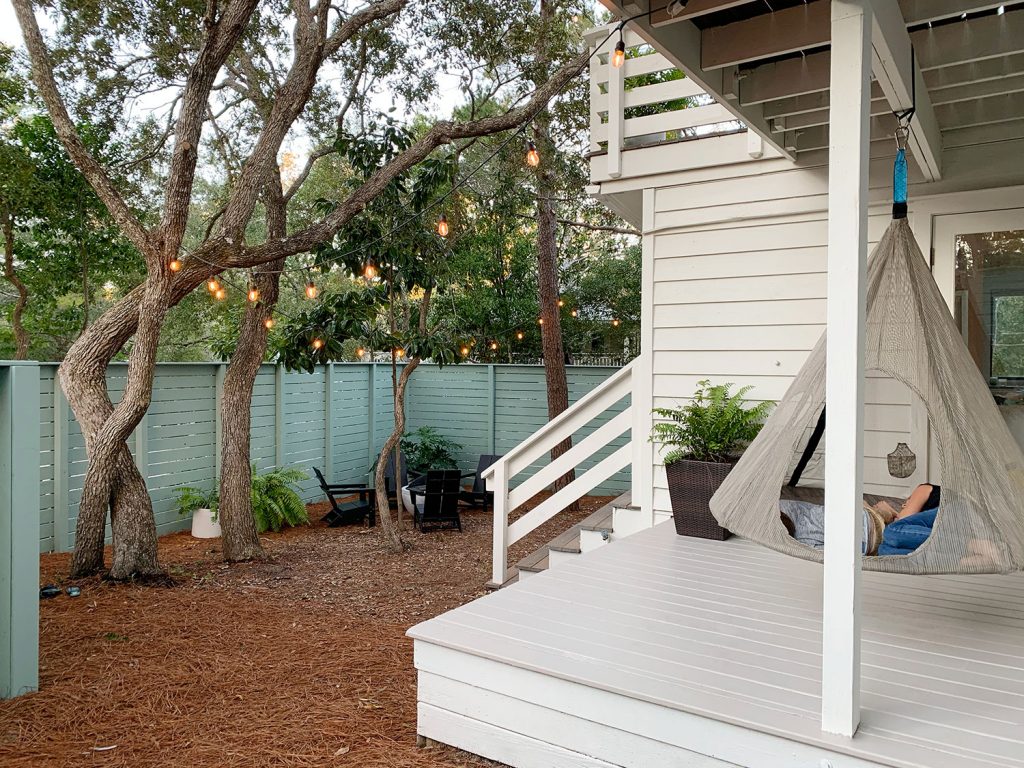
So that’s the simple but very functional little upgrade this formerly unused covered porch received over the holidays.

And yes our Christmas tree is still up. Can you tell we like an ambient glow by the number of string lights that we have outside year-round?
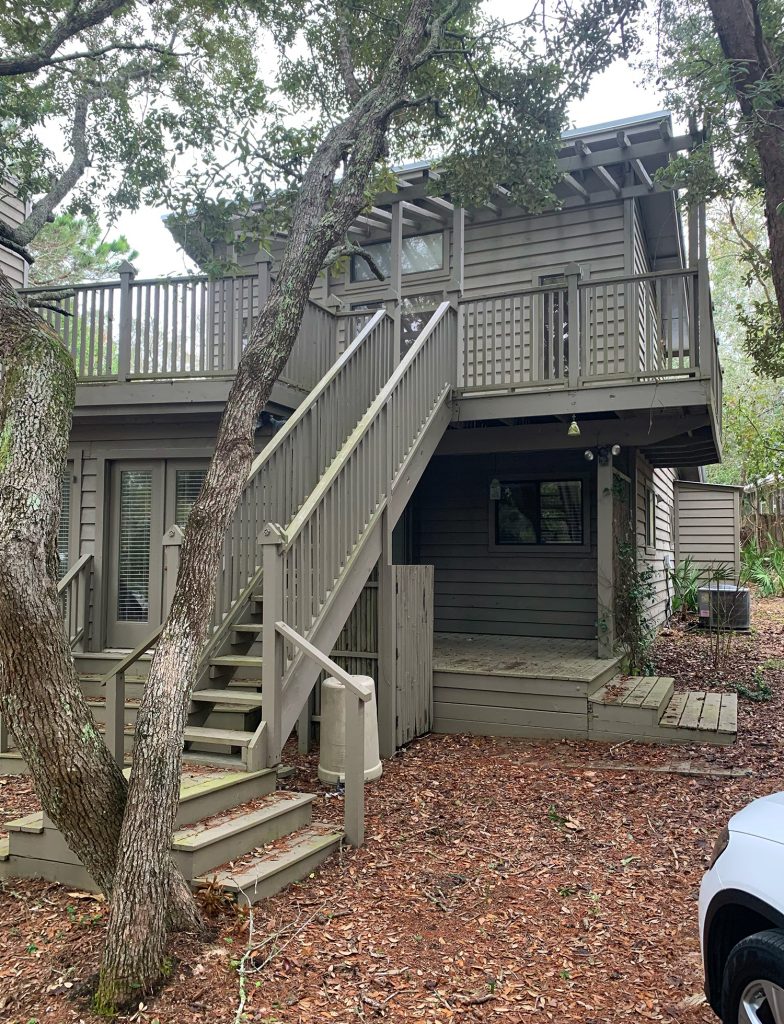
Oh and I just found this before photo taken from almost the exact same angle from last February when we first laid eyes on this house. Isn’t it crazy what lots of paint (and ditching that old rickety staircase) can do?!
If you’d like to read more about our house’s evolution over the last 8 months, this archive is all about our Florida house – and it covers every single change, listed chronologically for anyone who wants a deeper dive. And if you’re curious about how majorly downsizing has met and exceeded our expectations (along with some of the biggest challenges we’ve encountered along the way) this post has all those details.
PS: You can also read how to paint a porch ceiling in this post and learn why a “haint blue” is one of our favorite porch ceiling colors.
More Flooring Projects
If you would like to read about other flooring projects we’ve done, please check out the posts below:
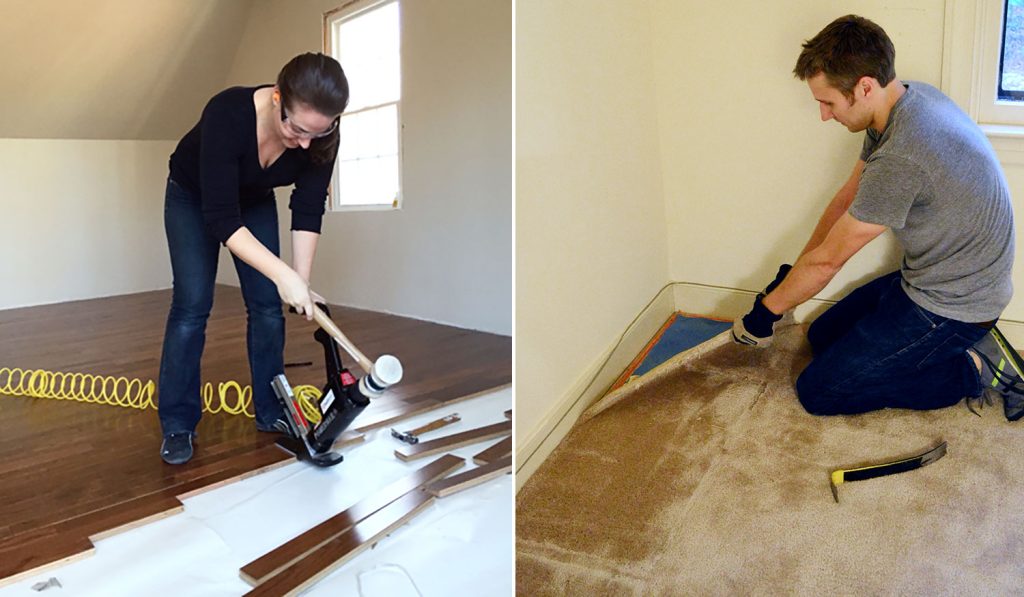
- Refinishing Hardwood Floors 101
- How To Install Hardwood Flooring Yourself
- How To Select Hardwood Flooring
- How To Install Hardwood Floors Without Nails
- How To Install Click-And-Lock Cork Flooring
- How To Stain A Concrete Floor
- How To Remove Carpet
*This post contains affiliate links, so we may earn a small commission when you make a purchase through links on our site at no additional cost to you.
