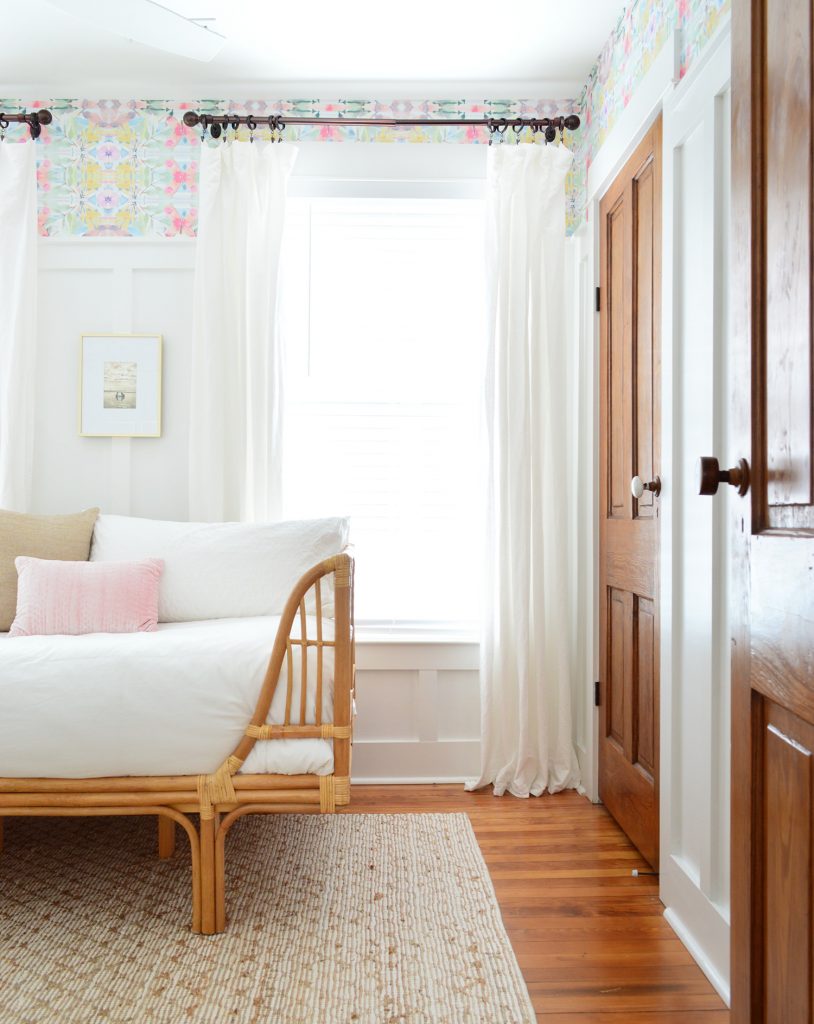
Adding wallpaper to the middle bedroom at our beach house took us just a few hours and cost us less than $100. It’s a whole lotta bang for not much buck (or extra high skill level). Plus it’s 100% removable so if we ever tire of it or want to swap it for something else, it’s no big deal. Certainly less trouble than removing traditional wallpaper! So in this post we’ll show you exactly how we hung it, including a video I took of my lovely husband hanging a panel for you in real-time while I talk and point (you know, the things I’m most known for).
Selecting Your Wallpaper
There were two strategic choices we made that helped to keep this project particularly quick and easy:
- Choosing a peel and stick wallpaper. Traditional wallpapers require you to apply a separate glue and even “pre-pasted” wallpaper means you have to wet the paper to activate the built-in adhesive (that’s the kind we installed in our second book). But this kind is effectively a giant sticker that you can stick & restick until you get it right, which greatly streamlines the installation process – not to mention making it less messy and a lot more forgiving.
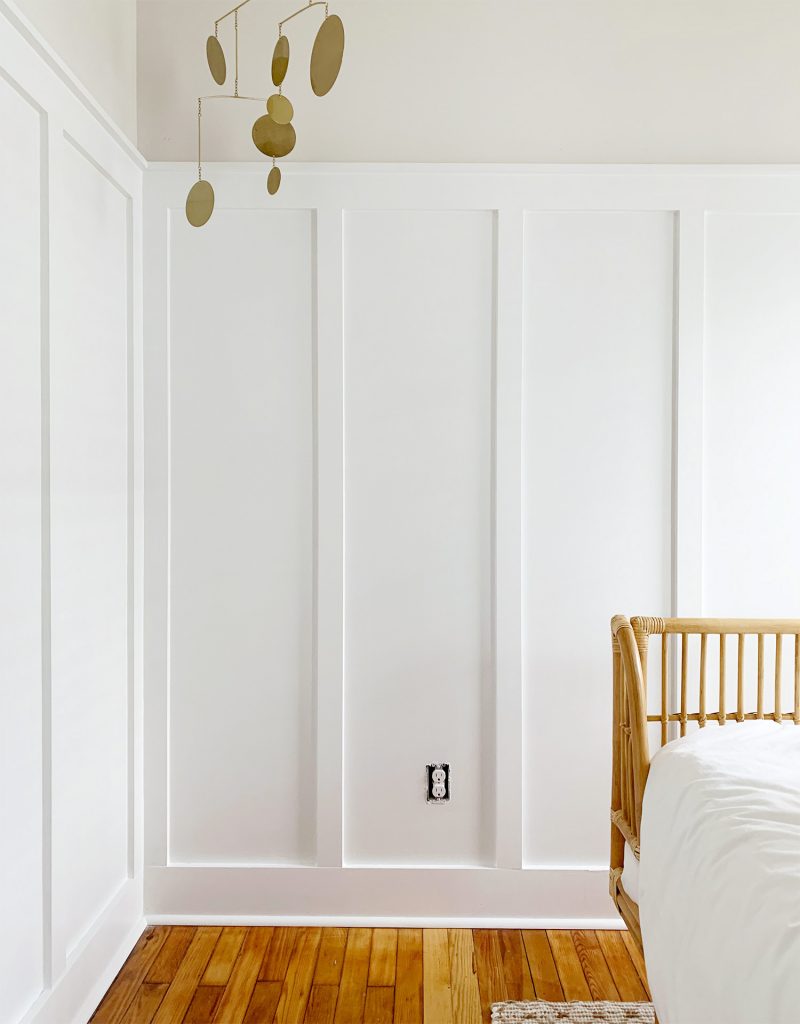
- Only wallpapering above a wainscotting. We shared last week how we installed this board and batten molding treatment in the room. We did it primarily to make the room feel brighter and beachier, but also because it would eliminate a lot of time and cost that could be spent wallpapering an entire room from floor to ceiling. The method we’re sharing today would still work for doing a larger section of the wall, but it probably won’t be as fast or affordable.
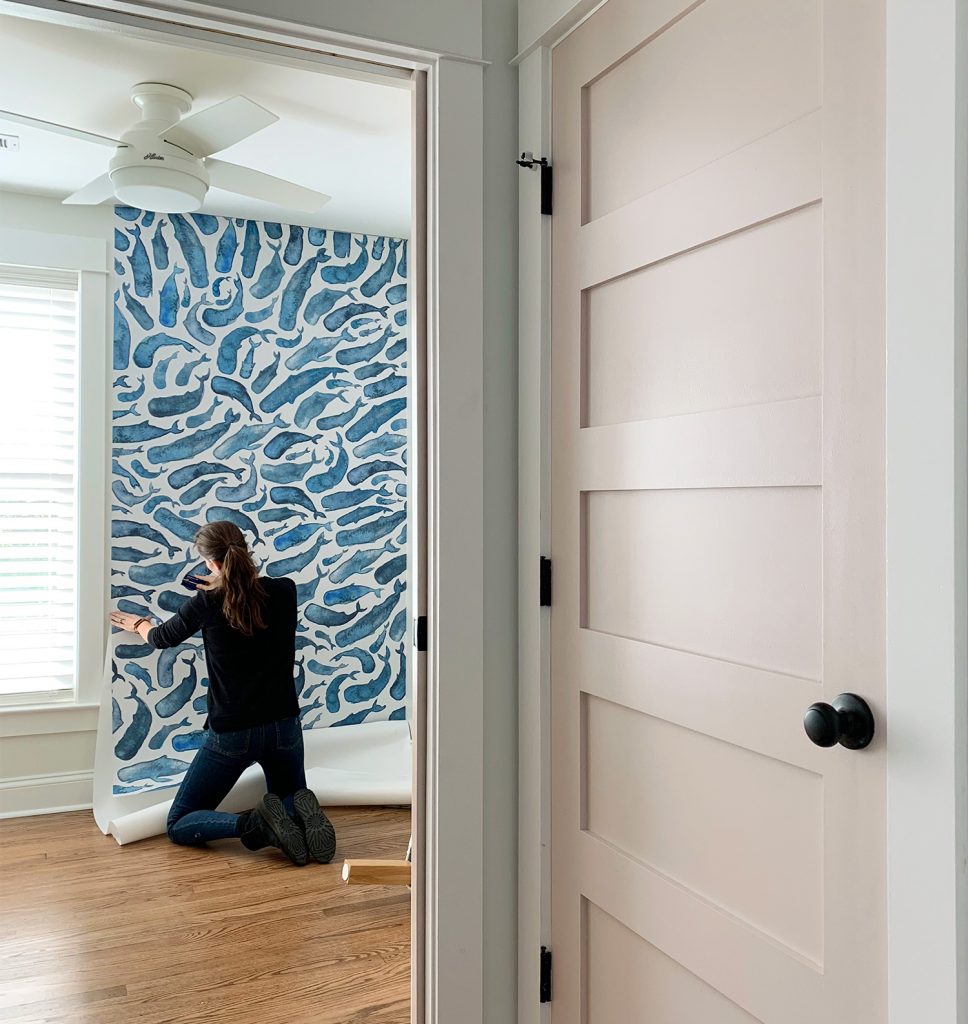
Actually, if you want to see what it looks like to install something floor-to-ceiling across an entire room (including cutting around a window on that wall) we shared that process when we installed these removable wall murals. But again, each of those rooms cost us $400 – whereas this one was under $100.
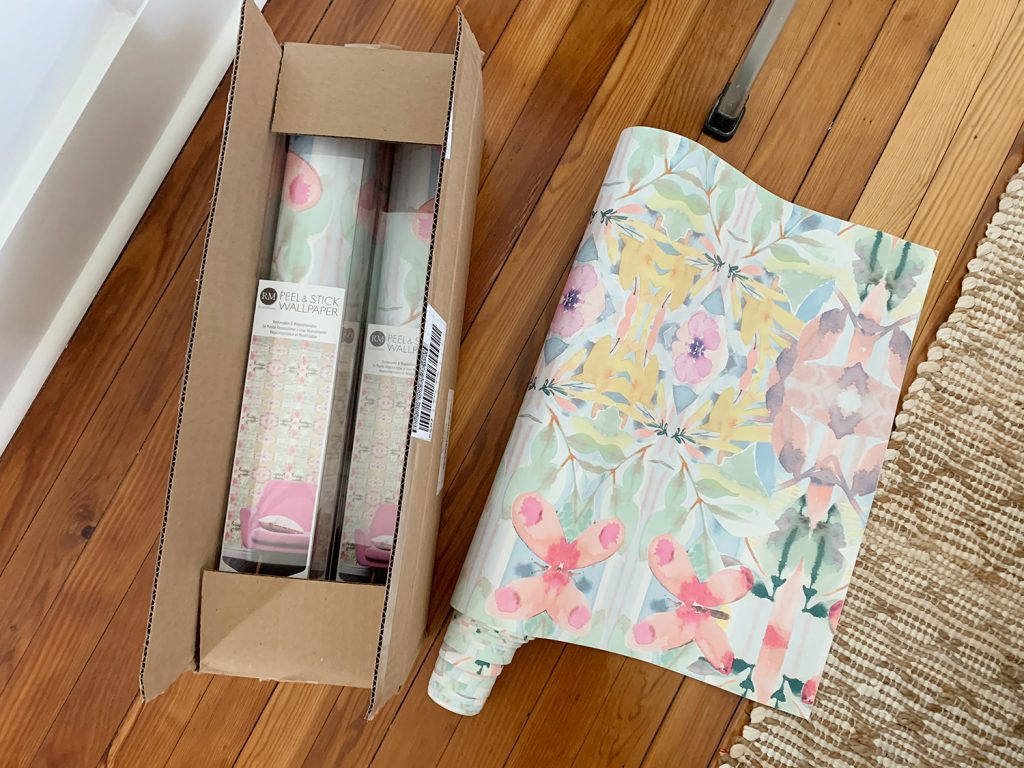
A big reason we were able to do this middle bedroom so affordably is because we snagged a great deal on the wallpaper we chose. It’s called “Synchronized” and after buying a version of it from Anthropologie for $150 (with a coupon), some readers tipped us off that it’s also sold a few other places online for less – like Target, JoAnn Fabrics, and even Home Depot. We were able to apply a coupon on top of a sale price at JoAnn to ultimately get 4 rolls for $85 – including shipping and tax! So definitely shop around before checking out.
Tools & Materials
In addition to your wallpaper, the list of tools you’ll need to install it is pretty short – especially because you’re skipping all of the complicated glue stuff. But here’s what you’ll probably want to have on hand:
- Sharp utility or craft knife
- Scissors
- Measuring Tape
- Yardstick (metal, preferably)
- Wallpaper smoother (a credit card works okay too)
- Level (we used a 9″ one since larger ones wouldn’t fit above our molding)
- Step ladder
- Pen or Pencil
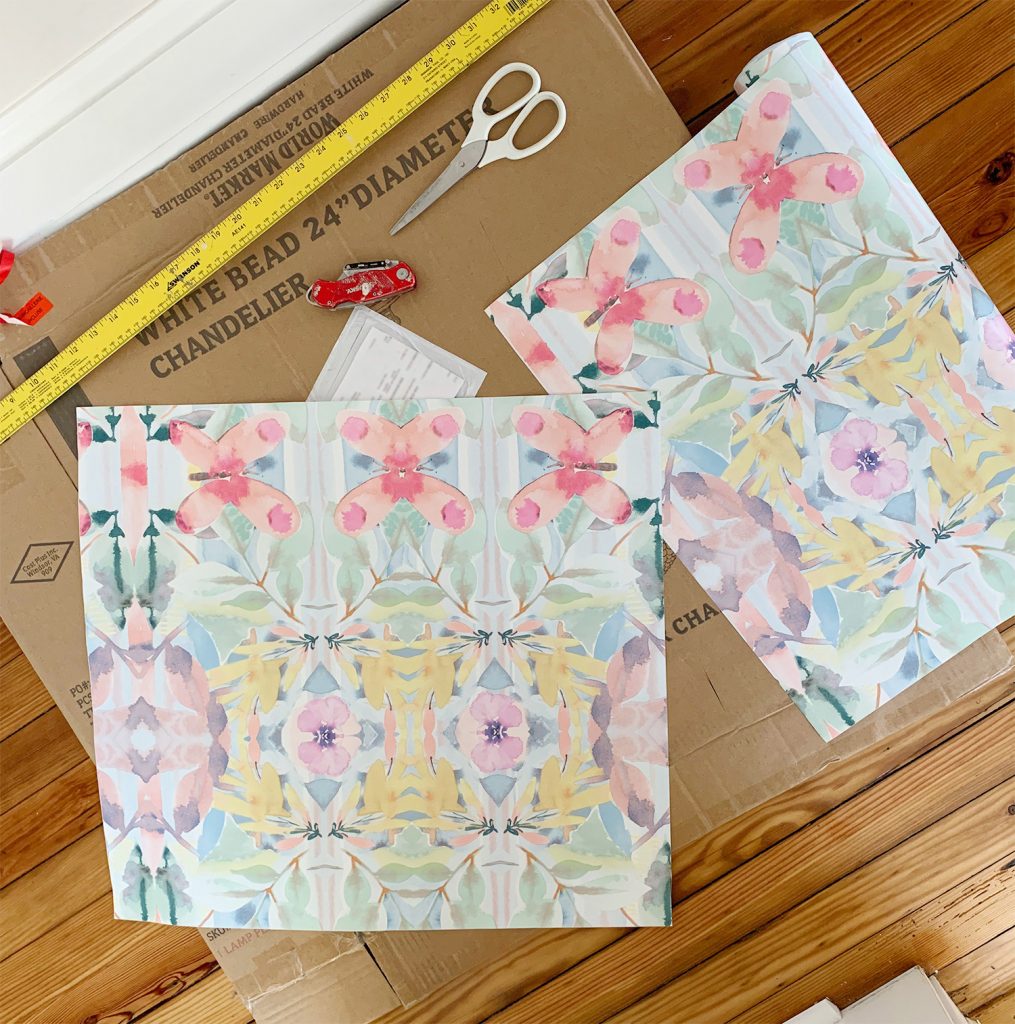
It’s also helpful to have a cutting surface, like a piece of scrap wood or cardboard.
Planning Your Pattern Placement
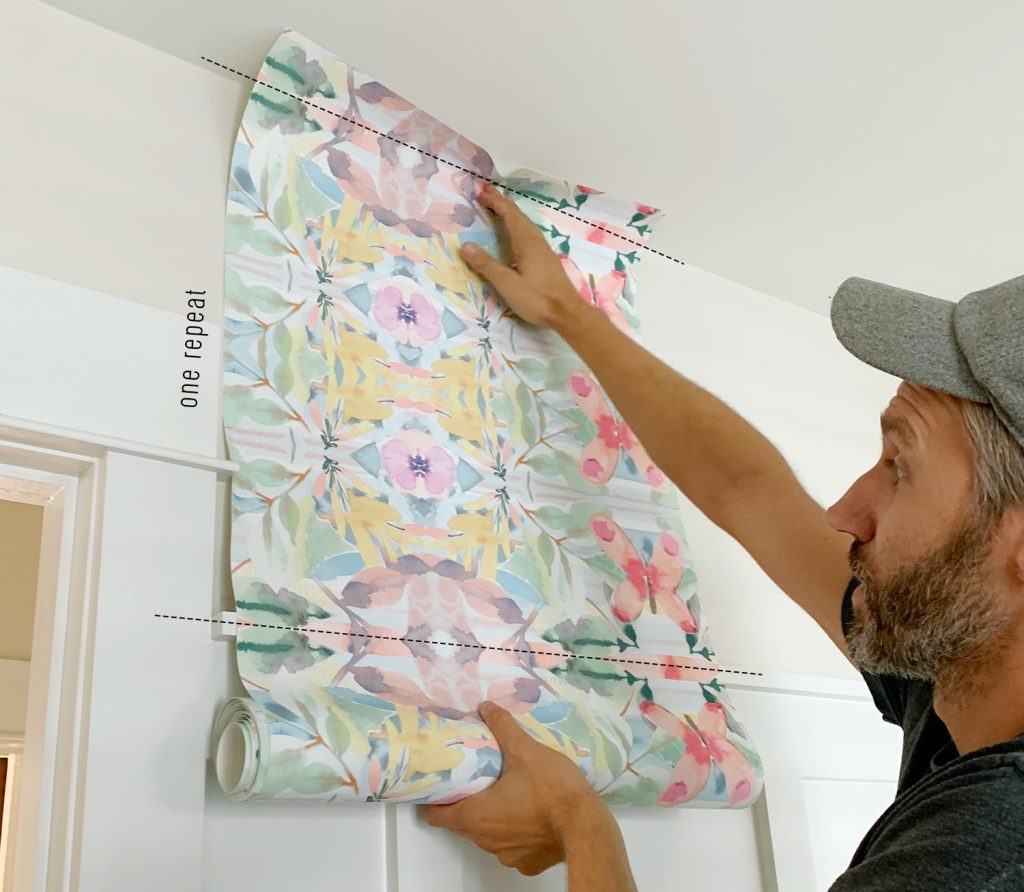
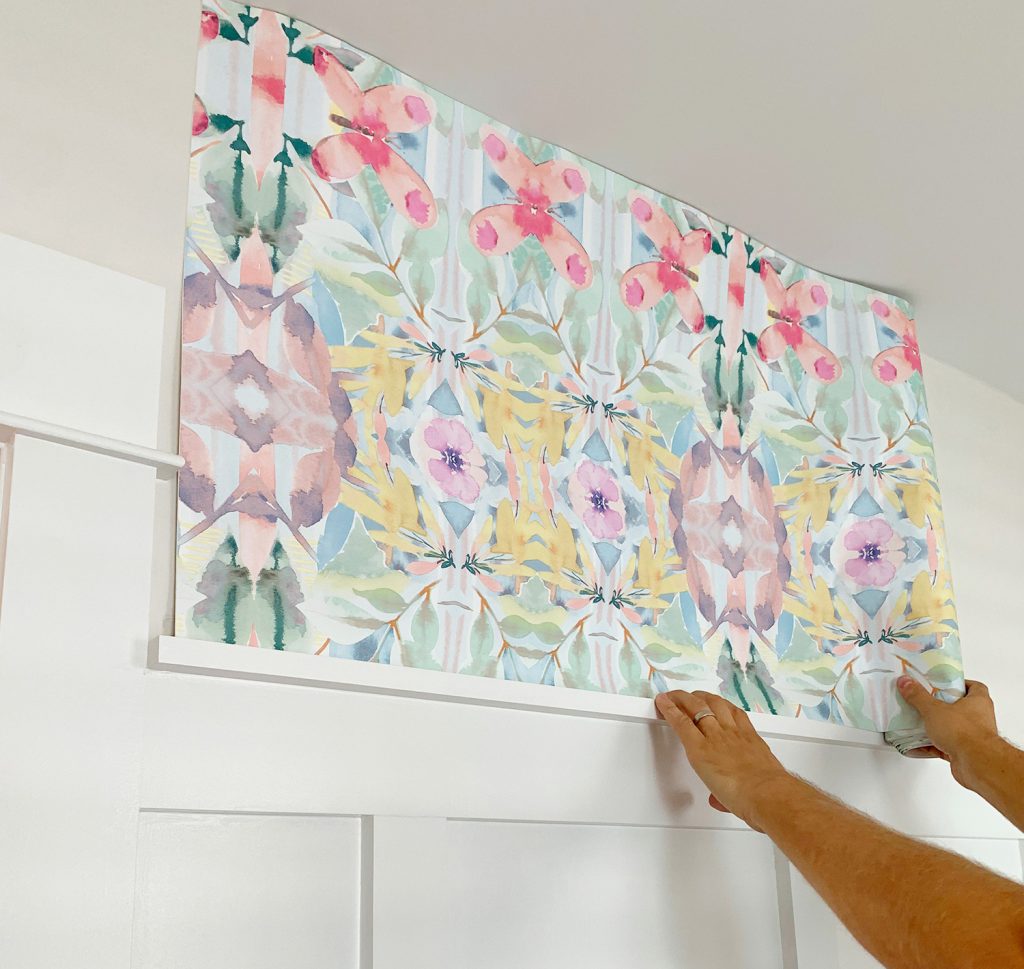
If you want to maximize each roll by keeping waste to a minimum, it’s helpful to know the wallpaper pattern’s “repeat” before you install any wainscotting or molding. Our pattern repeated every 20.5 inches (see below) so we made the space above our board & batten slightly less than 20.5″ so it would nicely fit one repeat of the pattern (with some excess for safety). Had our wall space above the board & batten been a bit taller, like 24.5″, we would’ve needed to cut 4″ into a second repeat – meaning the other 16.5″ part of the roll would be wasted. This might not matter as much if your pattern has a much smaller repeat or if it can be rotated, but for ours it was worth thinking about.
Coincidentally (yes, this was a very weird coincidence) the width of each of our rolls was 20.5 inches too. So one option we had was to run the wallpaper horizontally around the room. That could’ve made the process even faster, but we decided we preferred the pattern when it was oriented the other way. But it’s something to consider as another alternative for sure!
Hanging Your First Piece
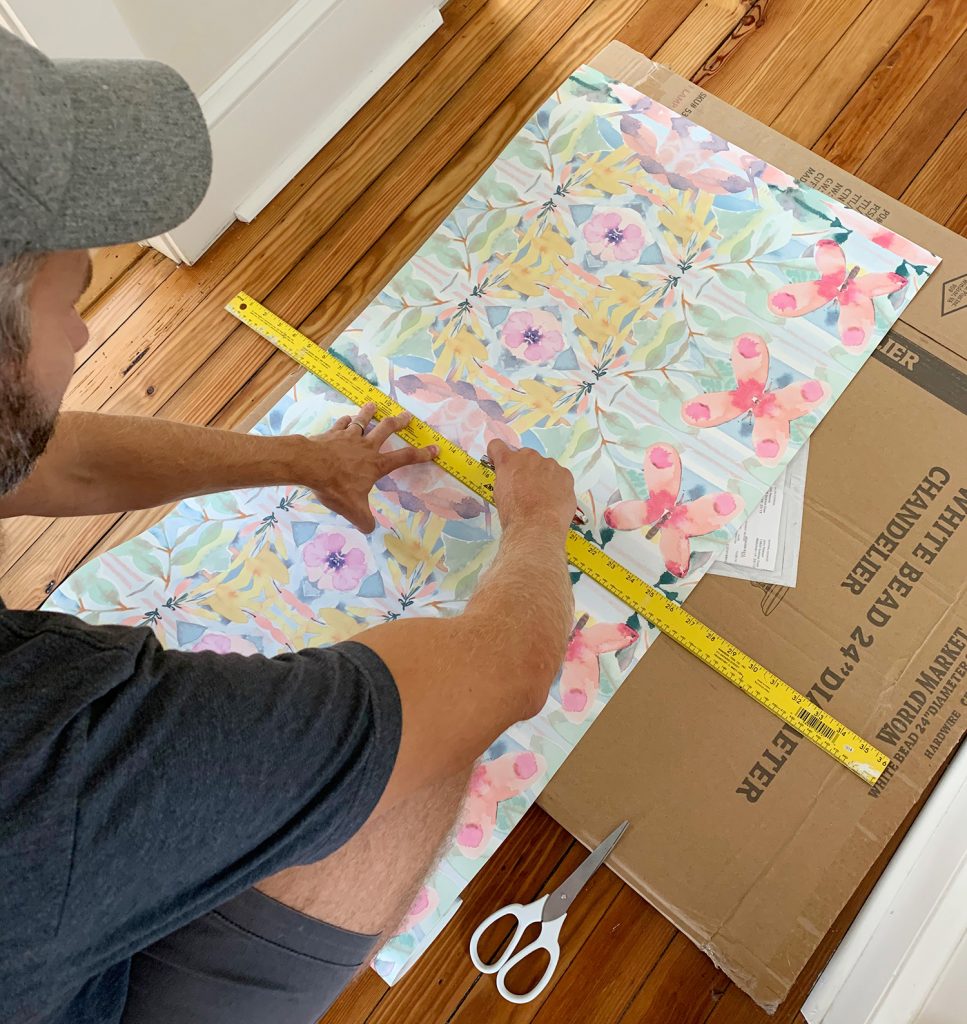
To prep our first piece for hanging, we measured and cut one “repeat” worth of wallpaper using a sharp utility knife and a metal yardstick as a straight edge. Theoretically, you could go ahead and cut ALL of your sections at once, but we realized there were a few spots where our ceiling wasn’t level and our wall space got a smidge taller than the 20.5″ repeat. That meant we had to cut a few sections larger than a single repeat (boo waste) to cover the gap. Ultimately we found it safest to cut one or two pieces at a time, occasionally measuring our wall to make sure we were still making the right cuts – and thankfully there were only a few times where we had that annoying extra waste thanks to a wonky spot in the ceiling.
Depending on your pattern, you might find it best to start your first piece in the center of your first wall (you know, if you want the design to hit both corners of the room in the same part of the pattern). That wasn’t important to us, so we just opted to start in a corner. But, and we can’t emphasize this enough, DON’T USE YOUR CORNER AS YOUR GUIDE FOR MAKING THE PAPER LEVEL! Picture me screaming this in your face like a fight on Real Housewives of Dallas for emphasis.
It’s really really really really important that your first piece be perfectly straight on the vertical edge. If it isn’t, your pattern will “travel” or become slightly askew as you continue around your room, meaning that ultimately your last piece may not match up with your first at all. Like around an entire room if you start without being level you could be off by entire inches at the end! And since corners are rarely perfectly level and square, it’s a crappy idea to rely on it to set your first piece. Use an actual level instead! Like this:
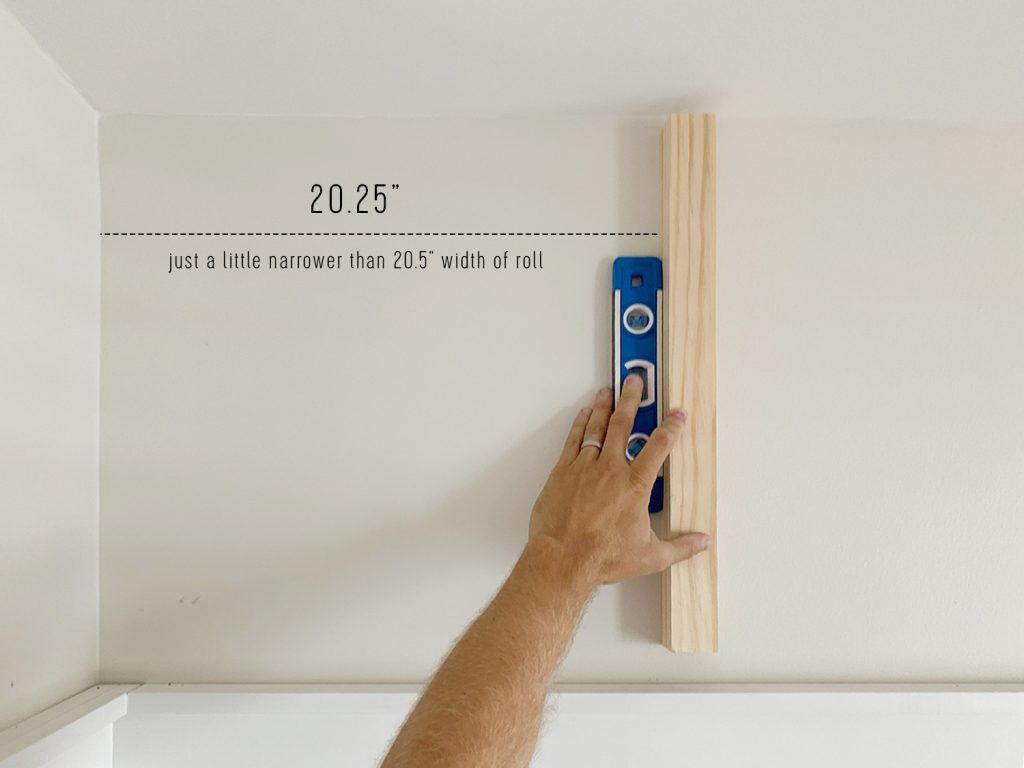
As you can see from John’s handy graphic above, we measured out from our corner just slightly less than the width of our roll and drew a level line with pencil right on the wall (the piece of scrap wood just provided us a longer vertical edge). The “slightly less” part of that sentence is italicized because it’s important! If your corner bows inward at any point (like ours did near the ceiling) you could be left with empty gaps where your wallpaper doesn’t reach. Since excess wallpaper can always be cut off, it’s always better than falling just short.
With that vertical line drawn, we peeled off most of the backing from our first section of wallpaper and stuck it to the wall, being sure to keep that outer edge right along our level line that we had drawn right on the wall.
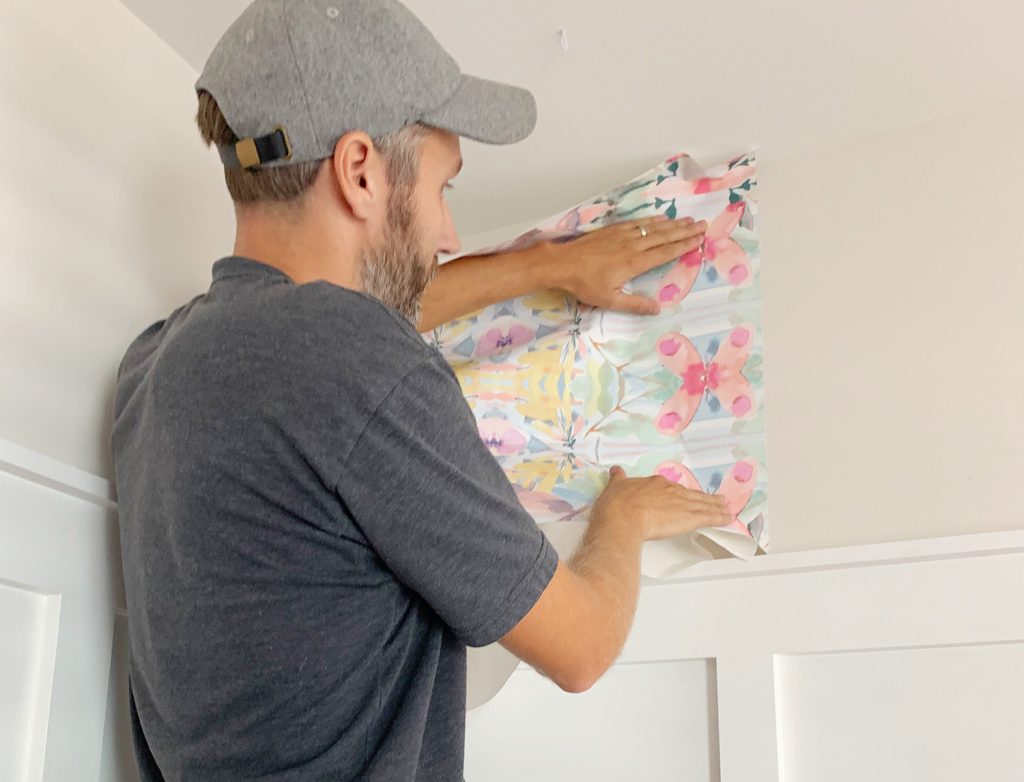
Now, if all of these detailed measurements and pattern calculations have made you nervous, this should make you feel better. These peel & stick wallpapers ARE EXTREMELY FORGIVING. They’re just like a big, repositionable sticker. So it’s very easy to peel them up and restick them if you don’t like your first placement attempt (or second or third or fourth!).
In fact, I made a little video to show how we hung one of the panels and you can see John noodling it a few times until he’s happy with exactly how the pattern is lining up with the previous panel. We did this so many times going around the wall! It’s extremely comforting that you can just keep at it until you like it and then move on to the next piece. You’ll also see how we smoothed it once it was placed in the right spot – and then cut off the excess.
NOTE: If you’re reading this in a feed reader, you may need to click through to this post to see the video. You can also watch it here on YouTube.
As you can see in the video, once we were satisfied with how we lined up the edge, we just peeled off the rest of the backing and used the smoother tool to press any bubbles or wrinkles out towards the edges. It’s deliciously simple. (Please picture me sitting in a red velvet chair filming a yogurt commercial and leaning into the camera while I say that).
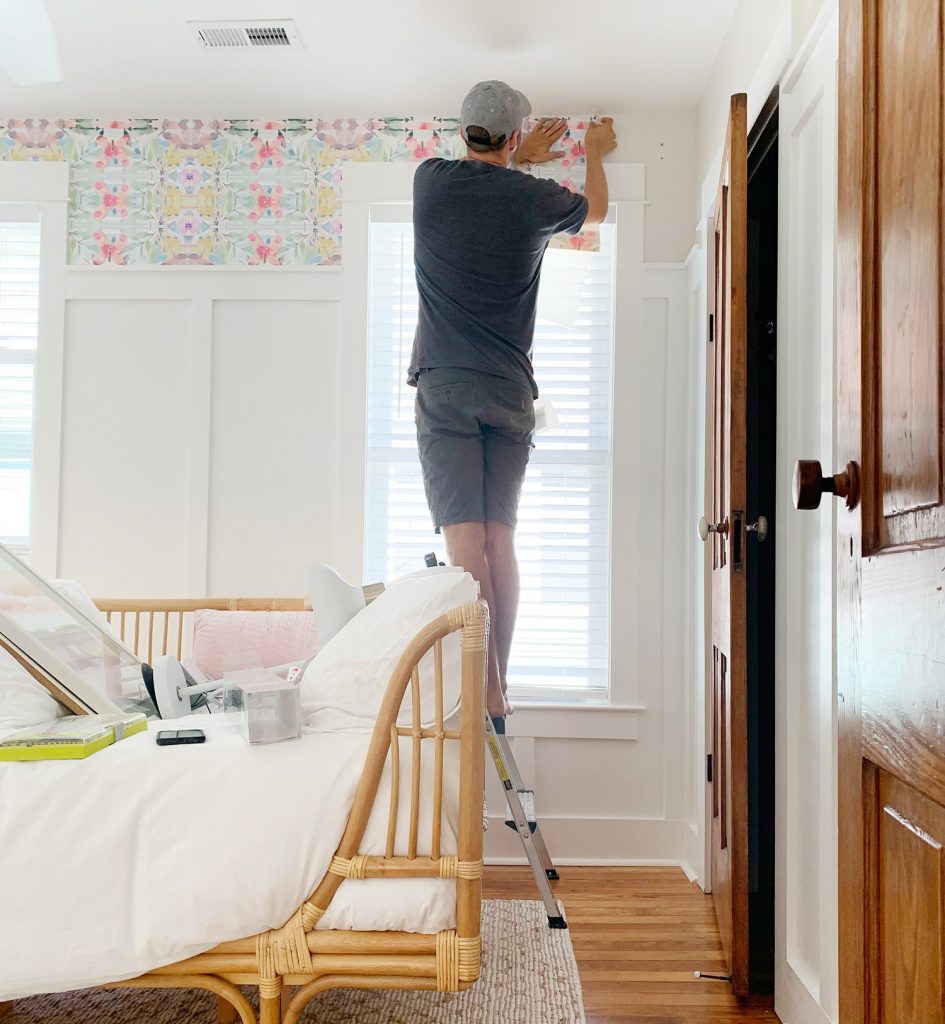
Once you have your first piece lined up, you just repeat the process around your room, taking care to line up your pattern along each edge as you go. The only slightly-tricky-but-still-doable parts are when you encounter corners and obstacles (like windows) which we’ll cover in a second. But let’s talk about ceilings for a hot minute first.
Cutting Off Excess At The Ceiling Or Floor
As you saw in the video, trimming off that little overlap on the ceilings is easy, fast, and strangely satisfying. The method that we found works best is to hold your smoother against the wall, pushing UP into the corner against the ceiling. Then place the sharp blade of your utility knife right against the top edge of your smoother and move both across your wall together simultaneously, being sure to maintain the upward pressure on your smoother to keep it tightly in the corner. The first few times I did this part I was very nervous, but it was honestly really easy. Look how nervous John looks here though… or maybe that’s just a look of concentration.
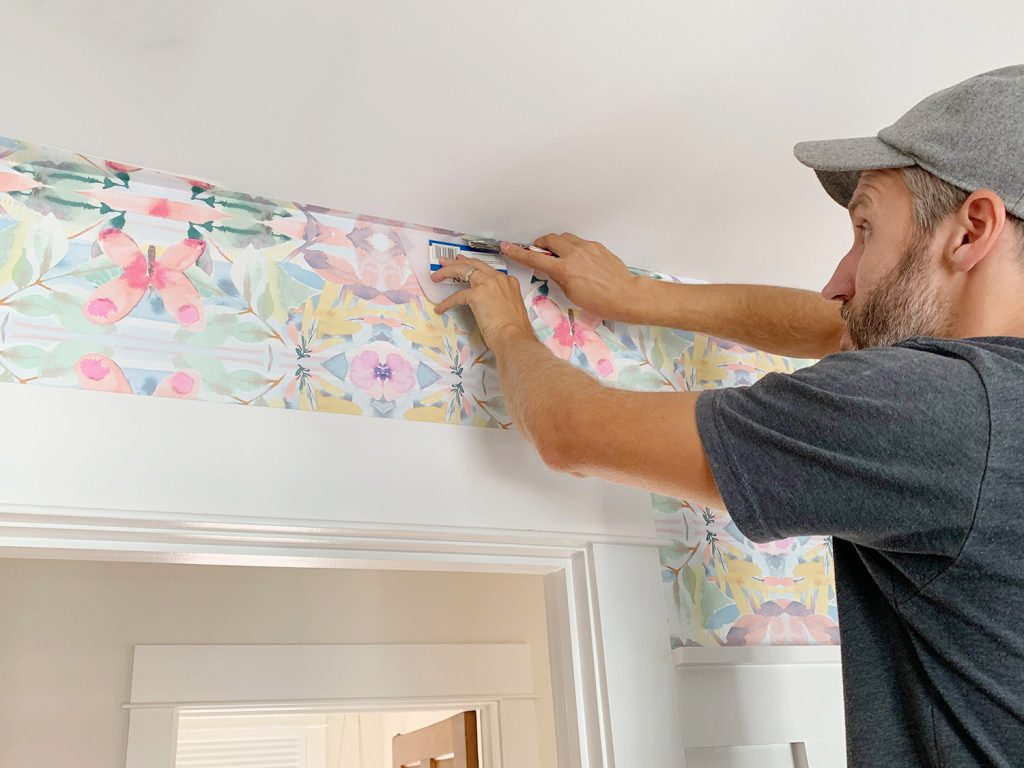
Once you’ve made your cut across an entire wallpaper panel, you can easily peel off that strip of excess along the ceiling. We usually did this every two or three sections (as much as we could reach without moving our stepladder) but you could also do it one section at a time, or even wait until the whole room is done and do this as your last step.
Oh, and you’ll probably want to repeat this step around the bottom of your room, assuming you’ve got excess along your molding or baseboard.
Dealing With Corners
Back when we installed the wall murals, we didn’t have to deal with continuing our pattern around corners because we just did a single feature wall in each bedroom. And simply wrapping our panels around one wall to the next didn’t really work out because – as we discussed a moment ago – corners are rarely perfectly level. You can kinda see in the photo below how our pattern immediately started to slope downwards on the second wall because our corner bowed out at the top slightly.
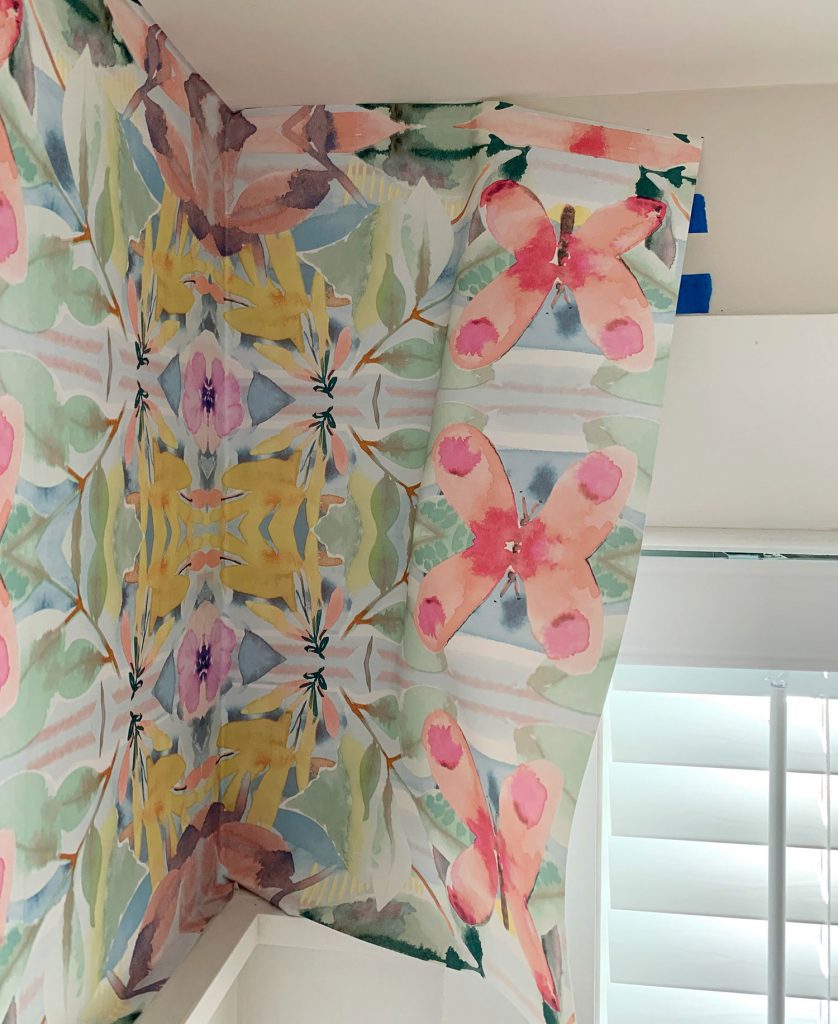
So what we ended up doing was cutting our first section of wallpaper (on the left side) along the corner, using the same method we used against the ceiling. We tried reusing the excess strip we’d just cut off, but the pattern wasn’t lining up well because the cut wasn’t perfectly straight (thanks to the bowed corner), so we ended up cutting a new perfectly square section of wallpaper using the excess as a guide for its size. That worked like a charm.
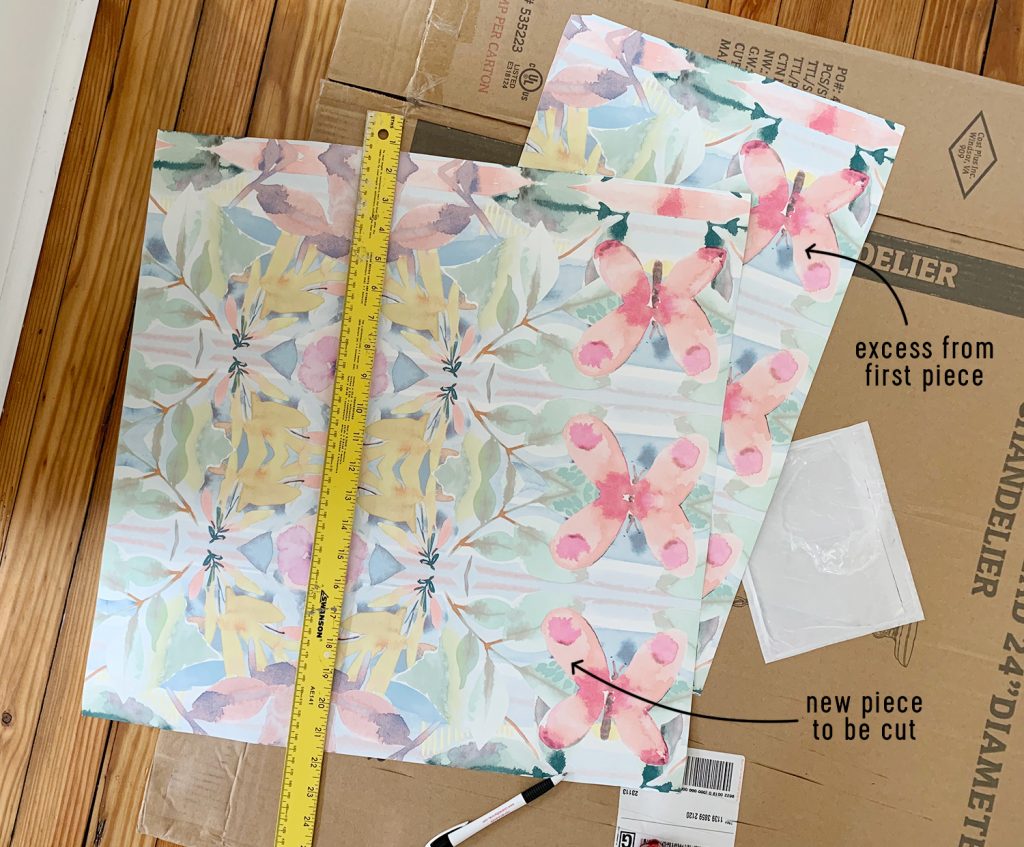
Then we installed the new second piece on the wall (on the right side) using the same method we’d relied on to get our first piece straight and level. Again, this helps keep your panels perfectly vertical so that your pattern doesn’t travel up or down around the room, ultimately causing your last piece to not line up with your first (gasp!).
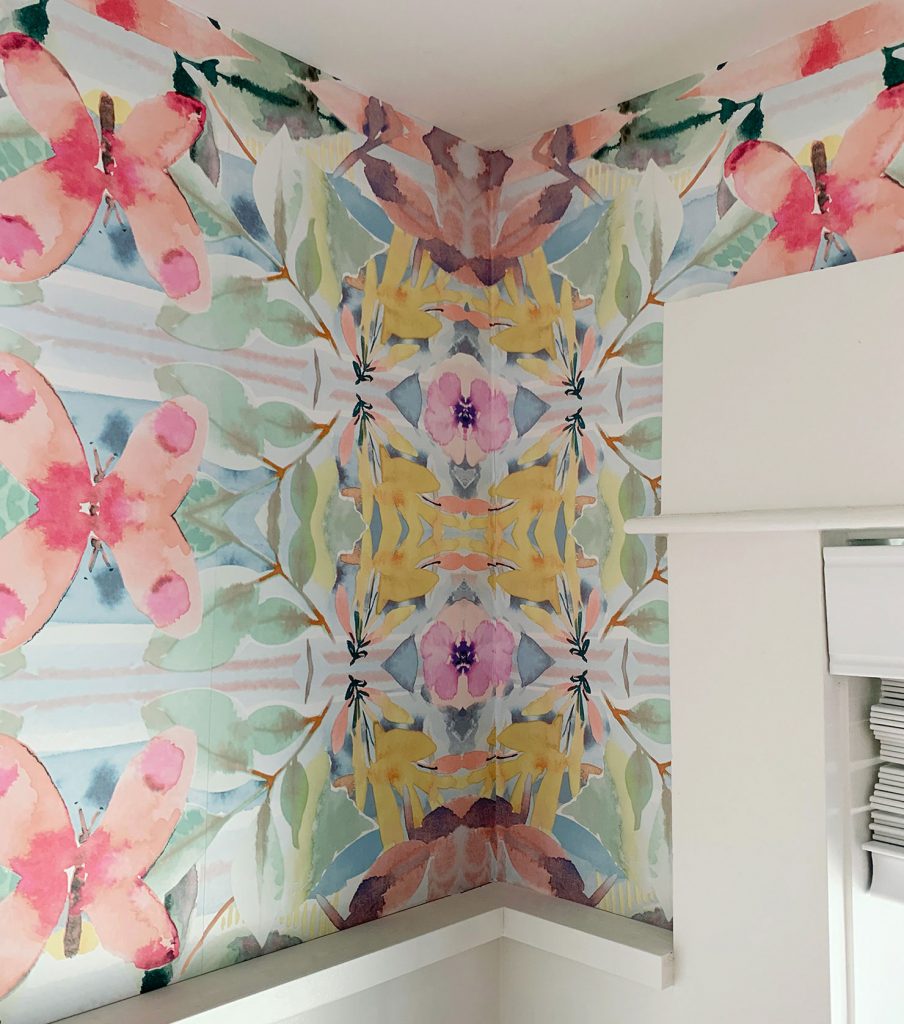
That may mean some of your corners have a little bit of overlap or duplicated pattern (you can see in the photo above that our pattern is perfect at the top, but it “echoes” slightly towards the bottom). In the scheme of the whole room, your eye won’t detect these slight imperfections. Plus, in our case, the bottom of our pattern is covered by a curtain.
Cutting Around A Window Or Door Frame
You probably noticed above that we also had to cut that wallpaper panel around the window molding as well. We somehow didn’t take photos of that process, but you can see more details about exactly how we did it in our wall mural post.
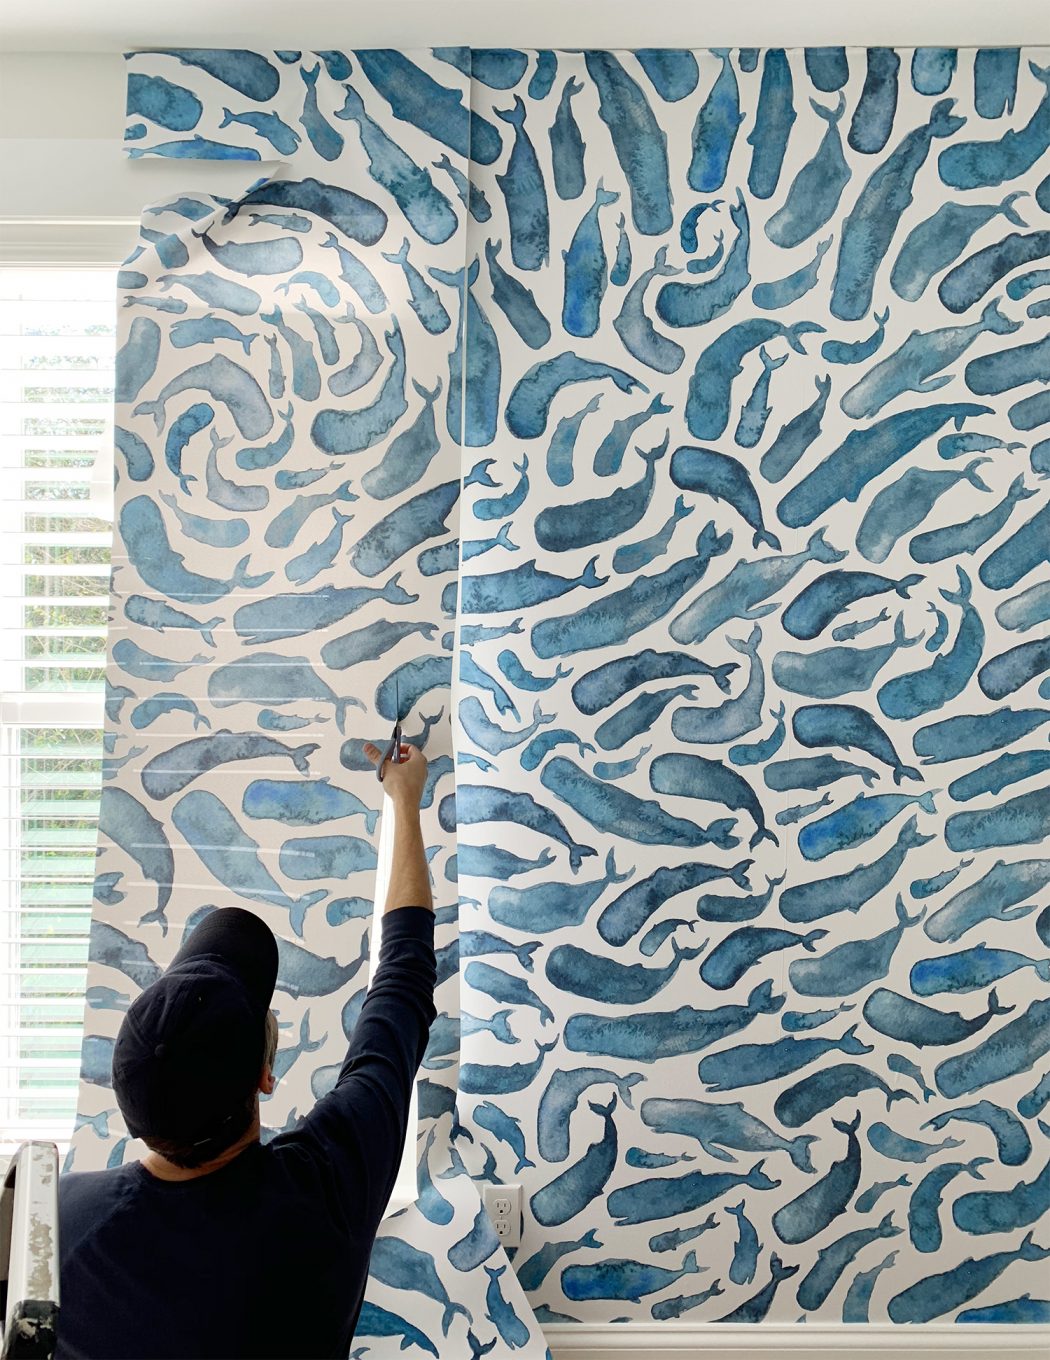
This is the step where your scissors come in handy, since you can use them to 1) cut out big sections where your windows or doors are and 2) make small gradual snips so it’s easier to fold and press your wallpaper around the edges of your molding.
It’s really pretty straightforward, so don’t freak out. Just take your time and always err on the side of cutting less (you can always cut more!).
Ending Your Pattern
Unless you’re really lucky, it’s unlikely that your pattern repeat will perfectly match up in your final corner. I mean, it should hopefully line up top-to-bottom, but side-to-side is where your chances get slim. Our wall widths would’ve had to be perfectly divisible by 20.5″ for that to have worked out, so our advice here is to not freak out about an imperfect end. The best thing you can do is strategically end in the corner you care the least about.
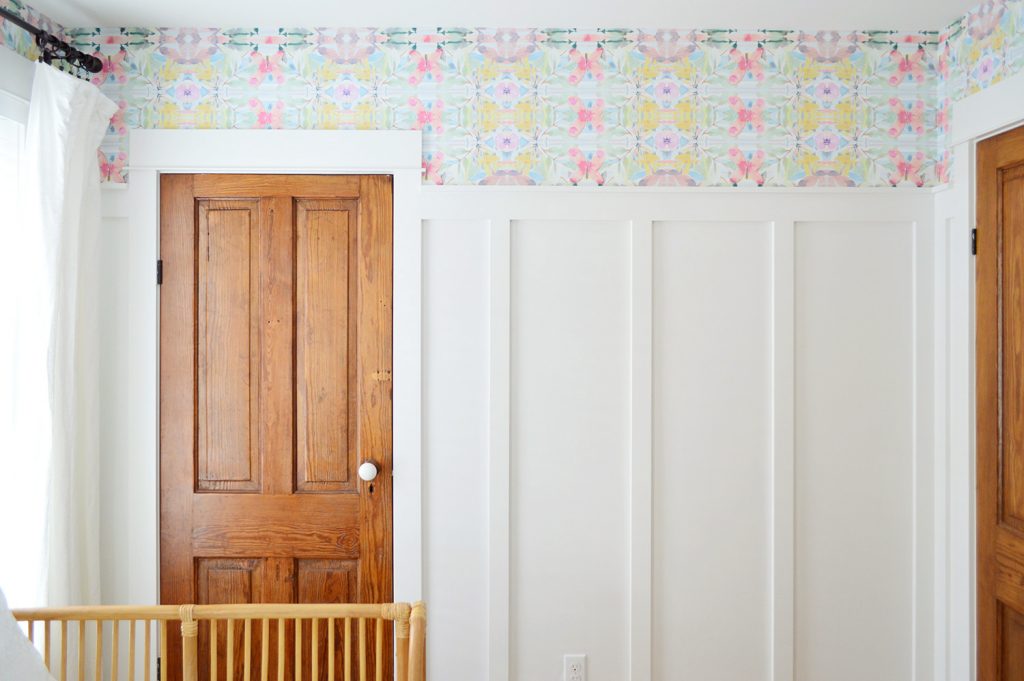
We started and ended in this corner behind the door to the room, which is hidden from the hallway and generally pretty uninteresting so we don’t think many people will ever stare at that spot long enough to detect the unmatched corner.
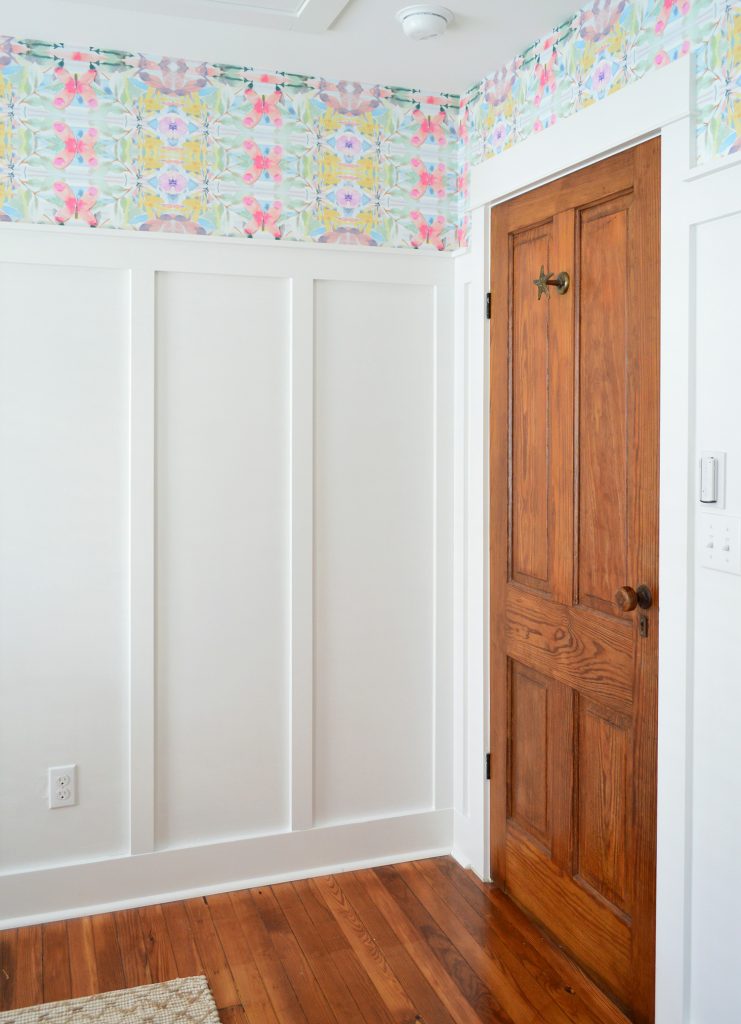
We considered ending in one of the corners where the curtains are, since they conceal a lot of the wallpaper too. Both those are the first corners you see when you walk in (and they’re visible from the hallway too) so it felt slightly riskier to put our pattern break in such a prominent spot.
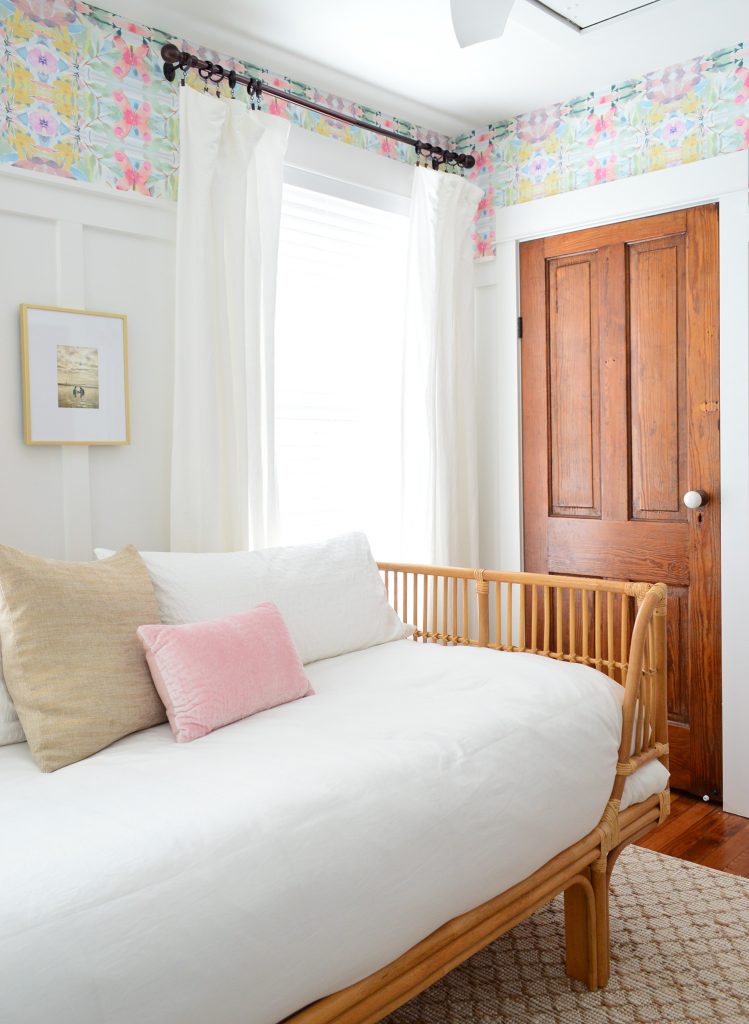
But again, in the end it’s not that big of a deal. Because once you have all of your furniture in and you’re taking in the room “as a whole,” you won’t notice the little imperfections that might seem like a big deal during installation. Trust me on this! It’s also true for imperfect paint jobs ;)
Other Peel & Stick Wallpapers To Try
I got a few requests to round up some other peel & stick options I’m loving, so here are 9 others (I’m so obsessed with #2 I want to find a spot for it).

Anyway, I hope this post gave you the confidence to give wallpaper a chance, especially the affordable and forgiving peel & stick variety. Happy sticking – and resticking! There’s no shame in my resticking game.
Pssst – To see how we did the board & batten in here, you can find a full tutorial right here. And this post is about planning this room so it’s full of tips for picturing things before you do them.
*This post contains affiliate links, so we may earn a small commission when you make a purchase through links on our site at no additional cost to you.
