When we recently painted our kitchen cabinets mauve, we took the opportunity to swap out the old surface-mount hinges for new, hidden hinges. It’s a small tweak and only cost us $40, but it went a long way towards making this dated kitchen look a little more current (while we wait to take on a full renovation). Plus it didn’t require boring crazy holes into the back of the cabinets like most hidden hinges require!
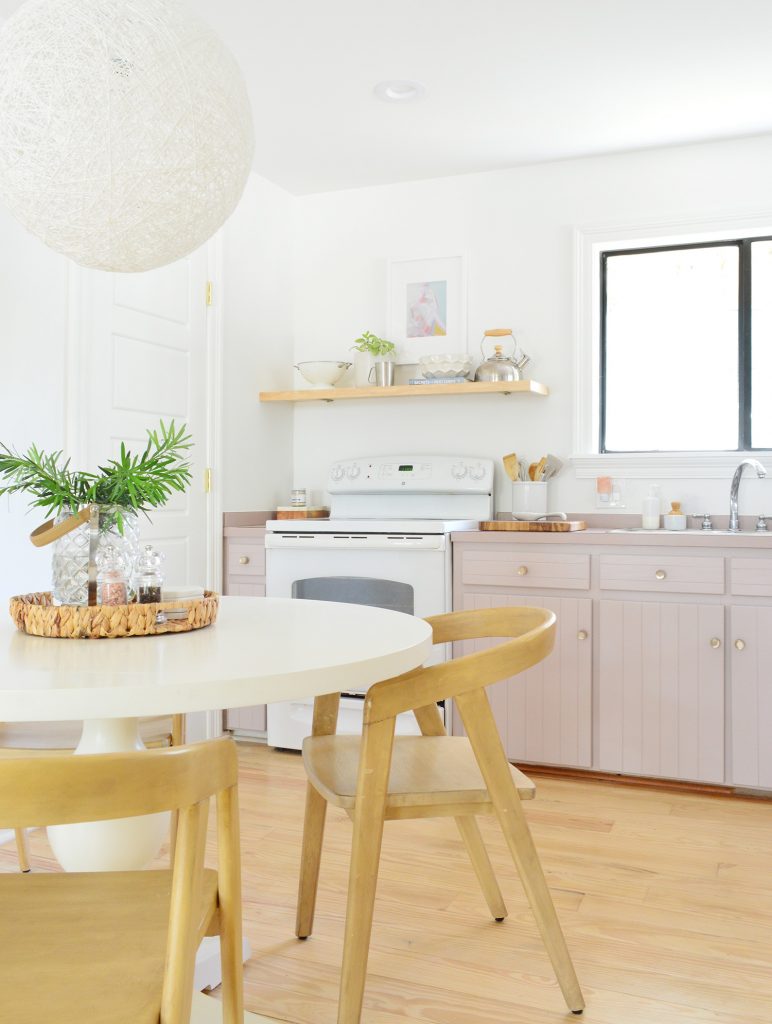
Hidden Hinge Before & After
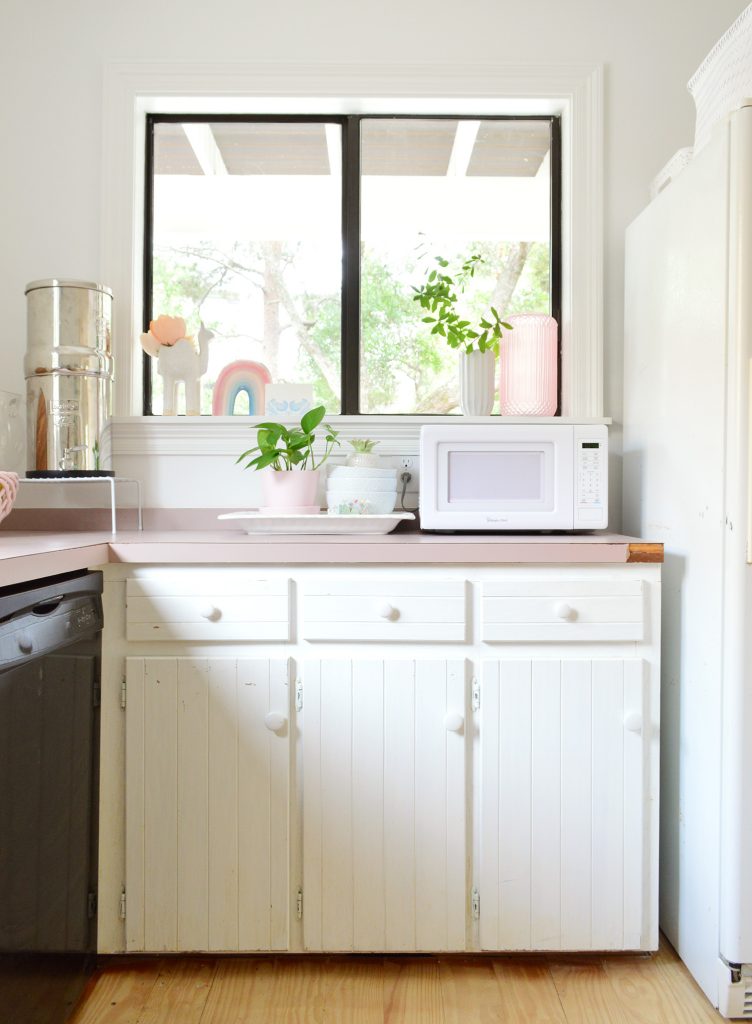
You can see in this photo from our first kitchen post that the cabinets originally had those old surface-mount hinges that are visible on the front of the cabinet. They were painted over at least two times, so they creaked and just felt gummed up and past their prime.
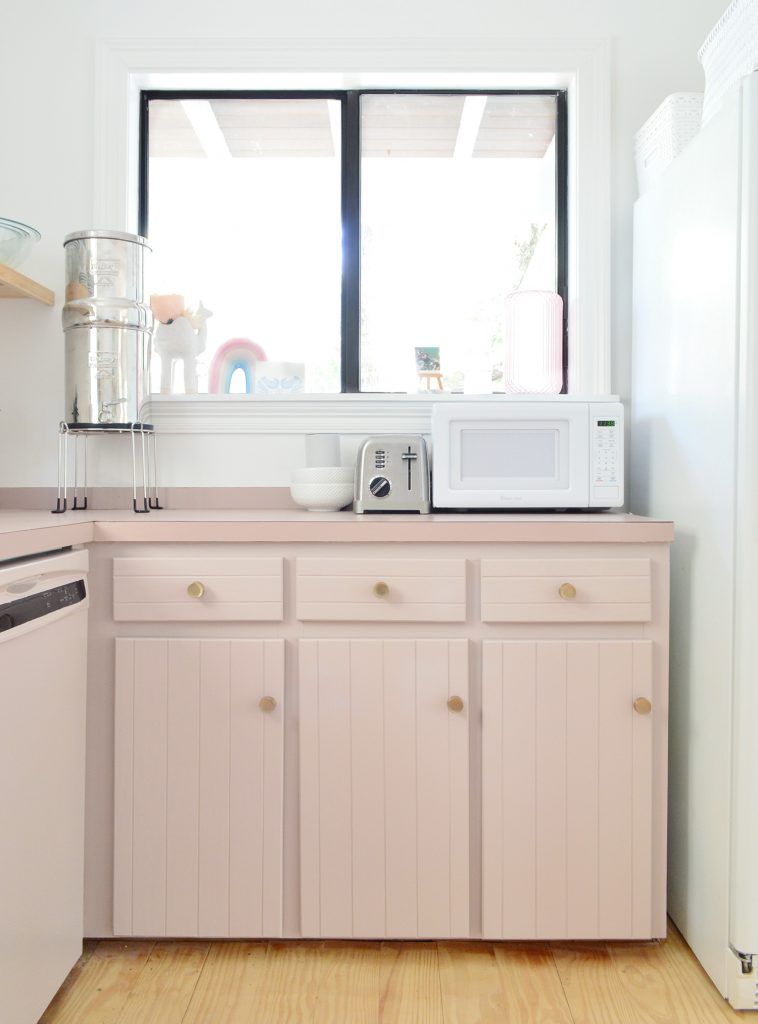
We worried that a darker paint color would only accentuate them and gum them up even more. So since we knew we’d new hinges no matter what, we decided to trade up for a hidden-style hinge. Here’s how they turned out, after painting (SW Artsy Pink) and also updating the knobs to these brass pulls.
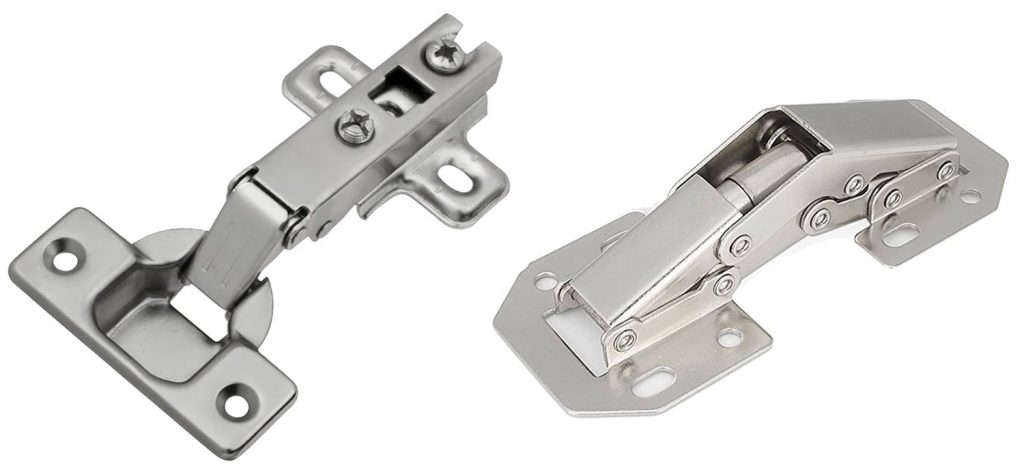
The Hidden Hinges We Used
Most modern kitchens use concealed hinges like these (below left) or these that require a round hole in the backside of your cabinet door for the hinge to recess into. They sell tools to make it easier to drill these holes if your doors don’t already have them, but our doors aren’t very thick and we didn’t trust them to survive all of that hole boring. So instead we found some self-closing concealed hinges (below right) that would mount right to the existing surface of our doors. No hole boring required!
Installing them was a little bit tedious, but along the way we discovered a trick that made it MUCH faster than following the instructions. I think the instruction’s method was geared more towards someone installing these on new cabinets that had never had hinges before, not for someone replacing existing hinges.
Installation Hidden Hinges Video Tutorial
We actually made a video to show our little cheat for speeding the process along. This method works great on cabinets with existing hinges, since you can use the existing holes to make sure you get your placement perfect!
(You can also watch it here on YouTube)
Marking Your Hidden Hinge Holes
If you can’t watch the video right now, here’s a brief version of what we did. Instead of using the paper templates provided in the packaging – which involved a lot of cutting, taping, leveling, pencil-marking, etc. – we temporarily installed the new hinge OVER the old hinge using one existing screw that lined up with the new hinge holes.
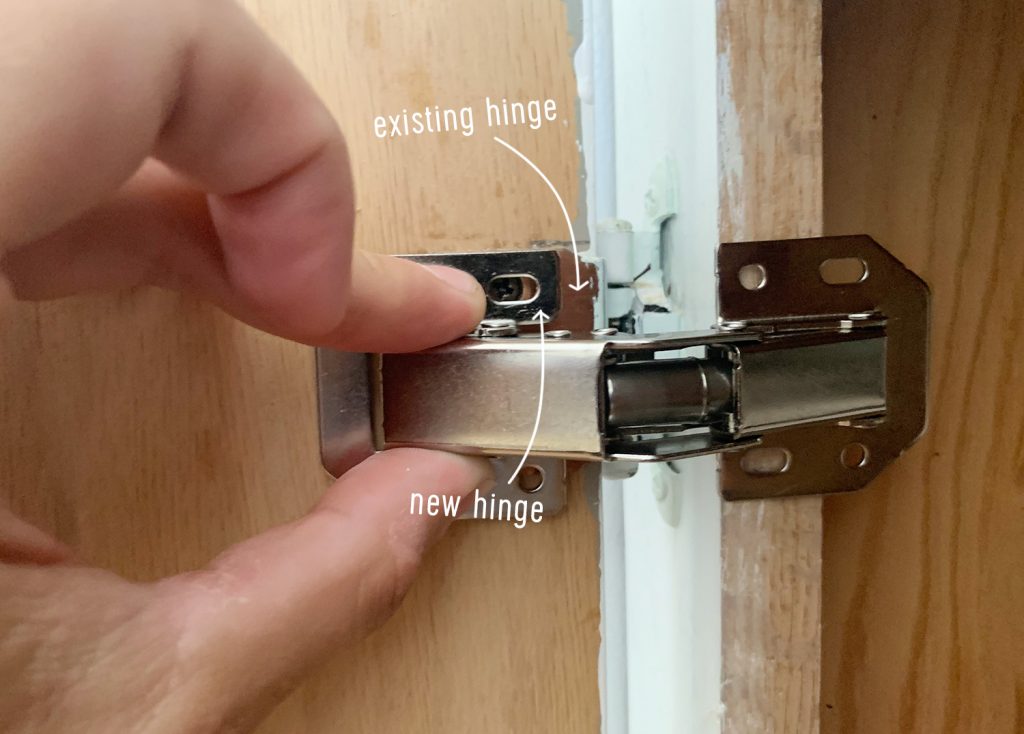
This held the new hinge perfectly in place so that we could drill pilot holes for the screws on the cabinet frame side. Our frames were a bit thinner than the hinge itself (see how the back holes overhang the frame) but we show in the video how we overcame this with a long screw driven in at an angle, back into frame.
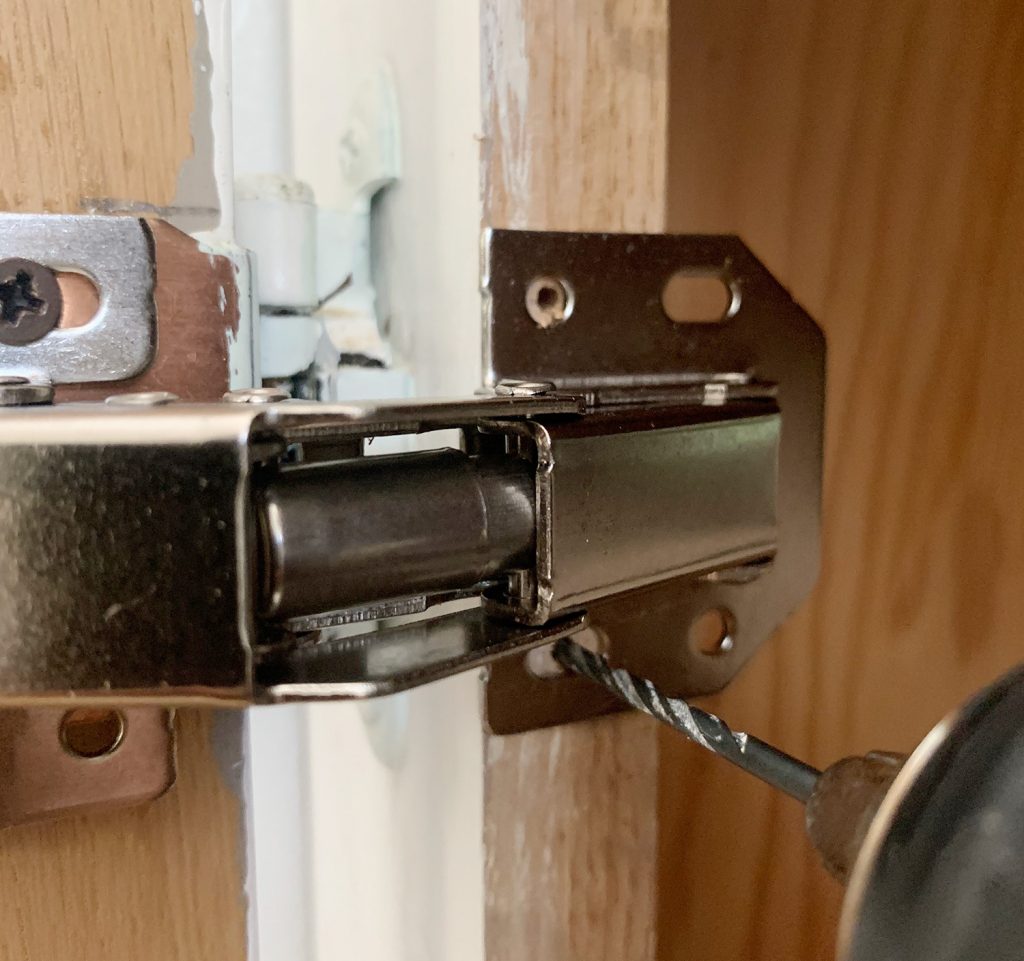
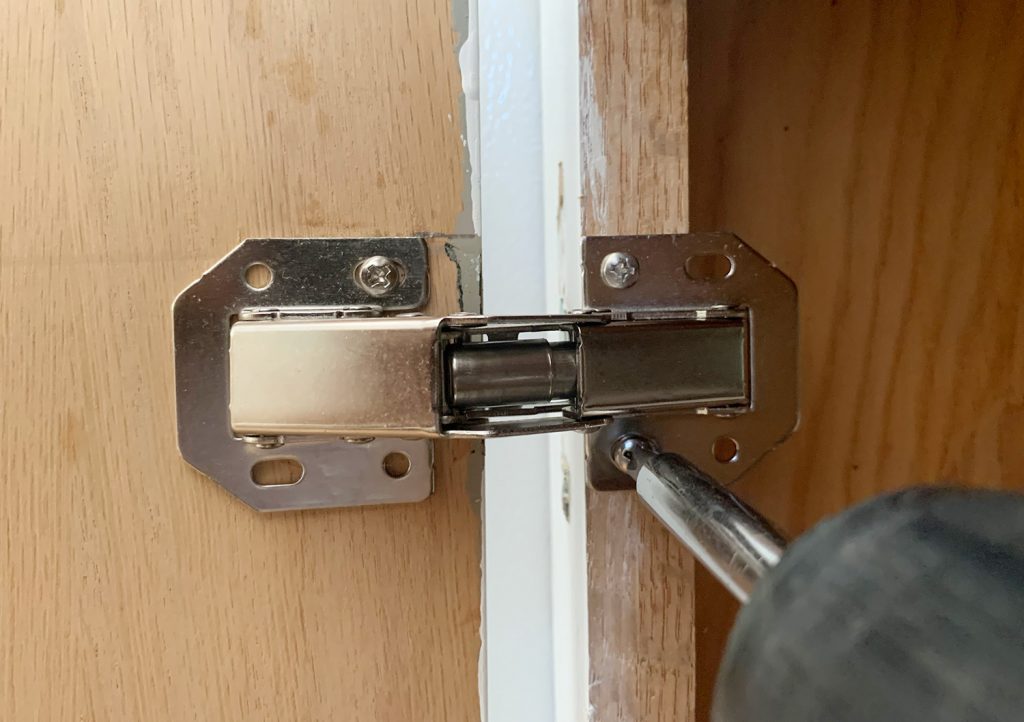
With our pilot holes drilled, we could remove both hinges (new and old) and then reattach the new hinge using the two pilot holes on the frame and the existing screw hole on the door. From here we could easily drill pilot holes for the remaining screws on the door side of the hinge, and screw in the remaining screws. No templates. No pencil marks. No measuring.
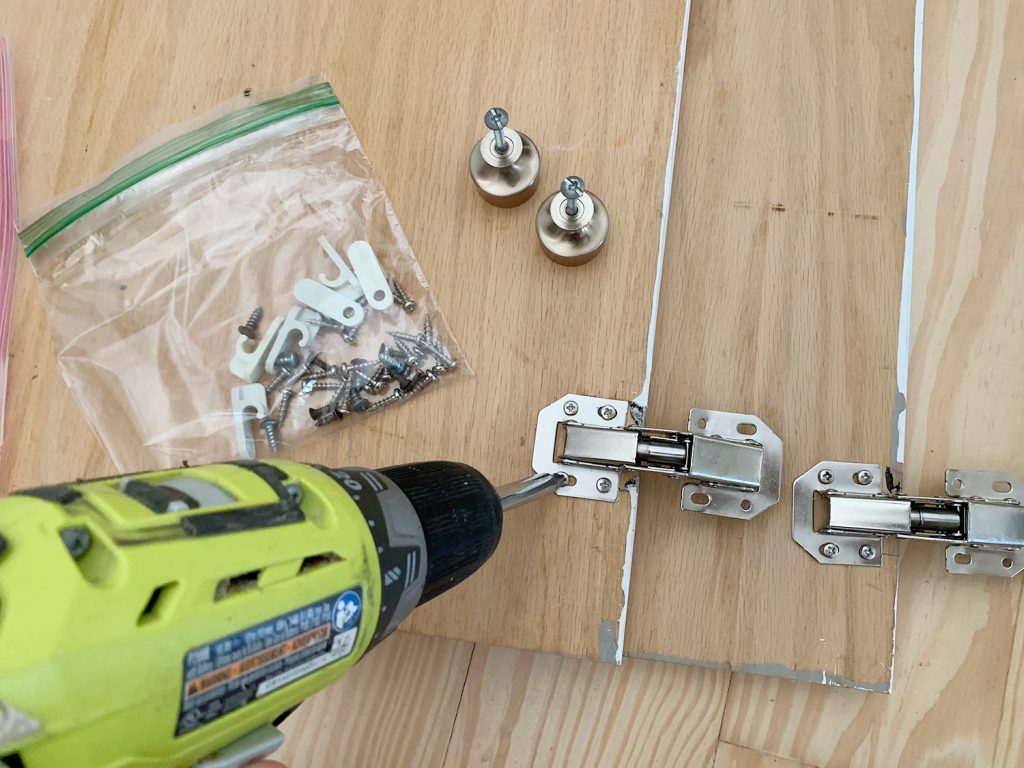
Also, WE DID THIS BEFORE WE PAINTED THE DOORS AND CABINETS! That way if there was any issue that we needed to fix with wood putty, we could without needing to repaint anything. So even though we had just installed the new hinges, we removed them all again so that we could paint the cabinets without getting paint on our new hinges.
Meanwhile, back on the cabinet frames in the kitchen, we sanded and patched any holes with wood filler, like where the old hinges had been screwed in.
Filling The Old Hinge Holes
Before you paint, be sure to carefully sand and fill any leftover holes from the old hinges – especially on the surface of your cabinet frames.
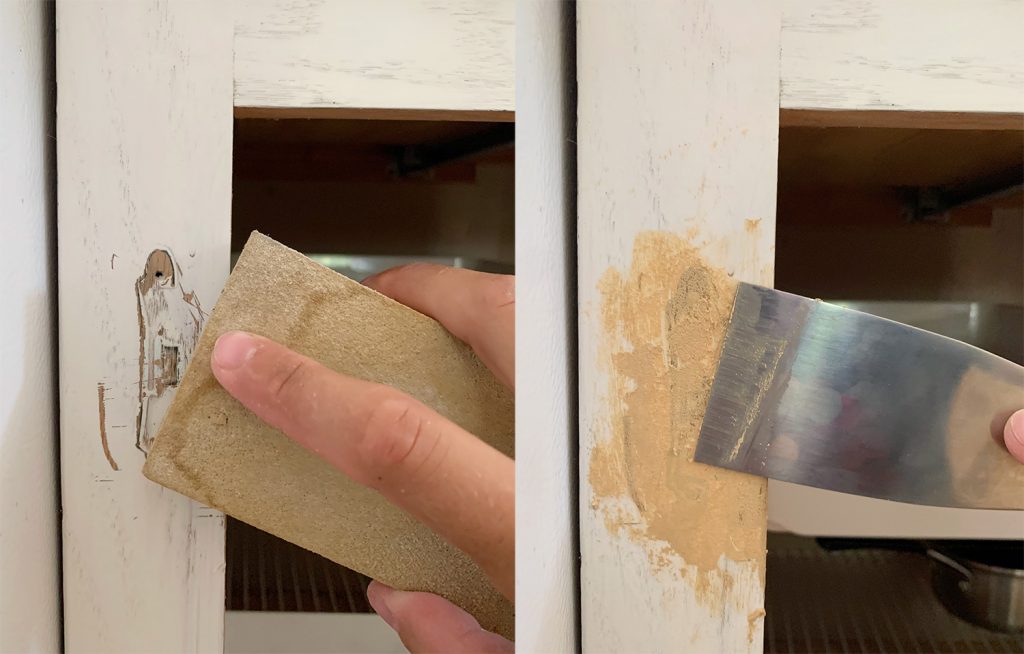
Once our coat of wood filler was dried, we sanded off the excess and were left with a smooth cabinet frame that was ready for paint… and the last vestigates of our old surface-mount hinges would be gone!
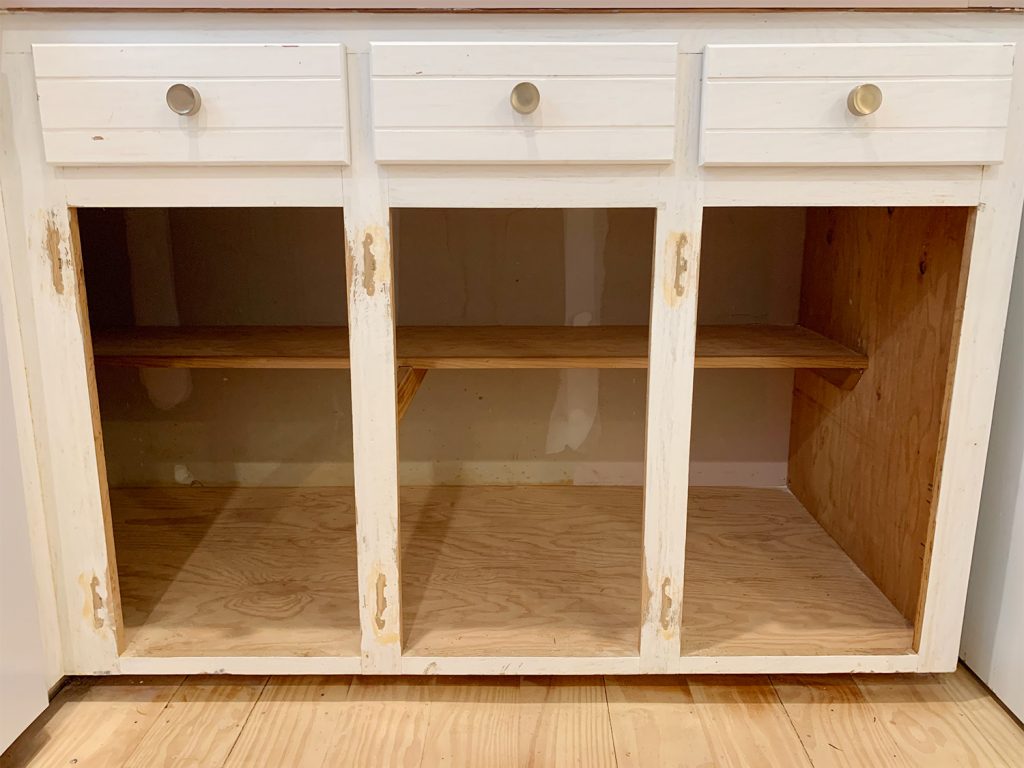
Once everything was painted and reinstalled, this is how the new hidden hinges looked with the cabinet doors open.
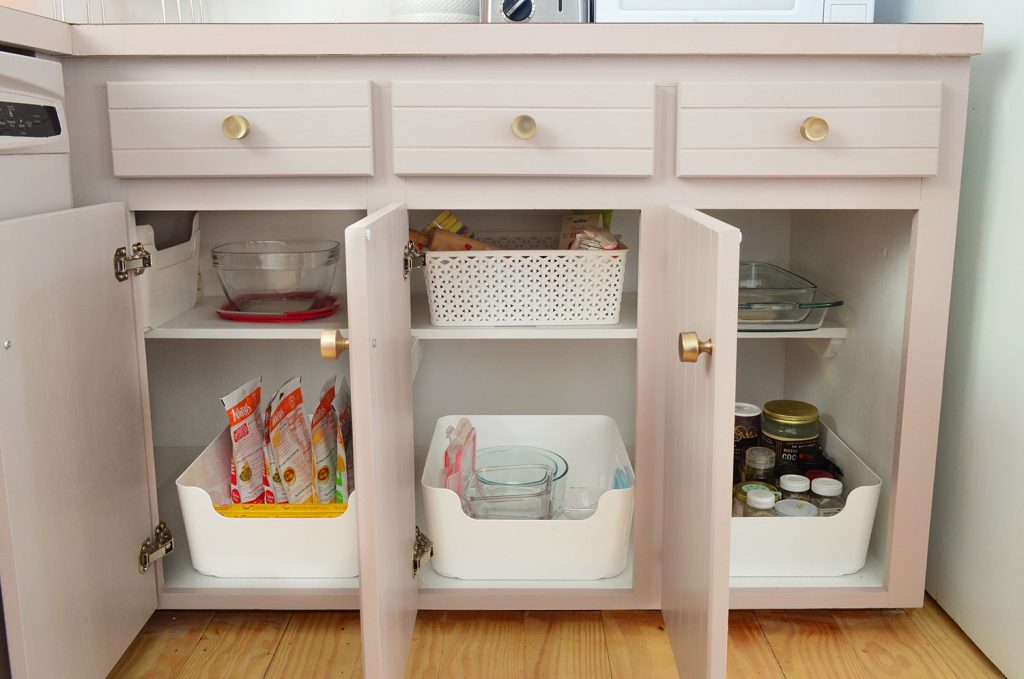
But of course, the real magic came when the doors were closed and you’d never know this kitchen once sported those dated, visible hinges.

Two Other Tips
One other thing of note that I learned in the process (and forgot to point out in the video) is that it helps to install the door-side screws in two separate steps.
- First, add the screws in the OBLONG holes and close the door to make sure it doesn’t look crooked or askew. You can adjust the placement by loosening the screw and shifting the hinge forward or backward on the screw.
- Once you’re happy with how the door looks closed, then you can drill your pilot holes and add the screws in the remaining ROUND holes to “lock in” your placement.

Additionally, they sell these soft-close cabinet door attachments that you can install in the corners of your cabinet frames for “extra credit.” It’s just one other way you can make old cabinets feel a little bit more updated!
*This post contains affiliate links, so we may earn a small commission when you make a purchase through links on our site at no additional cost to you.
