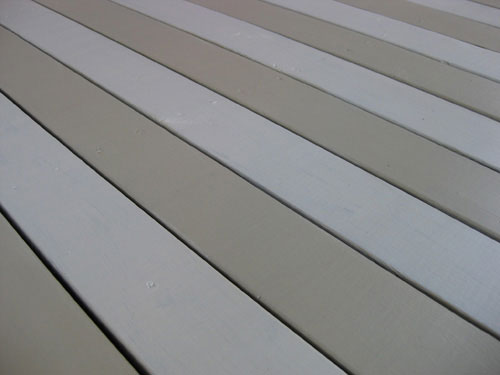
At this point you’ve probably all seen the big front porch makeover that we recently completed for the 48-Hour Challenge with Better Homes & Gardens and Home Depot. And now we’re back with a super simple tutorial for anyone looking to spruce up an old timeworn wood deck or breathe new life into a seen-better-days front porch. Back when we decided to pull the paint trigger on our front porch, we actually opted to go with some subtle tan and cream stripes. Here’s how it all went down.
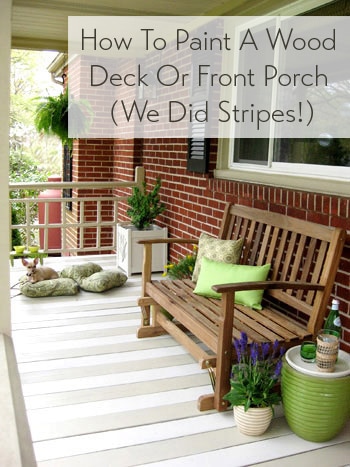
Step 1: Pick A Color… Or In Our Case, Colors. We took home a bunch of paint swatches and laid them out on the porch floor so we could look at them in the same natural light that the front of our house gets every day. Looking at a number of tan and cream swatches in place helped us to decide that Behr’s Harvest Brown (tan) and Ralph Lauren’s Greenwich (cream) were the perfect combination, so we had them both color matched to a gallon each of Behr Porch & Floor Paint (which is meant to handle foot traffic and exterior conditions). We were given the choice of a glossy paint finish or a flat one and we opted for the flat finish since we reasoned that it would be less slick in wet conditions so that’s definitely something to consider for your project as well (we’ve since marched around the deck in the rain and we’re happy to report that it’s the same texture as unpainted wood).
Step 2: Hose Things Down. You want your deck to be nice and clean before applying the paint, so you may want to scrub things down with a wood cleaner (available at Home Depot or Lowe’s) before you get down to the business of painting (especially if you have severe mildew or grease and oil stains anywhere on your deck or porch). Our deck was already pretty clean, so we just sprayed each plank down at close range with a hose and a nozzle that was set on “full spray” which blasted any pollen, old acorn pieces and other debris off of the deck for a nice clean slate. We also used a flat head screw driver to knock out any rocks or leaves from between the wood planks before we cracked open the paint. Here’s our porch right before we hosed her down:
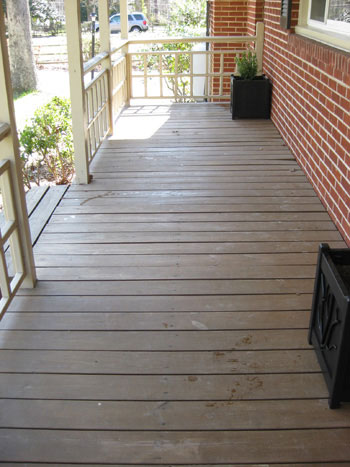
Step 3: Protect The House. You’ll definitely want to use blue painter’s tape to tape off the side of the house that meets the deck or porch so you have no worries about getting any of your floor paint on the siding, stucco or brick facade of your home. This will give you a nice clean line when you remove the tape, and it’ll also make it a lot easier to paint each plank of wood without worrying about staying in the lines. At this point you can get out a good quality angled brush (it’s much better than a roller since it’ll get in the cracks between the wood) and your paint because it’s go time… as long as the deck is thoroughly dry from your hosing off session (the last thing you want to do is attempt to paint moist wood).
Step 4: Start Painting. In our case we had two colors of paint, so we opened them both and used two different brushes to apply each stripe of color (being especially careful not to mix up the brush and the correlating can of paint). Whenever you’re painting a floor you have to strategically start painting at a point that makes it easy to paint yourself out of the area, and in this case we started at one end of the deck and worked our way to the center where the stairs are:
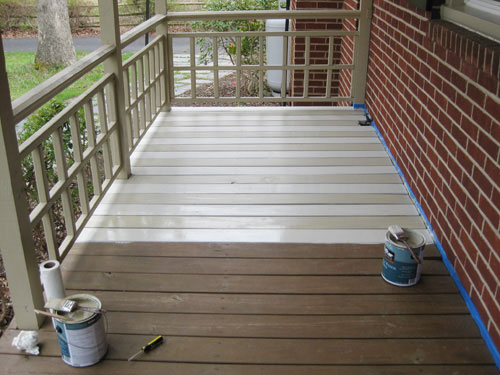
Step 5: Keep Painting. I’m not gonna lie. The striped effect took a substantial amount of time, so just keep at it and paint each plank and listen to your iPod and get into a rhythm so you’re not constantly thinking “two down, fifty nine to go”- which can really kill the excitement factor.
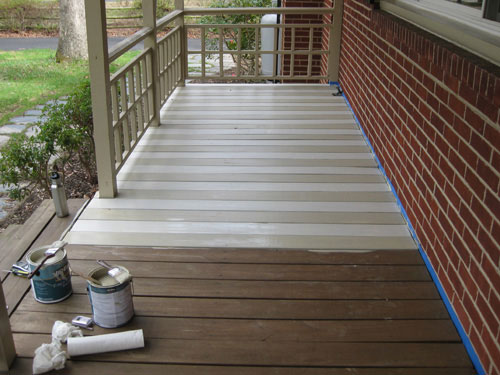
Step 6: Plan Your Escape. I decided early on that in the case of our front porch, the best approach would be to paint myself to the front steps and then stop and restart from the opposite corner of the deck so I could finish by painting myself down the front steps and enter the house from the back door while the front dried. Due to the striped effect it meant one thing. It was IMPERATIVE that I correctly calculated which planks would be tan and which planks would be cream so I could accurately restart painting at the opposite end of the deck without messing up my pattern (I counted “tan, cream, tan, cream” down each plank three times just to be sure before I grabbed my brushes and went to town).
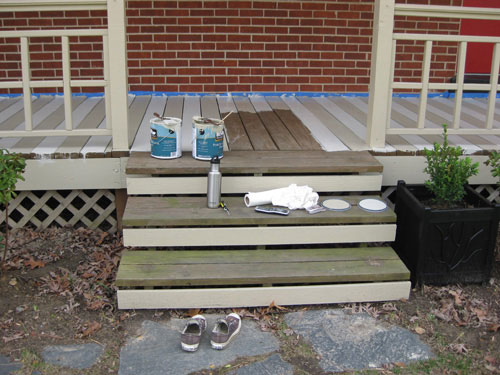
Step 7: Be Edgy. After I painted myself off the front porch, you can see in the picture above that I still had to paint the side of the wood planks all around the porch for a finished look. I opted to stick to tan on the sides of each plank instead of alternating so that only the top of the planks boasted alternating colors while the side/front of the decking was all tan for a crisp look (which was a lot easier to apply than alternating colors would have been).
Step 8: Dance it out. You’re Done! Once you paint the edge of your wood planks all around the perimeter of your porch or deck, you’re finished. Well, assuming one coat does the trick like it did with ours. We actually liked the subtly weathered look of one coat, but for a super solid and opaque effect you might want to apply a second coat 24+ hours later when it’s safe to walk on the deck or porch again.
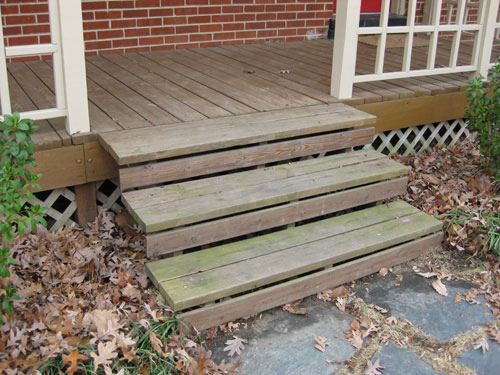
Oh and you may have noticed two photos up that we’d previously painted the front of our steps and the wide plank of wood around the deck in the same tan tone that we used for our stripes. This is an excellent way to accent a front porch and break up a whole lotta wood, so if anyone’s on the fence about painting their entire porch or deck, painting just the fronts of the steps and the trim around it can be a super simple way to add a bit of crispness to your entryway (speaking about the fence: we’ve now a roller barrier). Here’s the before picture of the front steps totally bare last fall:
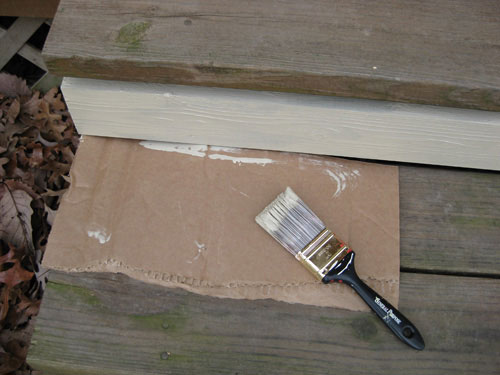
To keep the paint from getting on the actual planks of the stairs, you can tape things off or even use a piece of cardboard to block any drips or accidental swipes like we did below:
Here’s a picture of the front of the steps after we painted them tan along with the wood “front” that encircles the porch. It took less than an hour and we didn’t even have to use porch and floor paint since it didn’t need to withstand foot traffic (we just grabbed some leftover trim paint from the railings and went to town without spending a dime). The lesson? Whether you’re interested in adding a little bit of zing with some painted porch “trim”…
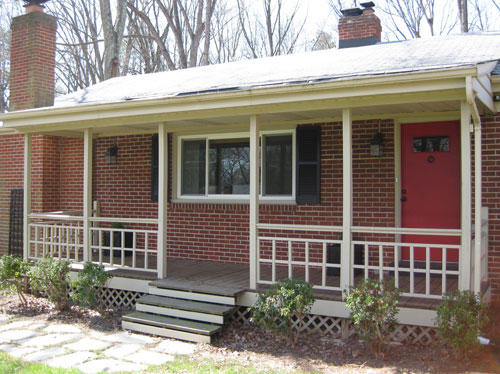
…or a whole lotta polish and personality with a painted (and maybe even a striped) porch floor, there’s really nothing hard about either process. If you can paint a wall, you can definitely paint a deck or a porch floor… and you’ll be doing the happy dance in no time.
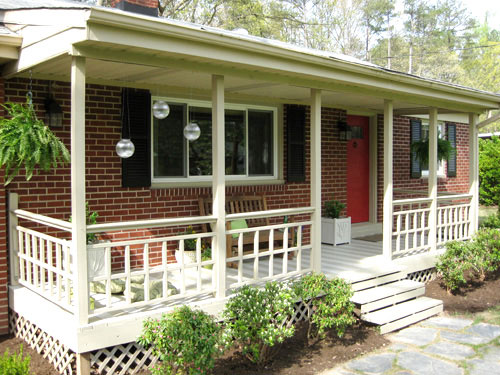
Wanna learn more about floor painting? Check out two old tutorials to learn how to stain a concrete floor or even paint one for a more polished and finished effect.

Leave a Reply