Tons of people have written to request a step-by-step guide to painting wood paneling so we’re here to deliver the lowdown.
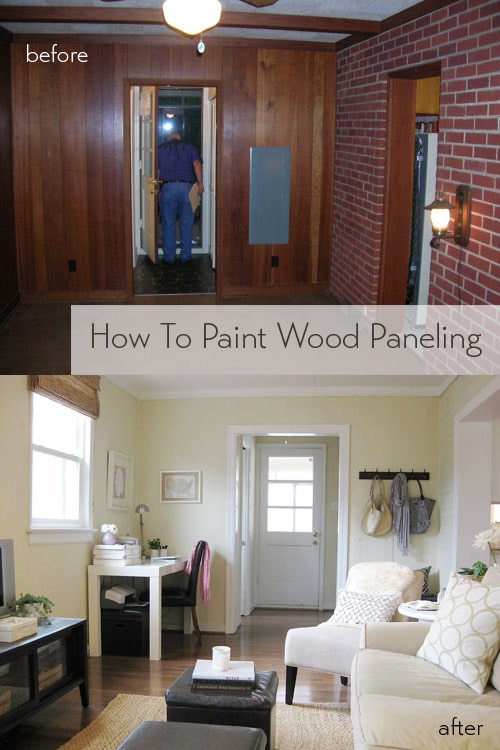
It’s one of the easiest ways to transform your room in an afternoon (and on the cheap) so get ready to do the happy dance because there’s virtually no skill or mind-numbing concentration required. Just look at what a little bit of primer, paint and elbow grease did for our den:
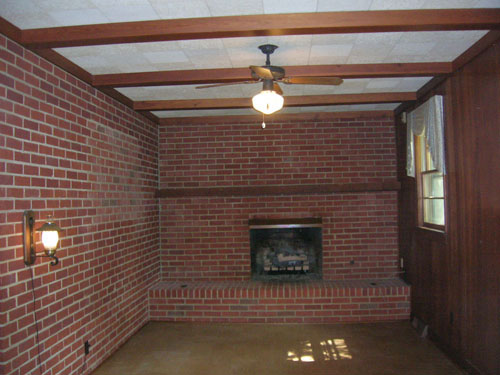
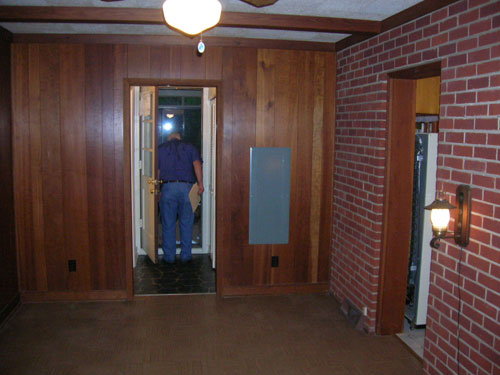
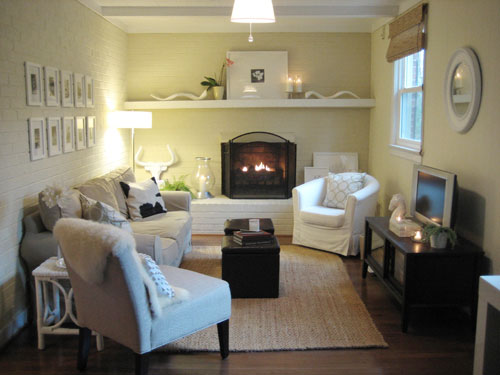
Oh paint, you’re the peanut butter to our jelly. Here’s the play by play for anyone who’s ready to say goodbye paneling (this works for either the real stuff of the thin “fake stuff”):
Step 1: Give Em’ The Brush Off. Fill any nail holes with caulk and once it dries sand it down and wipe away any cobwebs or dusty areas with a moist rag so your paneled walls are clean and ready for their big makeover. No overall sanding of the paneling is necessary unless yours is splintered (or otherwise needs to be smoothed out) or if it’s extra glossy (as if it has been shellacked).
Step 2: It’s Prime Time. Use a roller to apply one thin and even coat of oil-based primer and a paint brush to get into any cracks or corners that the roller can’t reach. This application might look spotty and uneven but as long as the entire surface is covered you’ll end up with a flawless finish. We do not recommend water-based primer for this step as oil-based formulas are stronger and more durable so no grease or wood stains will come through and ruin your finish.
Step 3: Get Your Paint On. Once your thin coat of oil-based primer dries, apply one thin and even coat of latex paint with a high quality roller and again use a paint brush to get into any cracks and crevices that the roller misses. And once your first thin and even coat dries, apply another one the same way for better coverage and long-lasting durability. And when it comes to getting a clean line along the ceiling and baseboards, blue painters tape works but we also love this short handled brush for the perfect edge every time.
Step 4: Hug It Out. You’re done! It’s really that easy. Feel free to snuggle your spouse, dance with the dog, or do anything else you normally do to celebrate a job well done. Your room should feel bigger, lighter, and oh so fresh- and that’s definitely deserving of a little victory cha-cha or two.
So there you have it. Our easy how-to-paint-paneling tutorial. It’s definitely one of the cheapest and most dramatic ways to snap a room into the 21st century in under $50, so don’t be surprised if you amass more hours of complements than it even took you to transform your room in the first place. What about you guys? Is there any paneling near you that’s about to be freshened up with some crisp clean paint? Does anyone have any other painting tips while we’re on the subject? Do tell.
And if you’re wondering how we painted all the dark brick in our den, check out the painting play by play right here. Happy makeovers to one and all!

Courtney says
Oh, just a quick note, I used kilz oil primer, and 2 coats of Behr premium paint with primer. One coat even with the added primer just didn’t quite do it, but 2 is perfect!
YoungHouseLove says
Good to know!
xo
s
Mia says
Wow! What a transformation and impressive look you’ve achieved with this paint job. Thanks for giving me the courage to try it in my own den, which is about the same age and equally drab as what’s shown in your ‘before’ photo. I’m going to wait and see what it all looks like before painting the fireplace. We’re going with Benjamin Moore’s Bleeker Beige for the walls, and our current fireplace brick (a little less red and more varied in color than yours) might provide a nice contrast. Thanks for the inspiration and motivation! :)
Mary Ann says
OK, I looked through quite a few responses and no one so far has asked- This looks like brick and I thought it was brick. Was this fake brick-look paneling? Never saw that before.
Thanks-
YoungHouseLove says
Two of the walls were real brick and two of them were wood paneling, so we’re chatting about those two paneled walls in this post. We did have fake brick as the kitchen backsplash in this house though!
xp
s
Daniel says
Hi was wondering if you had any tips on filling the vertical lines fake panels. I know you said to use a filler but any tips on a complete newby?
YoungHouseLove says
We’ve heard that paintable white caulk (like Dap Window & Door Paintable White Caulk) could work for those. Just fill the cracks in, smooth them out, wait to see if there’s any shrinking, and if there is, recaulk them. Then when you prime and paint hopefully it’ll look more flush.
xo
s
sarah jordan says
do the ridges in the panneling show thru with painting
YoungHouseLove says
Yes, but they look like beadboard so we don’t mind. If you do you can try using caulk to fill them in before priming and painting.
xo
s
Aurianna says
Omg, its so beautiful it makes me want to cry! If only I had such beautiful funiture and accessories to put in it afterward.