Downsizing from 3200 square feet to 1400 means storage is a big deal to us these days, and a couple of weeks ago we got two major upgrades in that department. We still have some “hacking” to do to the simple Ikea cabinets that we bought, but we’re stupidly giddy over just having them assembled and installed. They basically add up to 8 more large cabinets worth of storage – and our kitchen only has 7 cabinets, so the excitement was palpable when those flat-packed boxes arrived (they had about a 4 week wait time, but otherwise delivery was smooth and uneventful for those wondering how the ordering experience was during this time period).
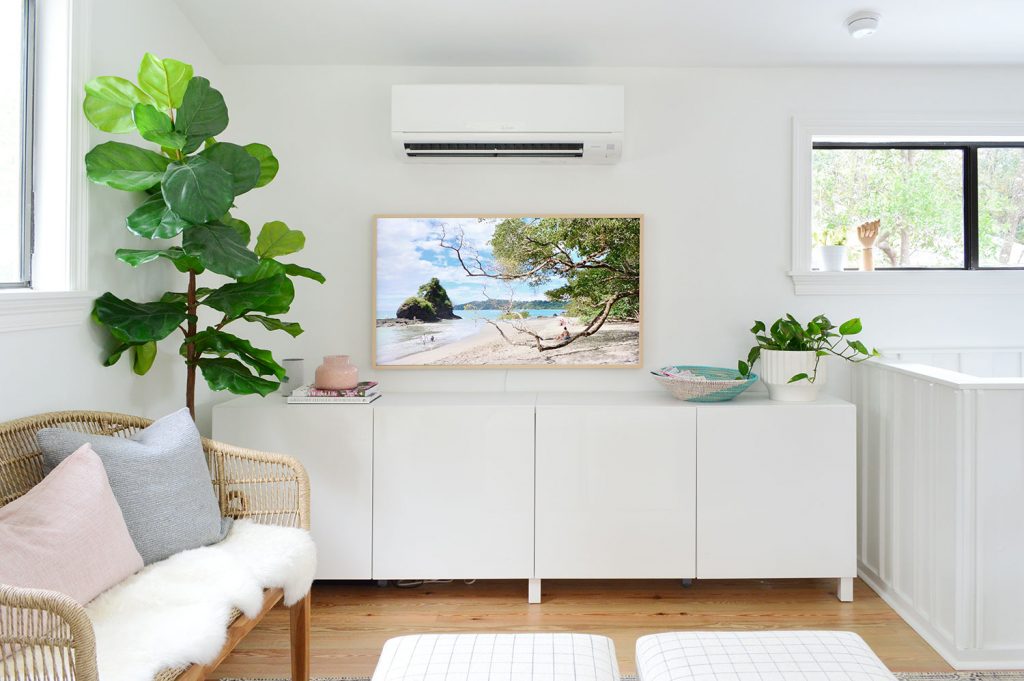
They make a HUGE difference in how much we can store – literally, it’s like we added a closet… except it’s in the form of three different large cabinets around the house.
Let’s start in our upstairs family room, where we previously had this small console table under the TV. The fabric baskets underneath wrangled all of our board games, but over time we learned that getting to whatever game was on the bottom of the basket was pretty annoying. Shelves for board games where you can see them all and just remove the one you want without having to dump all the other ones out = much more ideal.
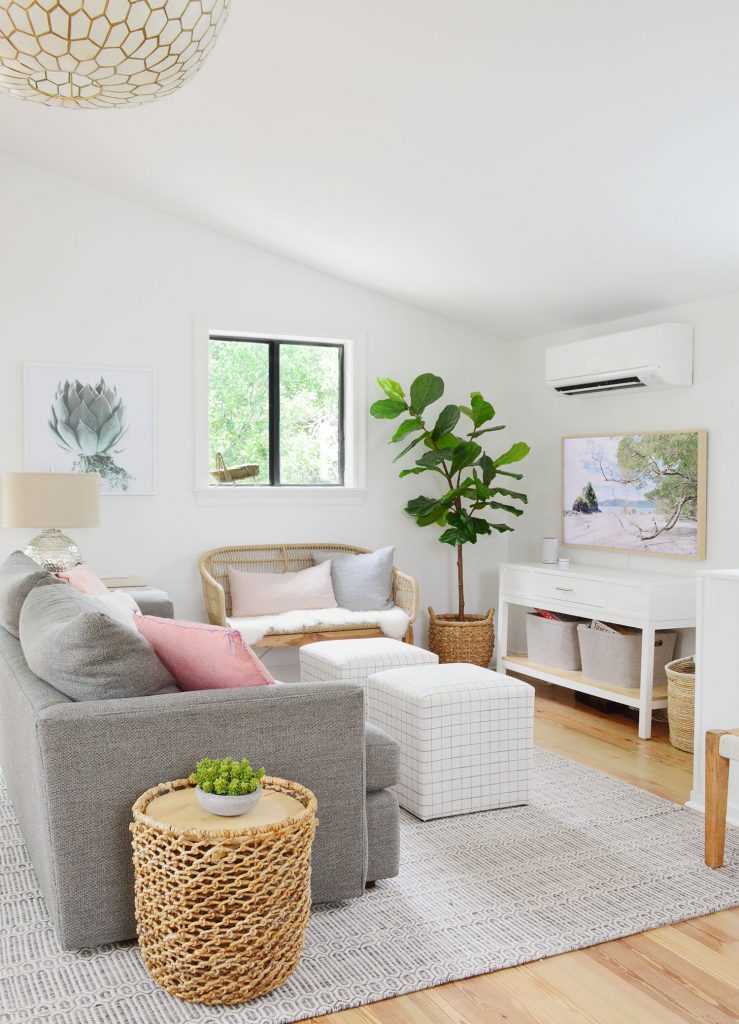
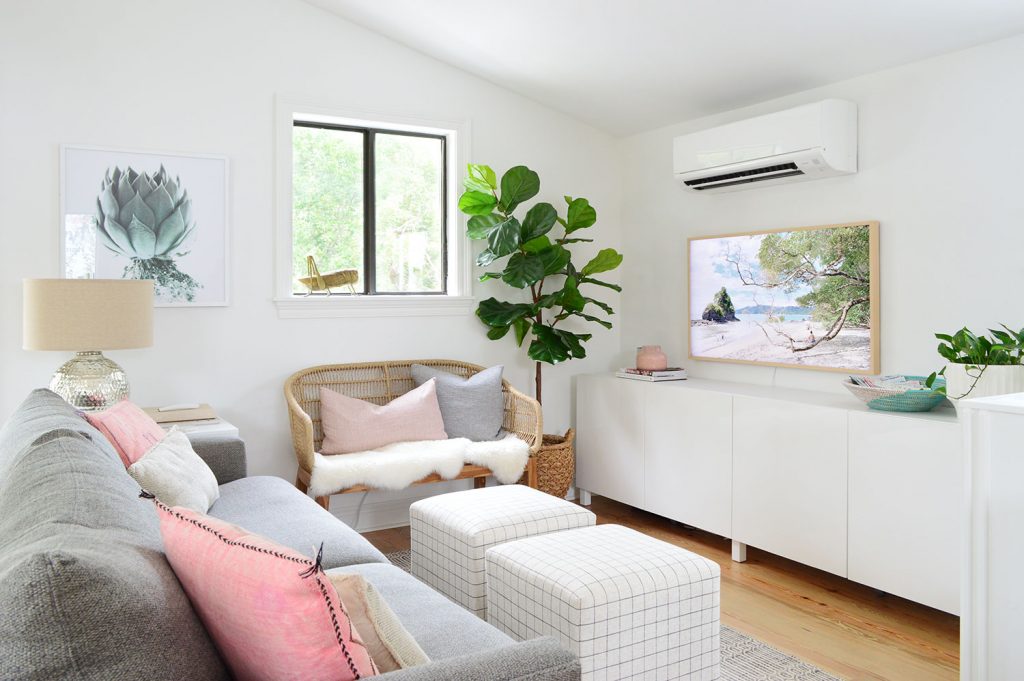
Now, my friends, we have dramatically increased our storage space thanks to this nearly eight-foot long, glossy white console made from two Ikea Bestå cabinets. And any game we want can be seen and grabbed easily without dumping anything else out – plus every single photo album, photobook, old yearbook, and all of our other book/album keepsakes now have a home up here too.
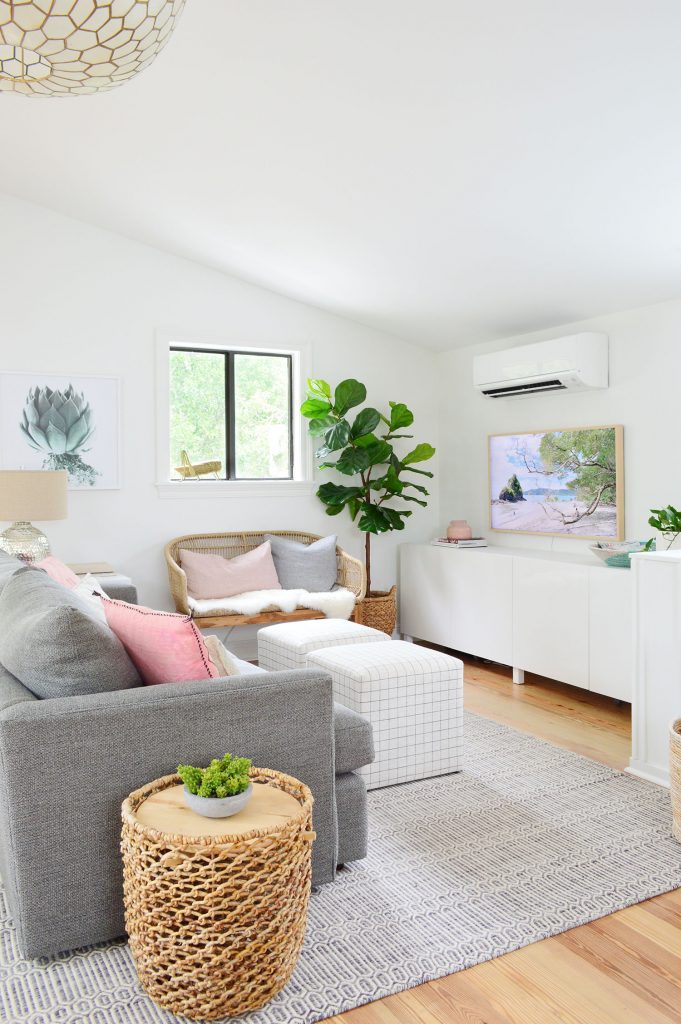
Despite being Ikea shoppers for nearly two decades, this is the first time we’ve ever used something from their Bestå line, which is primarily geared towards media storage. We lucked out that their standard sizes were a near-perfect fit for this spot and another area downstairs in our bedroom, which I’ll show you in a moment.
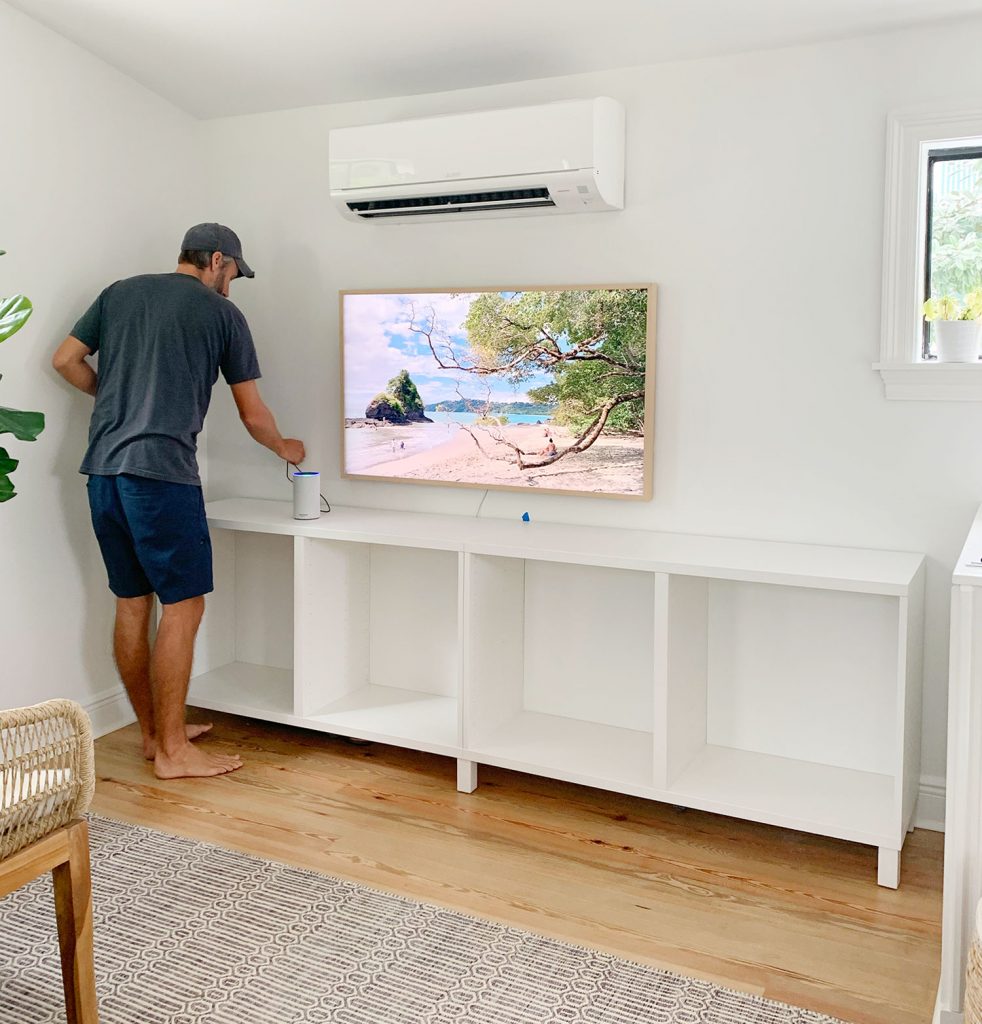
We ordered four 47″ cabinet boxes (two for each room). Each has two compartments that you can customize with the shelves, doors, legs, and even the countertop of your liking. So what you see above are two cabinets joined together to make one long storage console.
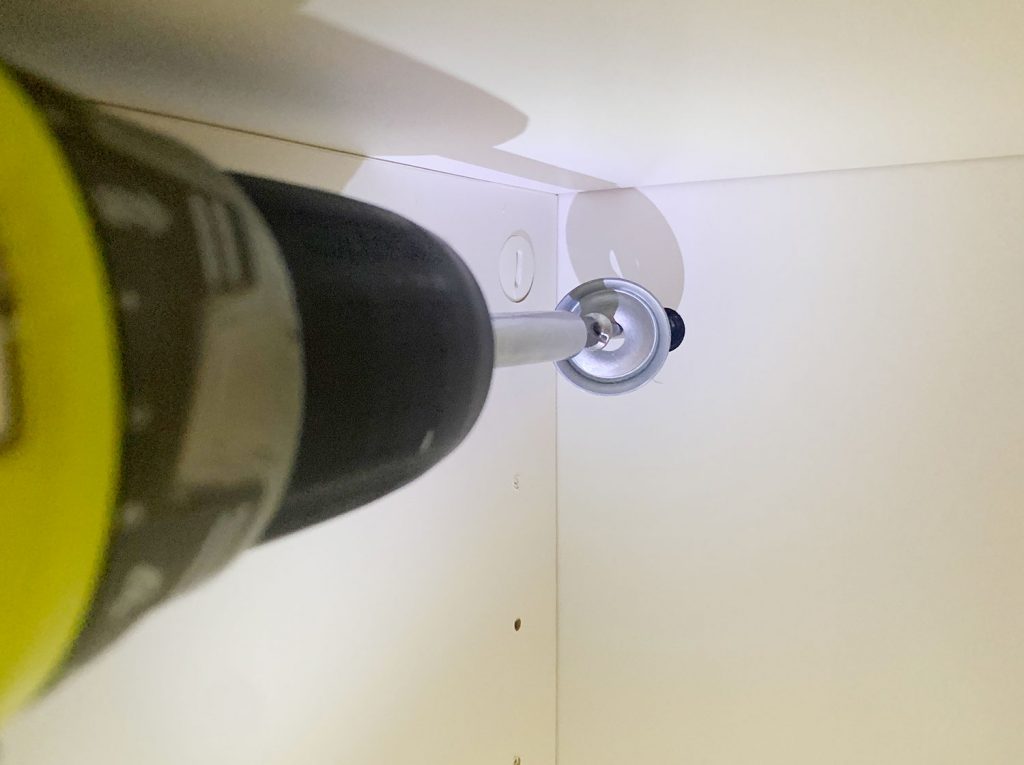
Ikea includes all of the instructions and hardware for connecting them and, if you use their legs (we went with these), they provide a bracket to span across the bottom of two cabinets so that you can install one central leg (instead of assembling them separately and standing them next to each other, which results in two legs right next to each other in that middle area there).
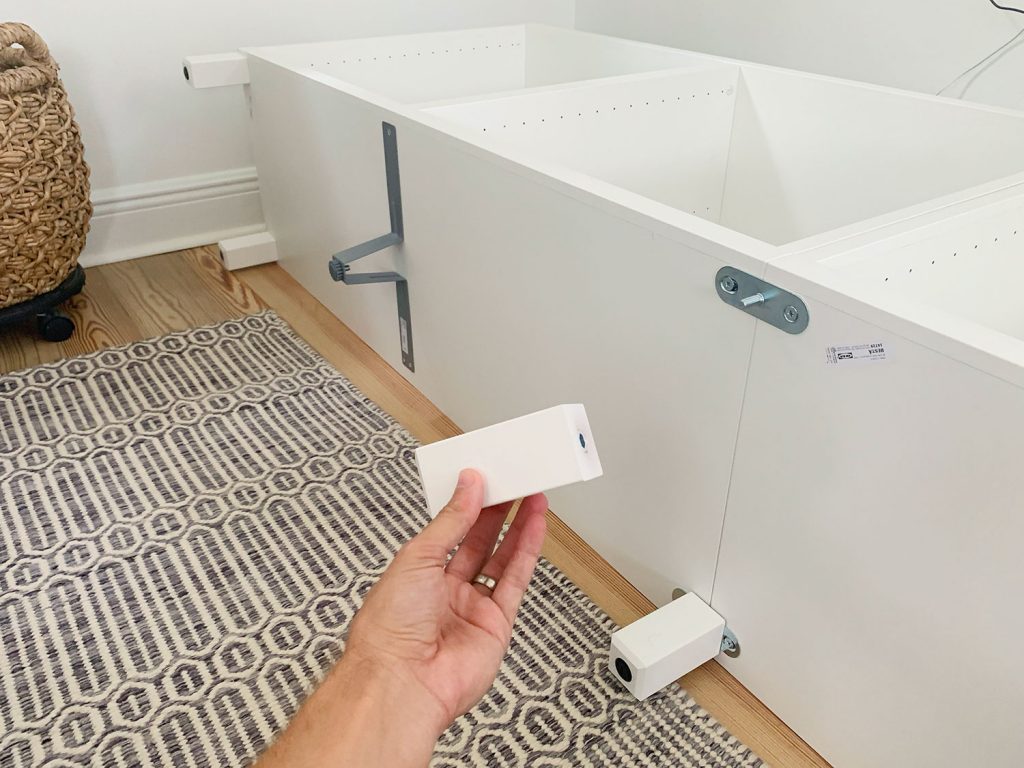
We also added some discreet metal support legs on each one (which you see in the picture above), just to make sure the middle of the cabinet doesn’t sag over time.
If you want to forgo the legs entirely, they do sell suspension rails so your boxes can be mounted directly to the wall to create a floating console or “fauxdenza” look (you can Google for TONS of examples like this one and this one). We decided to just go with the simple white legs for now, but still secured each box to the wall so we don’t risk them tipping over.
We opted for legs because we wanted this to look more like a piece of furniture than a built-in. Even though it goes almost wall-to-wall, we’ve got some raised paneling on the right end that we think would look weird to try to connect to with some filler pieces or something since it would have to terminate into that. So a long freestanding cabinet seemed like a better choice for this spot. The only other upgrade we’ll probably do eventually is add a countertop to conceal the small seam between the two cabinets. Although it honestly hasn’t bothered us one bit.
The other thing we’re contemplating is eventually upgrading the doors for something more custom looking from Semihandmade. Maybe something with some color? Or a wood grain? We’ll definitely share wherever we end up. Semihandmade sells doors tailored to Ikea’s Bestå products (although there are fewer options than what they offer for kitchens). But we actually like the stock glossy white Ikea doors that we ordered more than we expected, so we’re in no rush to replace them.
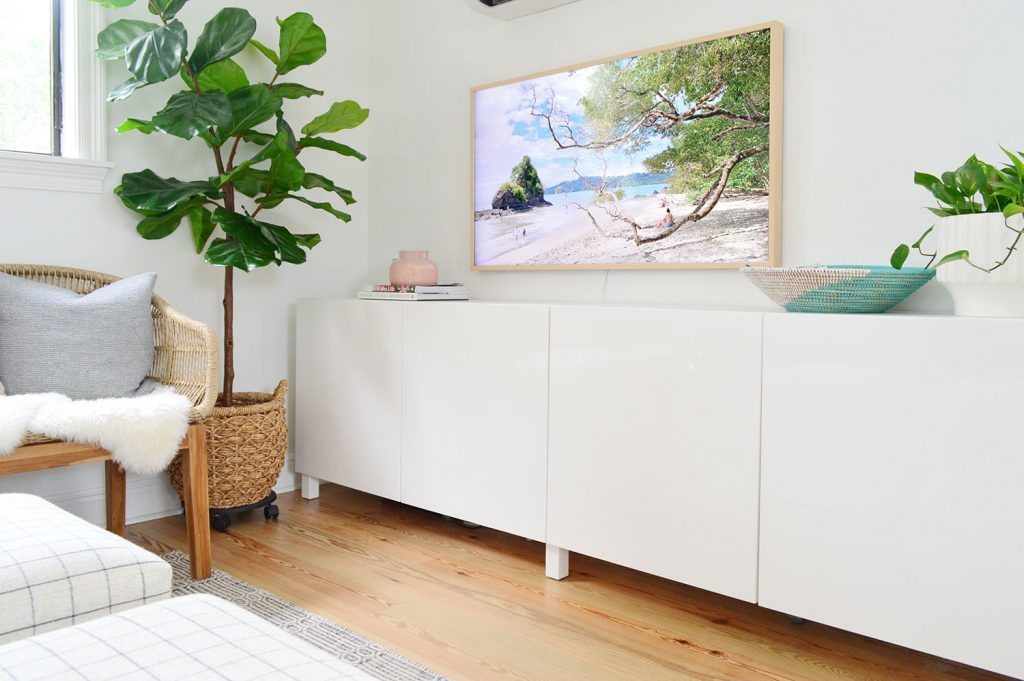
The only thing on our immediate to-do list is to rehang the TV a little bit more to the right. It’s currently centered under our mini-split HVAC unit (which is centered between the left corner and window) but that puts the TV off center compared to the Bestå console (which is centered between the left corner and paneled knee wall that overlooks the stairs). It actually looks totally fine from the side (see photos above) but from straight-on you can tell the TV needs to nudge over a bit.

All of our board games fit behind just 1 of the 4 doors, and we’ve used the other three compartments for puzzles, photo albums, extra books, and other sentimental stuff that had been crammed downstairs in various places. Now it’s all in one easier-to-access spot.
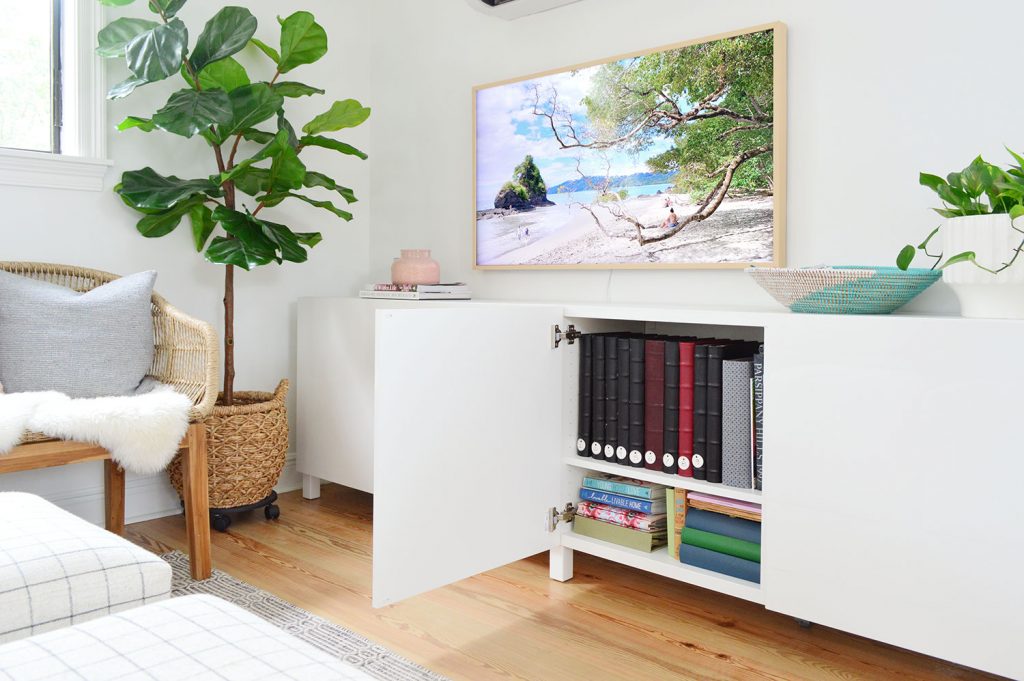
Actually, one of the spots some of those items used to be crammed into was the white printer/filing cabinet seen below to the right of the fireplace in our bedroom:
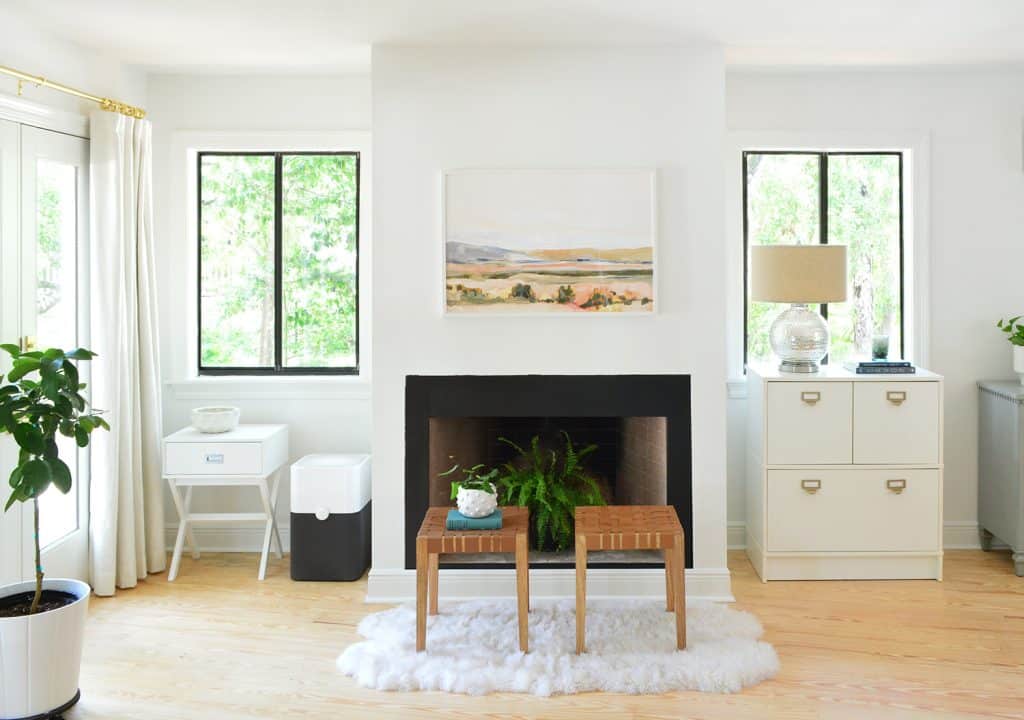
Obviously that arrangement above was just how everything that came out of the pod settled after we moved in, but now that we’ve Bestå-fied this area, it’s looking more polished, more symmetrical, and we have SO MUCH MORE STORAGE. Also I’ll pause while you spot the chihuahua. I swear we didn’t lure him there and sing him a lullaby to get him to sleep for this shot. It just happens to be his favorite place to take a nap.
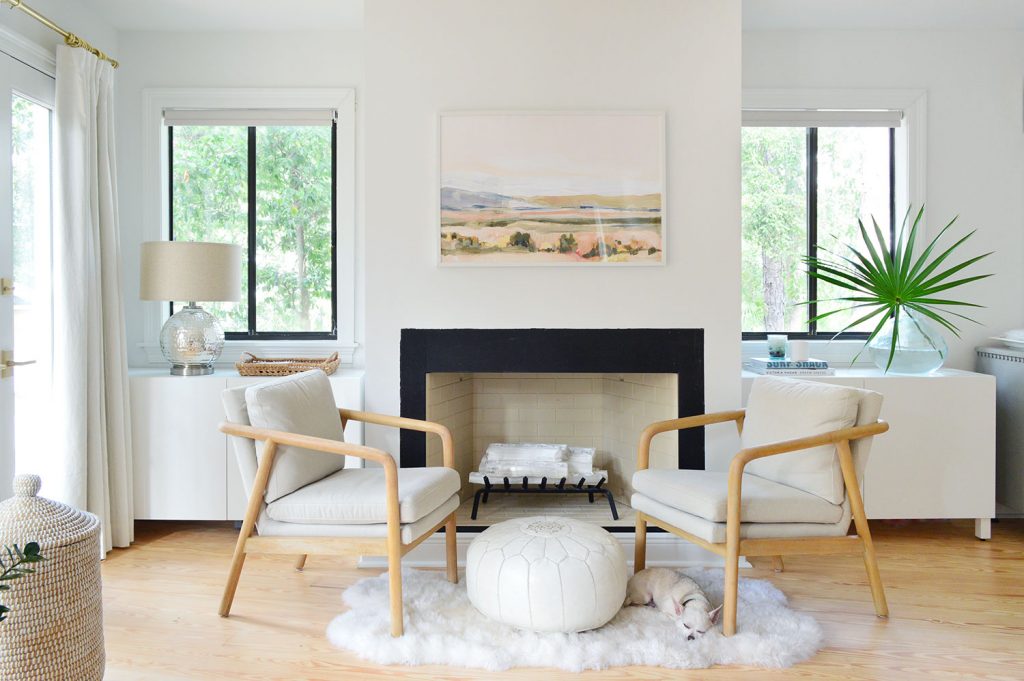
These are the exact same 47″ Bestå cabinets that we used upstairs, just separated on either side of the fireplace (instead of joined with that centered leg and bracket system). Again, we lucked out that they were pretty much the perfect size that we needed to fill these spaces (even the height was great for under the window).
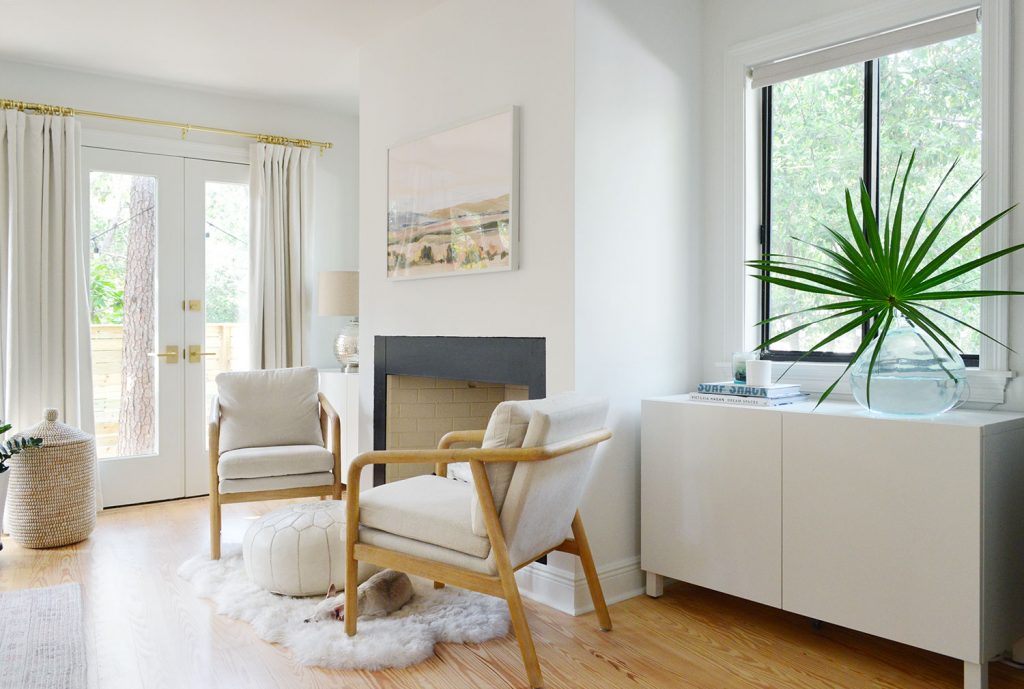
I know it looks like they’re totally obstructed by the chairs in the straight-on photos, but there’s plenty of clearance to get in there:
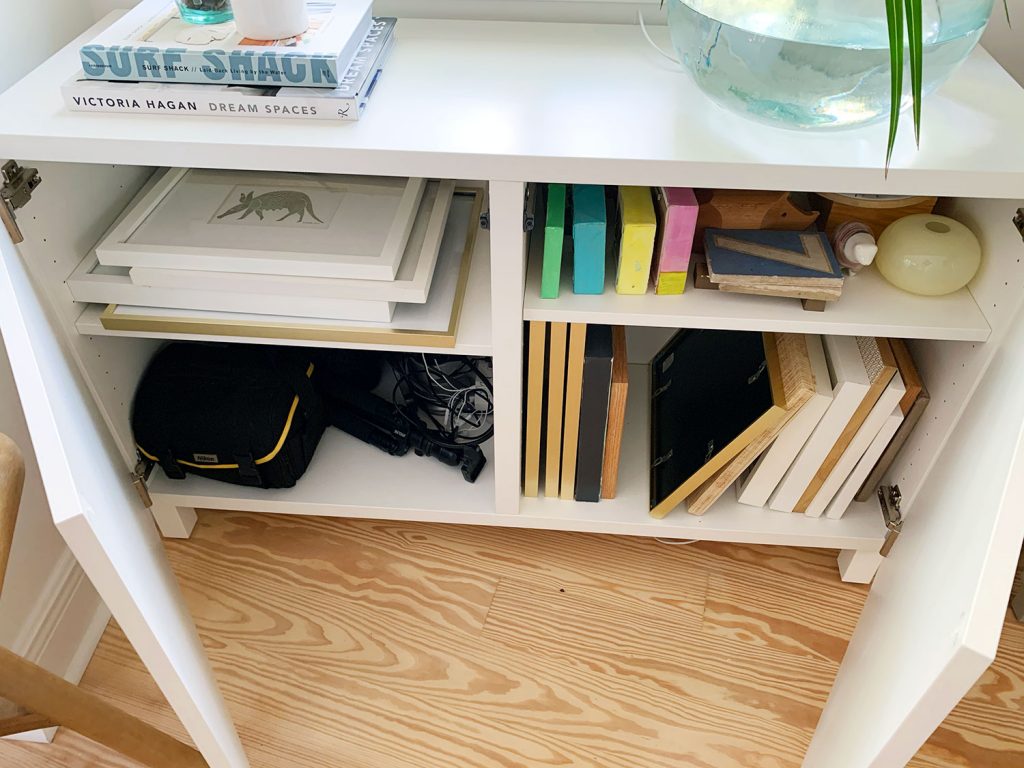
As for what’s in these cabinets, you can see it’s a bunch of random stuff. The cabinet to the right of the fireplace (seen above) holds some equipment, like our DSLR camera, podcast mic, tripod, etc – and a bunch of spare picture frames that we’re planning to hang in the guest studio one we get that going.
Here’s the other side open. That left cabinet acts as Sherry’s “decor store” with spare decorative things that aren’t currently in rotation – many of which we’re planning to use in the guest studio (some vases, two metal sconces, a cutting board, shelf brackets, some plant pots, extra candles, some bowls, spare bookends, etc).
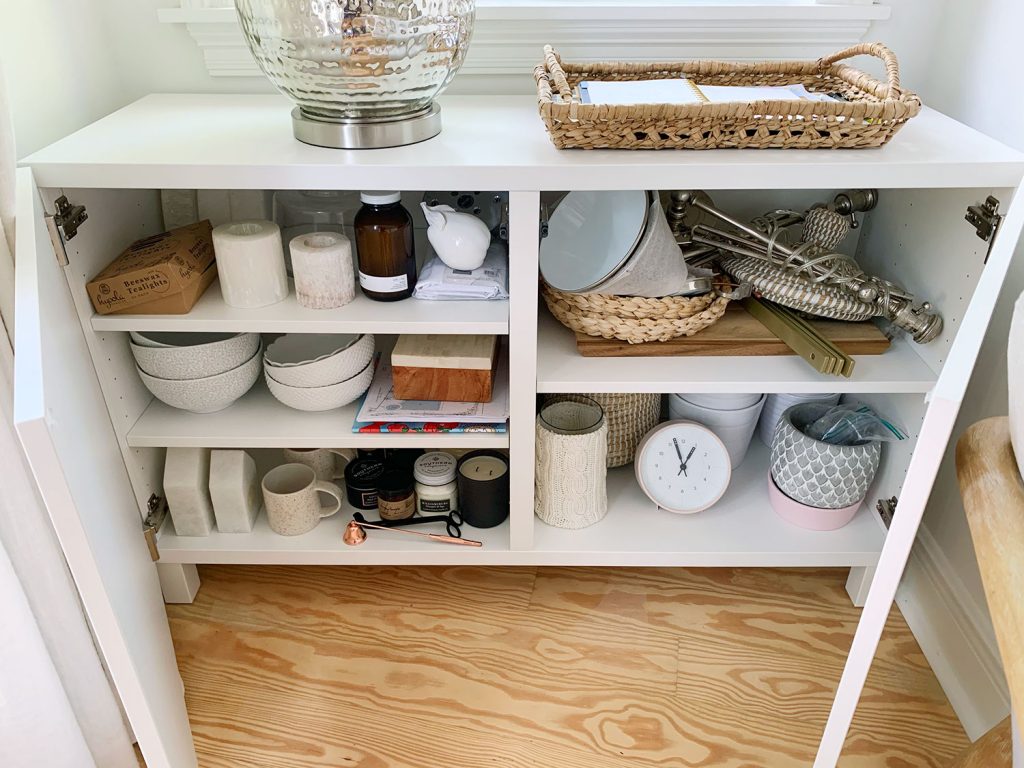
The doors are the real MVPs, hiding all that clutter…
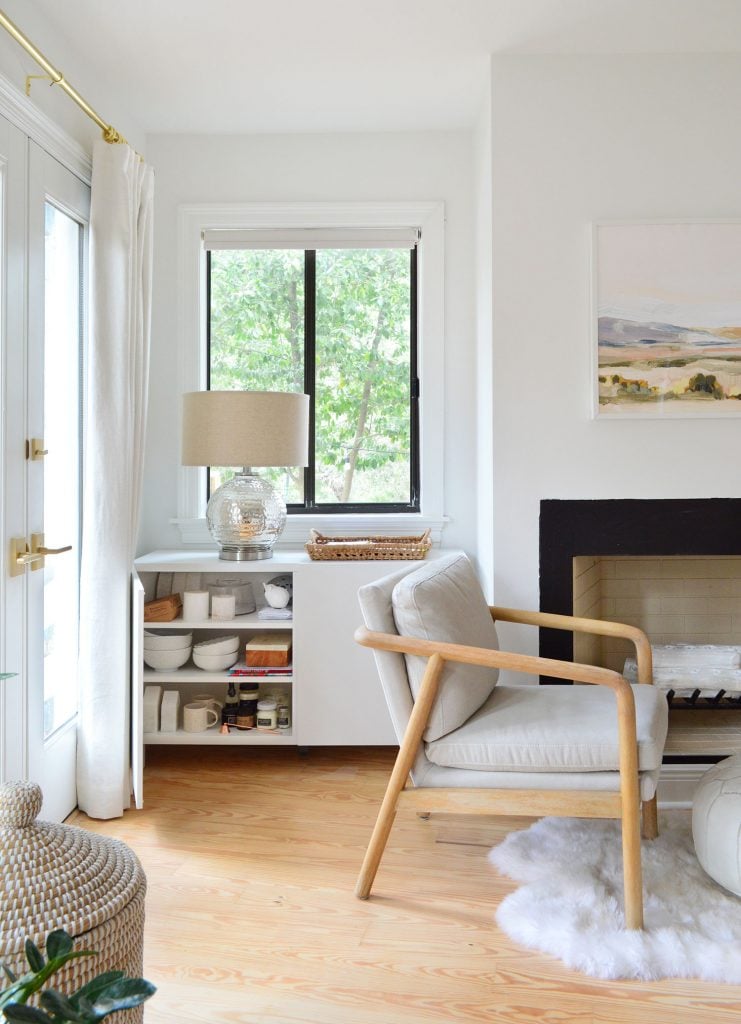
… and creating a nice clean look when closed.
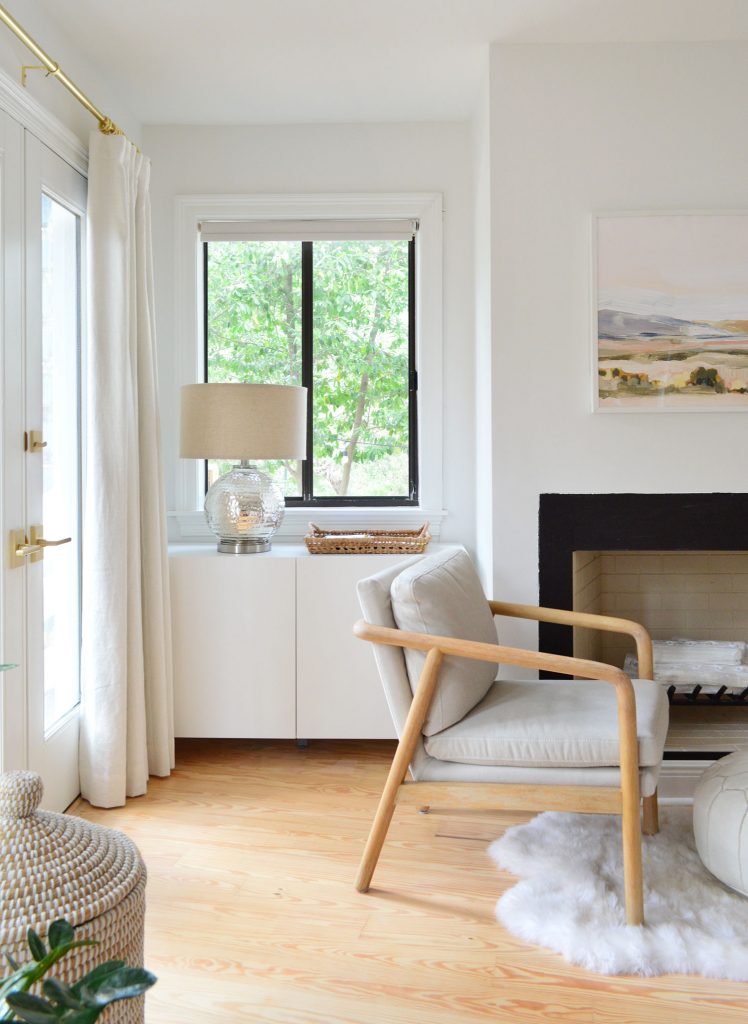
Most of these items used to be shoved under our bed, so by moving it we’ve made it less chaotic down there and made things infinitely easier to see and grab. Plus, now we have room to get some proper under-bed storage containers, which we’re planning to use to store our coats & winter gear that we kept for when we visit family in NY/VA or do other winter travel.
Unlike their counterparts upstairs, we’ll probably “hack” these to make them look completely built-in. Think filler pieces on the side, a wall-to-wall counter on the top, some nice knobs or pulls on the doors, and a continuous baseboard that matches the rest of the room instead of the stock legs we have now.

But again, for now, the simple clean look is a huge upgrade, and have I mentioned that storage is our currency these days? It’s weird how much we nerd out about finding a better spot for something or an added area to use in a more efficient way.
As for our building-these-in plans, they’re on hold until we can make progress on our closet construction, which you can read more about in this post (and see vaguely represented below). Once we get the side wall of the closet built, it will give the righthand cabinet something to terminate into on that side, and the fireplace will be perfectly centered on that span of wall, with a super functional new closet for our currently-closetless bedroom. So yes… that is very exciting to us as well.
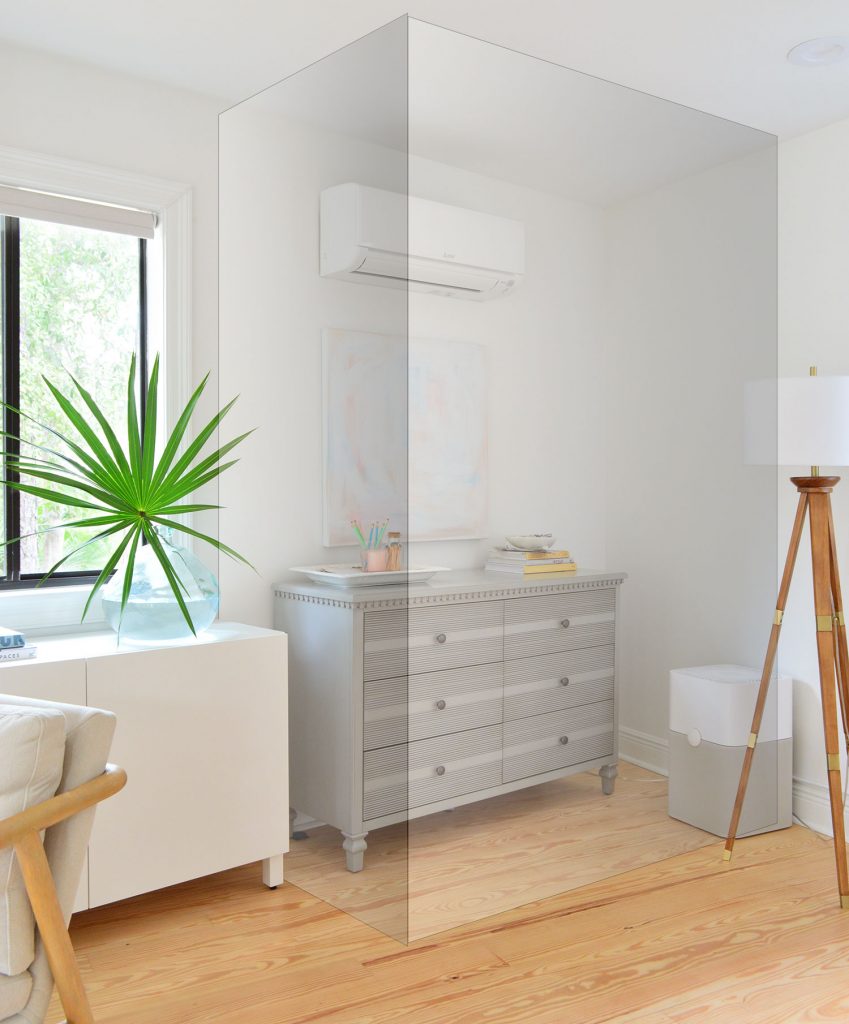
Even though Operation Build A Closet has yet to begin, we’re excited to share that update when we get there. We’re thinking we might find a local carpenter to make us some cool custom door fronts (more on the specific plans for our closet here).

Now I’m going to conclude this post by patting myself on the back for not breaking out all of the Bestå puns that have been running through my head this whole time. I guess you could say I didn’t let them get the Bestå me.
P.S. To follow along with our entire reno of this house, you can see every single update we’ve made right here in this FL House archive.
*This post contains affiliate links, so we may earn a small commission when you make a purchase through links on our site at no additional cost to you.
