There will always be a special place in my heart for a good Ikea hack. Not that I’m dubbing this one especially involved (it’s actually wonderfully simple – which means anyone can do it). All it took were a few small tweaks to a basic $99 Malm dresser to make it look like a custom built-in at the beach house. And it has turned out to be the perfect thing for the funny little nook at the top of the back staircase in the beach house’s back bedroom.
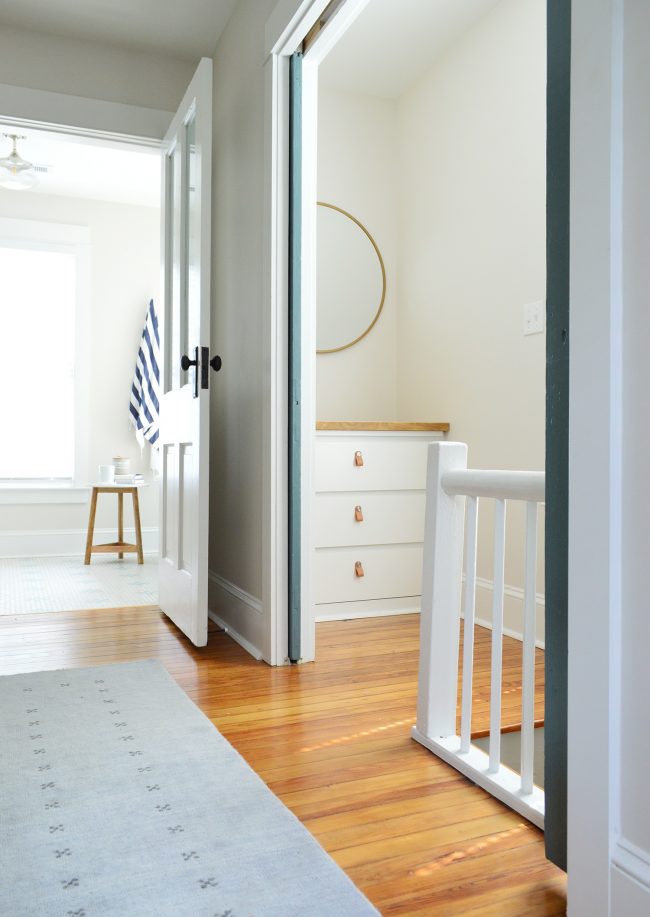
rug / striped towel / leather hardware / gold mirror / bathroom table
You’ve probably noticed that one of our favorite ways to hack Ikea pieces is to make them look more built-in. Our first project like this was using Pax wardrobes to create a sleeping nook (and more closet space) for our bedroom in our first house. That just involved adding a header and some crown around the top of the wardrobe boxes and foregoing doors for curtains. Easy peasy. You can see them on the left in the picture below:
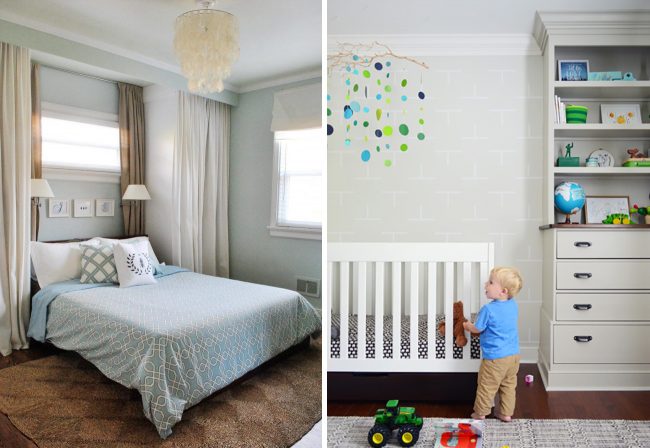
That photo on the right above is perhaps our most intense hack, where we used the now-discontinued Fjell dressers in our son’s bedroom to create floor-to-ceiling bookcases (the fact that Ikea no longer makes these is a tragedy because they’re great solid wood dressers). That was a bit more involved with molding, paint, filler pieces around the sides, and shelves – but still really doable. You can read all about the process here.
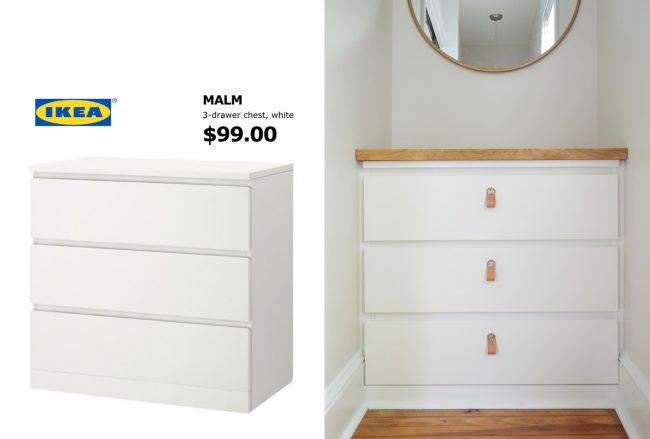
But back to our built-in dresser at the beach. I promised at the start of this post that this latest project was an extremely easy one. It basically boiled down to using trim pieces to make it look built-in, then adding a few customized elements – like leather hardware pulls and a thicker wood top – to make it a little more interesting and upgraded than the extremely ubiquitous dresser that we started with.
This is actually the main clothing storage for the back bedroom at the beach house (the one we stay in whenever we’re there) and it has been working out so well to have a dresser tucked back there now. Originally this room was completely open to the back staircase… meaning it was completely open to the kitchen downstairs (you could hear everything and anyone could run up without encountering a closed door).
It’s a huge upgrade to have actual doors that we can close before going to bed – and adding that wall with pocket doors not only provided some nice privacy, it also feels original to the house and doesn’t block any light from that window during the day (the doors remain open pretty much all the time except when we’re sleeping). We talked about it a little more in last week’s podcast, since it’s one of our FAVORITE decisions that we made in this whole house.
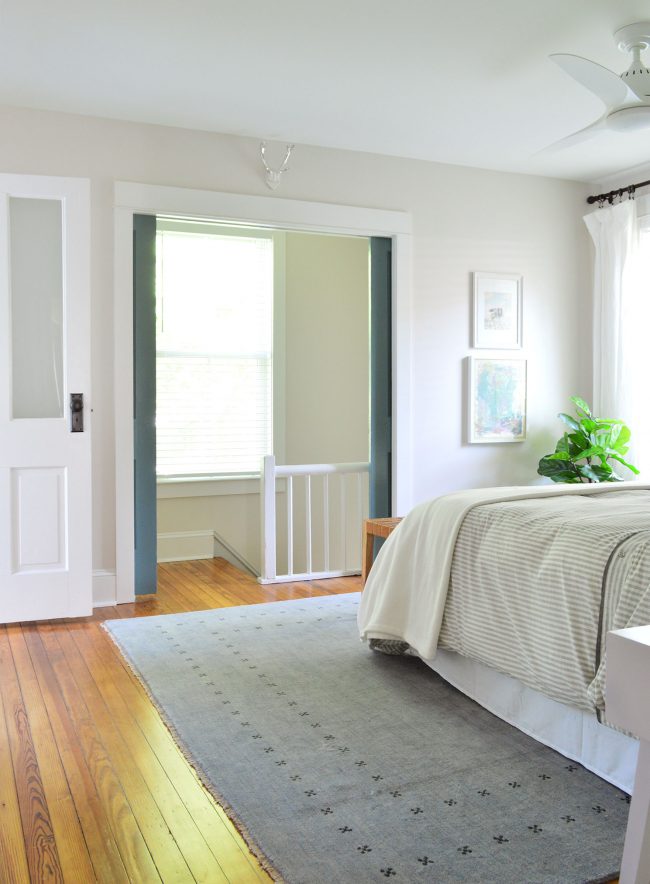
But adding that wall also created this nook, which we always figured would act somewhat like that room’s closet. At one point we were actually going to frame it in with a door and everything, but after living with it for a while we decided it might make this landing a little crowded and (since the stairs are narrow already) we preferred something that would keep the space feeling more open and less packed.
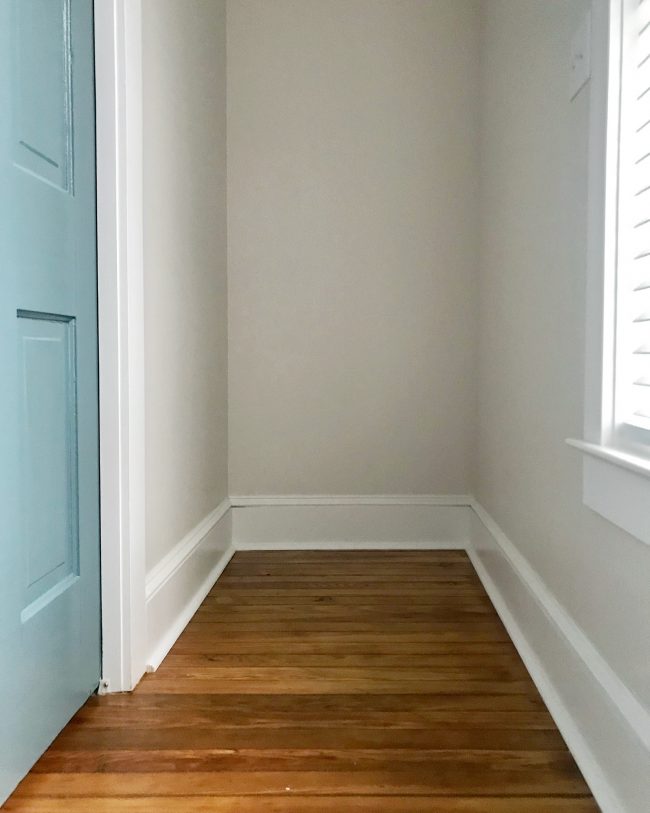
Lucky for us, the space was almost exactly the width of an Ikea Malm dresser. They’re a great budget dresser – only $99! – plus the flat fronts would nicely mimic the flat-front cabinets in our kitchen below. But to make it look like a built-in piece, we had to start by prying off all of the existing trim around the floor of that little nook. The Malm fit nicely wall-to-wall, but the added thickness of the baseboard and quarter round wouldn’t allow for us to slide in the dresser until we popped it off.
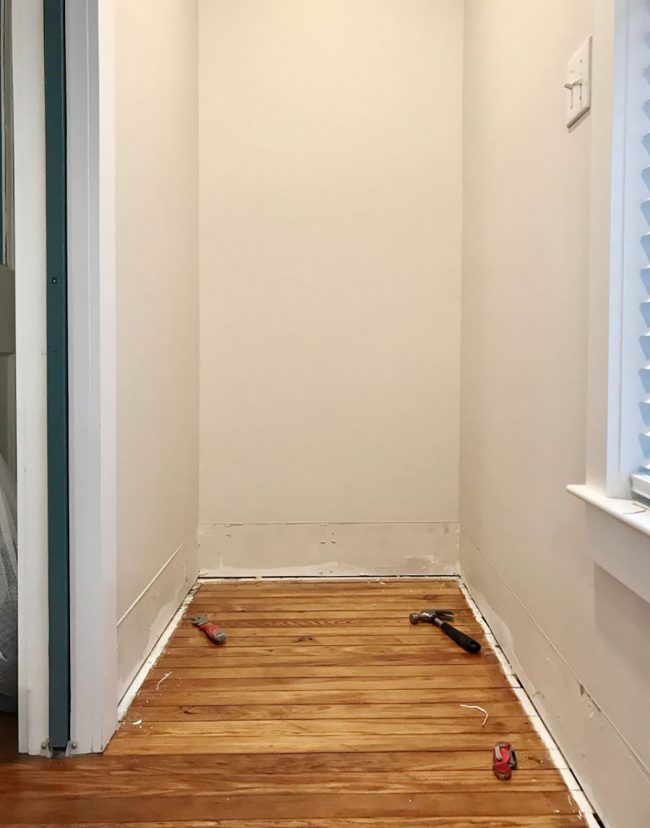
Once we had the dresser constructed and the molding popped off, we could then slide it into place, and we used some white filler pieces to fill in the gaps on either side (these were actually leftovers from the kitchen install – but a painted piece of 1 x 2″ board would do the trick). I just aligned them with the front edge of the dresser and fired my nail gun through the side of the dresser into them (and the wall behind them) to hold them there. There was still a little bit of gap, but nothing a little caulk didn’t fix later.
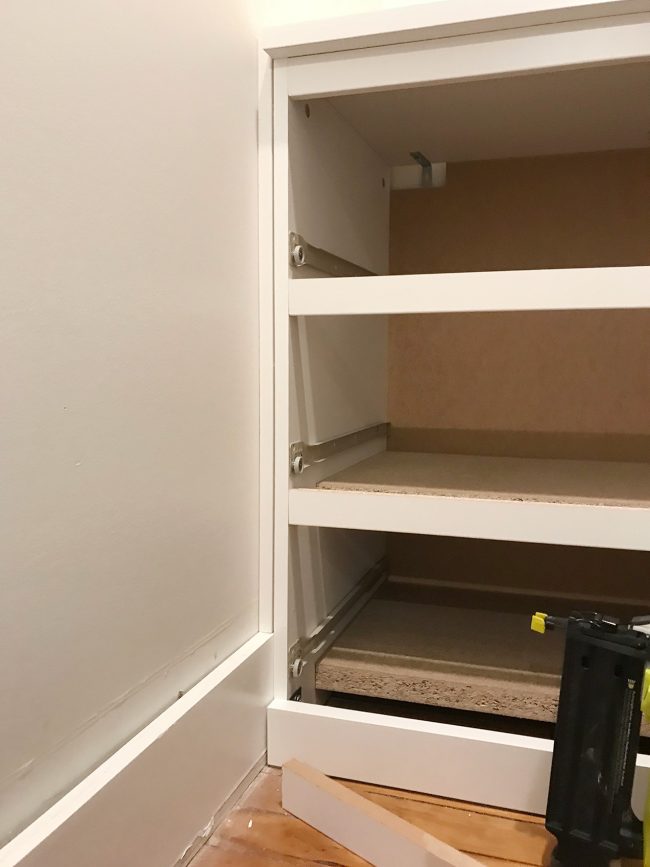
***NOTE: In addition to nailing through the sides of the dresser, we used the supplied hardware to anchor the back of the dresser to the wall. Like most dressers, the Malm is prone to tipping, so this is a vital step in installing a dresser like this***
You can also see in the photo above that I reinstalled the baseboard for that side filler piece to rest on (it extended just a bit behind the dresser on each side) but waited to add the quarter round until later. Also: that small piece across the front of the dresser is part of the Malm itself, so that isn’t something I added.
Once the baseboard was reinstalled and both sides were filled in, I cut the quarter-round molding and ran it around the dresser’s footprint – so it butted right against the dresser itself. Continuing the quarter-round along the front of the Malm is a big part of making it look built-in and a lot more seamless.
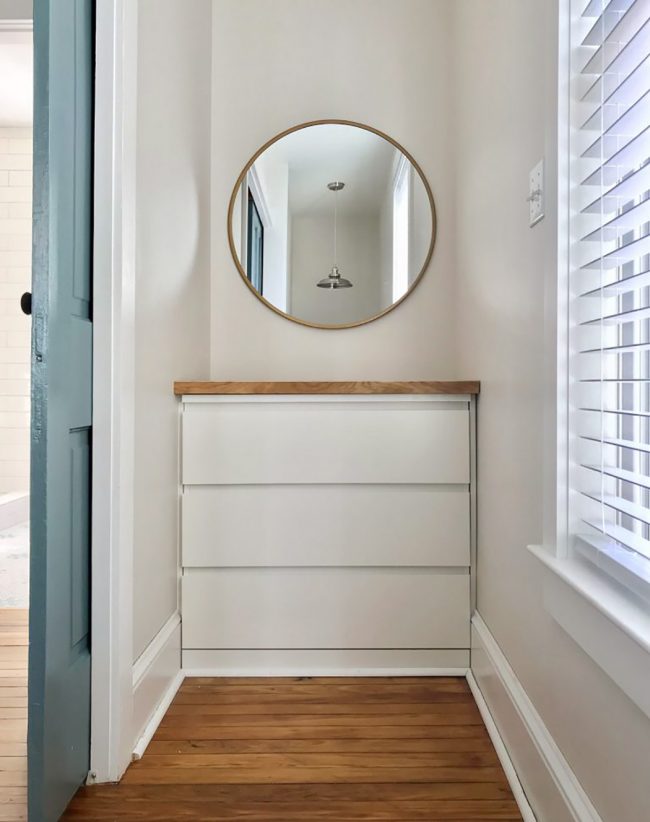
We actually hadn’t planned on adding the wood top originally, but when we got in installed the top was looking a little dinky. Fortunately, we had a scrap piece of butcher block counter leftover from the kitchen that was large enough. The walls aren’t perfectly square (thanks old house!) so we cut a piece of cardboard first to use as a template for cutting the counter. We only had one shot at this, so we took our time!
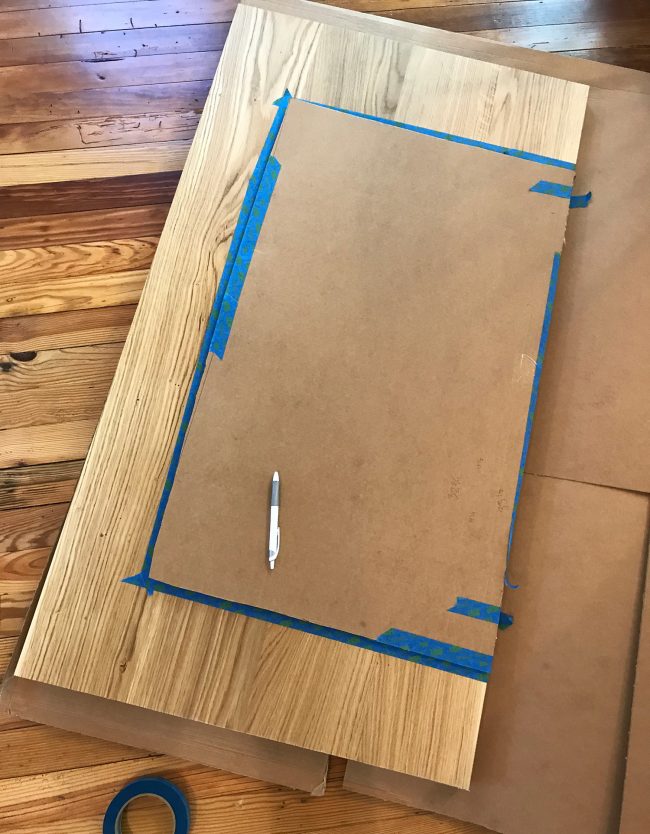
The result of all that slow double-checking and cardboard-templating was a perfect fit (huzzah!) so we let out a communal sigh of relief. It looks so much better with the thicker top, and the wood accent is a nice way to make it visually “belong” in this house (you know, with all the wood doors, pine floors, the matching counter downstairs, etc). If you don’t want to buy a whole span of butcher block from Ikea for this hack, you can buy smaller “project panels” or butcher block pieces at stores like Home Depot and Lowe’s (or you could just use wood planks for a similar look).
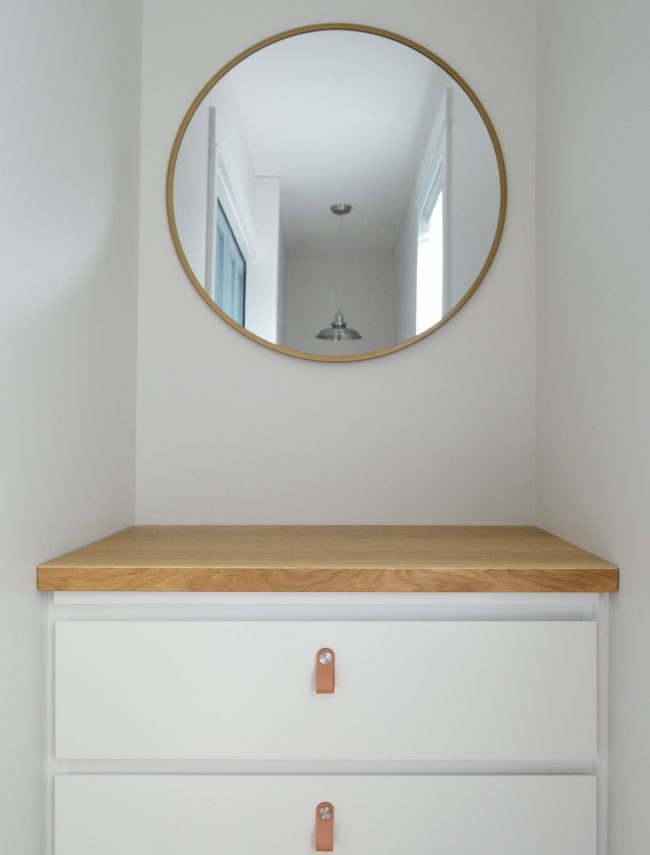
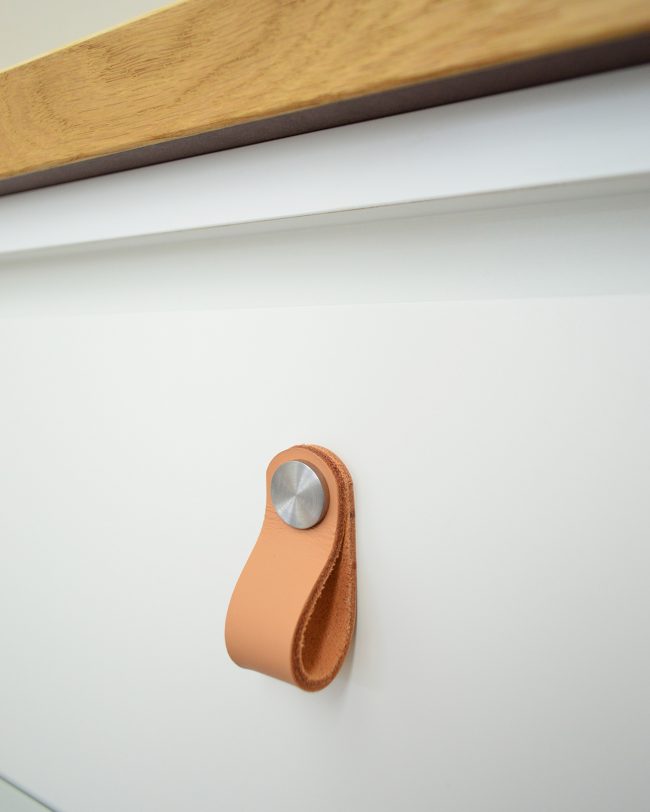
The other element that gave it a custom look are the leather pulls. We snagged these at Ikea when we picked up the Malm, and they’re $10 for a set of two. There are similar options on Etsy too (you can get these in a bunch of different leather colors), but really any kinda of hardware helps these plain jane Malms look a little more interesting.
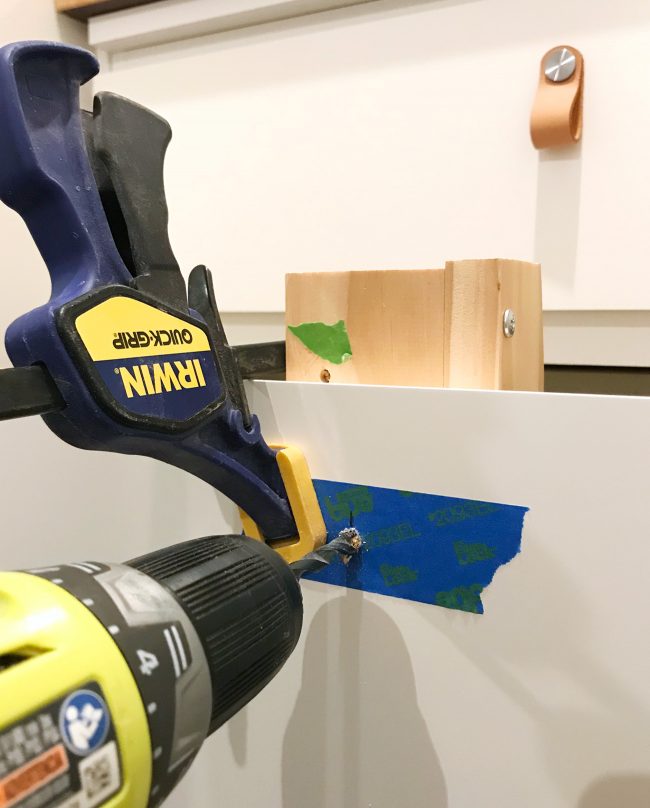
My only tip for installing the hardware (besides measure, measure, measure!) is to take some effort to prevent splintering when you drill your holes. The white finish on Ikea pieces is quick to crack when drilled, and can easily flake off – sometimes in big chunks.
I wasn’t too worried about the front of the dresser because I knew the leather pulls would cover a lot of sins, so I simply used a piece of painter’s tape to drill through on the front side to discourage any splintering or cracking. But since the finish is more prone to flaking at your drill bit’s exit point than it’s entry point, and because there wasn’t much to hide damage on the backside of the drawer (it was just the screw head back there) I clamped a piece of scrap wood tightly to the inside of the drawer. It worked like a charm and I was grateful that I took the precaution.
And of course, the unsung hero of the project was caulk. We used it to blend all of the seams in the baseboard, plus any remaining gaps around the wall, which made the whole thing look a lot more polished.
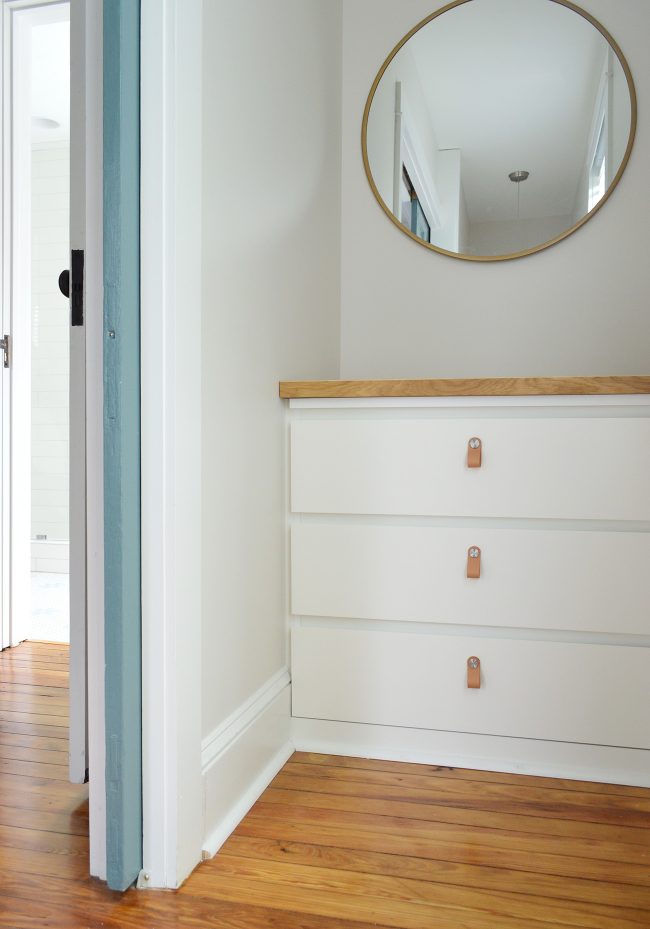
We hung one of Sherry’s favorite mirrors above it because a mirror is always a good option for a small space, and the gold finish picked up the warm wood tones nicely. We don’t keep anything on top of the dresser because when we’re there for a quick stay, we just plop our suitcase on top and live out of it, but it has been really nice these last few weeks to actually unpack clothes into the drawers for our longer stays.
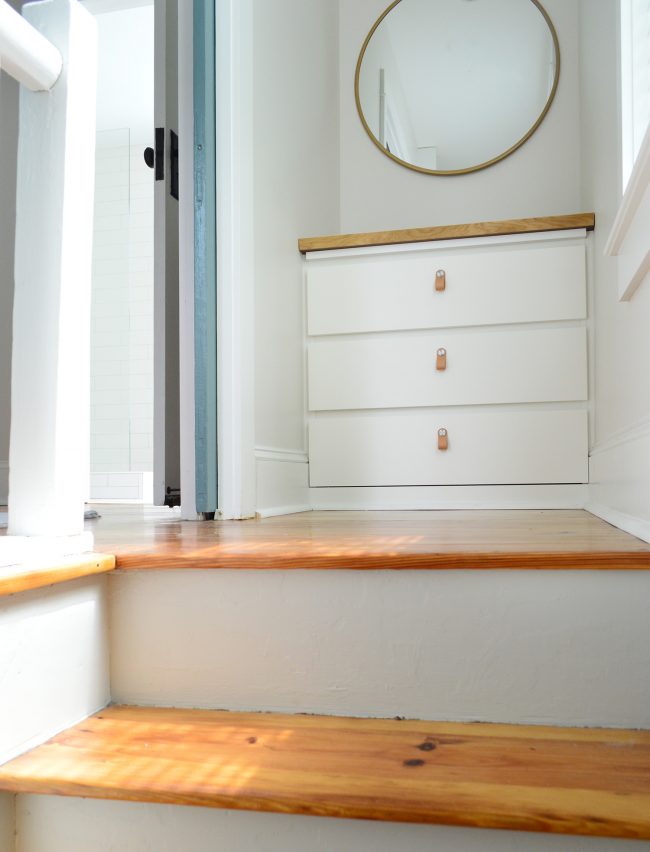
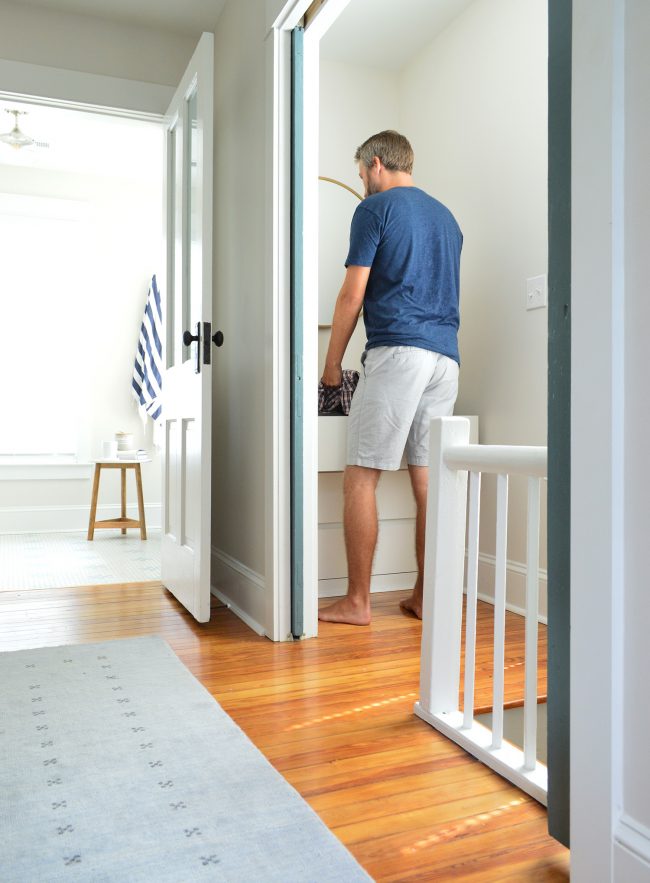
Also, if you’re like my dad and you live in constant fear of someone falling down these stairs (don’t worry – the only falling we’ve done on them is UP. Yes, both Sherry and I have tripped going up them, but it has only resulted in a stubbed toe or two), I wanted to show you this picture with me in it for scale. There is thankfully plenty of floor space behind the dresser to stand and comfortably get clothes out of an open drawer without worrying about taking a tumble backwards. In fact, I’d have to do a pretty epic backwards lunge if I wanted to get my foot over the overhang.
And again, if you’re interested in checking out some of our previous Ikea hacks, here are a few favorites:
- Our first bedroom’s built-in Pax wardrobes
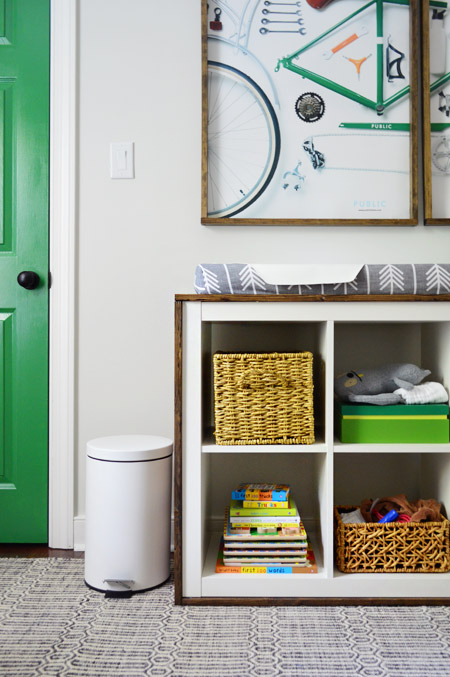
- A wood-wrapped Expedit bookcase that became a changing table
- Two Fjell dressers that became built-in bookcases (that post is mostly about the Ikea hack, and we separately blogged about adding the shelves and trimming it out)

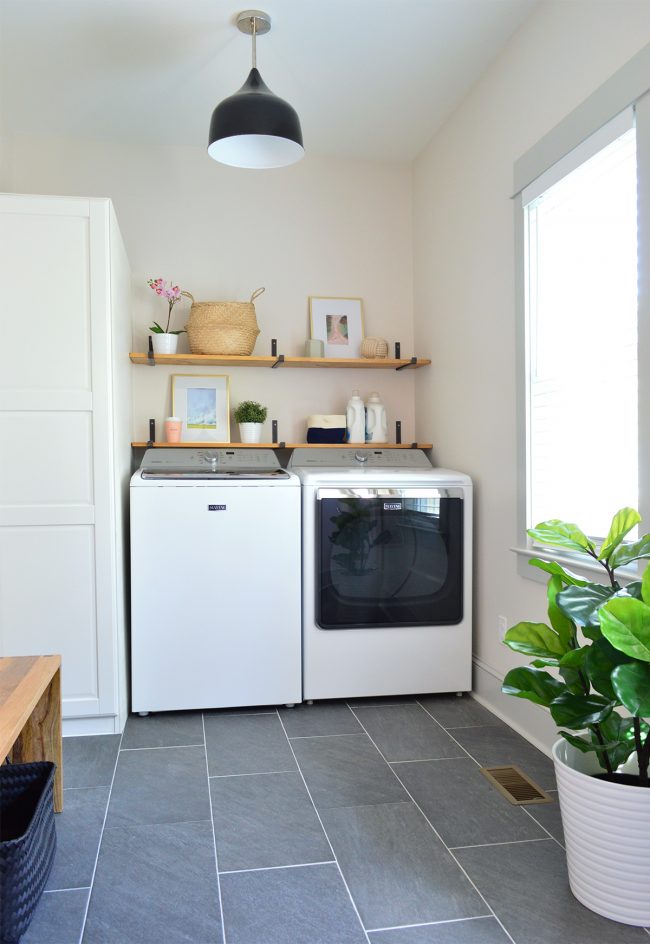
- Using a Pax as a custom mudroom closet at the beach house
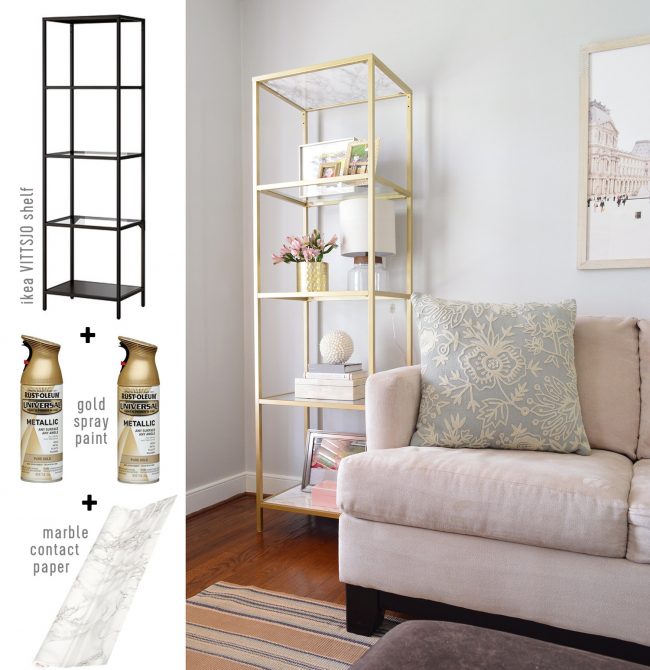
- Customizing a Vittsjo shelf with spray paint and contact paper
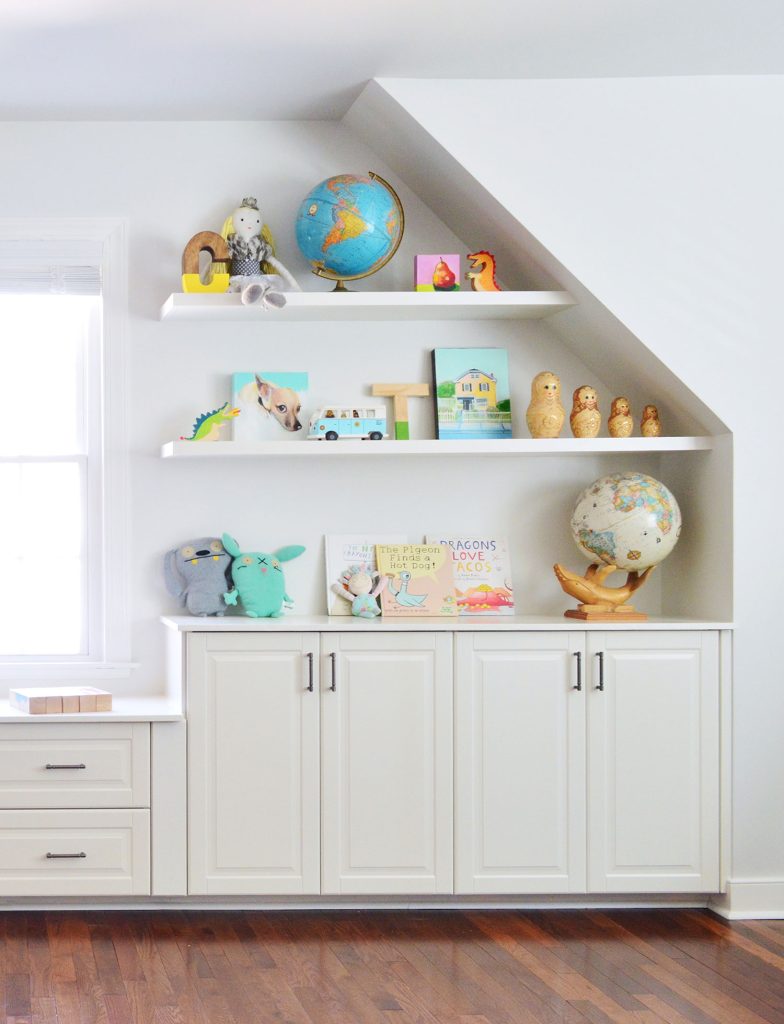
- Making built-in cabinets in our bonus room using Ikea kitchen cabinets
And for other furniture hacks and DIY ideas, we have a whole category for ya. You can peruse all of those posts here.
P.S. If you’re looking for beach house paint colors info – or to find out where we got nearly all of the furniture, accessories, rugs, and other stuff in the beach house – this page has all of that info for you.
*This post contains affiliate links*
