Check out this ladykiller in the half bathroom:
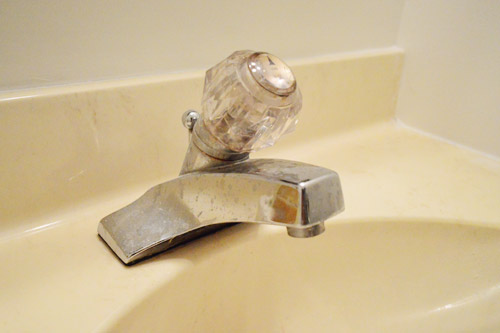
It’s not especially offensive looking, but it leaks. And with a single knob I’m always worried that Clara will accidentally turn it to scalding hot when she’s washing her hands.
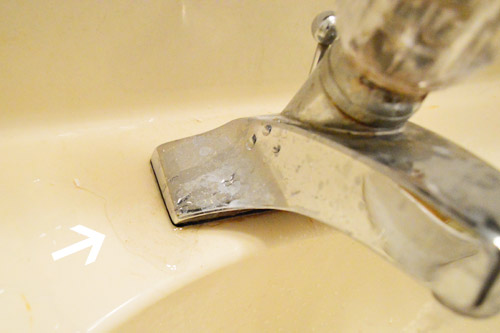
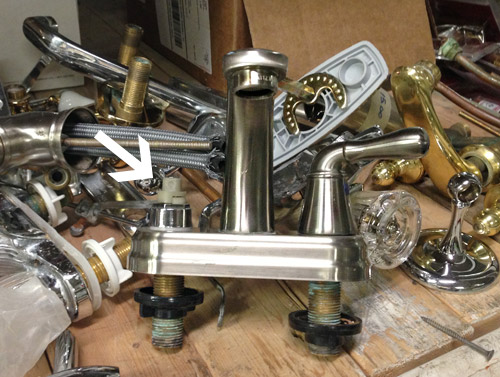
So we hit up our Habitat ReStore hoping for a cheap find. Sherry lunged for joy (you need to see that in person by the way) when she spotted this $12 find in the pile… only to learn that it was inexplicably missing one handle (we dug around for 20 minutes looking for it to no avail). Just wasn’t meant to be.
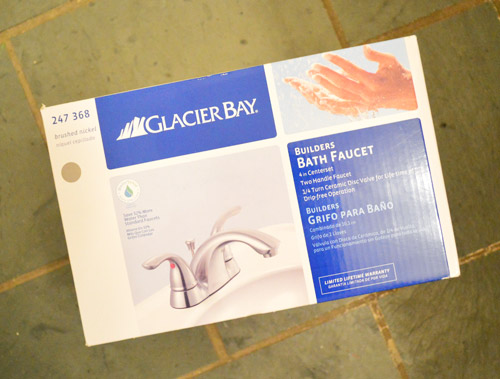
So we settled for this $34 find at Home Depot, which was pretty much the most affordable option they had. We figured that it was worth the peace of mind that we no longer had a leak and that Clara could use it more easily.
Making the switch promised to be quick and easy. Turn off the water. Unscrew some hoses. Bada bing. Bada boom. Hello new faucet. Except step one revealed a slight snag in the this-should-be-easy plan. The hot water valve wouldn’t turn off. It turned just fine, but the turning had no effect on the water flow. It just spun like a pinwheel.
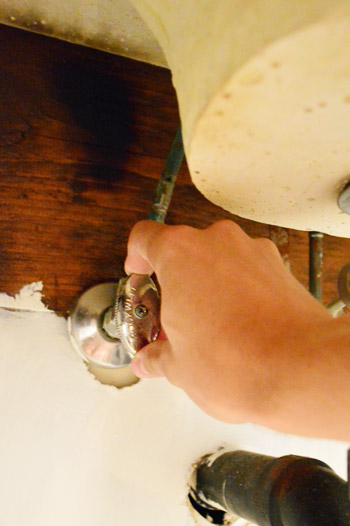
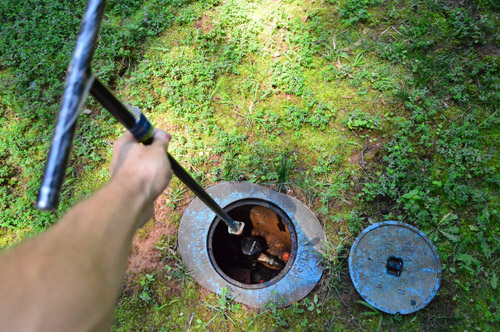
That’s how switching out the faucet turned into replacing the hot water shut off valve (something I’d never done before)… which meant turning off the water to the whole house at the street. So we whipped out our water meter key to help twist the always stubborn valve out there (these are around $7 and we use ours more than you’d think).
I don’t have photos of the next part unfortunately, because I spent most of it with half of my body stuffed into the vanity trying to wrench various valves and hoses apart, wrap plumber’s tape, and wrench things back together. And somewhere between yelling at Sherry to have a plumber on standby and quietly cursing, I forgot to ask her to hand me the camera (which probably would have gotten wet and resulted in too-dark-to-see photos anyway). #bloggerfail. But for an idea of what the installation process looked like, you can check out this well-lit and profanity-free video from Home Depot.
I tell ya, I was convinced throughout this entire project that I was going to break some pipe and a cartoonish explosion of water would erupt from the ground, lifting our home from its foundation like we had just struck oil. But surprise – none of that happened, and I was able to get the new hot water valve in without any problem.
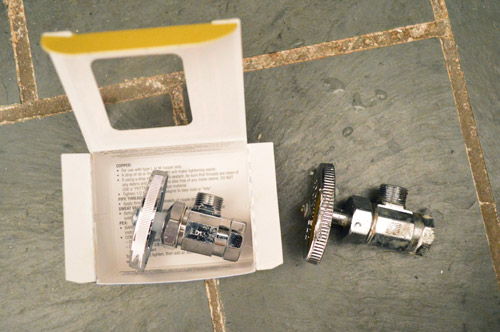
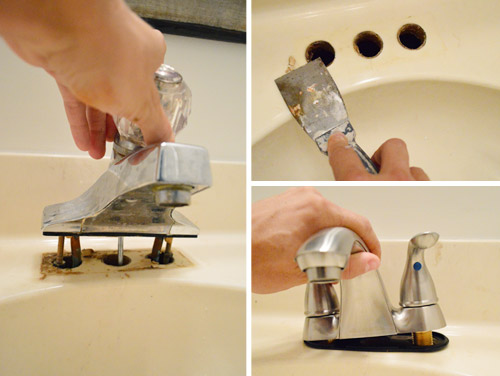
With the new valve attached, I got the old faucet out of the way, scraped away some of the gunk on the sink with a putty knife, attached the new hoses under the sink, and put the new fixture in its place.
When it came time to turn the water back on, I was certain at least one or two of the five new connections I had just made were going to leak (just call me the most pessimistic plumber in the world). So I laid some colored construction paper under everything so if something dripped, I’d be able to spot it quickly.
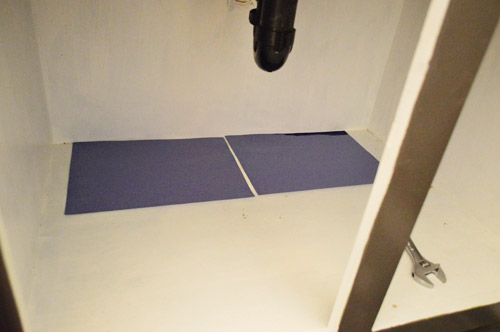
To my shock, there were no drips. And I watched for a good ten minutes – convinced they were just waiting for me to look away. Then Sherry finally dragged me away from my sink staring-contest and encouraged me to accept the victory like a big boy. Our new faucet (and its hot water valve) were officially installed!
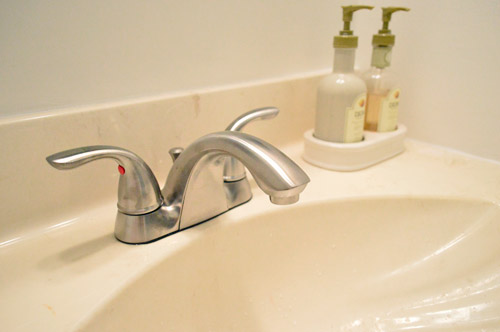
It’s not a big exciting design decision, but we’re certainly glad to have it taken care of for functional reasons. And I guess we did make a deliberate decision about the finish. We looked at a few oil-rubbed bronze options (to match things like the doorknob and the light fixture), but all of those were at least $80+ (which felt too expensive for a Phase 1 fix). So we’re glad that brushed nickel worked just fine (and was a lot cheaper) thanks to the mirror, which acts as a “transition” between the two metals, since it mixes both tones in one spot.
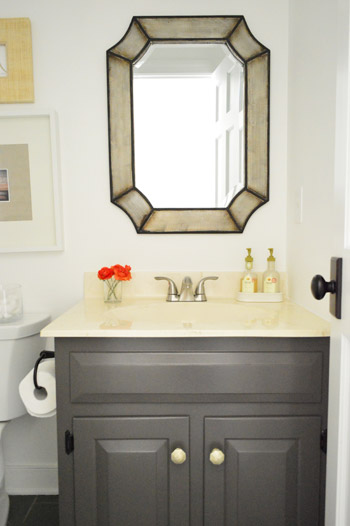
Hilariously enough, the new faucet didn’t fail to impress our toughest critic. Clara walked in there after her nap and just stood there for a second staring. When Sherry said “Is everything OK?” she said “Wowwww! It looks beautiful in here! Did we get a new washing thing?”
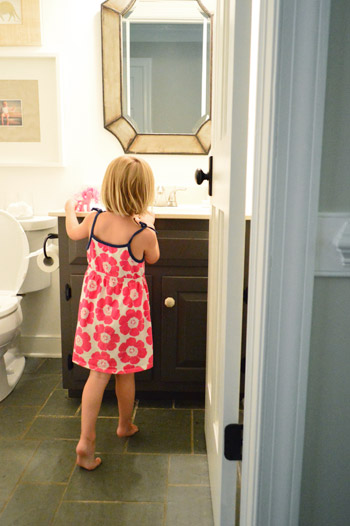
She often notices things that change in the house, but I think this is the first time she led with such a strong compliment. We’ll take it.
Oh and here are the before and after photos you guys requested on our last bathroom post:
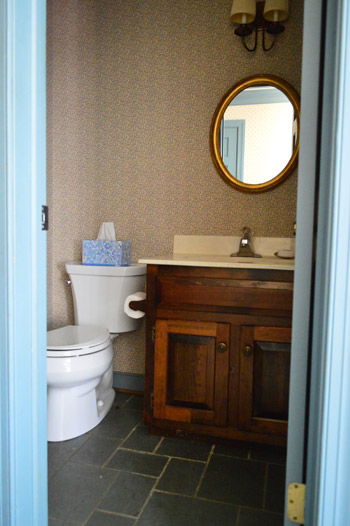

As for a budget breakdown, in our still-settling-in chaos we don’t have every receipt on hand, but our best guess is that we’ve sunk about $110 into this room in total (for the mirror, paint, light fixture, vanity knobs, and faucet). So for rooms that you use every day but are pretty pricey to fully renovate (like a kitchen or bathroom), it’s nice that an in-the-meantime upgrade can make a difference while you’re saving up for Phase Two down the line.
On to the next room!

Alexandra says
you know, if you put a white marble top and a new sink on that vanity (you can get a remnant piece from stone yards and have it fabricated for under 500 bucks here in CO) I think this bathroom with the phase 1 changes you have made already could look phase two done.
Debbie G. says
What a huge transformation with a very low cost! Just showed hubby the before & after pics as an example of how a few updates and some paint can really give a room that “Wow!” factor. btw- I love how the “lines” of the new faucet mimic the lines on the mirror (or am I just weird about stuff like that?)
Lara says
I love how the mirror acts as a transition between the two metal finishes.
I’m a fan of mixing metals, but I’m a little stumped as to what to do with a very small bathroom with a chrome-framed glass shower in it. The door hardware is ORB, the sink faucet is chrome, and everything else thus far in its temporary state is chrome (light fixture, toilet hardware, etc). I would love to add some more ORB in there but not sure if it would look crazy…
The shower stands out so much, but at the same time, everything chrome just seems so plain to me so I’m feeling a bit stuck. Would you guys mix or keep it the same?
YoungHouseLove says
I’d add in more ORB! I love it layered.
xo,
s
Kathy says
Same faucet here in NY! Mine didn’t work out so well. No cartoon water explosions, but mini-eruptions, a plumber, a hole in the wall under the vanity, and a faucet that won’t allow the sink to fill. Still…the leak is gone. Phase 2 will go better, right?
During the storm that caused the tree to fall in your neighbors’ yard…I ended up with 9+ inches of water in my finished basement. First time ever in the 50 years the house has stood. Consequently, the word water produces a feeling of sheer horror in me. I was afraid just reading this post!
Love Clara’s increasing maturity. Hate that she is growing up. What are her educational plans for fall?
YoungHouseLove says
She’s going back to the same preschool as last year and is super excited about it!
-John
jessica Paulsen says
Way to go– I would have freaked turning off water to the whole house. Have you guys considered tiling the top of the counter in there? I have tiled 3 different bathroom vanities with crappy formica as an underlayment and they have all turned out fantastically. If you buy large scale tiles it isn’t much of an investment either.
YoungHouseLove says
Never even thought of that!
xo
s
Laura says
I’ll be interested to see how you make out that faucet! We had two of them and had to replace both. Within maybe a year or so of owning them, the coating started peeling and flaking off. And on one of them the handle got all wobbly. We finally spent a little more money and upgraded and so far so good! lol. Hope you don’t have the same troubles with yours!
Pam says
The bathroom looks great! It’s amazing that a little thing can make such a big impact. We are considering updating our bathroom, my fear is that the simple things (like replacing the faucet) will turn out to be more complicated than expected.
Kara says
The powder room looks great! Can I ask where you got your mirror? I am looking for one with mixed finishes that I need for a new bathroom we put in our basement. Your’s looks like it would work wonderfully!
YoungHouseLove says
It’s from HomeGoods.
xo
s
Sarah says
I am officially inspired to make a few cosmetic updates to the hideously ugly pink bathroom we inherited when we moved in. I have been living with it in anticipation of gutting it, but that is at least a few years down the road (after gutting the kitchen). Pepto Pink, be gone! Thanks for the inspiration, guys!
Melissa says
We just replaced our leaky disgusting faucet with that exact same faucet from Home Depot!!!
Megan says
Catching up on my blog reading, but amusingly, I grew up with those old faucets in my house and now I have your new faucet in my first grown-up house.
YoungHouseLove says
So funny!
xo
s
EngineerMom says
Having a water shutoff valve inside the house is a building code-dependent thing. Some cities/municipalities require it, some don’t. Personally, I think it’s a great idea – sometimes the outdoor one is stupidly hard to find. What you want is an inline lever-style valve, not the twist ones like you find outside for your garden hose. The twist ones apparently can malfunction over time in such a way that the water is permanently turned off to the house until you call a plumber in to take a few major lines apart.
Also, I seem to remember our plumber (we had a bunch of work done before we sold our Cincinnati house) installing a valves leading into and out of the hot water tank so if we needed to shut off the water to replace the tank, we could, and if we needed to shut off all the hot water to the house (but not the cold), we could.
And on a side note, don’t be stupid and hook your ice maker into a hot water line. The previous owners of our Cincinnati house had done that, and we didn’t discover it until we had to get the plumber in to replace the little “punch” valve someone had put in rather than cutting into the line and properly installing a water line for the ice maker. It definitely explained why our ice was always full of debris – hot water dissolves gunk from the pipes, which then precipitates out in the ice!
Beth says
Yay! I have 2 of those faucets in my master bath. I have a VERY small (1500 sq ft…small by TX standards!) starter home. Over the past five years I have gone through and changed out all of the 10 year old builder shiny brass. The GB was perfect for my needs because I didn’t want to “over improve” my house. I installed both about a year ago and they have held up beautifully. I have another sitting in the garage to put in my son’s bathroom next.
The way I see it, I MAY be in this house another year, so every improvement I make needs to be economical. Oh, and the grout renew that others have mentioned? I did my bath and kitchen and that stuff is amazing! It stopped me from ripping out the floor and re-tiling!
YoungHouseLove says
That’s awesome!
xo
s
angela says
I know this was many posts ago but I was feelin’ the green vanity idea! So the color you had was off but why give up? I wish there was a photoshop image of the green you were going for. The grey does looks great but I like a little wild and crazy sometimes. #youdidntaskmyopinionbutilikeyouroriginalidea
Kimberley G says
By any chance, did you previously mention the paint color you used on your vanity & your walls? I have an ugly half bath in my basement that needs a facelift. Your post on your powder room inspired me to try painting the vanity and the walls (and to simply live with the dated flooring) for the time being. Off this weekend to get a new faucet to help make the room look more current too!
YoungHouseLove says
The walls are Simply White and the vanity is Silhouette by Benjamin Moore. Good luck with your half bath!
xo
s
YoungHouseLove says
Yep, the vanity is Silhouette and the walls are Simply White, both by Benjamin Moore.
-John
Becky says
My parents had that exact faucet and it totally leaked. They replaced theirs a few years back. That first picture brought back such nostalghia. The new bathroom looks fantastic!