When we last left off in our deck saga, our hero (that’s me in this case) was avoiding battling the heat as he tediously valiantly drilled in screws across the middle of our deck. Since that chapter of this drawn out harrowing tale, John The Weary Daring continued this mind-numbing history-making task.
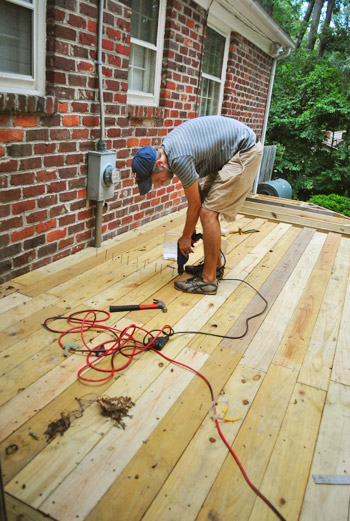
Since that’s about as exciting as I can fake my latest day of deck work, I’m just going to skip to this part where you can see the middle of the deck all laid down and screwed into place. Let’s just say I was glad the deck was finally more solid surface than it was holes for me to fall into.
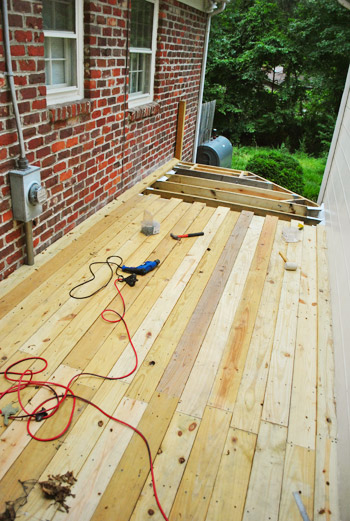
I could just fast-forward through this next part since it was, in essence, just more board screwing. Er, ahem – board attaching. But of course, since I was at the end of the deck there was some special planning / measuring / calculating I had to do. So let’s dive into those details for a second…
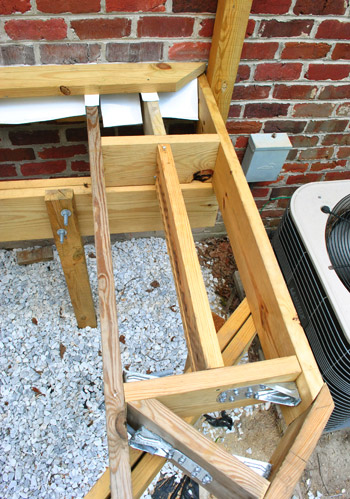
Luckily I didn’t have to worry about cutting the boards right away. I learned from several tutorials that when you get to an open edge – especially when you’re doing the “picture frame” border, you’ll want to cut all of your boards with a circular saw once they’ve been placed. That way you get a cleaner and more even edge than if you were trying to measure and cut each board independently and then placing them all.
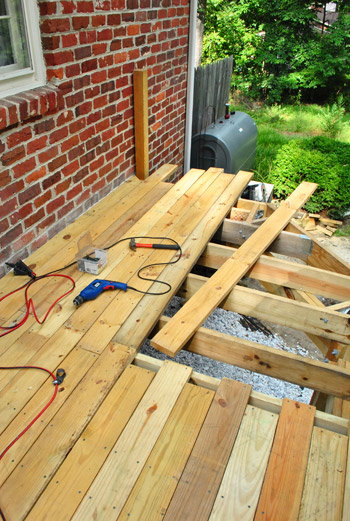
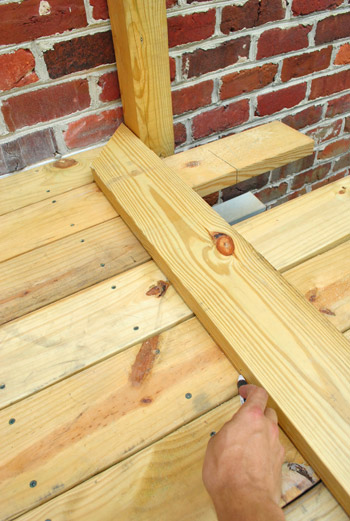
So once my jagged little edge was all screwed into place, I brought out my miter-cut frame piece and used it to mark where the edge of my boards needed to be sliced with a nice clear pen line. Like so:
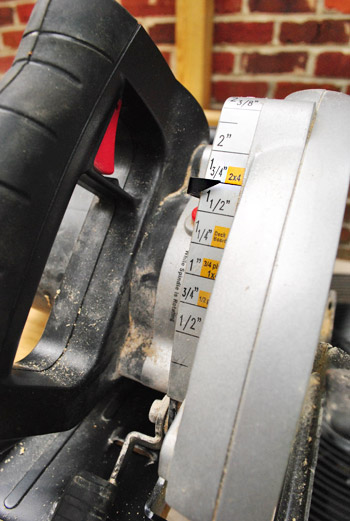
Before cutting, I was sure to set the depth of my circular saw to 1 and 3/4″ so that I’d only cut through my deck boards and not into the girders below.
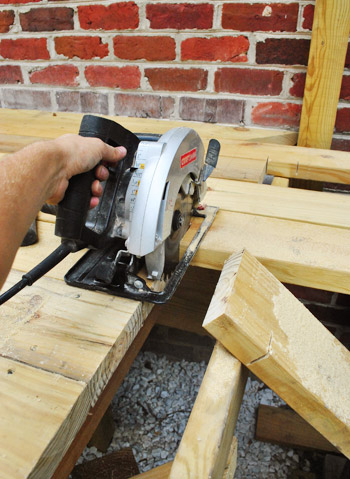
Then I revved up the saw, started cutting – momentarily stopped to fake a photo op (I’m no good at keeping a straight cut line with my left hand, but my right was occupied pressing the shutter – another task my left aint’ so great at) – and then finished down the line, stopping before I got to my last board (which is part of the “picture frame” design, so it was already pre-mitered before I screwed it in).
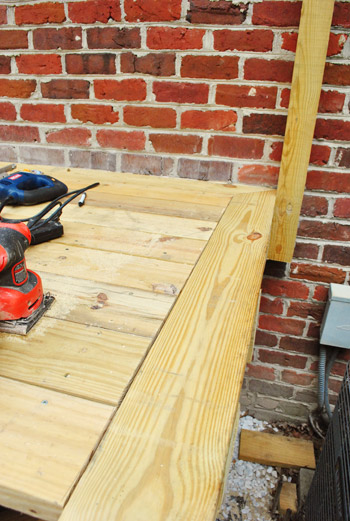
Here’s my end piece dropped into place (after sanding my cut edges to smooth them out). Not too shabby, right?
Cutting that half of the end was pretty easy, actually. It was cutting the next part that took me some time because it was on an angle. My geometry is pretty rusty so it took me a few test attempts on scrap wood to figure out what angle the two picture frame boards should meet at.
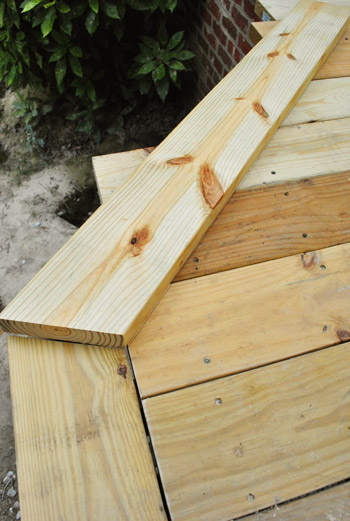
But once I got it right, I repeated my process of marking my cut with a nice obvious pen line, and then broke out the saw again.
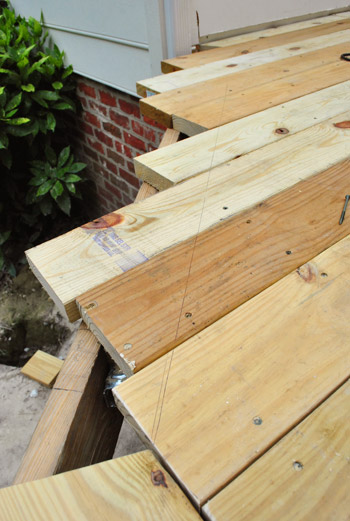
Here’s the clean, cut edge looking all pretty… and sawdusty too, I guess.
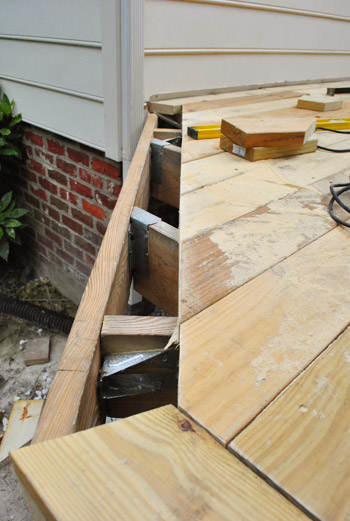
Here’s the final frame once I got everything screwed into place. I have to say I’m pretty darn proud of myself for figuring this out and not ruining any boards in the process (minus the test scrap pieces that volunteered as tribute).
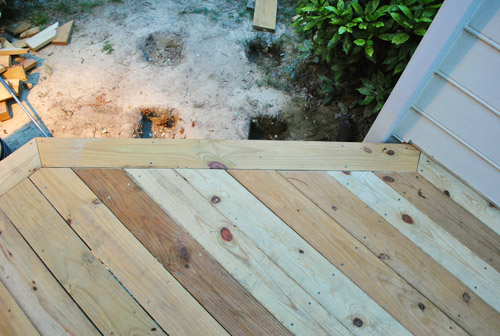
And here’s that end all finished up. Looking at this makes us REALLY glad we opted to do the picture frame. Just that little touch seems to make it look a lot more “pro.”
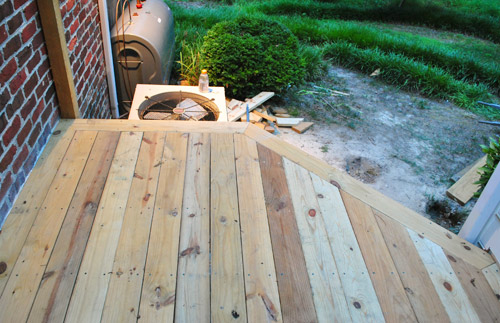
So with that, my friends, all of the deck boards are officially down. Can I get a woo to the friggin hoo? Because there were moments in this process where I never thought I’d get to something that actually looked and felt like a deck. In this picture you can also see that we ended up with two zippered seam details, and we’ll be centering the dining table between them like Sherry did in the rendering here. We’ll share more close-up seam photos soon (we think it’ll really pop when we seal the boards and furnish things so that they’re sort of a built-in detail around the table once everything’s in place).
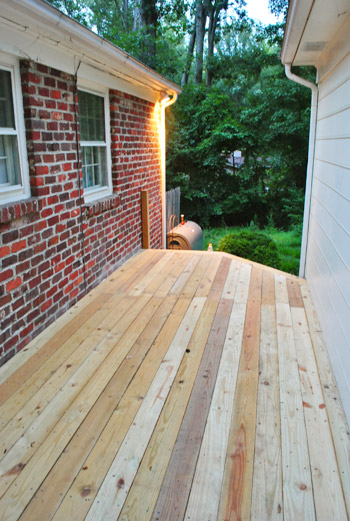
The only bummer is that now I have to deal with the things that I’ve been back-burnering in my brain this whole time: the railing and the stairs. Something tells me they’re not only going to require a lot of math, but that they’re also elements of the deck that the inspectors will be especially mindful of. Could this spell disaster for our hero? To be continued…
Anyone else perform some DIY project heroics lately? Even if they’re just heroic in your own mind?
Psst- Wanna catch up on all of the deck action? Here’s where we shared our vision for the space, then we removed the plantings and the old balcony, followed by selecting our materials and documenting our first day of building progress. Then we dug our post holes, learned that we failed our first inspection, revised our plan and dug more holes (which got approved) and proceeded to set posts. Next it was time to install our joists, do a bunch of last minute prep for deck boards, get started laying decking boards, whip up a mood board with our design plan and continue laying deck boards. Whew, all caught up.

Leave a Reply