We’re nearing the finish line on both of the duplex kitchens and today we’re psyched to share one HUGE to-do list hurdle we recently cleared: tiling both kitchen backsplashes! Yes, since it’s a two-unit house, we had two kitchens to install at once, and then we had two backsplashes to do, which was pretty daunting going into things, but we managed to knock them both out on a recent 3-day weekend. And it feels great to have them off of our to do list. So today I wanted to share how they turned out, along with 8 things you can do to set yourself up for a speedy and successful tile project.
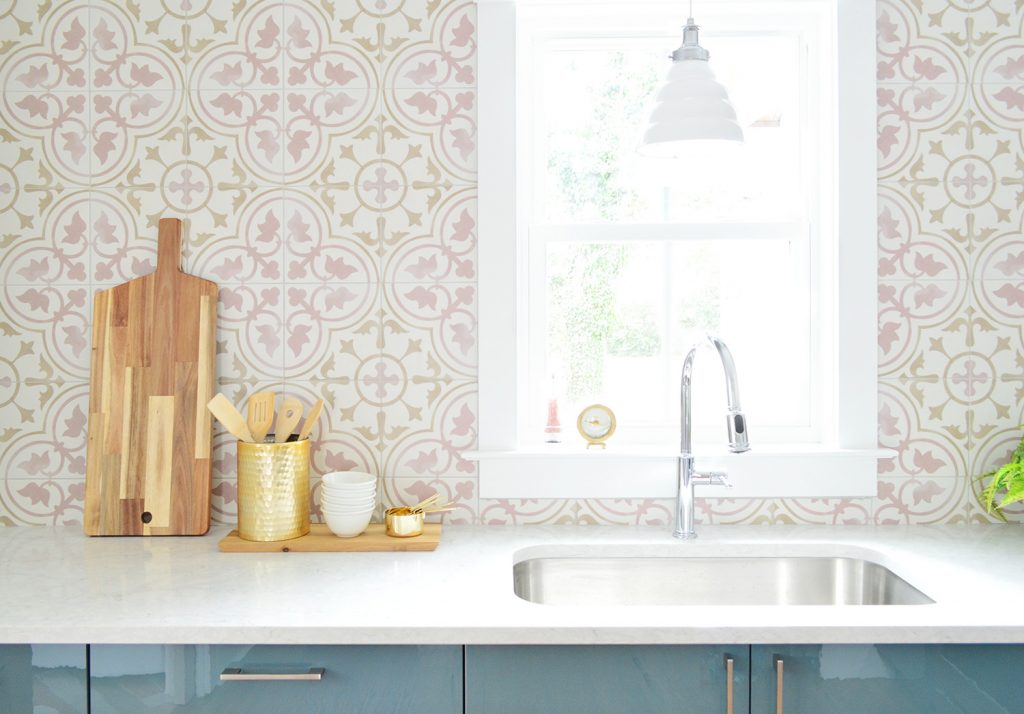
We still have some smaller projects to do before they’re 100% done – like adding shelving to these tiled kitchen walls, and a beadboard type of treatment for the entire stove wall (which will be nice and wipeable). But that didn’t stop Sherry from tossing out some styling accessories to make it look a smidge more done than it really is. She’s in charge of morale.
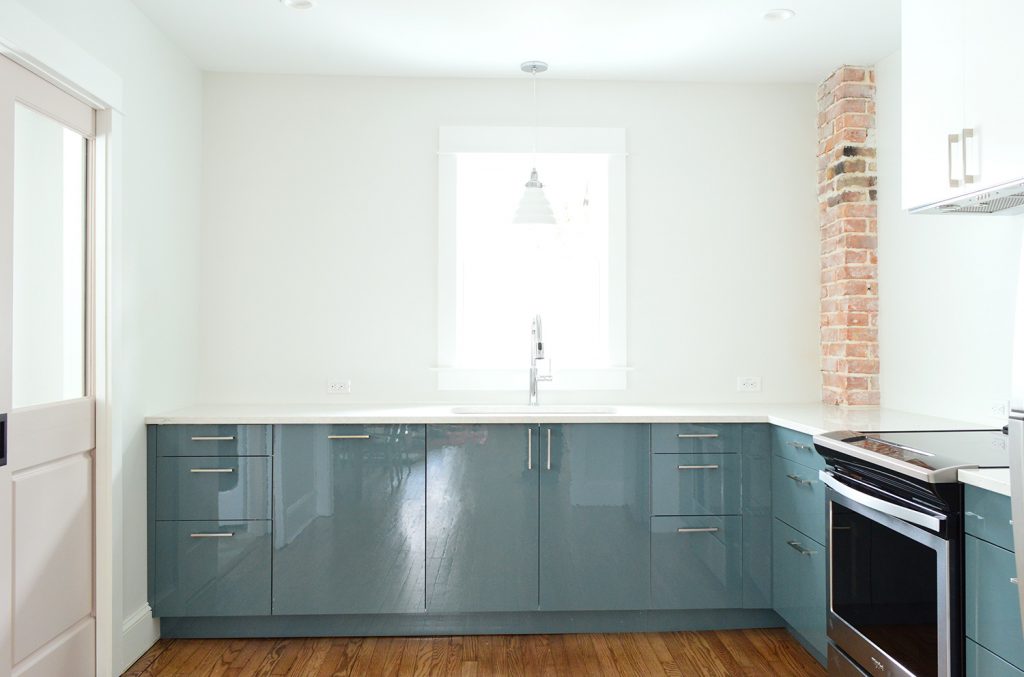
So let’s kick things off with a quick before & not-quite-after… because those shelves are still coming – along with a few other finishing touches. But it’s definitely coming along in here. This was the room after we finished installing the cabinets (more on that here) but before we had started on the backsplash:
And here it is now:
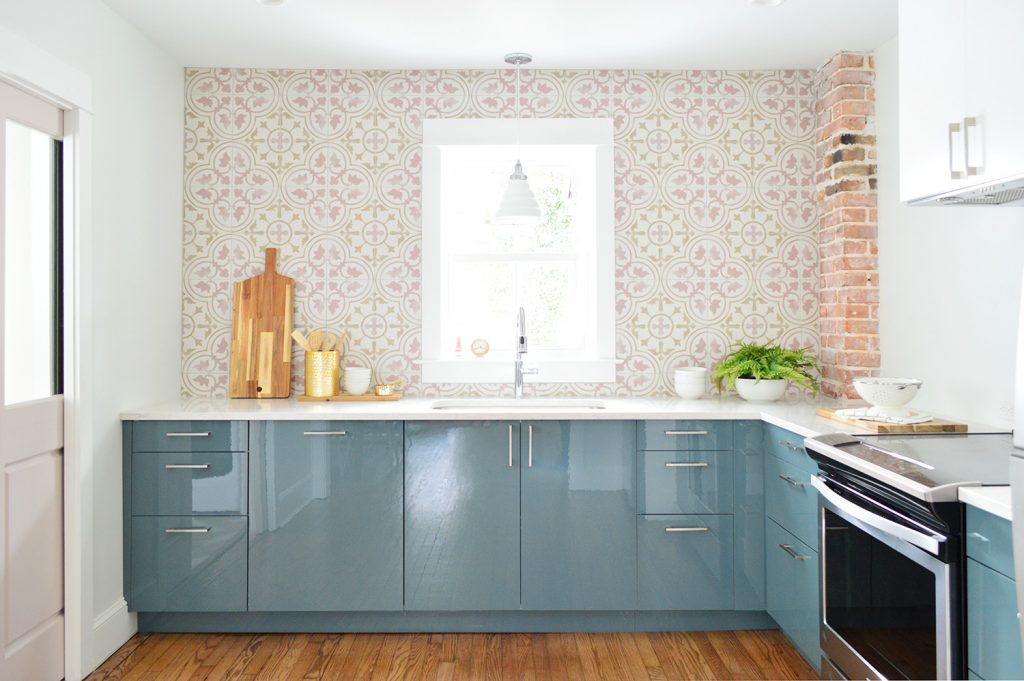
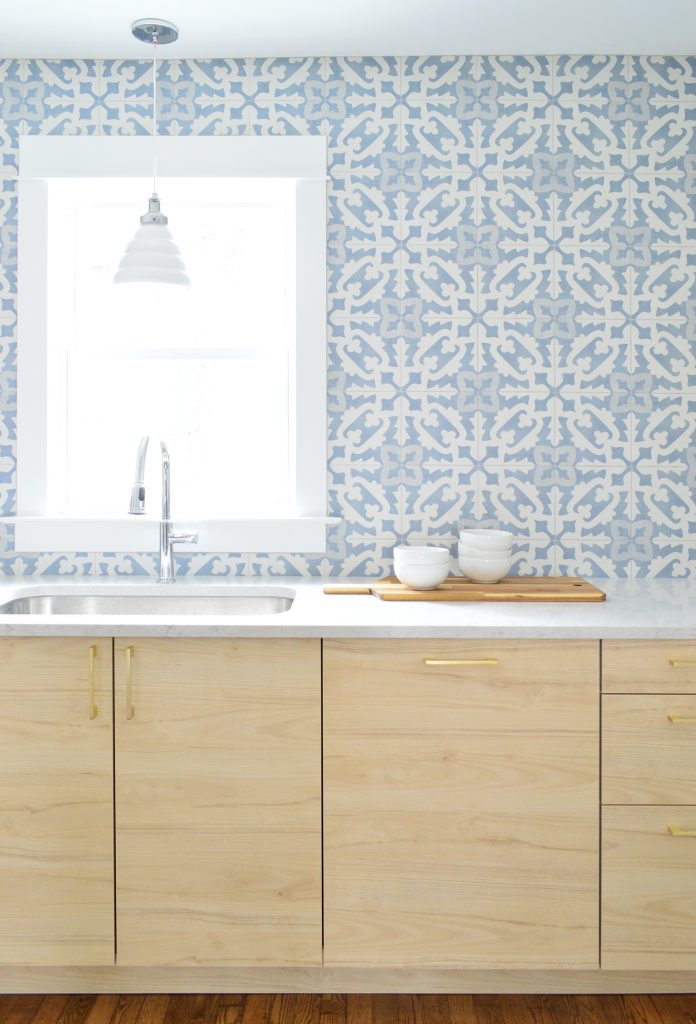
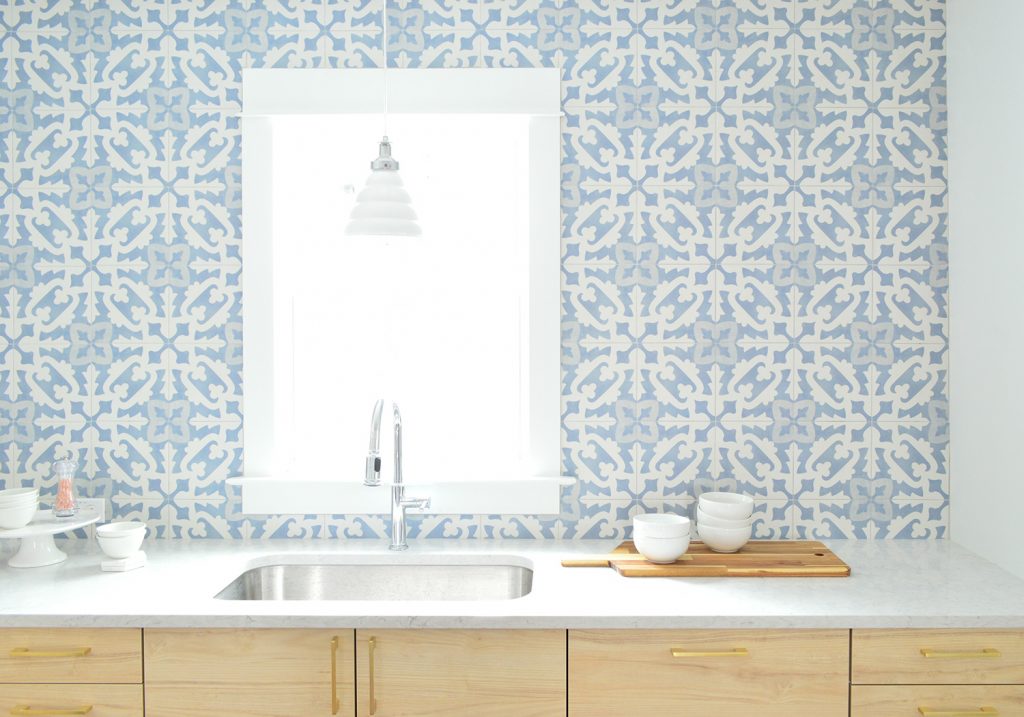
The floor-to-ceiling tile adds exactly the visual impact we were aiming for by bringing in a big dose of color and pattern to each kitchen. It’s even visible from the front door (if the living room hadn’t been a disaster I would’ve taken that further-back photo for you). So it adds a lot to the entire downstairs vibe, not just the kitchens.
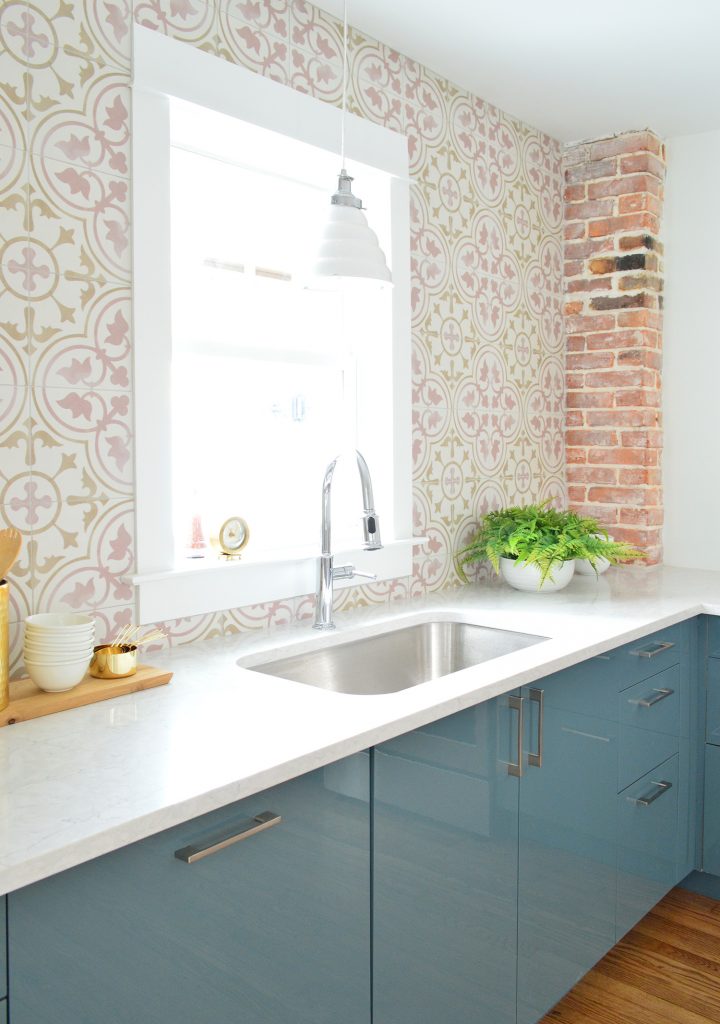
As you may remember from this tile selections post, both tiles are from Tile Bar. The pink pattern (with the blue Ikea Kallarp cabinets) is called Bella Tate and the blue pattern (with the wood Ikea Askersund cabinets) is Bella Moma. We also grouted both with our favorite grout, Mapei Flexcolor in Warm Gray (more on why we pretty much only use that for everything here).
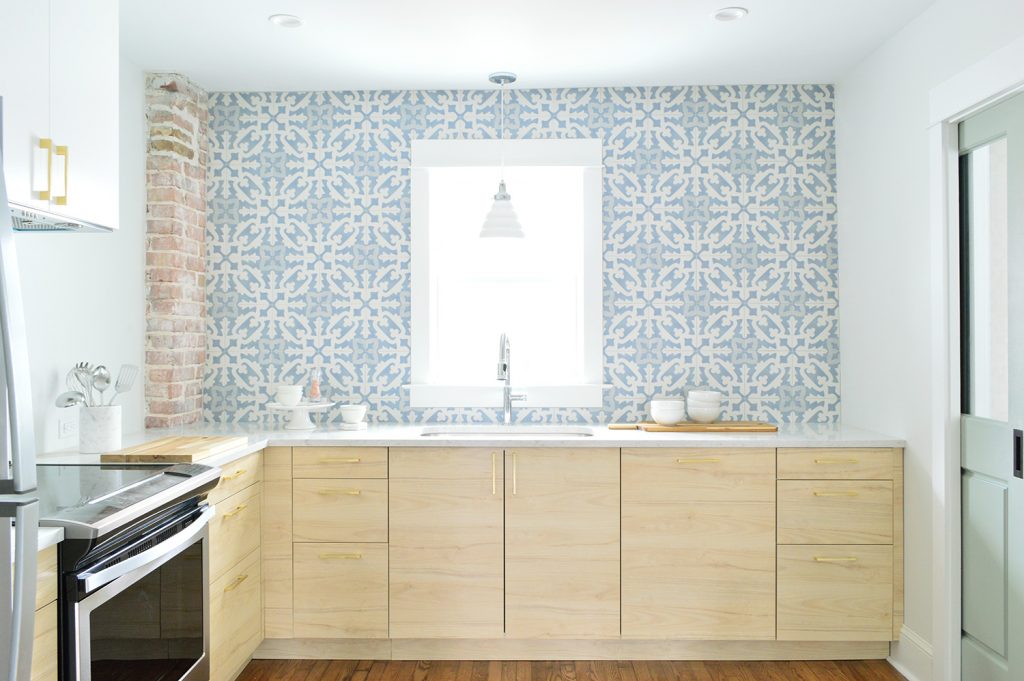
They’re both nice durable porcelain tile (even though they look like cement tiles – which would have required more maintenance and could stain), so yay for getting the look without the more finicky material. Both tile styles are about 9 x 9″ in size, and both were $7.99 per square foot. So the tile for each side cost us just under $400 per kitchen! It’s not the cheapest backsplash we’ve ever done (this one is), but it still feels like a pretty sweet deal for such big statement!
They were also both fairly easy to install (again, we tiled, grouted, and photographed both of them in just 2.5 days). But the installation process reminded us that, say it with me, PREP & PLANNING IS KEY TO A SUCCESSFUL TILE JOB. Yes I’m throwing in some bold and some caps lock.
It’s certainly not the most fun or satisfying part of the process, but taking the time upfront to plan your pattern placement and prep your materials will make your life way easier. And more importantly, it’ll make your end result MUCH BETTER. So even though you’ll be antsy to bust open your bucket of mastic and fire up your wet saw, take the hour or so ahead of time to do these and you’ll always be glad you did.
8 Things To Do Before You Start Tiling
Before I get into the list, I’ll say that a lot of these relate to using medium-to-large tiles (and especially those with a design or pattern printed on them). You can ignore some of these if you’re using smaller tiles like a mosaic, penny, or hex tile. Why? Because of
1. Find Your Max & Minimum Measurements
Now, you’ve probably already measured your walls when you calculated how much tile to buy. But it’s always a good idea to get precise measurements (like down to the 1/8th or even 1/16th of an inch) before you start cutting anything. And since walls and ceilings often slope, you’ll want to measure as many sides of your tiling area as possible to figure out your maximum and
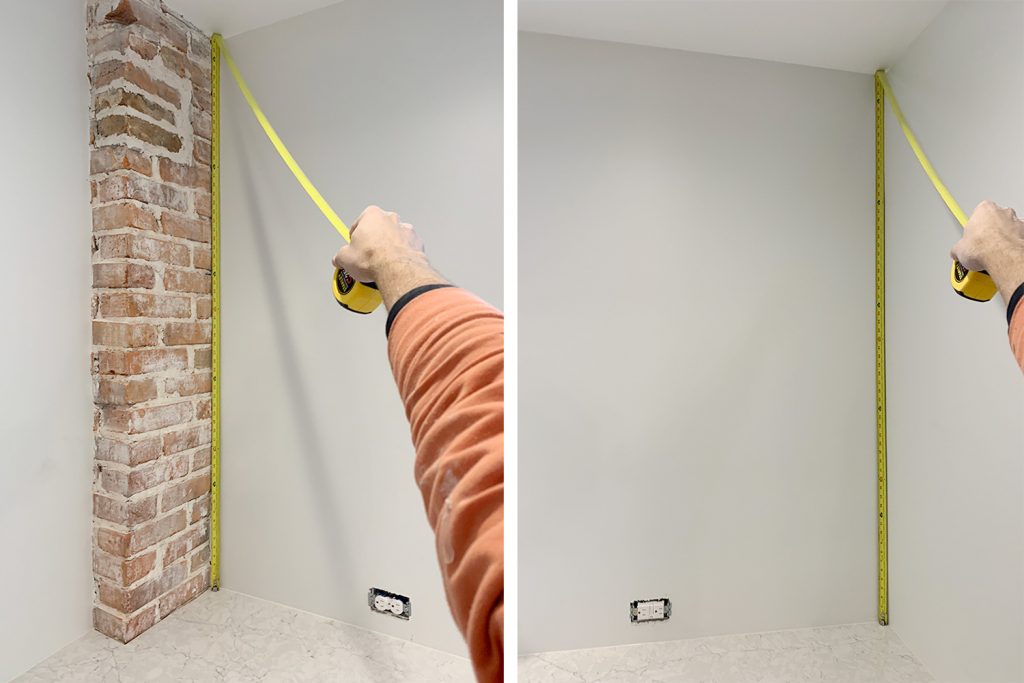
And since walls or ceilings can also bow in or out, your maximum or minimum measurements may occur somewhere in the middle too (as in, the wall can slope up in the middle and back down in the other corner). You can quickly check for bows by holding a long level in the corners and seeing if the entire level makes contact with the wall, or if your wall bends away from it at any points. Minor bows aren’t a big deal (they can be filled with grout or caulk) but significant bows can change your max or minimum. That spot where it bows might actually be the tallest or shortest point on your wall.
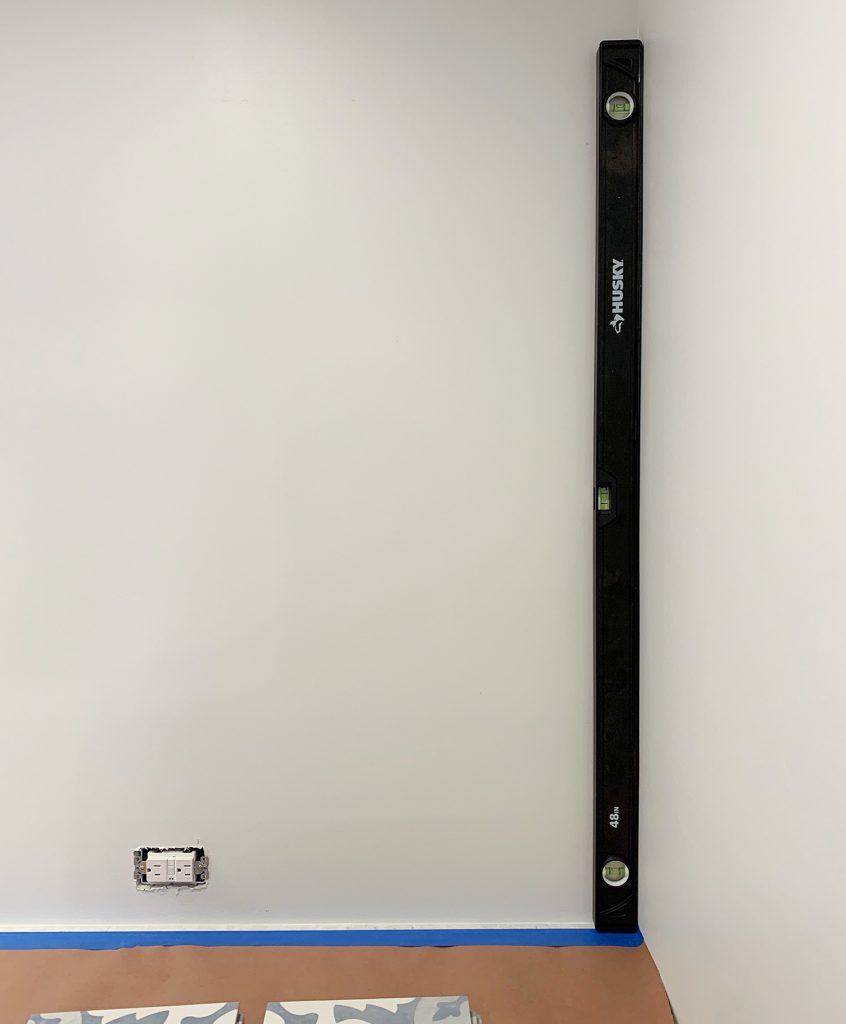
I won’t bore you with the specifics of our measurements, but for the sake of this example, let’s say our max measurement was 63.5″ from counter to ceiling on one side and our minimum was 63″ on the other. Once you know this, you can start figuring out how to best fill that space with your tile.
2. Lay Out & Measure Your Tile
Once you have those measurements you may be tempted to just work things out on paper (“My wall is about 63″ and the box says the tile is 9×9” so I can fit 7 whole tiles – easy
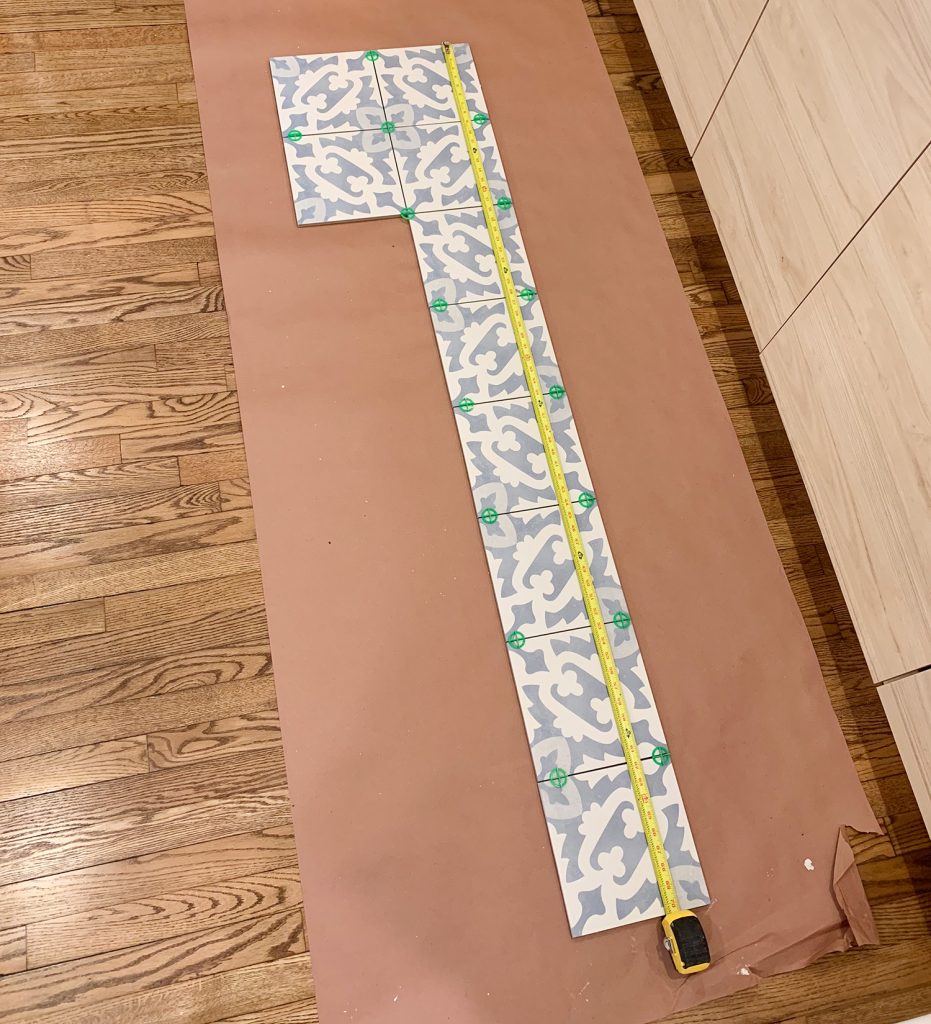
In doing this we realized our 9 x 9″ square tiles were actually closer to 8.75 x 8.75″ (yikes!) and with 1/16″ spacers between each, the math got a bit trickier. Suddenly 7 tiles didn’t completely fill the 63″ wall as exactly as we might’ve assumed on paper.
If we had just gone for it, we’d be about an inch short on one side and we
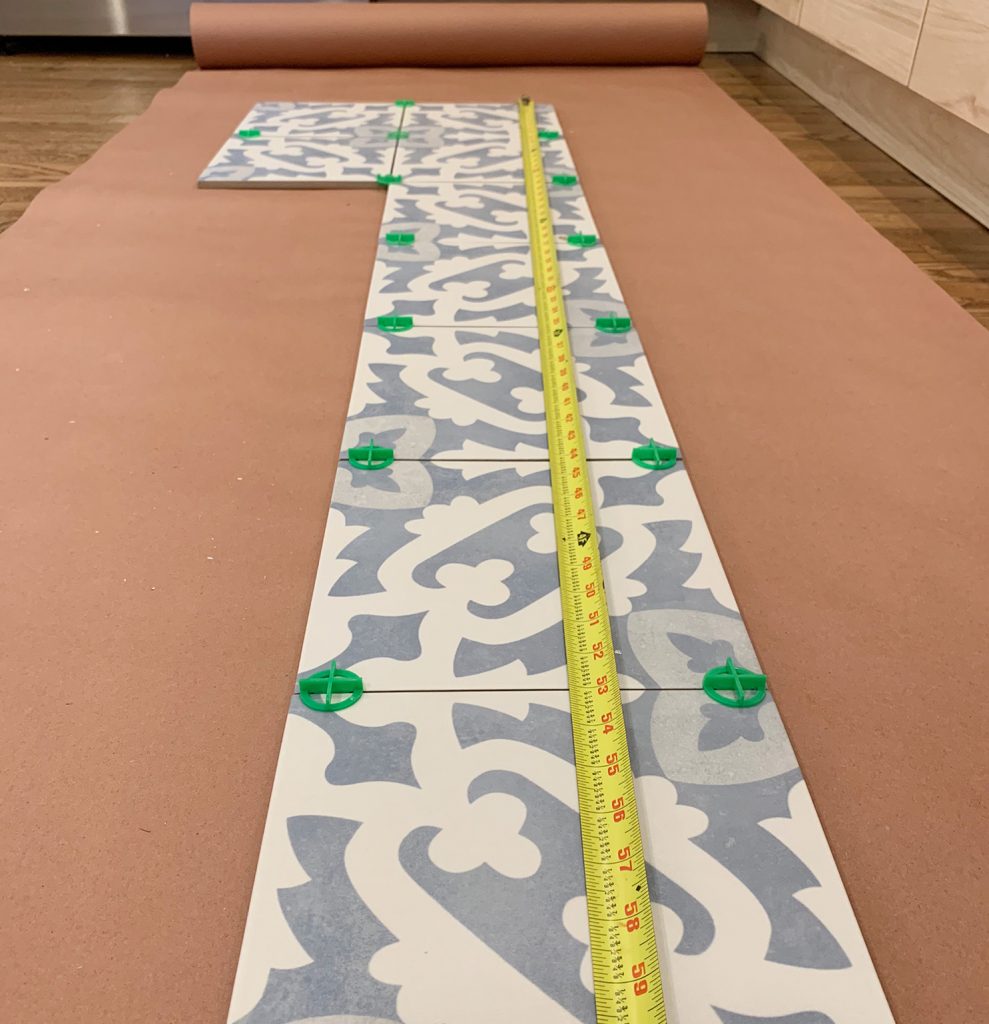
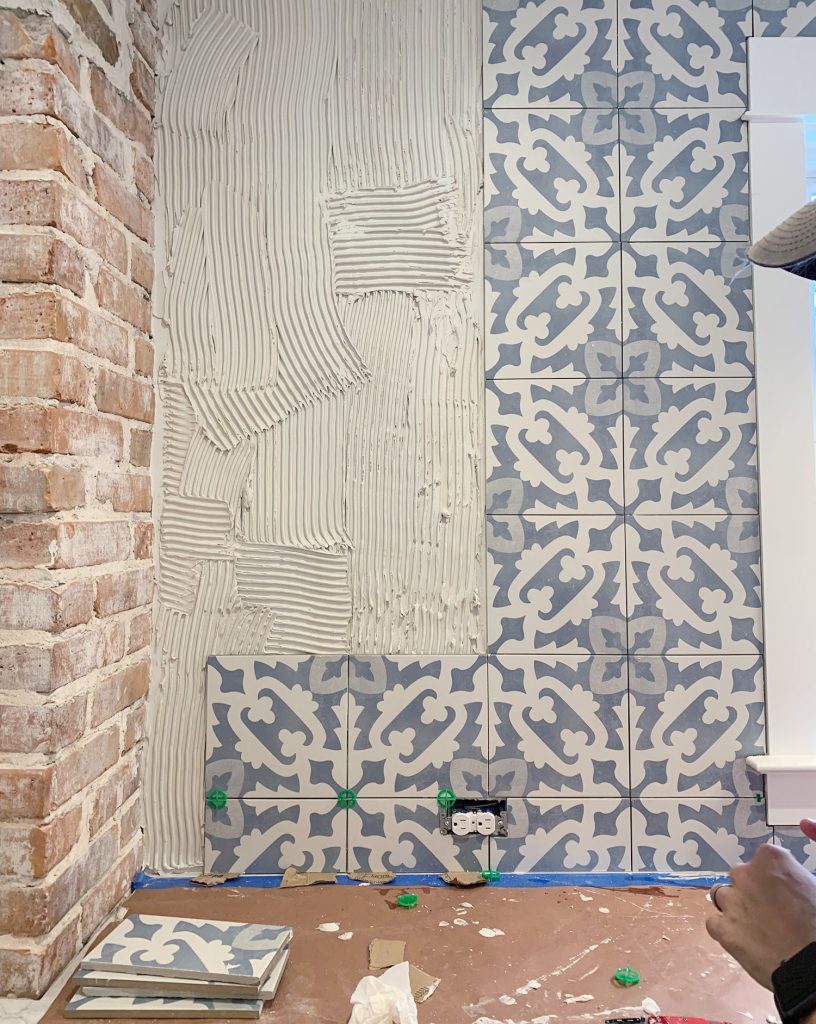
I’ll jump ahead to our strategy for avoiding a sliver in this scenario – which you can see in the progress photo below. Since we basically needed 7 full tiles plus an extra 1″ to fill the wall’s height at the max point, we used 6 full tiles plus 2 slightly-bigger-than-half tiles on top and bottom.
Not only did that help our pattern look centered top-to-bottom, it also helped disguise the slight slope in the ceiling because your eye doesn’t detect that the top tile is 4.5″ on one end and 5″ on the other side. They both read as roughly half a tile.

Starting with a half-tile on the bottom row also helped solve another potential hiccup we identified, thanks to our upfront planning…
3. Plan Ahead For Outlets & Obstacles
You’ll also want to factor in any obstacles that might complicate your cuts. For us, this was just the outlets along the back wall, but it also might include switchplates, cabinets,
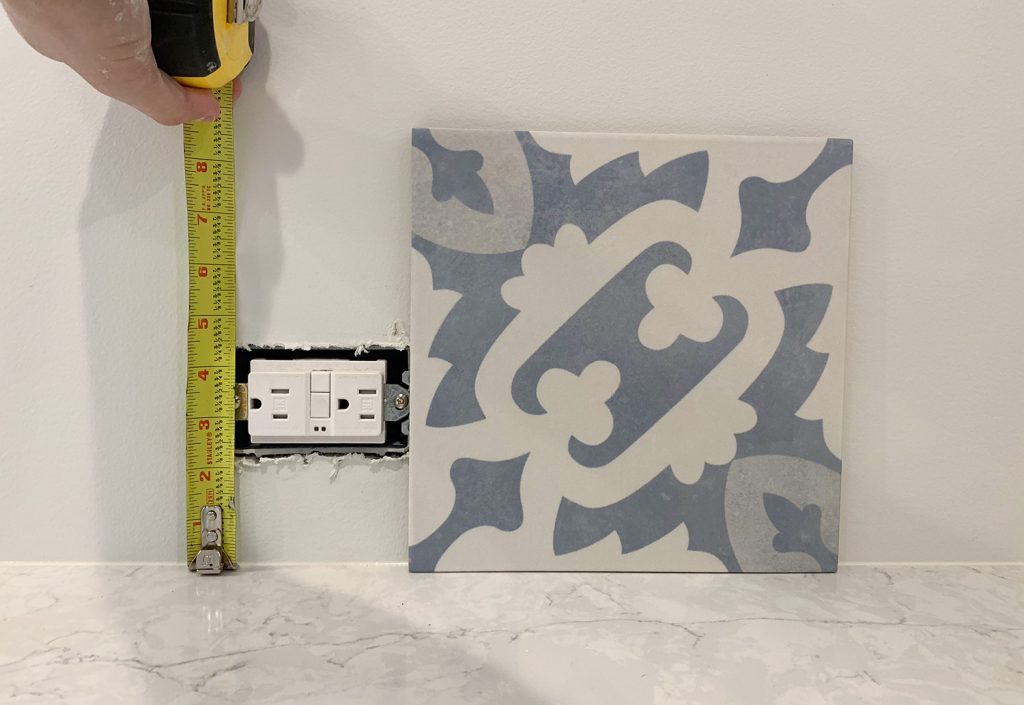
But back to the tile: starting with a full tile on the bottom row would’ve meant cutting some holes SMACK DAB in the middle of a tile (a thing that’s hard to do and we’re not particularly good at). Cutting along an edge, however, is much faster and more in our wheelhouse. So that half-tile along the bottom row actually lined up nicely with the outlets and made our cuts much, much simpler.
4. Plan Your Pattern Side-To-Side Too
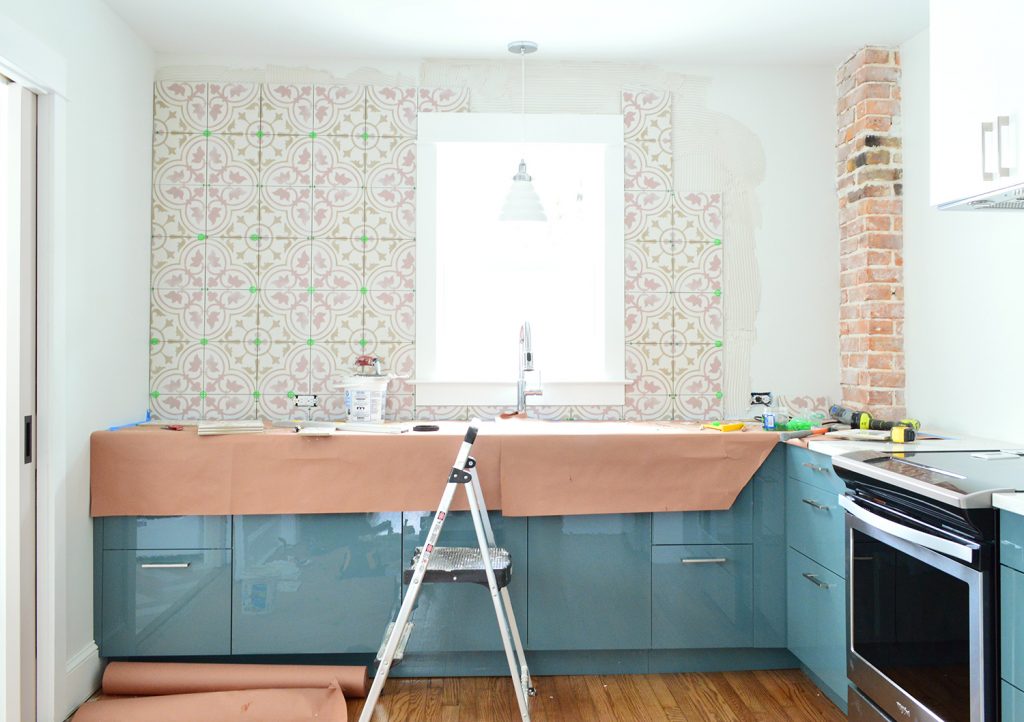
A lot of what I’ve shown so far is about planning your tiles top-to-bottom, but don’t forget to plan it side-to-side as well. That means measuring your space precisely, using a level to check for slopes or bows, and maybe even laying out your first row in place to plan your cuts, like we did below:
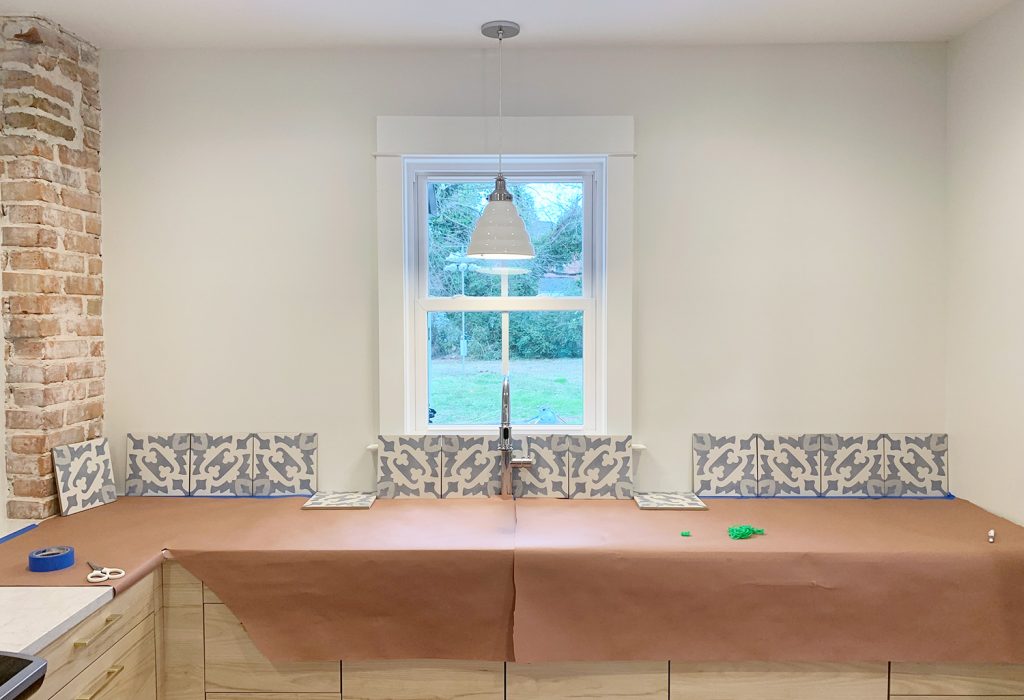
Again, the important things here is to avoid weird slivers anywhere and make sure your pattern will look centered. For ours, we knew we wanted the pattern to look centered on the window/sink. We lucked out because centering a seam between two tiles under the window allowed us to use a half-ish-tile on the chimney side and a full tile on one end (except for where it bowed in slightly further up the wall and we had to shave a bit off – which is much better than adding a sliver – we’ll take cutting something slightly down over a sliver any day since it looks cleaner and doesn’t emphasize the imperfection as much).
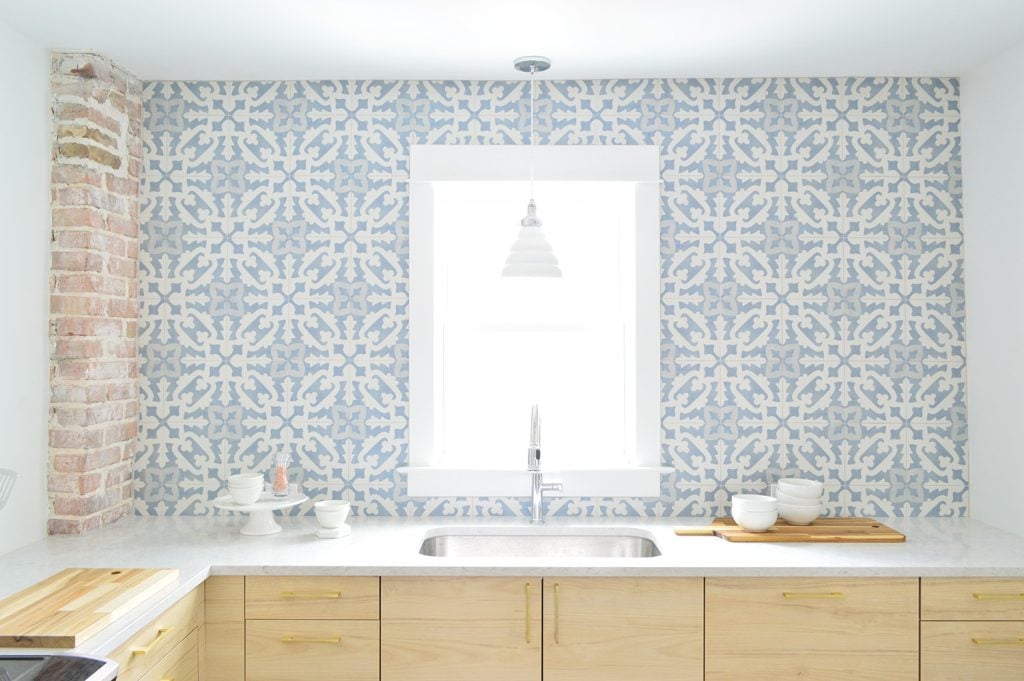
Normally it would bother us that it wasn’t full tiles on both sides of the wall but the chimney already makes the room a bit asymmetrical so visually it still feels nice and balanced with the entire pattern centered on the sink and the window.
5. Double-Check That It’s Level
If you plan to use your countertop as a guide for placing your first row, you’ll want to make sure it’s level first. Even if it’s not perfectly level, you may want to use it as your guide anyways because it’s one of the closest things your eye will compare your tile lines to when all is said and done. Just make sure that it also is level to any nearby horizontal surfaces like the bottoms of the cabinets or the window sills.
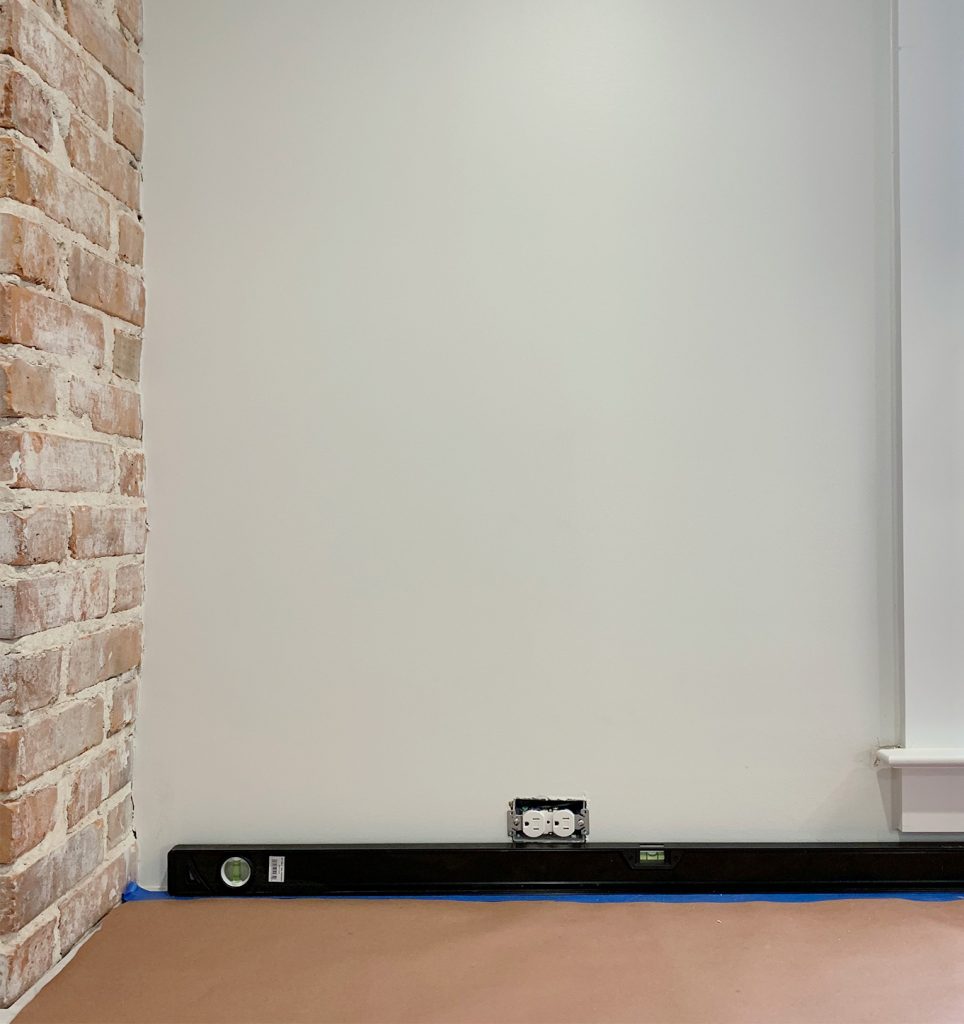
It’s especially important to check that things are level if your tile is going to span across areas without continuous counters to rely on as a guide (like behind your stove or across a doorway). If things are not level or not lining up across those gaps, you may want to draw a level line on your wall to reference as you go – and be sure to check that your first row stays level as you lay it!
6. Cut Your First Row
Our counters were level, so we knew our first row of tiles could all be cut to the same height (again, roughly in half – so that
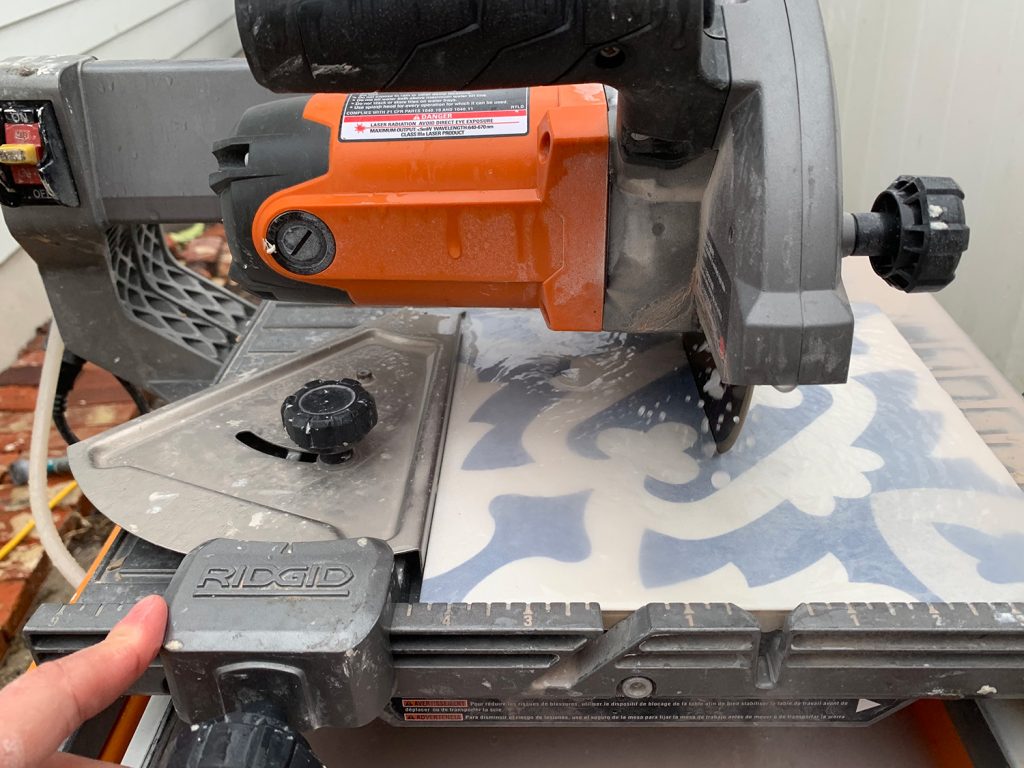
You still may need to come back and make some cuts around your outlets or corners, but this makes setting your first row much faster (which is especially important once you’ve got mastic drying on the wall).
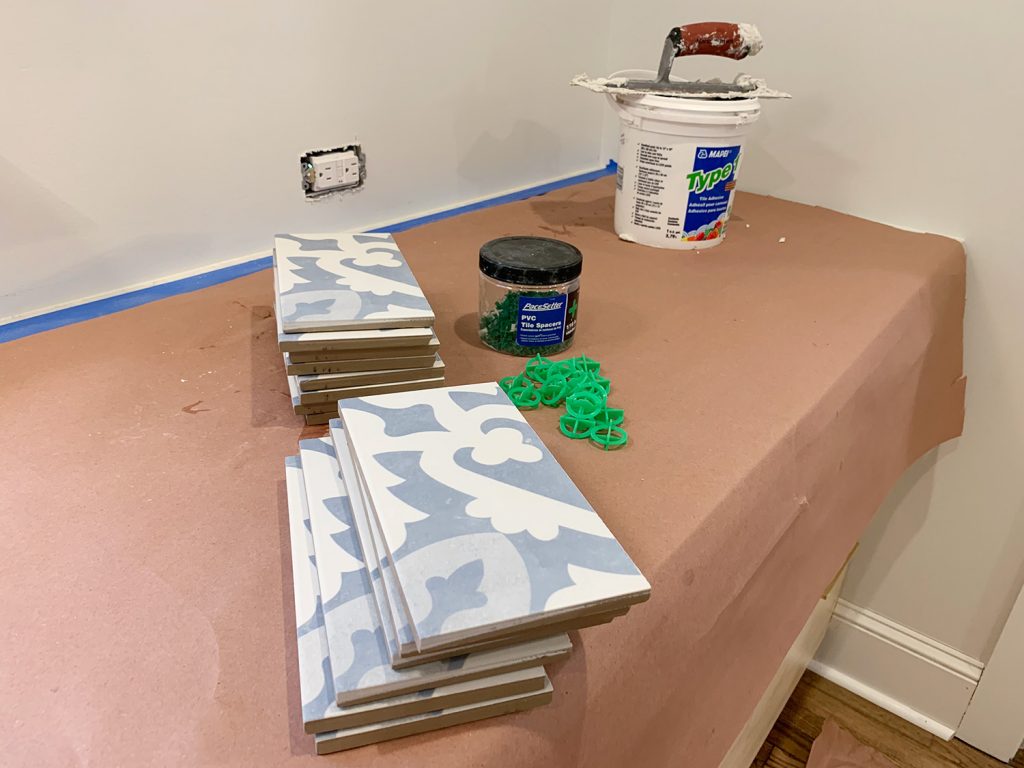
But let’s move away from all of this pattern planning and talk about some other prep to help speed your job along.
7. Protect Your Work Area
As you’ve seen in some of these shots, we like to cover our countertops (and nearby floors) with red rosin paper. It’s like brown craft paper, but it also has a moisture barrier that can keep that big soggy drop of mastic or grout from seeping through to your counters.
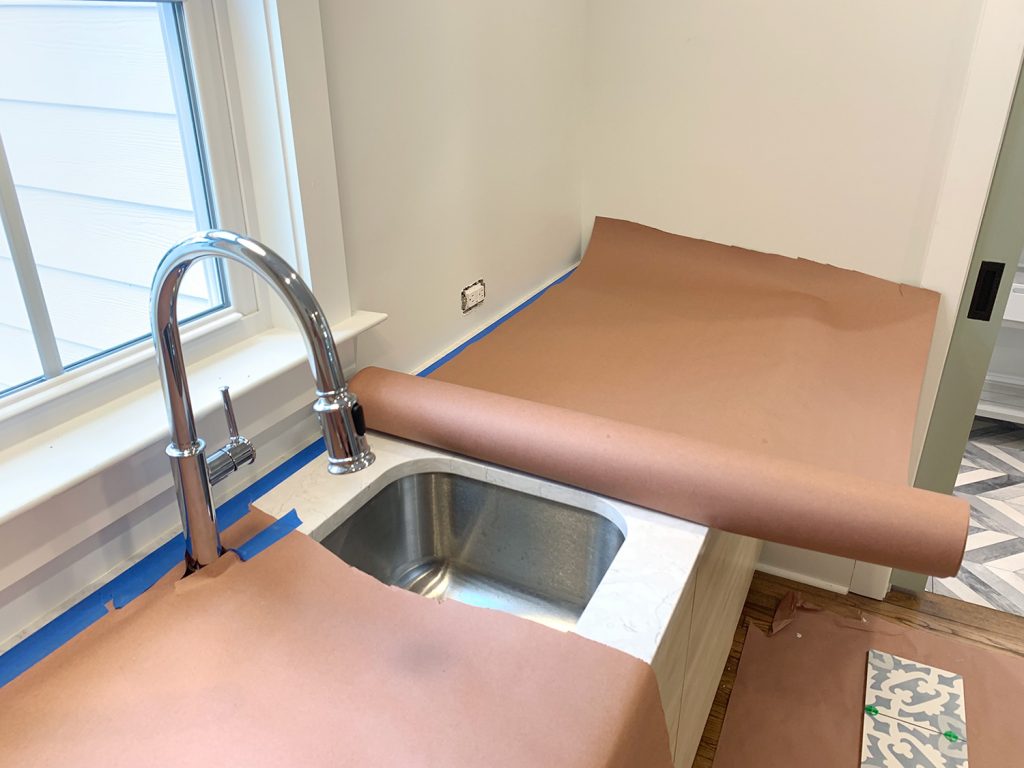
Before we roll it out and tape it down, we actually like to run a line of painter’s tape along the counter first. You want it to be close enough to the back wall to protect your counter – but not so close that your tile will later cover it. We just find that it’s easier to be precise with this tape placement when we’re not
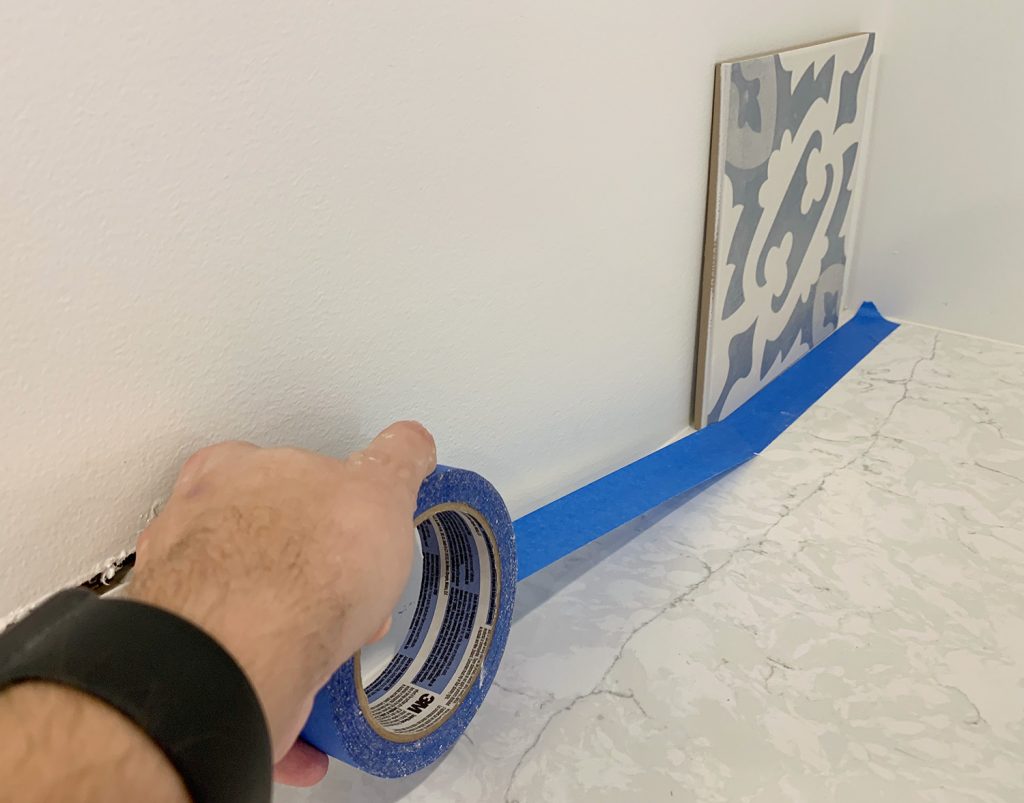
And if some tape does get stuck under your tile, don’t worry. Just get out as much as you can (I sometimes even use the edge of a
8. Trim Any Moldings Interferences
Another thing you may consider doing to save yourself a few difficult cuts down the road is this: bust out a Dremel or similar tool and make room for your tile to slide behind any funny moldings – like the sill on the window below.
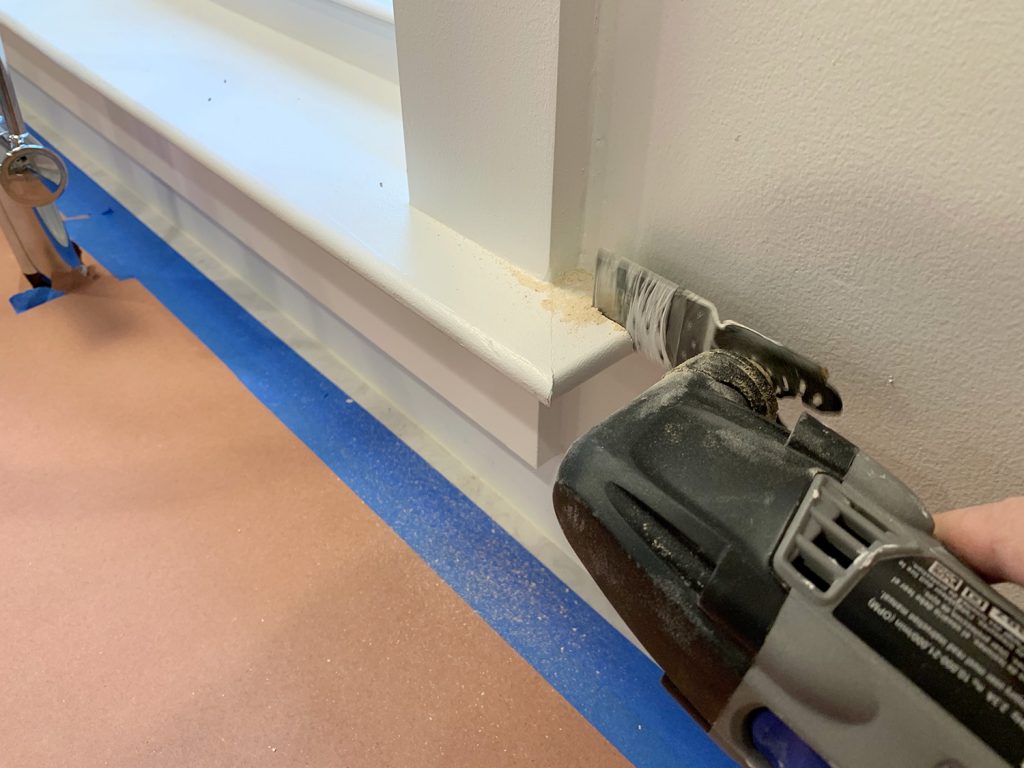
Cutting out that little chunk means that now any straight tile edge can slide neatly behind the sill, rather than having to carve
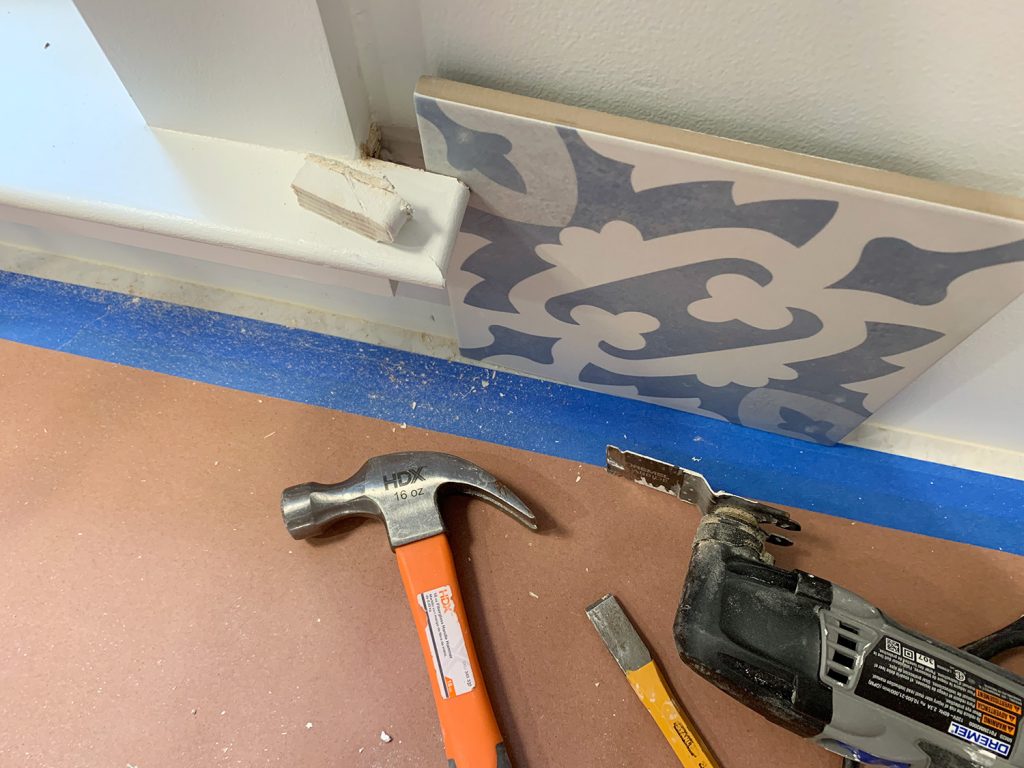
If you don’t want to do this or don’t own a tool to make it easy, it’s not the end of the world to cut the tile around the sill. But I think you’ll find it this method faster/easier, and it will give you a cleaner look in the end.
Again, I know all of these tasks may feel like you’re just burning time you could be using to actually tile – but I think you’ll find that it ultimately makes your project
Fortunately these backsplashes are not one of those times. Even with a persnickety pattern and a few fun curveballs (hello connecting tile around a window!) we’re beyond happy with the results.
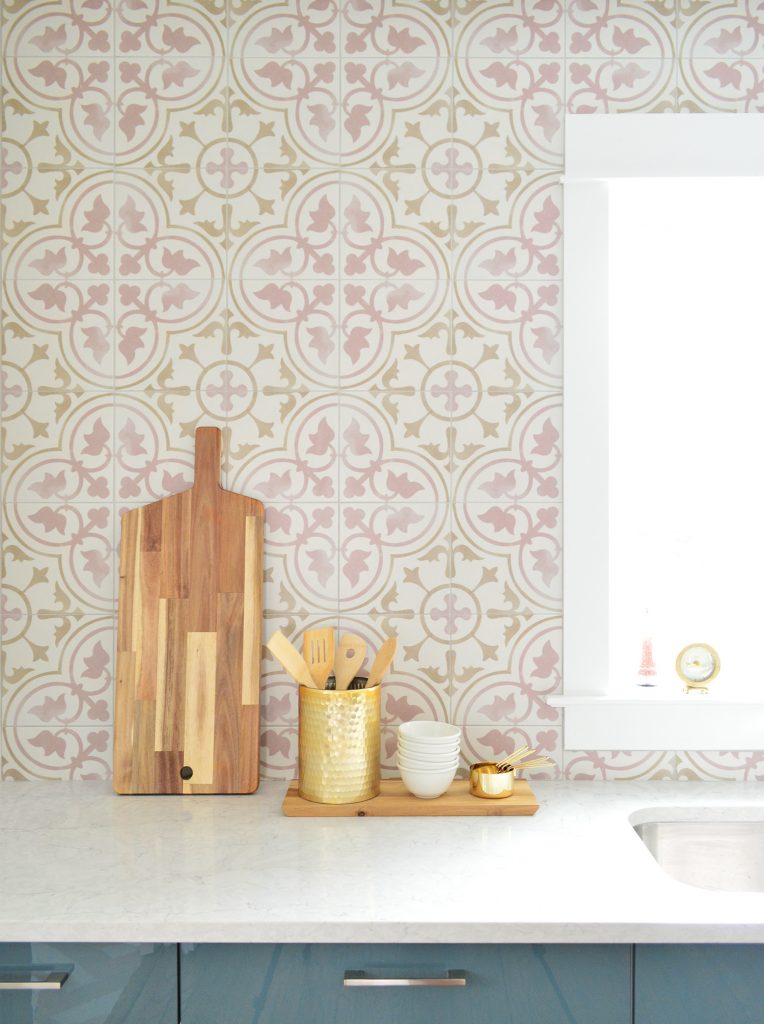
Now we just have to check off a few more things in here (like our wipeable beadboard-ish treatment for the stove wall, the floating shelves, and adding actual plates/cookware/etc to the cabinets), and we should be able to officially stick a fork in these babies. That was a kitchen pun if you didn’t notice. The fork part, not the baby part. Okay forget it. Bye!
PS: If you want to see some other tiling projects or get more tiling advice, check out these posts below:
- What Makes Some Floor Tiles Easier To Install Than Others
- The Only Grout We’ll Ever Use
- Installing A Subway Tile Backsplash for $200
- How To Paint A Bathroom Floor To Look Like Cement Tile
- Adding A Marble Herringbone Backsplash To Our Laundry Room
*This post contains affiliate links*
