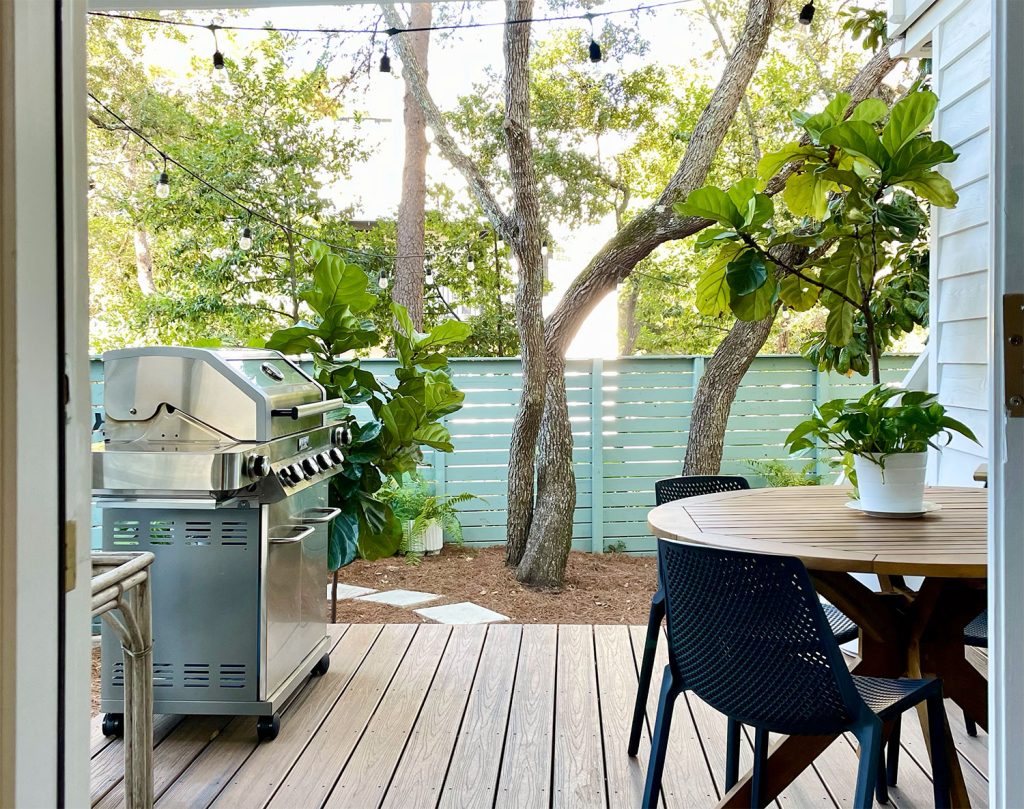
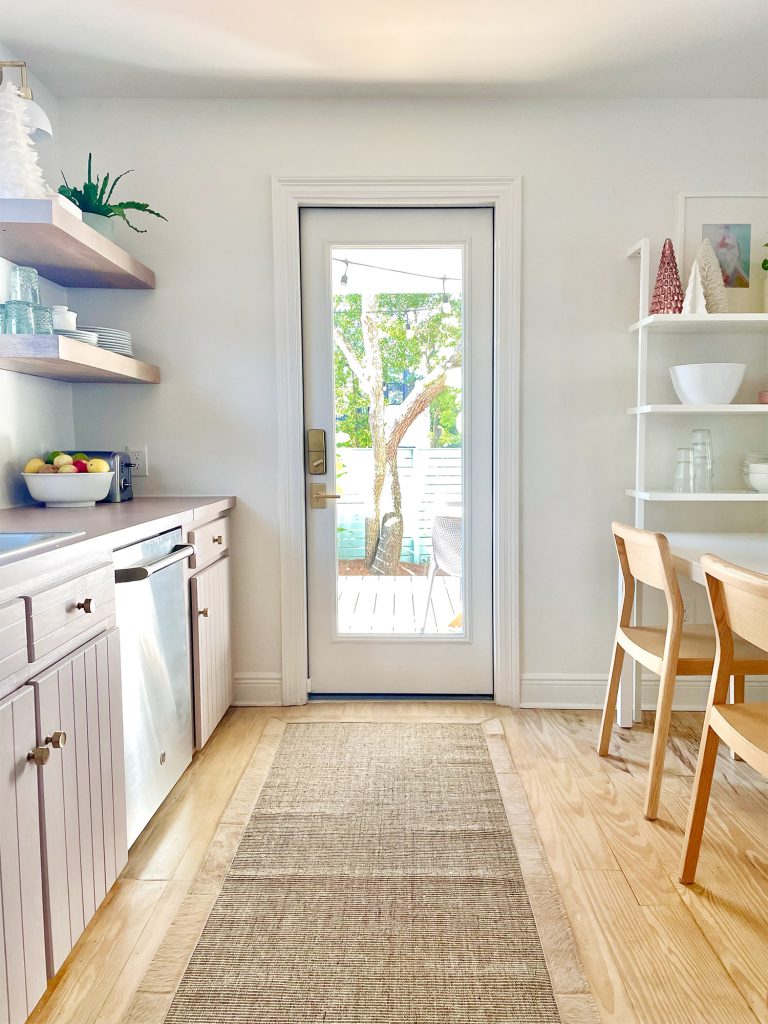
There’s been a big change in our kitchen! As in, new-hole-in-the-house kind of big! Okay, so really it’s just a new door. But that’s big, right??? Our last post covered all the photos and angles of the new kitchen porch we created outside – just steps away from our cooking area inside. So let’s take a look at what went down inside.
It’s always fun to rewind, so if we take a step back in time, this is the kitchen as it looked when we bought this house in Feb of 2020:
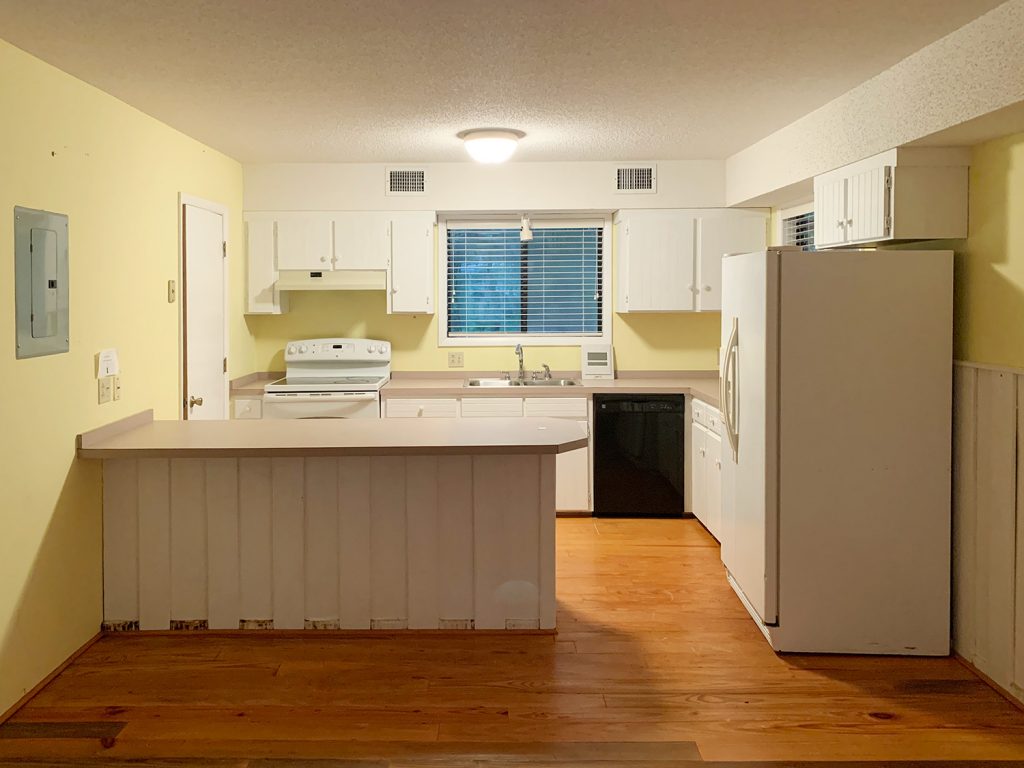
We talked about our initial updates to the room waaaaay back in this post from May of 2020 (before we moved in). And this one is a more recent kitchen update that details the thing about our kitchen that nobody could understand when we moved in (spoiler alert, it was “why didn’t you just rip out the kitchen and redo it before moving in?!”). So you can read exactly why right here in that post.
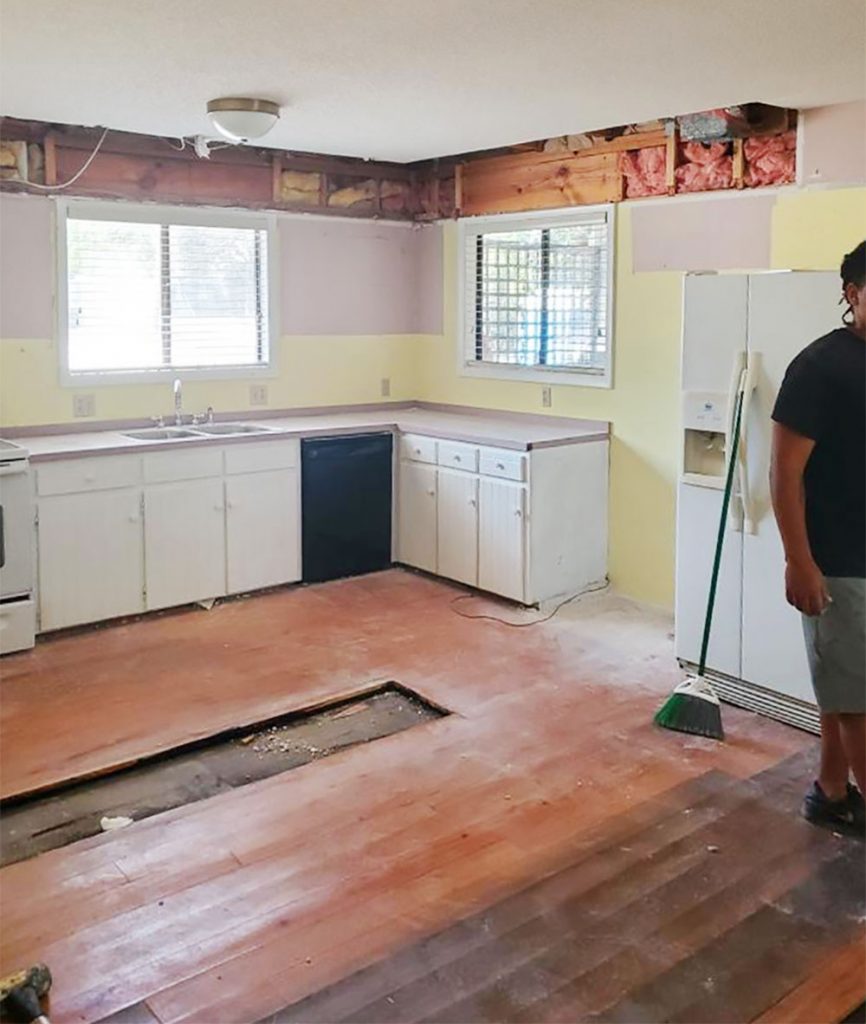
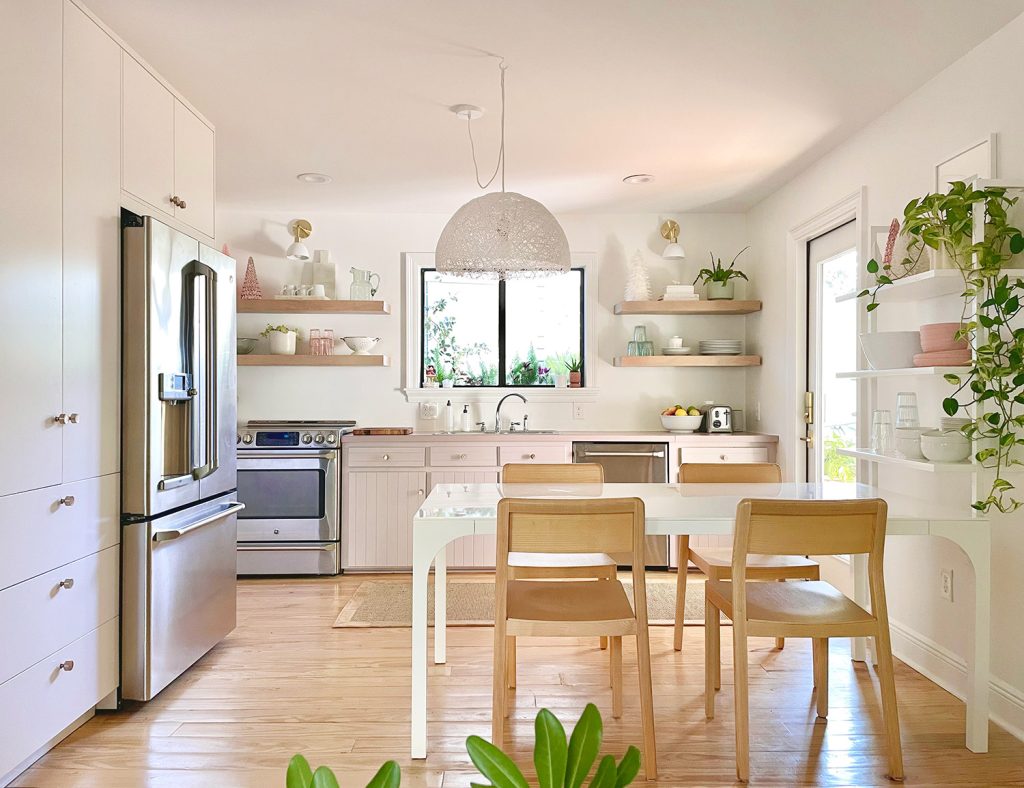
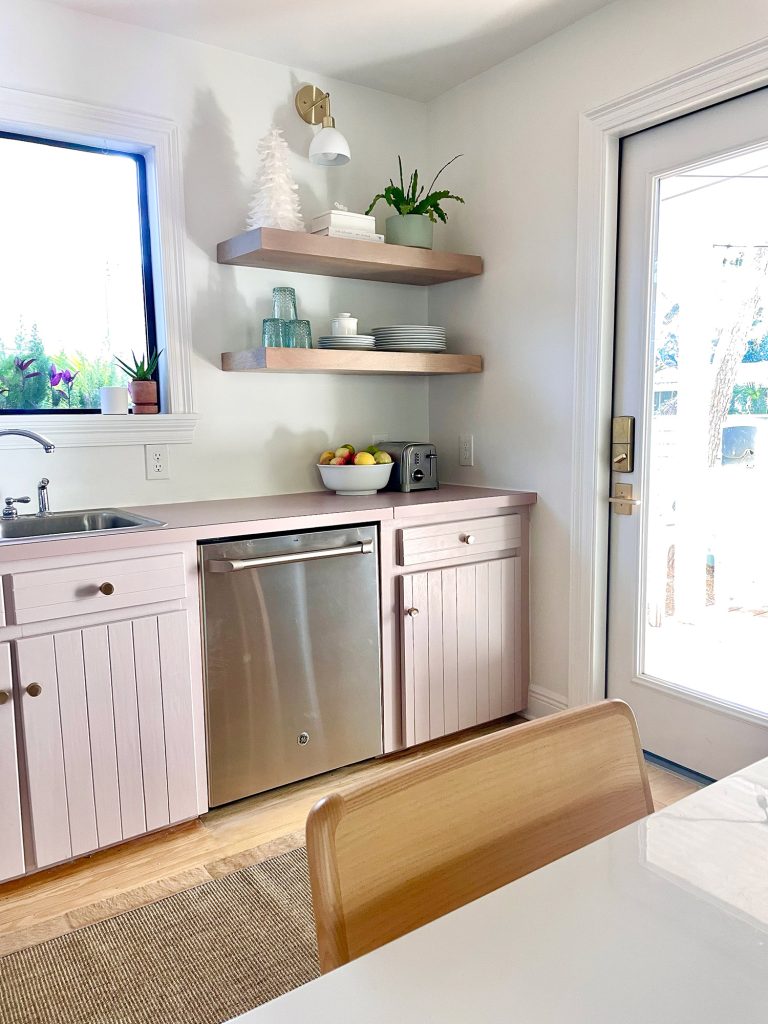
And here we have a somewhat similar shot of the room today. When I say that door changed SO MUCH about how we use this kitchen, I really can’t underscore it enough. John grills dinner (chicken, shrimp, burgers, even PIZZA!) about 4 nights a week. Maybe even five. Our brother-in-law even surprised him with fancy steaks delivered to the house for his Christmas present and the excitement in John’s eyes was palpable. I think the gift of steaks even a year ago would be sort of a head-scratcher for us (foodies, we are not) but this man is ALL IN on the grill. It’s his new favorite tool (ok, tied with his mitre saw). Also I’m determined to bake chocolate chip cookies on the grill, so stay tuned for that experiment…
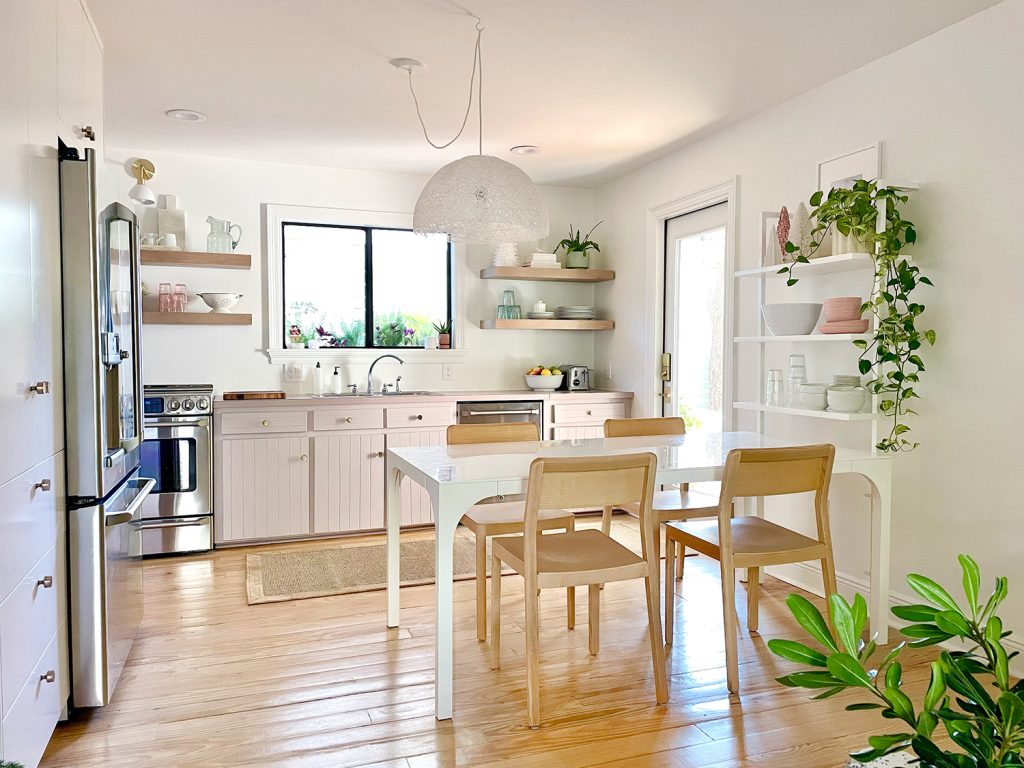
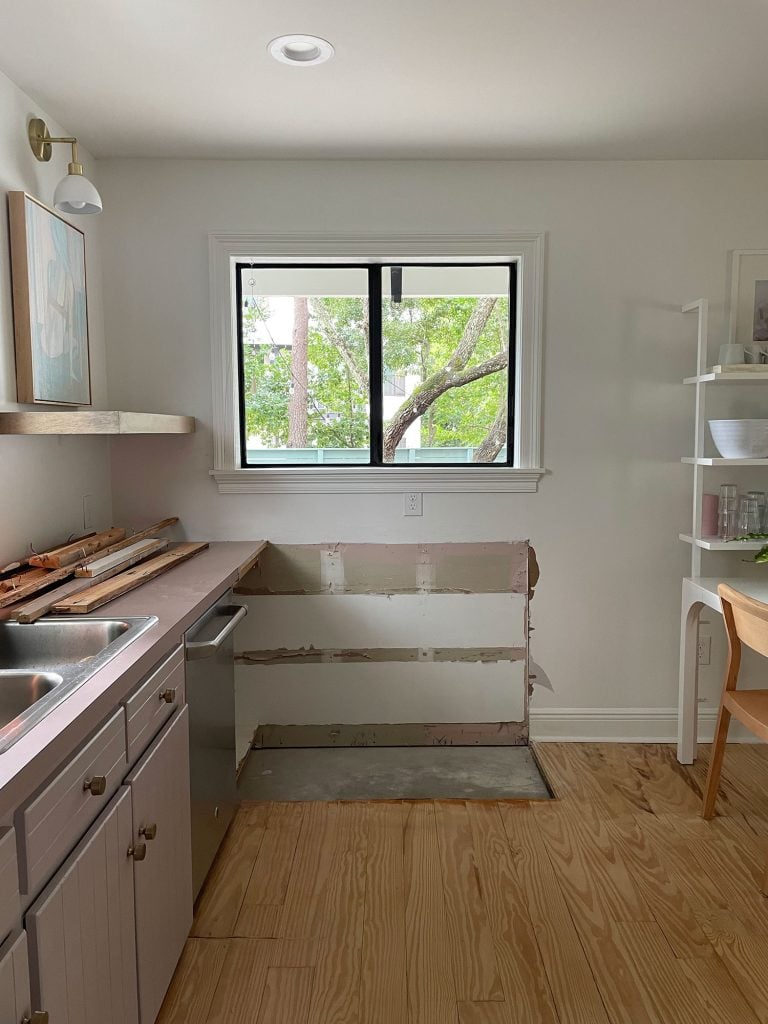
Here’s a shot of how the room looked before the door went in. The cabinets had that shorter run under the window, but thanks to John’s mathy brain we realized we’d only lose about 18″ of cabinet space after we factored in the space that we gained from having free and easy access to the previously blocked corner cabinet.
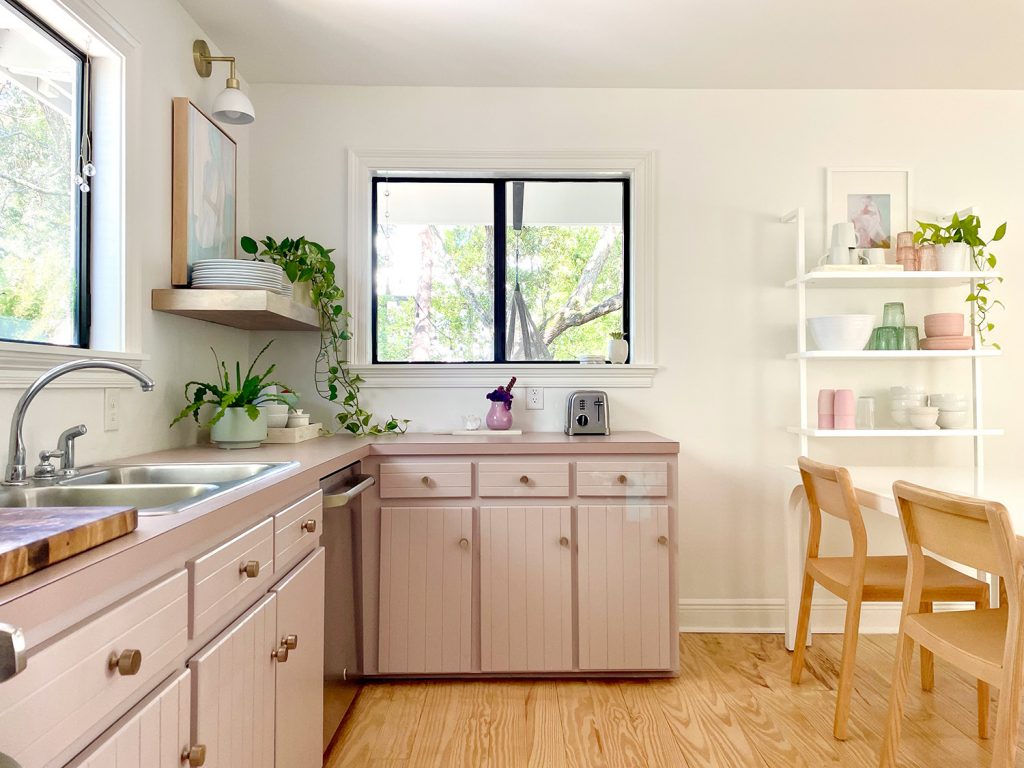
See that space to the right of the dishwasher? That became a freed up nice wide lower cabinet with a drawer above it (26″ wide)- so we gained that. But we lost the little peninsula of cabinets that used to be blocking it (which was 44″ wide, hence J’s calculation that we lost 18″ overall).
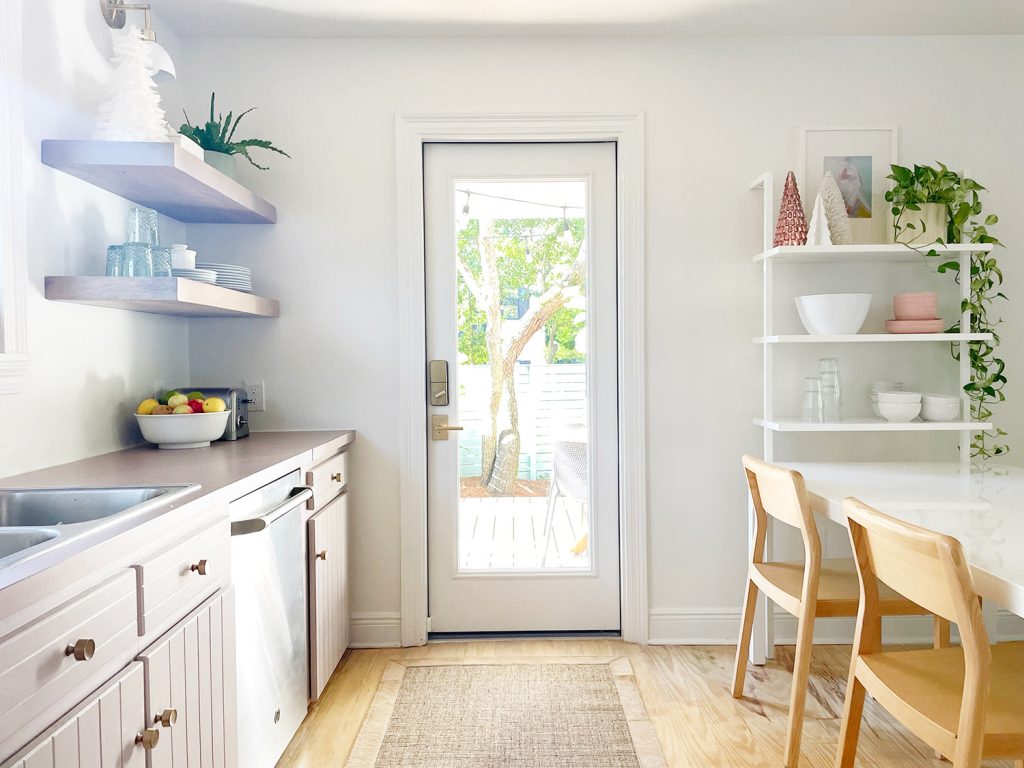
The good news is we gained THIS! It might be a stretch to call it a full-service outdoor kitchen, but it’s definitely a super useful extension of the kitchen for easy grilling and more covered seating among other things (like a faster way to carry in the groceries).
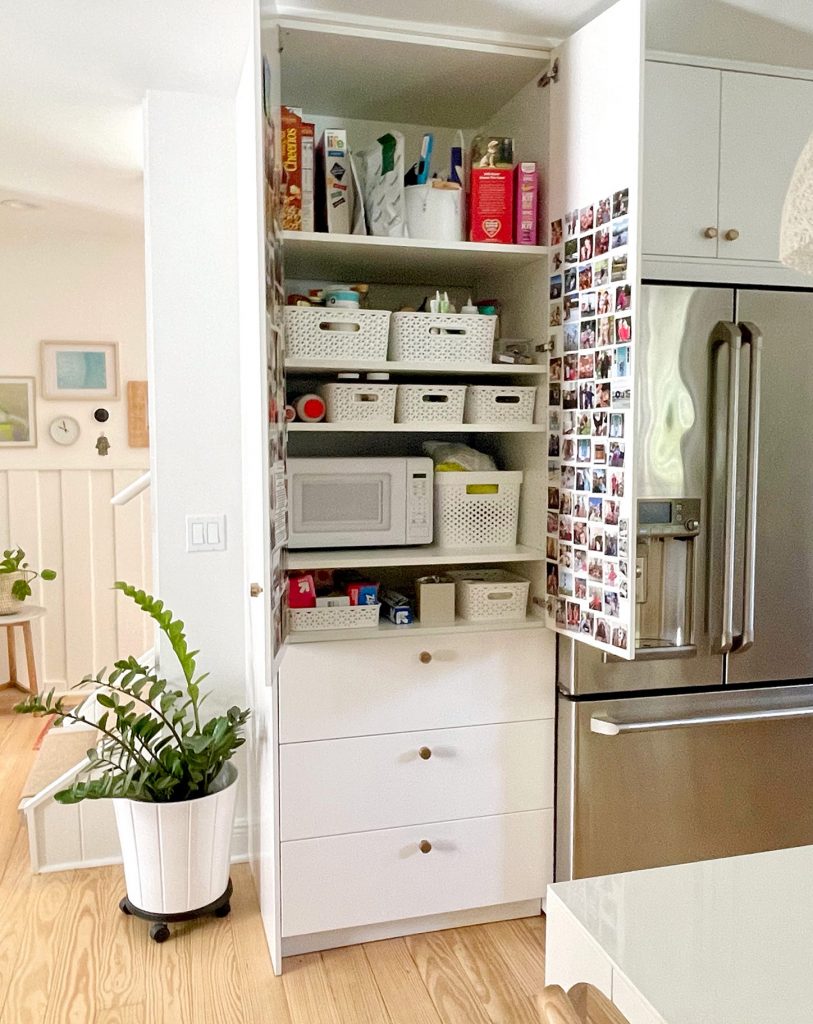
We also added an entire pantry to this kitchen, so we’ve never had so much storage. More on that here, but it was the other thing that changed everything about how we use this space.
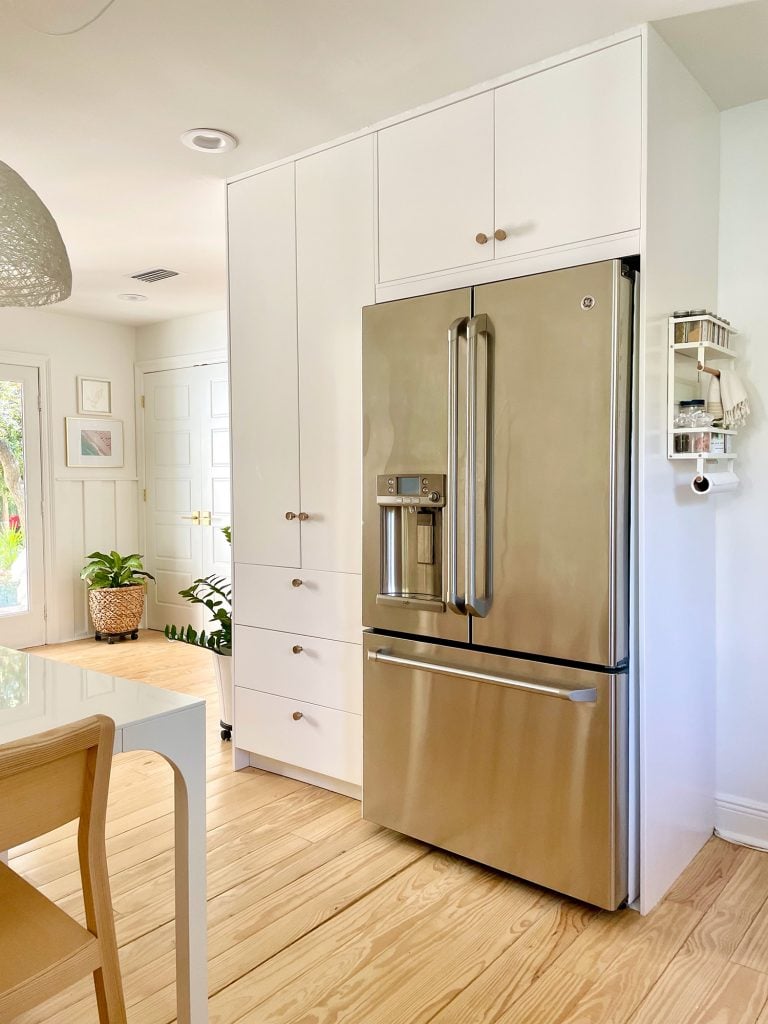
So between this big storage-fest (3 new drawers + 6 new shelves including the cabinet over the fridge!) and gaining access to that previously blocked corner cabinet & drawer, we’re sitting pretty when it comes to storage in here.
In fact that drawer by the new door is completely empty. I’ve been debating what I should use it for, but it actually feels really nice to have room to spare. That was definitely a factor in our decision to forgo upper cabinets and just have two rows of thick wood shelves on the back wall of the kitchen for now (with our cute little brass and white sconces up there). Cabinets would allow us to shove a lot more stuff into this kitchen… but the goal of downsizing and simplifying = sort of the opposite of trying to jam stuff you don’t really need into a smaller space. We certainly could upgrade to true upper cabinets down the line if we find ourselves thirsty for more storage space, but for now the idea of a wall full of tile with those chunky wood floating shelves sounds great and functions well for us.
As for how we removed that cabinet to free up space to add the door, the answer is: as carefully as possible, mostly with a hammer and a prybar. We just slowly demo’ed out the old stuff, and saved the drawer and door fronts so we could create a drawer and door for the corner cabinet that we were exposing. There was also a chunk of flooring missing under the cabinets but we just have regular pine floors here, so it wasn’t hard to track down and we had the same pros who added the doors “feather them in” (which means you don’t just patch the floor in a rectangle shape, you cut the new boards all to different lengths so it’s not an obvious patch job).
And I just used the same Bona floor finish & sealer we used back when we had the floors refinished to match them. Worked like a charm! I just noticed the runner isn’t centered on the door in this picture, but that feels like real life. See how you can’t really tell where the old floors end and the new ones begin?
Our Hail Mary plan if refinishing the new pine didn’t match perfectly was going to just be to save the flooring in the area of our bedroom where we’re planning to add the ensuite bathroom and use that to patch this spot later (so that’s a good backup plan for anyone if you have a spot in your house that has existing wood that matches but might be converted to tile later down the road).
And as for how the cabinet door front and drawer front came out that we cobbled together from the remaining parts of the cabinets that we demo’ed out… we are SO PLEASED. You truly cannot see a seam where we joined two drawer fronts and two doors to create one wider one of each for this end cabinet (thanks to wood filler, sanding, more wood filler, more sanding, primer and paint).

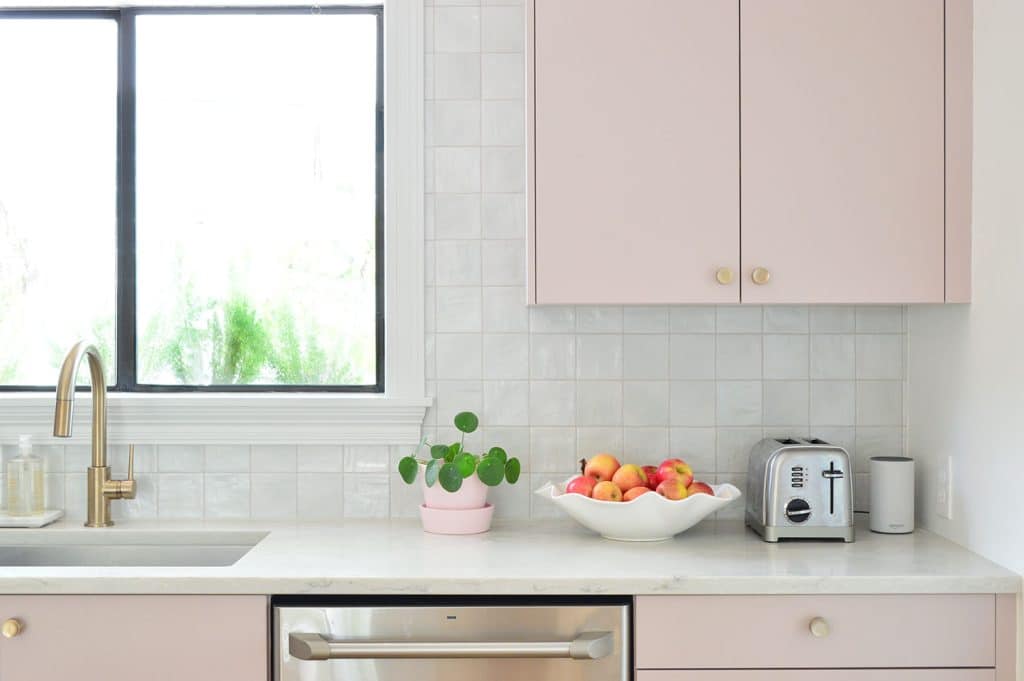
We actually ordered new cabinets for this back wall which are currently sitting in our bedroom (they arrived right before Burger died and we just felt too tired and sad to take the whole kitchen apart (since new cabinets will lead to no sink or dishwasher for a while since we’re also adding new counter and they take a few weeks to template after the cabinets go in, so the room can’t usually come back together very quickly). But the plan is to maybe tackle that in early 2022 if we have it in us. P.S. Our new cabinet plan is to paint them this exact color because we are very attached, so don’t worry, the mauve isn’t going anywhere.
Oh and in the photo above you can see the seam of the front piece of the laminate counter where we had to extend it once we exposed that corner cabinet. It’s really the only discernible clue that this kitchen was ever anything different – but once we replace the cabinets and counters and tile that back wall I think it’ll feel like it has always been this way.
Update: If you’d like to see this space now, after we fully renovated the cabinets, backsplash, and more – check out our kitchen renovation before & after post. It even includes a full budget!
*This post contains affiliate links, so we may earn a small commission when you make a purchase through links on our site at no additional cost to you.
