You’re cordially invited to our very own big fun, small cost backyard wedding (held here in Richmond, VA at our first house). so you might as well make yourself comfortable, because we’re breaking it all down – food, decor, invites, and more.
Backyard Wedding Basics
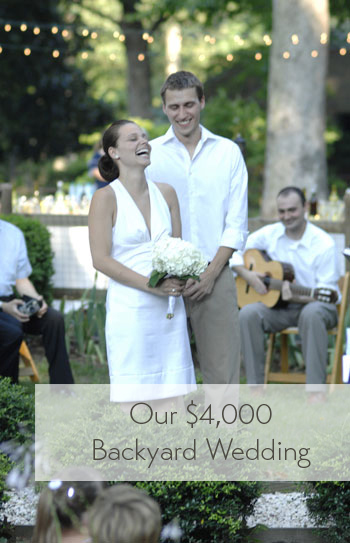
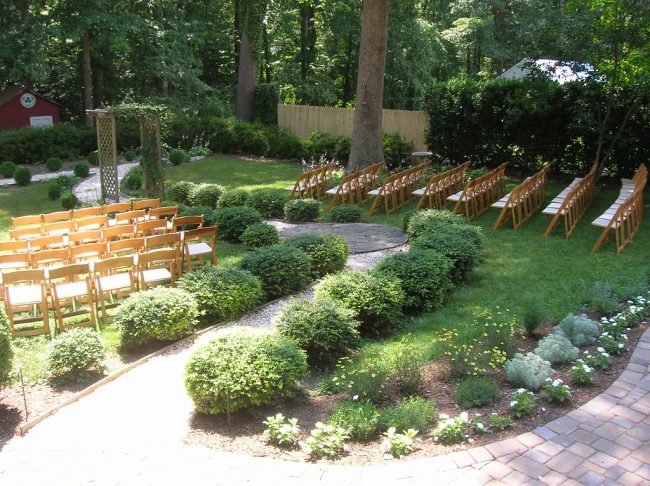
We got married on 7/7/07, our exact two year anniversary of dating (which just happened to fall on a Saturday). Unfortunately, 36,000 other couples picked the same exact date to get hitched, so we decided to do our best to make everything else about that day feel fresh, fun, and personal. And what could be more personal than hosting the 75 person affair in our own backyard?
The Location
Our wedding was pretty much one giant DIY project. From the invitations and decor to the food and entertainment, we personalized as much as we could (without breaking the bank) by doing everything with our own four hands. And because the event was at our home sweet home, we were able to put money that otherwise would have been spent decorating a venue into our own home improvements (gifts that kept on giving even years later). For example, we knew our old jagged patio was a tripping trauma waiting to happen…
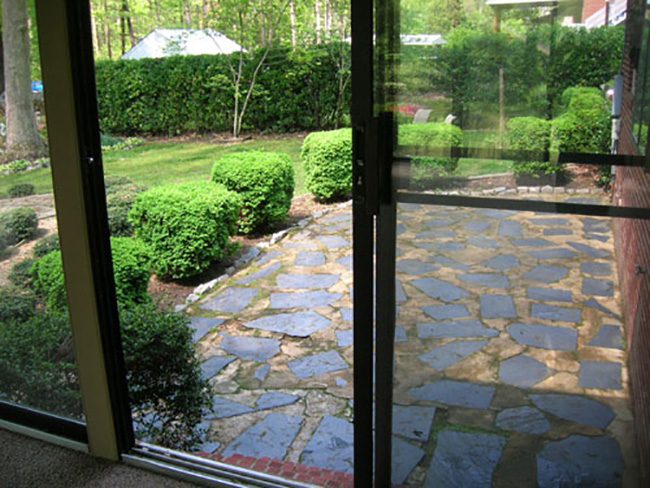
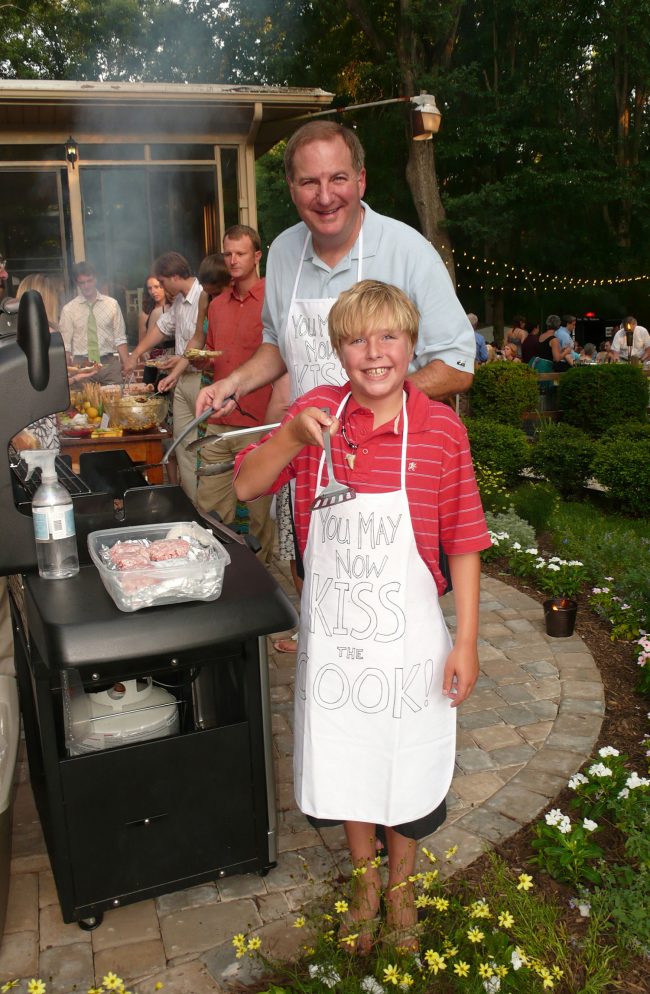
… so we invested some of our wedding money towards replacing the old slate patio with a new cobblestone paver version, which created the perfect place for a big wooden buffet table full of delicious gourmet eats and a grilling station for the chefs (John’s uncle and nephew) – who donned customized aprons that read: “You may now kiss the cook.”
Not only did we need a flat surface for serving, we also wanted one for eating and entertaining, which is why we decided to pave our treacherous gravel driveway (heels + gravel = yikes!).
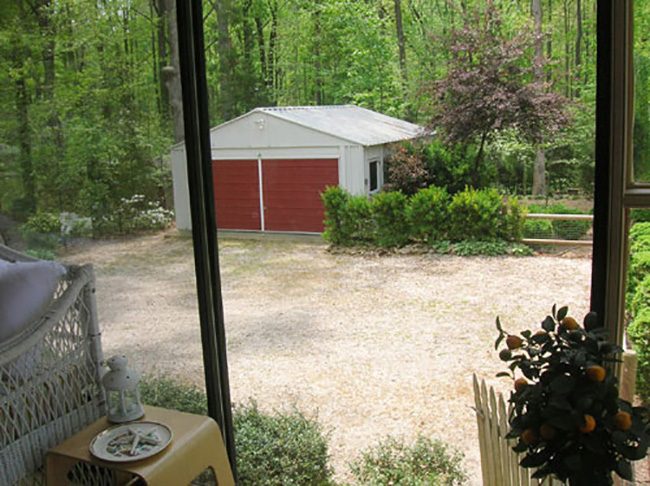
The newly paved surface created the perfect place for grubbing as well as mugging for the photobooth that we rented for the occasion. We’ve never been so thankful to have such a huge driveway (with a spacious turnaround area in the back of the house which kept all of our partying private). And the added bonus is that we never had to weed our monstrous driveway again, which used to take days, so it was one of the best wedding presents we could have given ourselves.
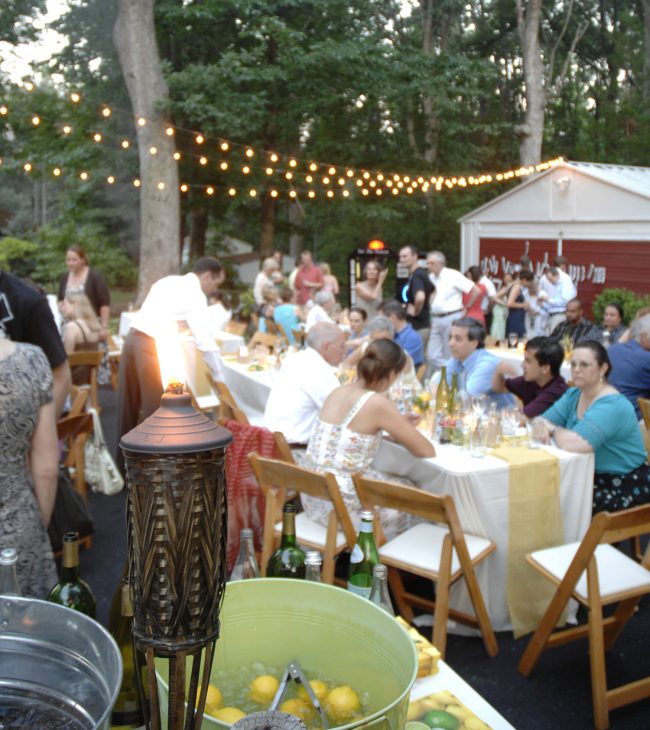
While these two home improvement projects were so major that we brought in the professionals, nearly everything else was completely DIYed from there on out (thanks to some help from our fabulous friends and family). Between John’s cousin officiating the ceremony, a friend playing “here comes the bride” on the guitar, and relatives cooking up some gourmet fare on the grill, we definitely did our best to keep things personal and meaningful.
Invites & More
We decided to make all of the paper goods for the event – from our summery wedding invitation all the way to the customized thank you postcard. But let’s kick things off with the piece of paper that kicked things off in early 2007: the save-the-date. We wanted something simple yet meaningful so we took inspiration from one of our favorite traditions as a couple: taking pictures in a photobooth. I’ll admit that we didn’t want to waste lots of quarters trying to get the perfect photostrip, so we faked our own using a digital camera, photoshop, and some glossy photo paper. The result was a memorable way to communicate some basic details (what, where and when) which was mailed off in a simple, white envelope. And who knew that it would later trigger the idea to rent a photobooth for the actual event? But more on that later.

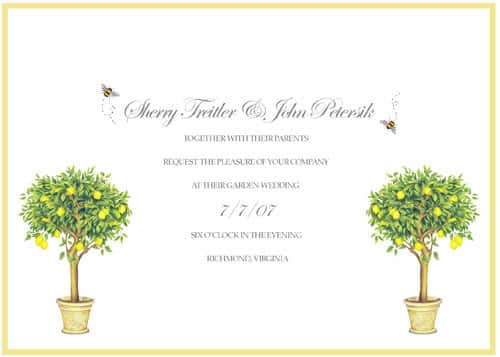
After our save-the-date broke the news, we turned to our invitation to set the mood. After all, an invite is one of the first tastes of an event that you give your guests so it’s the perfect time to establish things like the tone and the color scheme. We wanted something elegant that still said “fun, garden wedding- leave your tie at home, mister.” So we designed and printed our own invites using a citrus-y yellow and green palette and brought it to life with a few graphic elements like lemon topiaries and buzzing bees. A not-so-typical wedding invitation for a not-so-typical wedding, no? Not to mention that we packaged them (complete with an RSVP card, hotel info, and directions) in bright lime green envelopes which we had the pleasure of hand addressing. Our hands hurt just thinking about it, but it was another personal touch that we just couldn’t pass up.
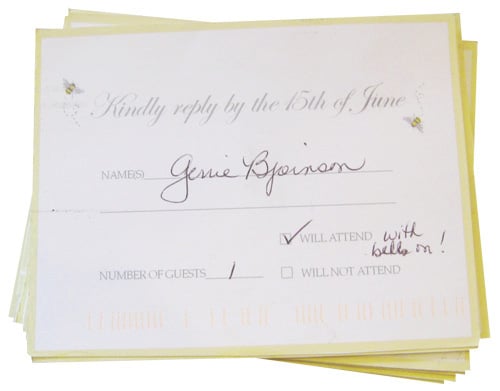
We knew we had successfully set a light-hearted mood with our invite once the RSVP postcards starting rolling in with all sorts of notes written outside of the lines. We love them so much, we still have them all stacked on the console in our living room. And we enjoy perusing them every once in a while to reminisce (and appreciate our charming friends and family). Gotta love wedding keepsakes beyond the tried and true photo album.
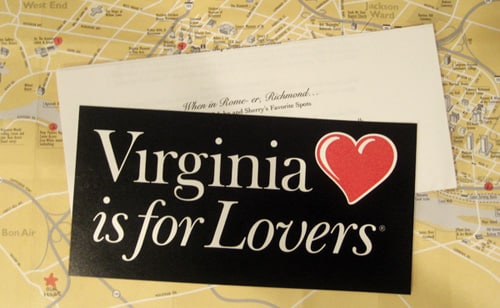
Our wedding paper trail followed our guests all the way to Richmond. For those staying in the local hotel that we recommended, we crafted a welcome packet to ensure that they made the most of their stay. And we didn’t have to cough up a lot of dough. We snatched a bunch of free maps from the local visitors’ center (they were yellow, conveniently), and highlighted some of Richmond’s must-see spots. Then we paired it with a “When in Rome- er, Richmond” guide (a sheet of attractions that we printed at home to correlate with the map). We also threw in a “Virginia is for Lovers” sticker to help our friends and family mark their stay in the big V-A.
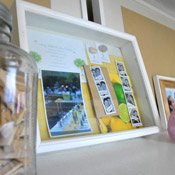
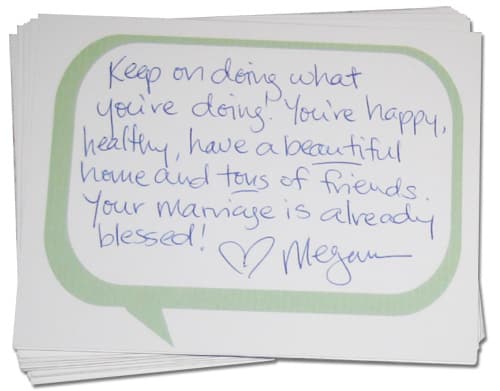
The stack of RSVP cards in our living room is currently complimented by another pile of wedding memorabilia: our homemade wedding sentiment cards. Rather than a traditional guest book, we asked our friends and family to leave us a note on speech-bubble cards that we designed and printed ourselves. During the reception people filled ‘em out and simply dropped them in a nearby glass vase for us to pore over later.
When all the “I Do”s were said and done, we still had one more bit of paperwork to take care of – the many thank you cards for our generous guests. Rather than a traditional card, we ordered custom postcards that featured this artsy pic from the wedding itself (for less than the cost of regular stationery). It was just another fun and personal way to help our lovely guests remember the event… and play “Where’s Waldo” by trying to locate their blurry head in the background.
The Decor
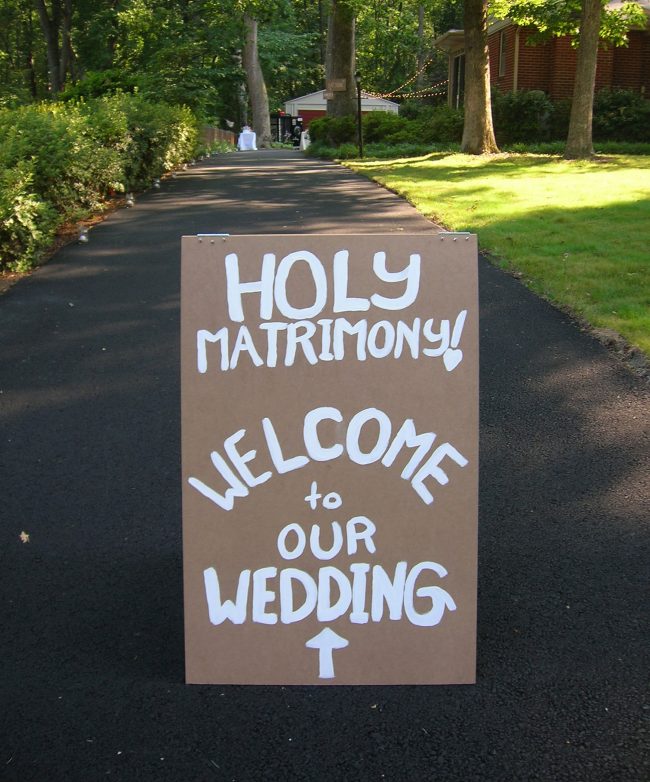
And now for the DIY decor. From the moment people arrived, we wanted to make sure they felt comfortable and warmly welcomed. So we created a wooden welcome sign with a hand painted message for our guests. And thanks to the sandwich-board construction (two pieces of wood secured with simple hinges at the top), we were also able to paint a cute departure message that said “Thanks for sharing our special day, please grab a glowstick to light your way to the car” along with a galvanized bucket of white glow sticks to help people navigate our semi-dark street safely. And we made the sign and purchased the glow sticks in bulk for under $30 total.
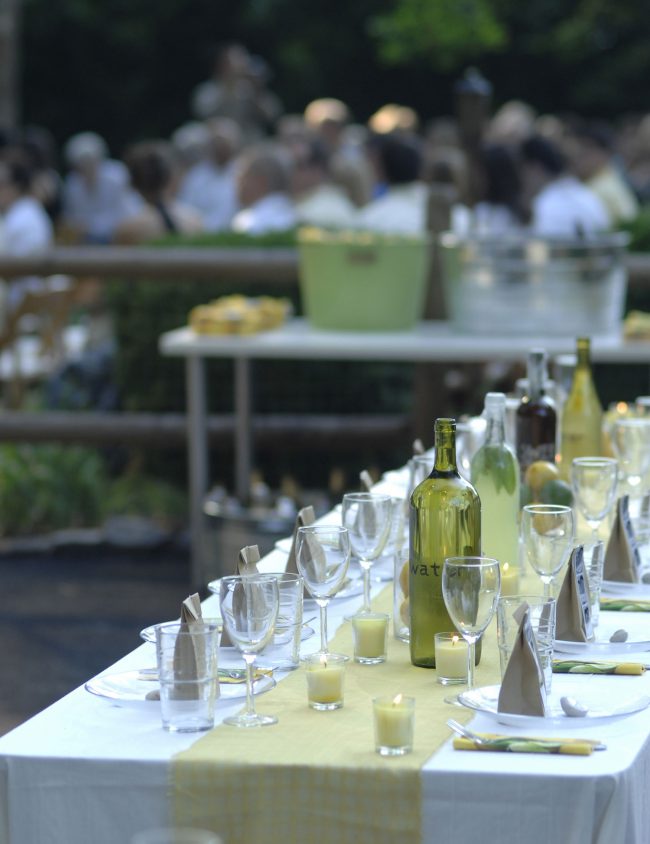
We wanted a celebration that felt festive and fun, so we were sure to set the tables with care. And while we probably saved well over a few thousand dollars with our DIY approach, we literally did every last thing ourselves (and spent months getting stuff together). In fact, other than renting the tables and chairs from a local vendor, there was nothing conventional about our reception’s set up. The tablecloths and runners were actually just white muslin and textured yellow fabric that we purchased from a local fabric store and the glassware was largely purchased at Ikea. We quickly realized that strategically buying these items was actually cheaper than renting them and we were able to create a more custom look without worrying about fees for staining, ripping, or breaking anything. Even the silverware was purchased from Sam’s Club. Afterwards we donated a lot of the servingware to charity, which felt really good (and was a write off too!).
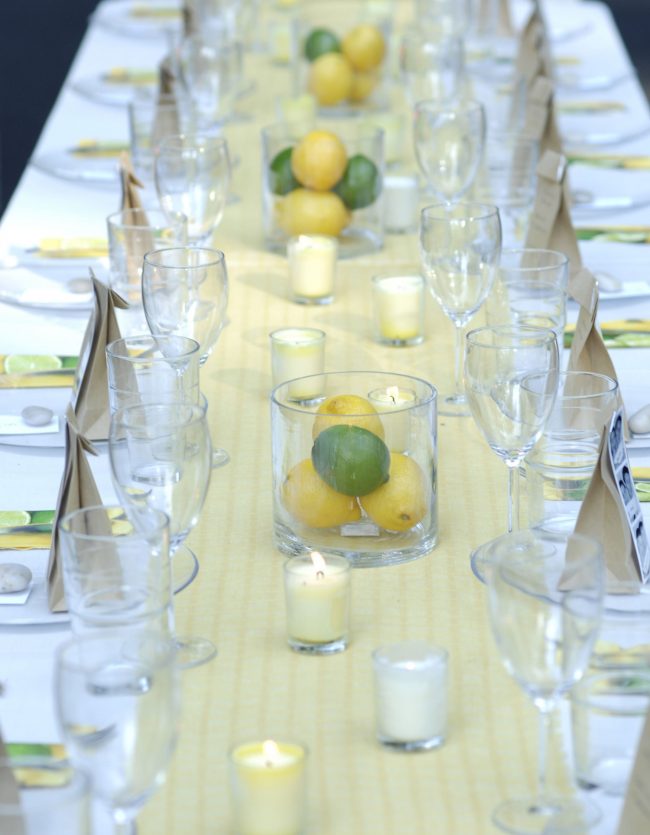
By choosing fruit over flowers (straight from the grocery store that morning) and going with centerpieces we could easily assemble ourselves (we’re talking ten minutes of arranging all of ’em, tops), we saved hundreds while keeping things chic. The glass cylinders for the fruit centerpieces were from Michael’s for $3.99 a pop and we also snagged about 200 glass votives thanks to Craigslist – where a former bride sold them all for $30 after barely using ‘em herself. We even found festive lemon & lime paper napkins at Target and the punchy citrus print perfectly echoed our lemon and lime centerpieces (note: we may have over-purchased these – we used them for about two years after the wedding).
Our garden themed favors were simple brown mini paper bags (thanks, Target) which held a single gladiolis bulb for our guests’ garden with easy planting instructions written on the back of each bag. Clipped to the front of the bag was another photostrip (tying in our save-the-date and the actual photobooth that we rented for the event) with John’s face covered in lipstick kisses while we held signs that read: Plant one… on us! *smooooch*
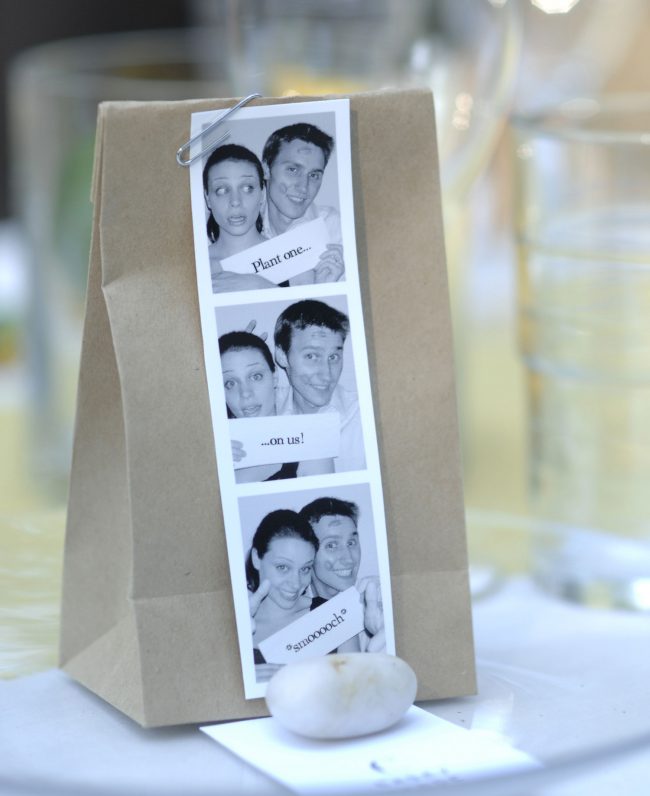
We also created place cards for each guest by hand stamping their first initial on a small square of cardstock, hand lettering their full name underneath, and securing each card with a river rock (we got bulk bags of them from Target). Many guests kept their cards, and even their rocks, which helped to remind us that sometimes simple can be just as beautiful as fancy calligraphy and ribbons.
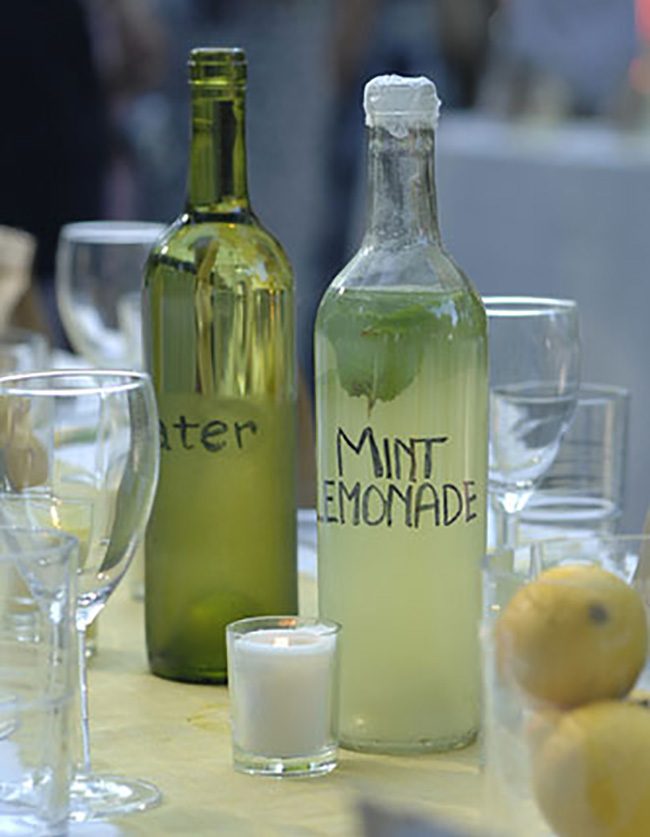
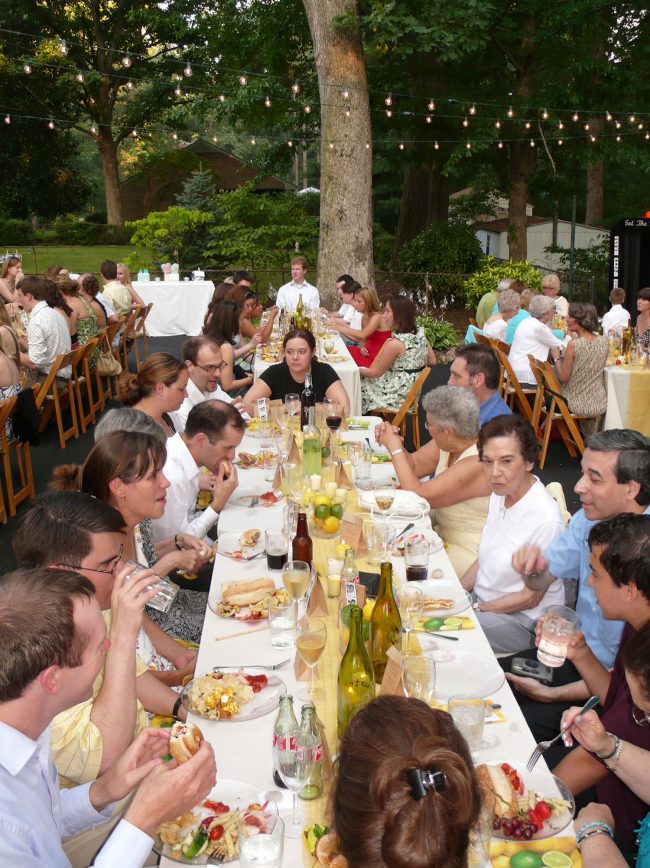
We also had a bevy of beverage containers. Instead of plastic pitchers, we wanted the polished look of glass, so we asked a local wine retailer to save old bottles for us (leftover from their weekly wine tastings and totally f-r-e-e). Once at home we made sure they were squeaky clean and hand labeled ‘em with a sharpie (which never rubbed off or faded in case you’re wondering). We used all the green bottles to hold water, brown bottles for sweet tea, and clear ones for homemade mint lemonade (fresh mint + lemonade = yum). Of course we also had a bunch of red and white wine bottles on hand along with some of those cute vintage glass bottles of coca-cola. We really think making the effort to avoid cans and plastic kept things a little more “special” so it didn’t look like a regular old backyard bbq.
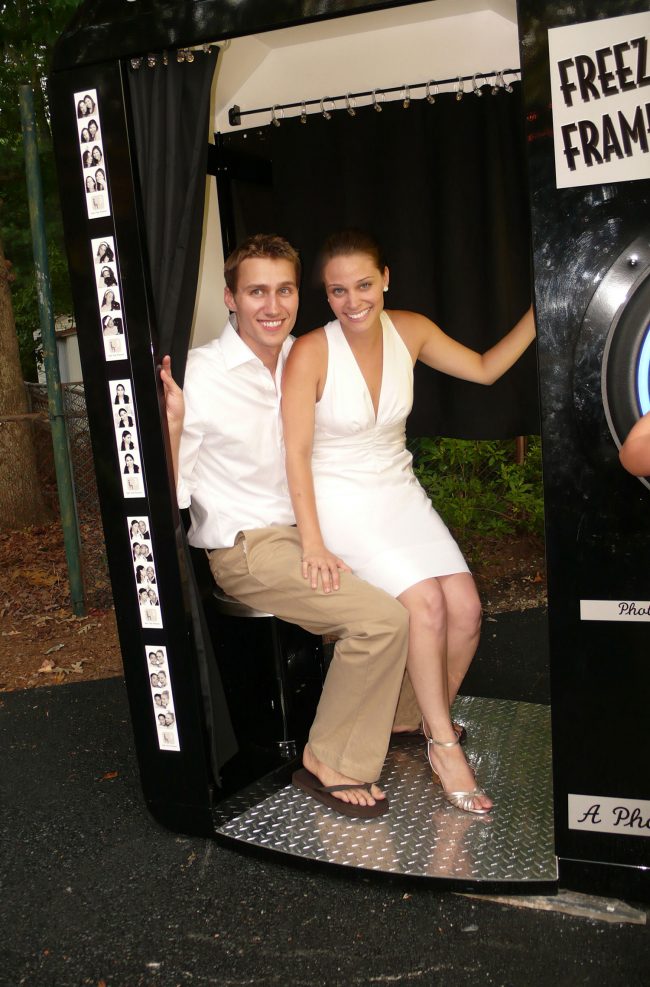
We also tried to think of something fun that we could introduce for entertainment value (cotton candy machine? fireworks? drum line? sno-cone maker?) when we landed on the photobooth idea (spurred by our tradition of documenting many relationship milestones with a photobooth strip – and it tied in with our photostrip save the date cards!). For months we tried to hunt down something local, and then something not-so-local, to no avail (back in 2007, photobooths weren’t really a thing, so they were extremely hard to track down and rent). But about three months before the big day a lovely local lady named Lisa-Ann launched a brand new photobooth rental business in Richmond, and we were one of her first customers. At $1200 for the day (which included unlimited photostrips and an on-site attendant to keep the booth running) it was certainly a splurge, but the hysterical strips of our friends and family having fun in the booth are one of our favorite keepsakes (which we’ve collected in a leather-bound album while framing a few of our favorites around the house).
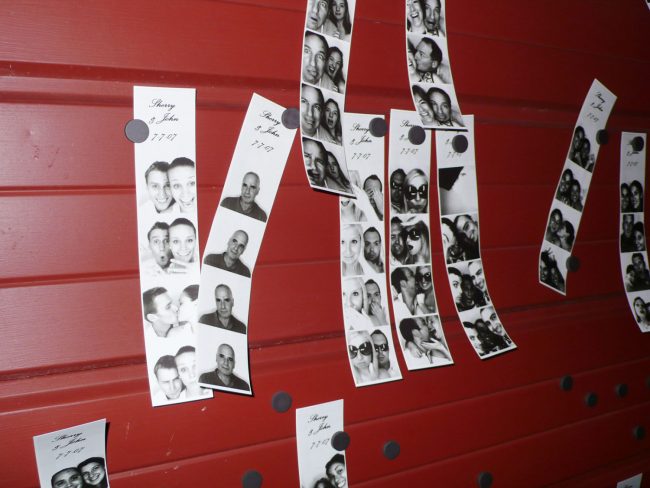
To encourage people to leave a few of their photostrips for us (and display them for other guests to peruse throughout the night) we transformed our big red metal garage door into the ultimate over-sized magnet board. All it took was a bunch of inexpensive magnets and a sweet little reminder to save some photostrips for us. Lo and behold it worked… we ended up with even more photostrips than guests.
But one of our very favorite photostrips was the last one taken late in the evening after all of our guests had left. We ducked into the booth right before they hauled it away (John wasn’t even wearing his wedding pants anymore, he had changed into shorts to start cleaning up). We just love how this strip perfectly captures the joy of the day and the undeniably euphoric feeling of triumph after pulling off such a fun little backyard gathering.

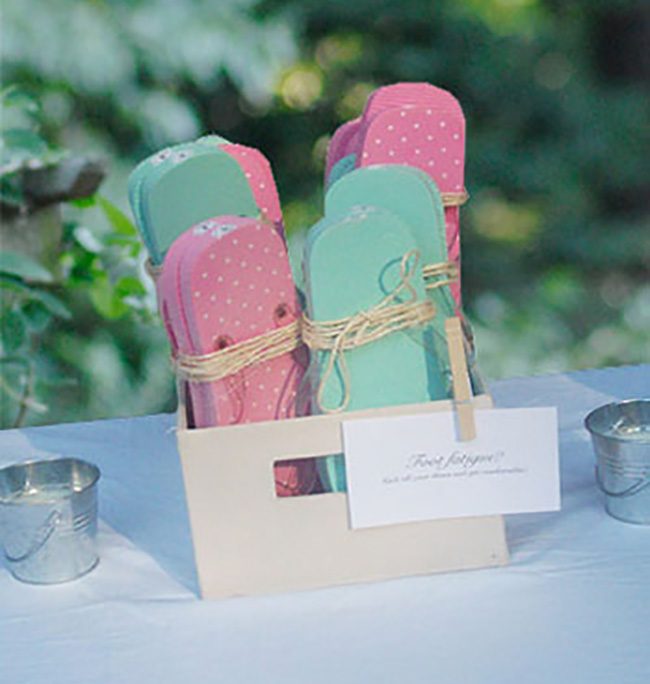
We also tried to score a few points with our sweet guests by thinking of the little things to with their comfort in mind. This included offering up complimentary flip-flops for guests whose shoes were a bit too ambitious for a backyard wedding. And of course we wanted the dollar store flip flops to look as sweet as the sentiment, so we tied pairs of them together with rustic twine and stuck ’em in a burlap basket for easy access.
We also implemented a practical and budget-friendly twist on the traditional wedding slideshow since a big projector wasn’t in the cards for us. We created a clothesline version by stringing twine between two five foot garden hooks and using charming wooden clothespins to clip the photographic story of us growing up, meeting, and falling in love. This project was less than $20, but it really kept people entertained while they waited for their turn in the photobooth. Friends and family members still mention it to this day.
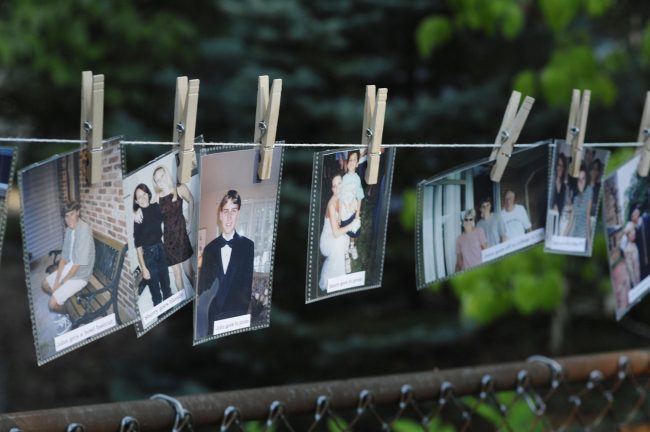
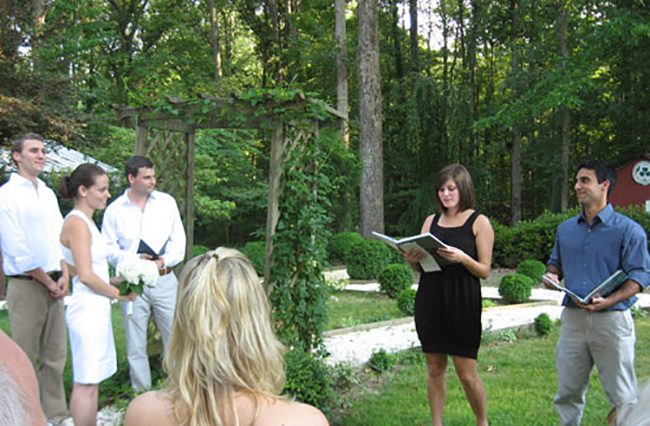
We also carried a few personal twists on tradition into the ceremony. After struggling to find a wedding reading that we liked, we gave up and decided to write our own. And in a moment of clarity (or utter weirdness, you decide) we pulled out our high school yearbooks and began collecting a combination of sweet and silly notes written by our old friends. The sentiments ranged from complimenting my artistic ability to poking fun at John’s band-geekiness, but actually showed some surprising similarities and perfectly captured our personalities far better than a traditional reading or poem. Thanks to our younger siblings who expertly shared our collection of yearbook anecdotes, it turned out to be one of the ceremony’s most memorable moments. That and the part where we said “I do,” of course.
One detail we couldn’t overlook was the lighting. We knew having the right amount of light in the right places would take our event from backyard barbeque to elegant outdoor gathering, so we went all out. There were votives on the tables for soft lighting. There were a few lighted torches for fun around the perimeter. There were even candles placed in old jars that served as mini hurricaines filled slightly with sand that lined the entire driveway (we saved jam, pickle, and pasta sauce jars for close to a year).
We also added some accent lighting in the form of paper lanterns hung from a pair of trees in the yard near the ceremony site. They provided a touch of interest while we said our vows, but more importantly they created the perfect backdrop for all of our family photos. The lanterns (also from Target) were battery operated so we didn’t even need to worry about wiring. Instead, we could focus on keeping smiles on our faces for all that picture taking.
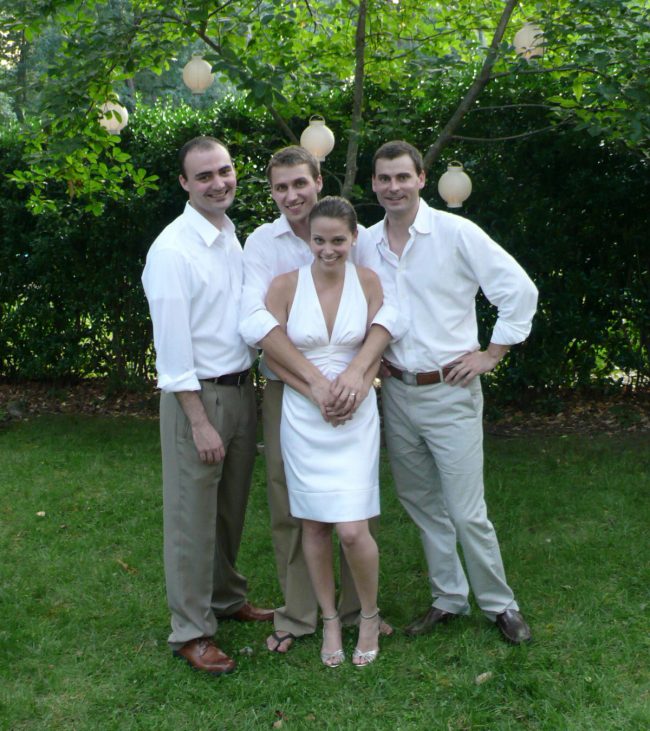
And speaking of picture taking, we owe a HUGE thanks to our photographer Todd who is responsible for almost all of our beautiful wedding photos. Todd just happens to be a well known professional photographer around these parts, and while I’m sure he’s delighted to have our wedding on his resume, he’s better known for the national print ads and magazine covers that he shoots on a daily basis. We were able to snag his services for free because he also happens to be our brother-in-law (you’ve toured his new house here). Thanks for the great photos, Todd!
The Attire
You may also be wondering about attire. Clearly we went more casual than the typical wedding dress code in part to fit the relaxed atmosphere and also because Virginia is so hot in July. John chose simple khakis, a white button down and flip-flops. It’s mere coincidence that his best friend Kevin (left, our musician) and his cousin Travis (right, our officiant) wore practically the same thing. They dubbed themselves ” The Khaki Brigade” and things stayed informal until we broke out these babies for a few photos…
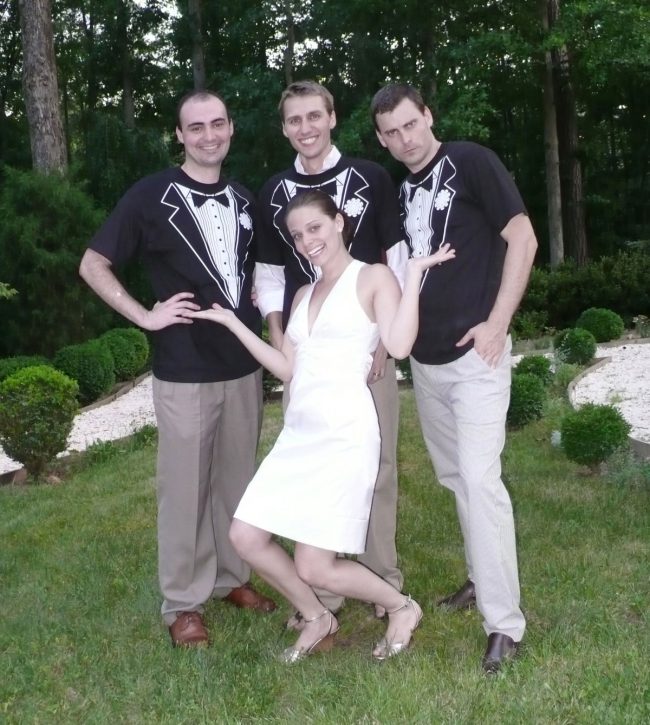
Yes, those are tuxedo t-shirts. Good thing we don’t take ourselves too seriously, eh?
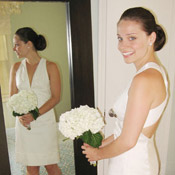
But you’re probably wondering about my outfit too. It’s an $190 dress I bought at Arden B of all places, a mere 48 HOURS BEFORE THE WEDDING. No lie. I purchased another dress months beforehand – actually the first one I tried on – and counted my lucky stars that I fell in love with a dress so easily. Until July 5th when I was out having girl-time with my BFF and spotted this dress and fell even more in love. At about a tenth of the cost of the average wedding dress, we didn’t mind the unexpected expense (my first dress was around $150, so the change of plans hardly broke the bank). And two days later I wore my new find down the aisle and couldn’t be happier about the last-minute switcheroo. Afterwords I even dyed it pewter gray so I still get to wear it to other people’s weddings. Sneaky, eh?
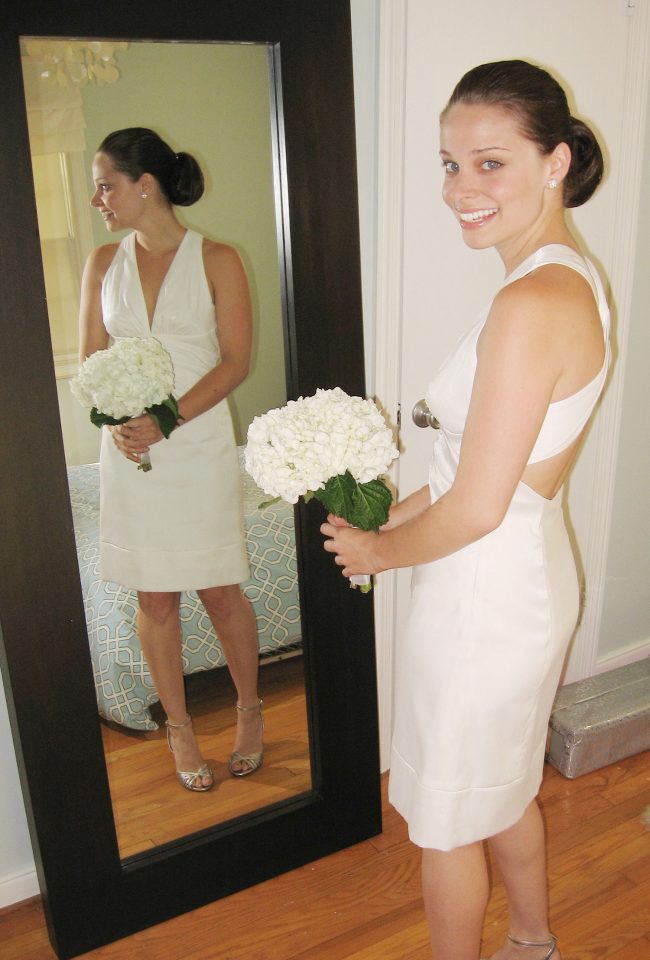
The bouquet was another DIY project. The morning of the wedding I picked up three large hydrangea blossoms from the grocery store’s floral department (for something like $12). I then tied them together using green floral tape and wrapped thick satin ribbon around the floral tape. Some straight pins with pearl heads secured the ribbon and finished it off – guaranteeing it’d make it to the altar in one piece. I also wrapped a tiny necklace from a dear family friend around the handle of the bouquet (carefully securing it with more pearl-topped pins) for a meaningful and sentimental detail that only we were privy to.
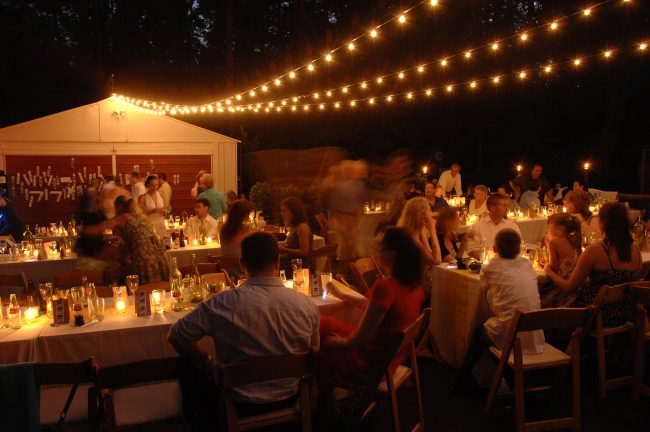
But I digress – weren’t we supposed to be talking about lighting? Possibly our most impactful wedding decor detail was the dramatic garden lighting that we swagged over the entire reception area. To create this effect, we purchased six sets of string lights from Target – the ones with the big, round, clear bulbs – and created three long strands using clear fishing wire for reinforcement (we didn’t want the tension to snap the thin cords). Then we tied carabiners to both sides of the three long strands and hooked one end of each to our sunroom while the other ends converged at the peak of our garage (where they wrapped around our weathervane and plugged into a hidden extension cord). The effect was incredible… and nothing fell on any of our guests (a reoccurring nightmare of ours). Victory.
The Food
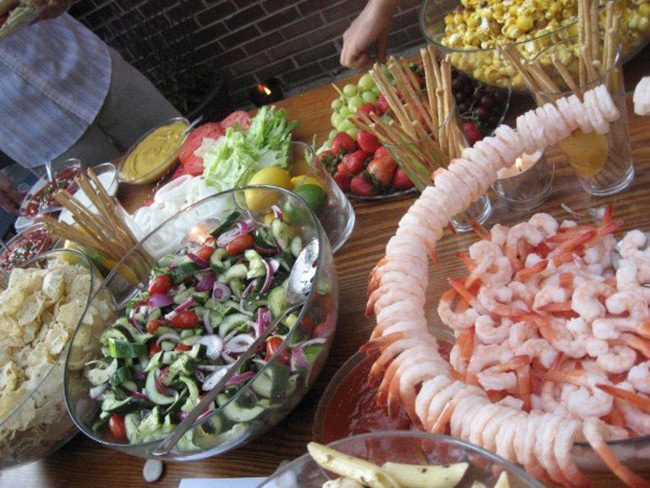
All this wedding chitchat must be making you hungry, so let’s move on to the wedding menu. Perhaps our most daring DIY feat was completely nixing the idea of a caterer in favor of taking on the entire wedding menu ourselves. I know we sound cuckoo-for-cocoa-puffs, but there were a few major reasons behind our seemingly insane decision. A lot of catering companies require a separate prep area and our modest rancher just didn’t have the space. We also thought strangers dressed in black peddling hors d’oeuvres in our backyard might be a little odd for our intimate affair. But most of all, we’re just hopeless DIYers with an unhealthy attraction to seemingly impossible challenges – so even though feeding 75 people sounds like quite a job, it really wasn’t so bad thanks to thoughtful planning, a few make-ahead components, and some pretty crafty delegation (in the form of pre-prepared offerings with a gourmet spin).
We made our lives much easier by carefully designing a menu that didn’t require any heat (other than our entrees which were cooked up on the grill) and called for nothing more than a single fork (when it came to side dishes and hors d’oeuvres, upscale finger food was the name of the game). Keeping our offerings simple (fresh fruit, cocktail shrimp, rotini salad, lemon pepper potato chips, etc) and adding an upscale twist when we could (like an unexpected ingredient or delightful dipping sauce) really seemed to work with our informal backyard wedding theme.
Another example of our “simple with a twist” approach to the menu was demonstrated in our main course choices, which we wrote out on a chalkboard hung above the grill for all to see.
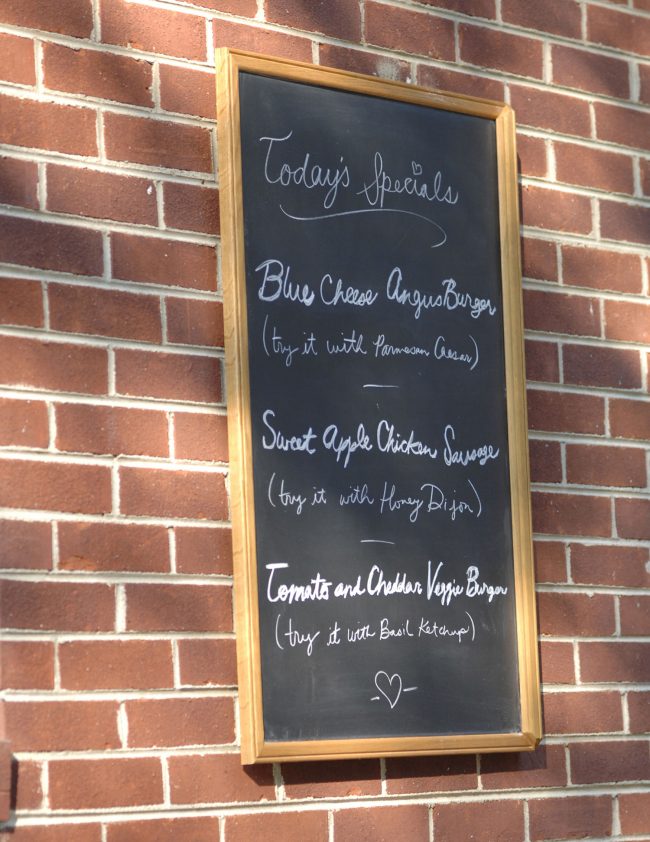
Our guests approached the grill and ordered up their choice of a blue cheese angus burger with parmesan caesar dressing, sweet apple chicken sausage with honey dijon, or a tomato and cheddar veggie burger with basil ketchup. We actually made all the blue cheese burgers ahead of time (by adding chunky blue cheese dressing to ground beef and freezing the meat into patties to be defrosted that morning) but purchased the sweet apple chicken sausage along with the tomato and cheddar veggie burgers in bulk from the grocery store a few days in advance. Of course we splurged on some gourmet buns and added a little flair to the toppings (like a dash of fresh basil worked into the ketchup and the caesar dressing that topped the blue cheese burgers). A few fun twists on some old favorites really seemed to satisfy, and we purchased more than enough to go around (so people could try more than one entree if they so desired).

Even though we didn’t have a moment to taste a thing, the overwhelming consensus was “mmmm” as demonstrated by lots of seconds and hardly any leftovers.
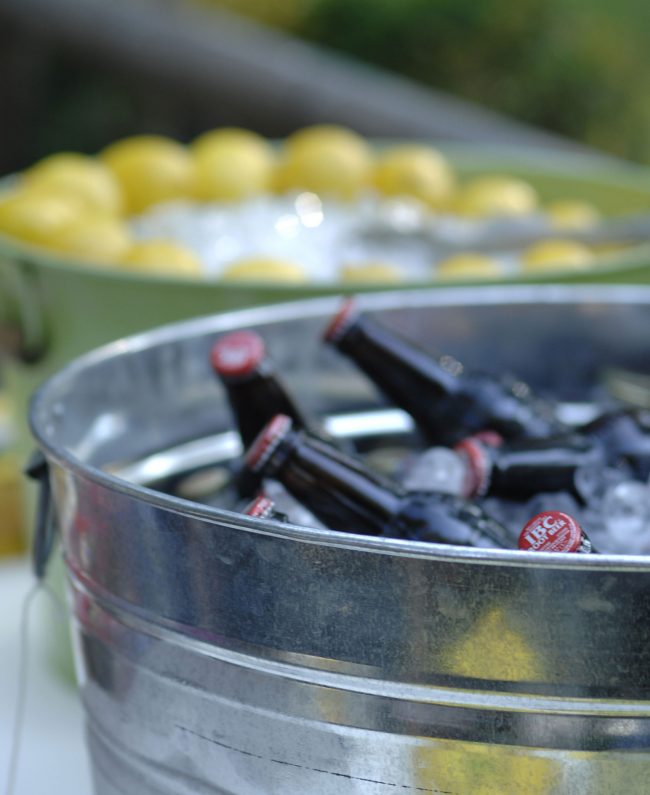
Another adorable detail thrown together in the final hour (by John while I was inside getting gussied up) were the extra lemons that he used to accent a big tin of ice cubes. Somehow the 10 cent lemons added so much more to the $8 galvanized tin of $2 ice…
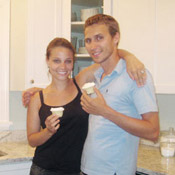
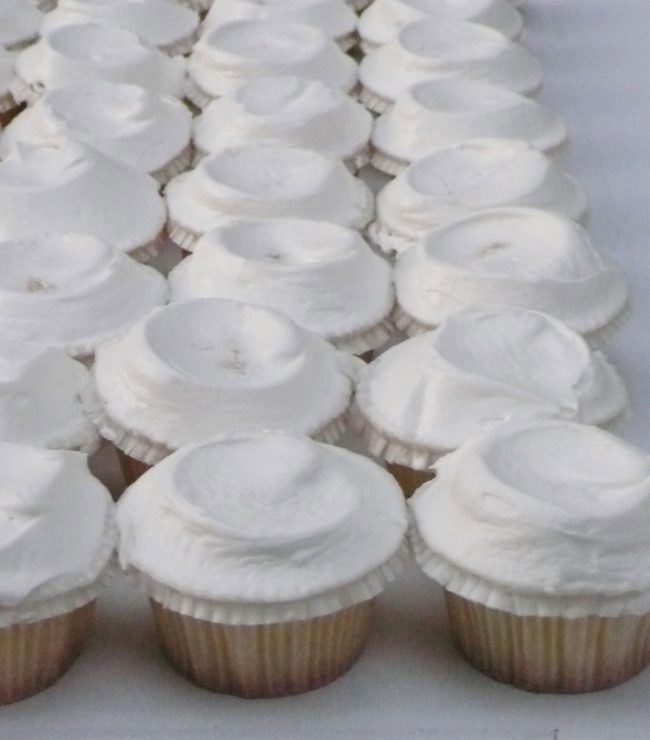
But the most popular menu choice was the decision to keep it simple and serve Richmond’s famed Ukrop’s cupcakes. For those not in the know, Ukrop’s is a local grocery store which just happens to have reached celebrity status for its heavenly vanilla cupcakes. We considered decorating the cupcakes with green and yellow spinkles or lemon candies, but realized that to mess with perfection would be a mistake. And when served en mass the seemingly simple cupcakes transformed into a sea of creamy confections that people literally couldn’t get enough of (several people confessed to downing four or five of ‘em). Feeding each other cupcakes was a fun take on the ceremonial cake feeding tradition as well.
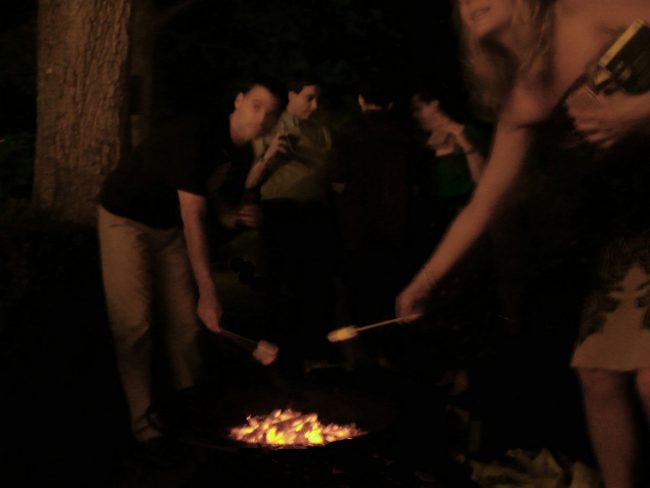
We also had a big old s’more roast at the very end of the night. After some of our friends and family had moseyed on home, the remaining guests had fun bringing the night to a close by gathering around our firepit and cooking up a melty treat for the road. Marshmallows, chocolate bars, and graham crackers are hardly budget busting extravagances, but the s’more roast was just another one of those details that really made the night memorable for us- and hopefully for our guests.
The Budget
Now that you’ve virtually crashed our backyard wedding, you may wonder how much our big day set us back. Well, thanks to a major DIY effort and a lot of help from our friends and family, we managed to host the entire event for under $4,000. Here’s the budget breakdown:
Venue: Free (backyard)
Music: Free (family friend played ceremony music on guitar & we used an iPod for the reception)
Photography: Free (brother-in-law is a photographer)
Officiant: Free (cousin got certified online)
Food: $500
Wine & Drinks: $100
Cupcakes & S’mores: $125
Table & Chair Rentals: $350
Centerpieces: $70
Save The Dates/Invitations/Thank Yous (With Postage): $260
Favors: $75
Servingware: $250
Fabric For Tablecloths & Runners: $300
Lighting & Candles: $120
Flip Flops/Photo Clothesline/Welcome Sign: $75
Mosquito Sticks/Candles/Spray: $50
Bouquet: $20
Attire: $500
Photo Booth: $1200 (the one big splurge- and so worth it)
TOTAL: $3,995
We even got to donate a bunch of the servingware that we purchased from Ikea (it was cheaper than renting it) to charity afterwards, which was a nice little tax write off that made us feel super good. So there you have it. Every last detail about our backyard wedding. And just as all good things must come to an end, our wedding tour must now come to a close. Thanks so much for your virtual attendance!
Still in the mood for some wedding-related fun? Check out some other lovey dovey posts:
