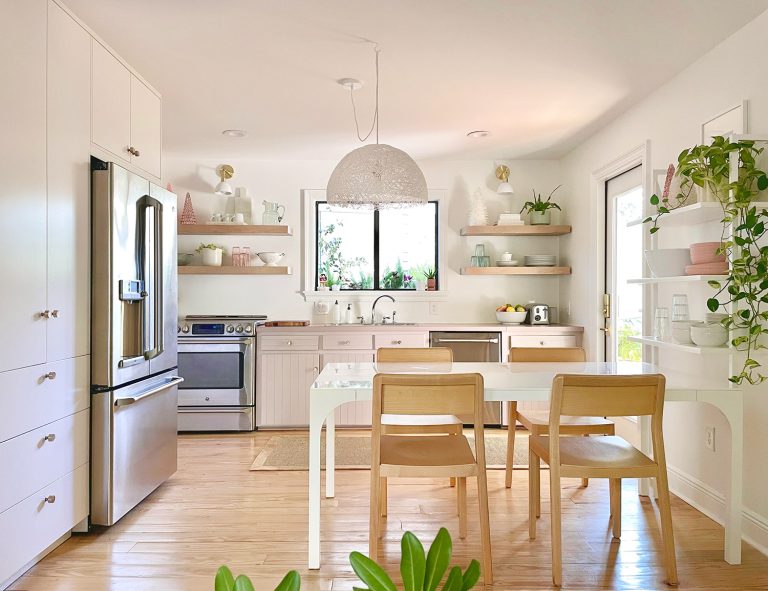
There’s been a big change in our kitchen! As in, new-hole-in-the-house kind of big! Okay, so really it’s just a new door. But that’s big, right??? Our last post covered all the photos and angles of the new kitchen porch we created outside – just steps away from our cooking area inside. So let’s take a look at what went down inside. It’s always fun to rewind, so if we take a step back in time, this is the kitchen as it looked when we bought this house in Feb of 2020: We talked about our initial updates to the room waaaaay back in this post from May of 2020 (before we moved in). And
How To Make A Faux Sheepskin Seat Cushion
We used some quick and easy upholstery techniques to add some softness and texture to a storebought bench in our family room. We even knocked it out just in time for the holidays, adding to the coziness of this room! We scored this woven bench at HomeGoods mostly because it was the right size and we liked the woven texture. But as soon as we got it home, it was clear that the netted texture of the bottom was less-than-desirable. It wasn’t scratchy, just felt – I dunno – like you were sitting on a bunch of ropes. You can see in this post about the storage unit that we immediately threw some leftover sheepskin
Our New Kitchen Porch
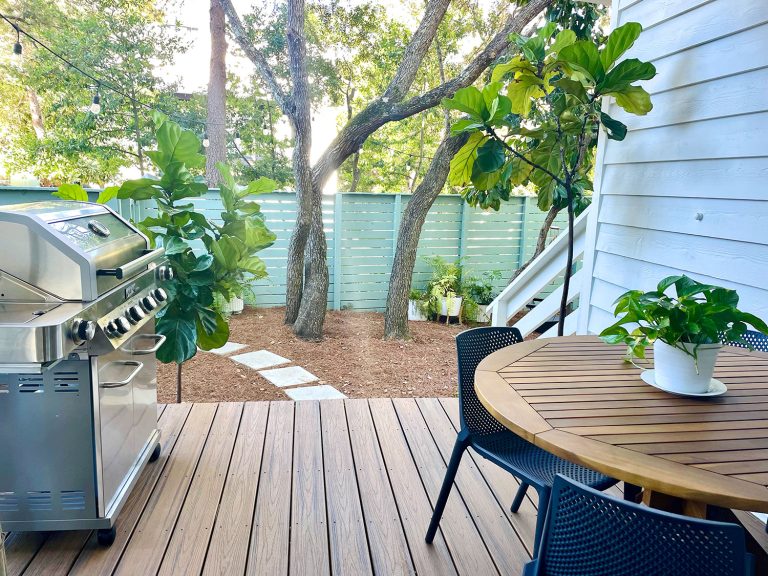
Finally took the photos and videos for this post and I can’t wait to share it because it changed our house in such a major way. Introducing… the area that we affectionately call our kitchen porch. Aka: the grillin’ spot with all the greenery. If you followed along on Instagram Stories for the last few months, essentially this side porch always existed, but after we closed off doors number 7 and 8 from our bedroom which led out here (yes our bedroom had 8 exterior doors & still has 6 of them – more on that here), it was just a floating porch without any door leading to it. Here’s an old photo to show
2021 Holiday Gift Guides
Every year it feels like we’re the last bloggers in all of blogland to get our gift guide up (is it me or are they coming out earlier and earlier?!), but the deed is done! We just do one post with three categories (adults, kids, and under $25), so here it is. We love including small makers and Black-owned businesses as well as some tried & true items from larger companies that we’ve bought & loved (like a favorite book, family game, etc) so let’s get into it. Gifts For Grown-Ups Here’s what we’re loving, either firsthand items that we’ve bought and enjoyed ourselves, things we’re getting for friends & family, or items that we’re
Our Family Room Is An Office, Art Room, and A Movie Room
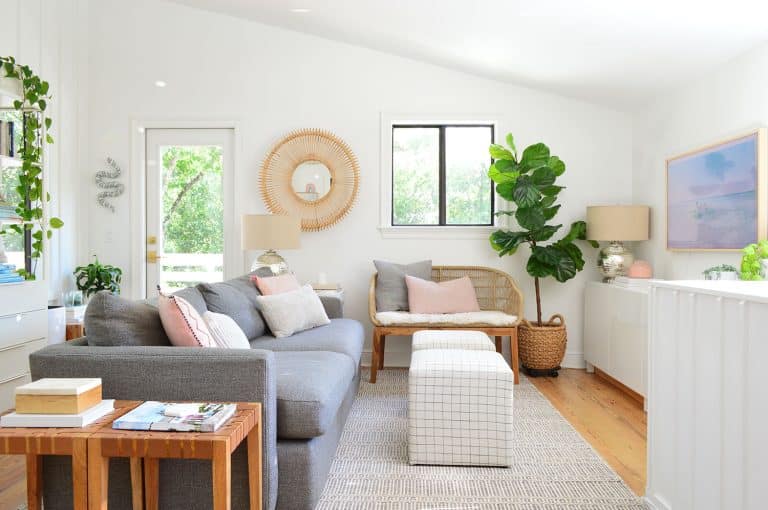
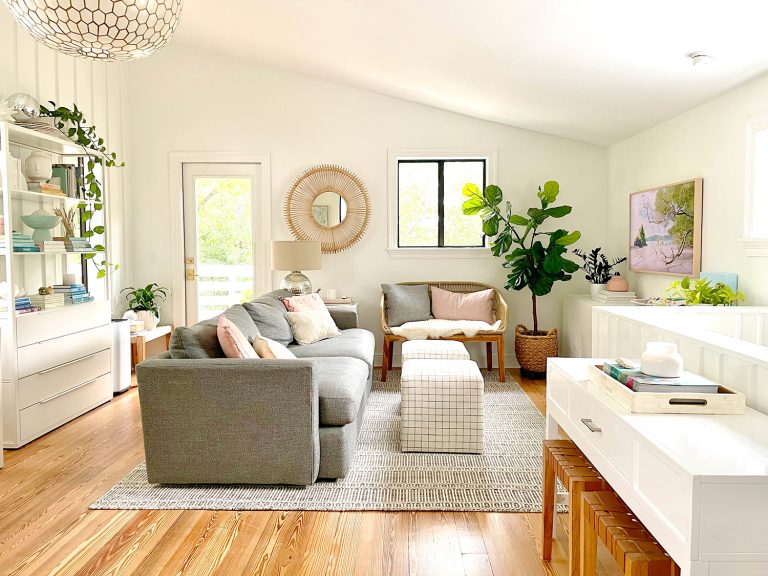
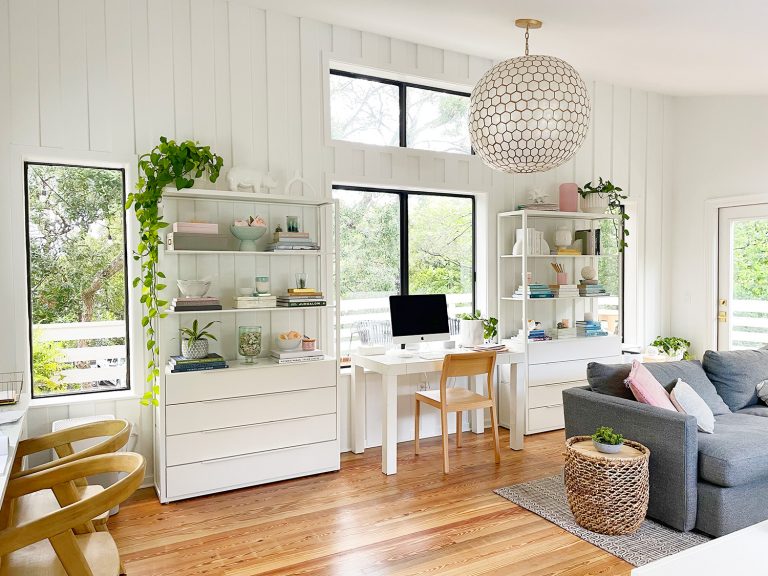
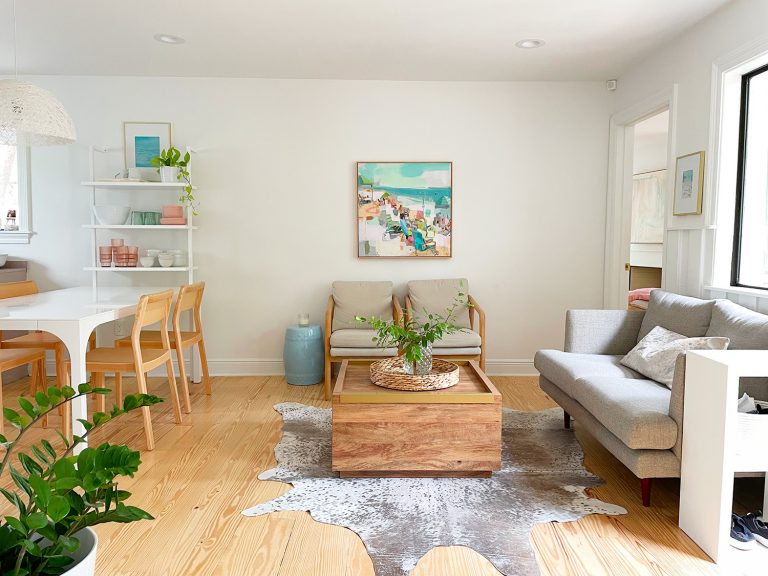
We haven’t dropped in on this room since this post from more than a year ago about hanging our giant chandelier (how is that possible?! Where did that year go?!?!). This room in many ways has functioned well from day one for us – so I guess our infrequent check-ins make sense. We knew we wanted this big multi-purpose space to serve a few different functions like cozy movie room, a place to lay on the sofa and read/lounge, office/workspace for us, and an arts & craft desk for the kids that could also store all of their papers & creations while having another spot to store all of our board games and all of
A Tribute To Burger
We shared some sad news on Instagram Stories last week, but wanted to make sure to post something here too, because Burger was such a huge part of our blog. Last Monday, our sweet chihuahua Burger passed away at the age of 15. It was a long wonderful life, but we miss him so so much. The house is way too quiet without him. We got him when we were 24 years old. Before we got married, before the blog, before we had kids, before almost every adult experience we had together. He was there through it all. He was always such a happy boy. We are so grateful for all the years we shared.
DIY Floating Kitchen Shelves
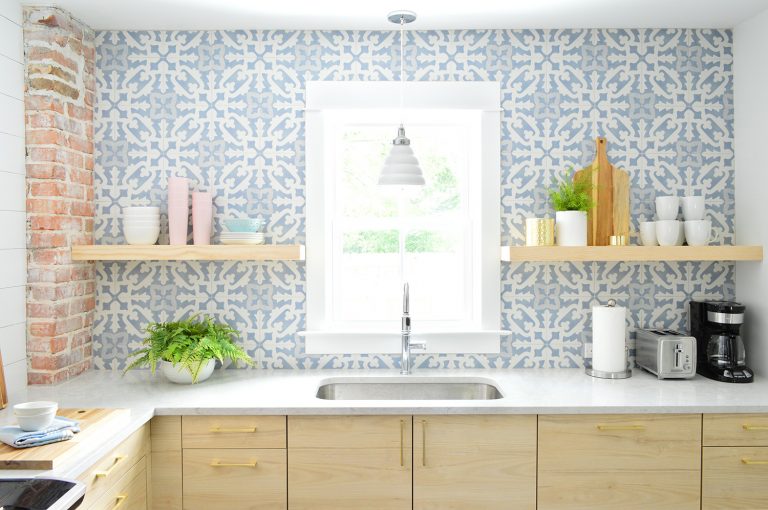
We’re big fans of floating shelves in kitchens. They’re functional, stylish, and create breathing space around all that cabinetry. We’ve had some version of them in nearly every kitchen we’ve remodeled, but our favorites are these DIY floating shelves in the kitchens of our duplex. Today’s tutorial will show you how to build them for your own kitchen. Building your own floating shelves is a great way to fit them precisely to your space AND get the exact finish you want. We’ve used storebought floating shelves in kitchens too – like these chunky Ikea shelves and rustic Pottery Barn shelves – but they’ve never looked quite as custom as our DIY floating shelves. Tools &
6 Fun & Easy Pumpkin Decorating Ideas For Kids
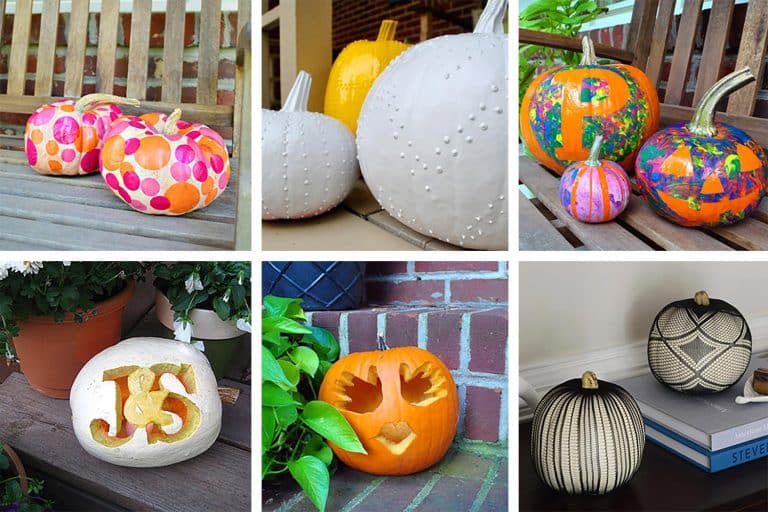
Our kids are very much into the traditional Jack-O-Lantern-style pumpkin carving, often trying to make a scarier, grosser, or goofier face than last Halloween. They’re plenty capable of carving on their own these days, so it has been fun to let them take full control of their creations, but we still remember a time when toddler-friendly (even baby-friendly!) pumpkin “carving” was the name of the game over here. So we wanted to highlight six unconventional pumpkin decorating ideas for kids (all of which are so simple and fun) that we’ve used in the past. Including a “romantic” one we made pre-kids (yes, I’ll pause while you ponder what exactly can be romantic about a pumpkin…).
The Best 7 Storage Furniture Pieces
Anyone who lives in a small-ish space knows that thoughtful storage can upgrade so many aspects of your life at home when it’s done right (and it can be a daily frustration when it’s not done well or at all). No matter how big your rooms are or how many you have, you just want to be able to access things easily & keep them in a smart spot – and downsizing from our 3150 square foot house to this 1400 square foot home last year definitely challenged us to be even more mindful about how we incorporate the most useful storage systems into our home. Suddenly we were living in 6 rooms (down from
9 Small Kitchen Ideas
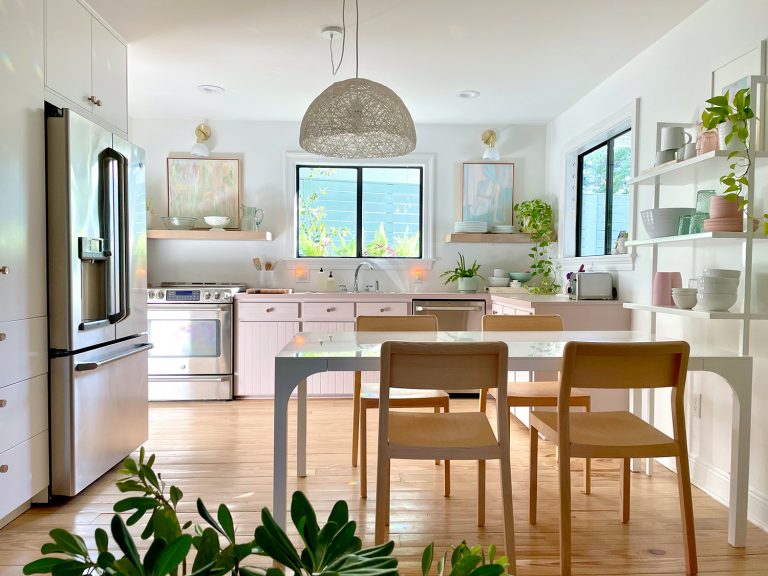
“We just couldn’t figure out why you weren’t tearing out the kitchen.” That’s what one of our contractor’s guys said to us right as we moved in last year. I understood his confusion. We were redoing floors, moving doors, vaulting ceilings, etc – but we left the small old kitchen relatively untouched – complete with mauve laminate countertops. You can see what I mean in this post. But to know us is to know that we strongly prefer to live with an expensive-to-renovate room like a kitchen first, just so we don’t rush into spending major money on big permanent changes that we might later regret or wish that we thought through a little longer.
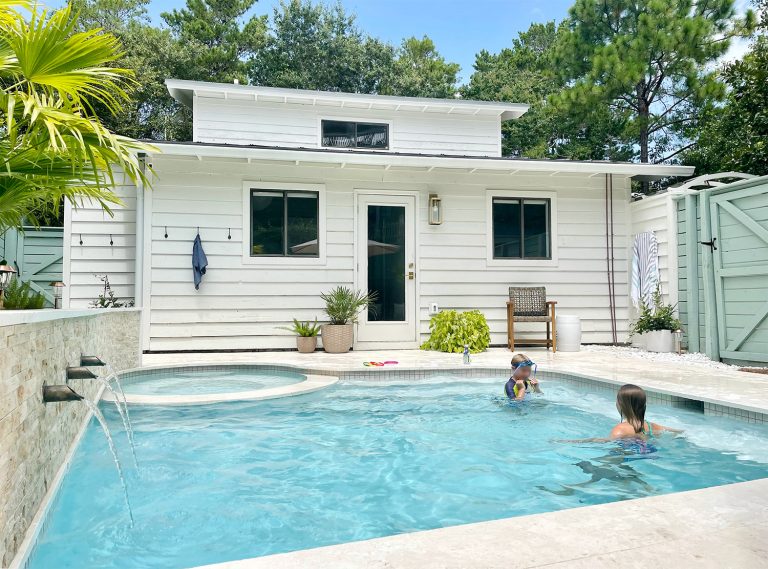
Getting A Pool – The Process & The Cost
It’s been a full year in the making, but OUR POOL IS DONE*! Here’s where I imagine someone saying “and the crowd goes wiiiiild” (and the crowd, in this case, is the five members of our household – including Burger shaking a tiny pom-pom). Today we’ve got one HUGE post full of info about the entire process, the budget, and, of course, the finished result. We’re also answering some of the most common questions we got throughout this project. *Well, mostly done. More on that later Neither of us have ever lived in a house with a pool or even in an area of the country where residential pools are very common. So this was
Before & After House Photos: 14 Months In!
Note: This post was born from an updated Before & After page that we heard people were having trouble finding (since it wasn’t at the top of our blog feed). So here it is, forever immortalized as a chronological post. And now, since we’ll continue to update our Before & After page over time, we have this post frozen in time, which is nice to look back on. Wish we had done it around 6 months in and at the year mark too. We downsized to this 1,400 square foot house in Northwest Florida on May of 2020 after a fast, furious, and long-distance three-month renovation. You can read more about how we found ourselves
- « Previous Page
- 1
- …
- 8
- 9
- 10
- 11
- 12
- …
- 240
- Next Page »
