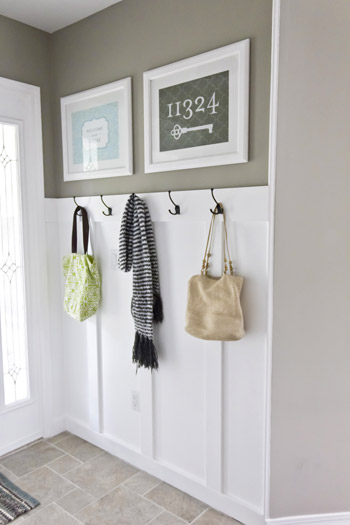
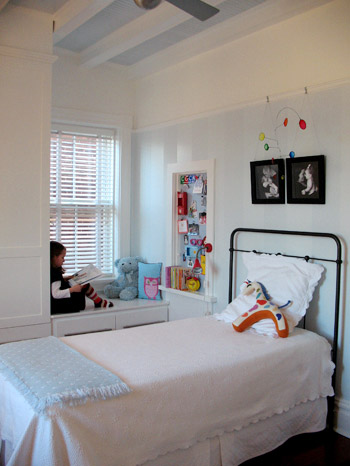
A little bit of us is always envious of a proper entryway in a home (since both of ours have been just a door that opens into a room). Plus, with our own plans to do some sort of board and batten in our hallway eventually, we’re totally loving Jenna Sue’s sweet makeover of her foyer. Here’s her email: We’re in the middle of 92,835 projects at our house, but we recently completed one that we’re pretty proud of and I thought I’d pass it your way. Our entryway started out with old white faux marble tile floors, metallic floral wallpaper, and a cheap outdated light fixture. We ended up replacing the floor with travertine-style porcelain tile,
Decorating Kitchen Shelves
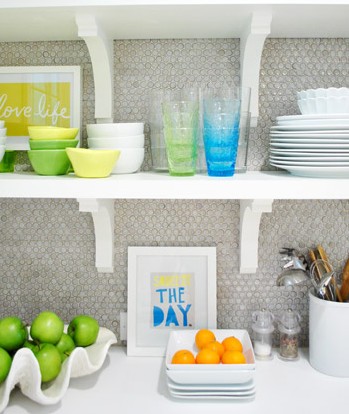
Remember yesterday when our shelves looked like this? Well, then I had fun doing this (if you’re at work, you can watch this without sound and totally get the gist): If you check out the video you can see that I can actually reach everything up on those top shelves except for the stuff in the corner by the window, but it’s easy enough to sit on the counter to grab it. Who knew I’d be able to reach all that stuff? I totally expected to have to scream “Joooooohn” whenever I needed something up there (he’s the chef of the family so that probably wouldn’t have happened very often anyway). Or use a step
How To Hang Homemade Kitchen Shelves
Let’s see… when we last left off on Monday, our open shelves had been primed in preparation for their big hanging debut. While we had the primer out we went ahead and slapped a coat on the hood cover too (using a 2″ angled brush in the cracks followed by a small foam roller to smooth everything out). Things were instantly looking less wood-sy on that wall. Once the primer dried on both – we used Zinsser Smart Prime which is low-VOC and was recommended by a few pro cabinet painters that we know – out came the same high-durability paint that we used on our cabinets (yes, there’s still plenty left!) and we gave
DIY Tulip Bouquet
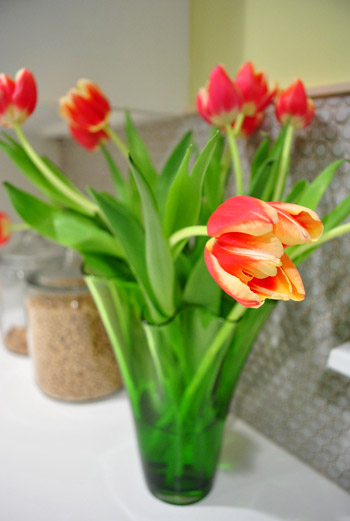
While we wait for our primed and painted open shelves to dry (ahhh, tomorrow is H-Day, aka: haaaanging day!) we realized that we’ve been waaaaay overdue for a budget blooms post. Remember when we used to do them every month? Yeah, we fell off. Oops. And a few of you have actually requested them, which is just what the doctor ordered since book chaos + kitchen chaos = a hankering for a sliver of beauty in a completely trashed house like ours. Seriously, it looks crazier than it did the day we moved in. Bed in the living room? Check. Painting and repainting a five foot swatch of wall in the playroom different colors every
Laundry Room & Mudroom Organization
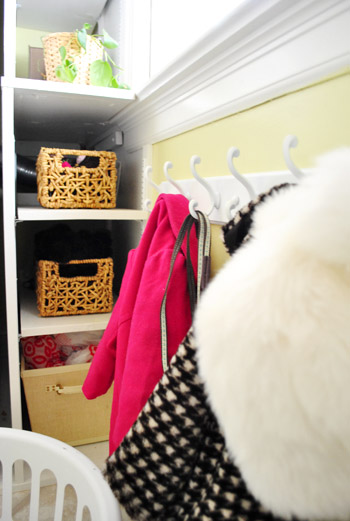
It’s time for this week’s installment of my strange little self-imposed “Dude Get On That Already” challenge (where I’m attempting to use or donate/craigslist all the random items that we’ve been hoarding in our full-of-stuff playroom). When I laid eyes on this old bar o’ coat hooks that used to hang in our first house’s den, I thought it might be just the thing for our laundry room. Clara’s coats & hats & gloves + Burger’s leash = lots of small things that might be easier to grab/find if we actually had somewhere to hang them. So first we made sure it would fit by holding it up where we thought we could hang it.
Fab Freebie: Roses Are Red
***This giveaway is no longer accepting entries – see who won below!*** First off – THANK YOU for all of the awesome poems this week. Sherry and I were cracking up at all of your spins on the “Roses are red” verses. Well done, team. Well done. Anyways, random.org has selected the winner of the Teleflora gift card as… Cristina S (who wrote: Roses are red, violets are blue, I’m awful at rhyming & I hope you are too!). Congrats Cristina! It’s almost Valentine’s Day and to show our love for you, we’re giving you flowers. Well, actually Teleflora is giving you flowers. And technically just one of you. But not just any flowers –
How To Make Wood Kitchen Shelves
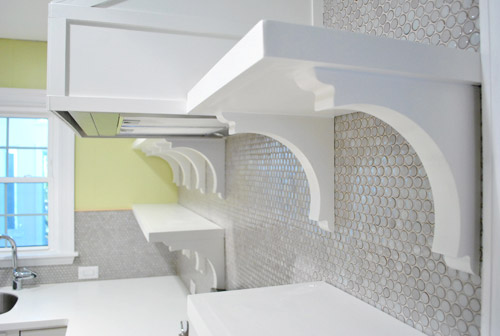
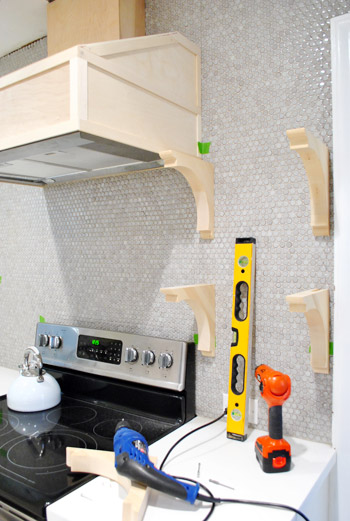
Okay, let’s get some open shelves up in this mother. With the hood cover now built, we could finally put the shelves in around it. We were originally going to build true floating shelves (maybe even breaking out Ana White’s instructions) but after looking at some of our inspiration pics again, we decided to open ourselves to the idea of using brackets instead. Note: For anyone wondering how the whole dust/grease situation is with open shelves, check out this post (we’re crazy so we did our research). Apparently the consensus is that if you have a great range hood (check!) and put dishes you use often up there (soon-to-be-checked!) it’s all good. Rarely used items
January Superlatives
January was one of those you-sneeze-and-you’ll-miss-it months for us. It just flew by! Is it really already February? Crazyville. So before our behind-the-scenes-book-stuff threatens to completely erase our memory of this month, we like to take a moment to look back on all that we’ve done at a glance (and gather all the links in one handy place for ya). And of course we tossed in some never-before-seen stuff for kicks. This month we were all over the place as usual, but focused a lot of our time on the kitchen along with making a mini kitchen for Clara and tackling some random stuff that we’ve been hoarding in the playroom in what we affectionately
A Fantastic Attic Makeover
When I was growing up and my parents would take us to open houses for fun, my little sister and I always picked the most interesting room as “ours”: the one with the secret compartment, the one with the biggest windows, etc. If we were to tour Kristin’s house, I’m sure the attic they transformed into their daughter Ella’s bedroom would take the cake by a landslide… and quickly turn into a big fight between my sister and I about who had “dibs.” Here’s Kristin’s letter all about it: Hi guys! I’ve been torn for a while about which project to submit, but I’m going to go with my daughter Ella’s room because a) the
How To Patch And Spackle Ceiling Holes
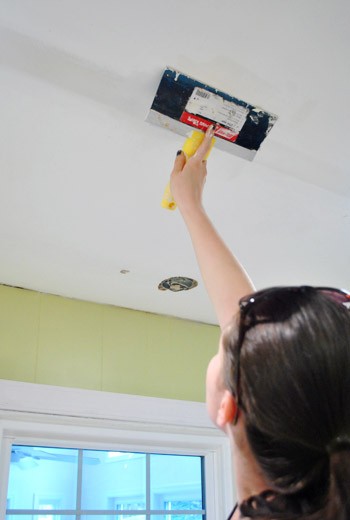
Holey moley. Our ceiling was having a little hole problem after some electrical wizork last week (warning: $herdog is in full effect in this post)… So we did the normal thing and donned sunglasses and hats along with breathing masks. Why? Because we can’t find our safety glasses (book shoots = can’t really find anything). And ceiling dust is gross when it’s up your nizzle. Then we got our patch on. I’m the designated Spackle Wench in our family, but John has longer arms, so he helped me by doing step one: lightly sanding the outside of the holes we were patching. Then it was time for these guys from Home Depot. They’re basically a
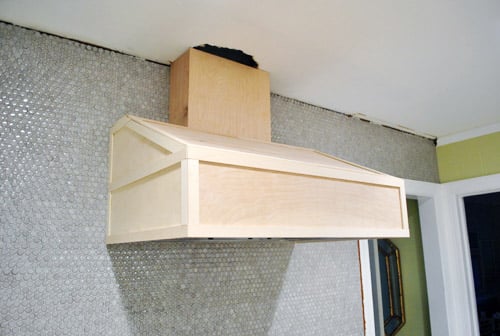
How To Build A Wood Range Hood Cover
Even though I’m sure you figured we’d just grow to love the look of our crazy exposed hood (“oooh, it’s so unfinished chic”) we were ready to get this hood-covering train in motion. Oh and as for the height of the range hood, we just followed the manufacturer’s recommendations (the JennAir website offered a range and we went right in the middle of that range at 34″ above the counter). As for the hood cover, the first thing we did was use photoshop to mock up two different options to figure out what we thought would look best. This was our original thought, since it looks most like a lot of the hoods in our
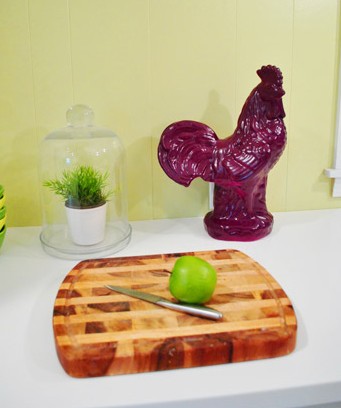
A Giant Rooster In The Kitchen
Me. I’ve actually been hiding this $12 HomeGoods find in our playroom for… oh… five months? So it was about time I attended to him. Yup, this guy’s part of the self-imposed initiative I like to call the “Dude Get On That Already” challenge, since I’ve solemnly vowed to use it or lose it (aka: use it or craigslist/donate it) when it comes to all the things we’ve been hoarding in our full-to-the-brim playroom. At first glance you might think “he’s a fine looking roughly weathered white & tan rooster” (or “you need ceramic animal rehab” which could also be true) but I thought his distressed white finish was a little more country than my
- « Previous Page
- 1
- …
- 117
- 118
- 119
- 120
- 121
- …
- 240
- Next Page »
