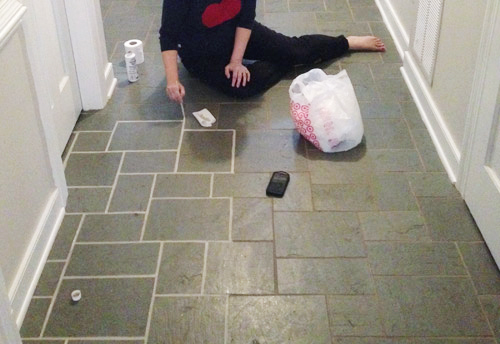
The discolored and dirt-stained grout in the tile floor of our foyer looked super old and gross, but after trying nearly a dozen cleaners and cleaning tricks we nearly gave up. Then we finally find THE SOLUTION to making the grout look white and clean again! Now that we’re done, you can see how the view just got a heckova lot better around here. The crisp white grout lines play off the white trim and make the whole space feel newer and cleaner. The funny thing is, it wasn’t actually cleaning that did the trick. So if you’ve got a similar issue with discolored or stain grout, here’s our official intervention: stop scrubbing! Well, maybe
How To Paint A Porch Floor
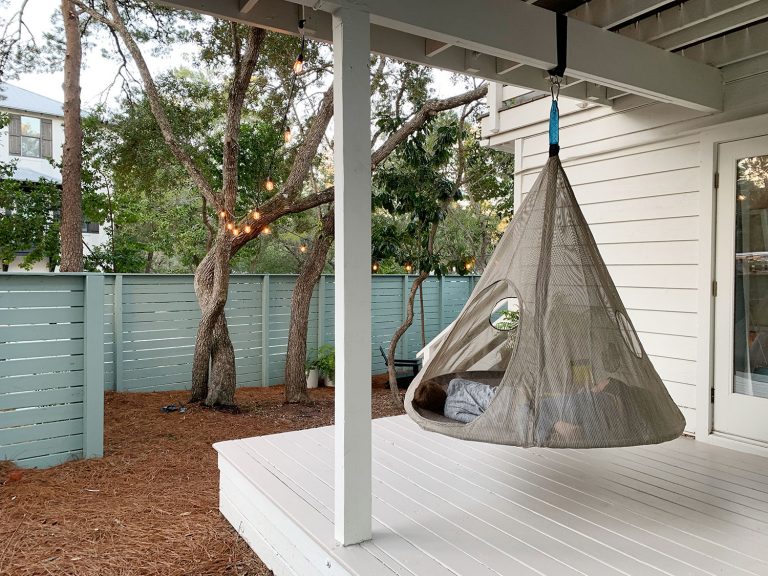
If there’s one thing we’ve learned about living here, it’s that we do a ton of living outside. Between each at-home learning break the kids are out there running around, we make s’mores at our fire pit every week or so, we sit on our front porch and watch the neighborhood dogs go by, and we often eat or hang out on the second-floor deck (we even work on our laptops up there on especially nice days – which is where I’m writing this post right now). We can really feel the house working extra hard for us thanks to the location/climate (good weather definitely encourages us to be outside a lot), but also due
How To Paint Your Kitchen Cabinets
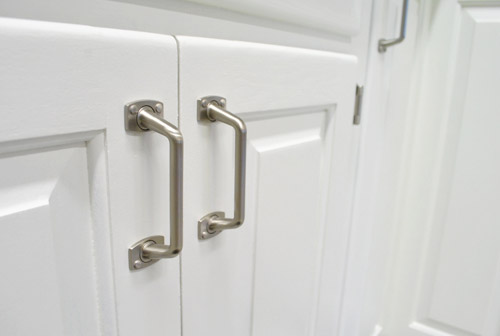
Painting your cabinets is a perfect way to makeover a dated kitchen without splurging on a big renovation. It doesn’t cost much and, with the proper preparation, your paint job will look great and last a long time. We’ve used the tutorial outlined below to paint cabinets in 4 separate kitchens (not to mention cabinets in other rooms too) so we’re confident it’s a DIY project that will work for you. Follow along below! The kitchen featured in this tutorial is from our second house which had solid oak cabinets throughout (along with wood paneling!). So while steps focus specifically on painting wood cabinets, the process is similar for any cabinet material. You can also
How To Build A Modern Fireplace Mantel
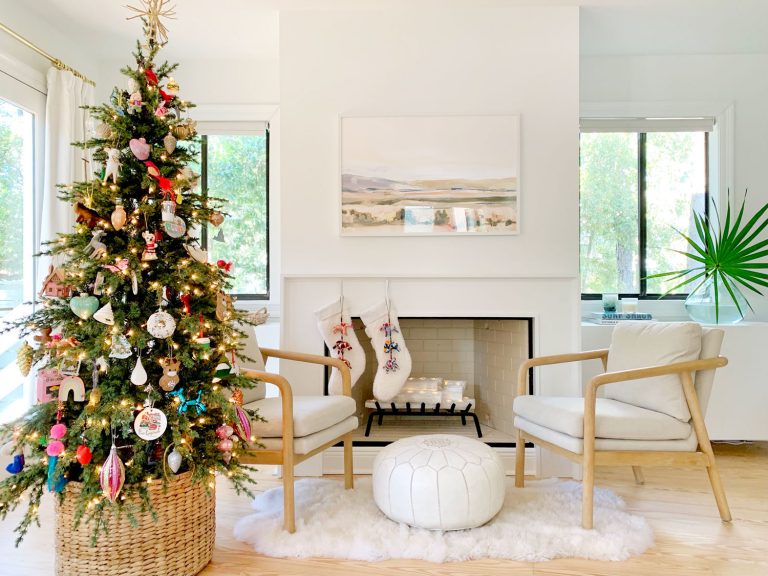
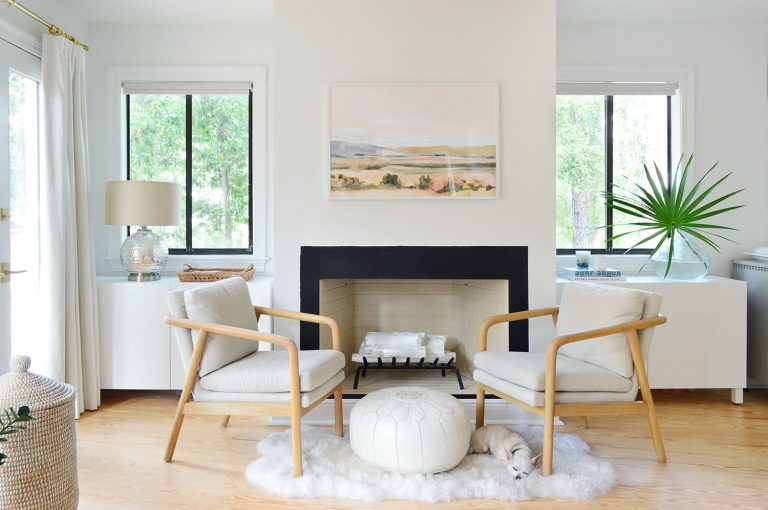
We mentioned in this year’s holiday decorating post that we wanted to get some sort of fireplace mantel built this month and, well, Santa delivered! ::pats self on back:: Yes, setting a goal to have a place for hanging our kids’ stockings is a little random, but we were happy to have the motivation to check this project off our list sooner rather than later. If you recall, our fireplace looked like this when we moved in: Here’s a wider shot of that area right after we got here, just for kicks. Ah, those packing blankets as curtains are #MEMORIES. So yeah… it feels good to be here: Sherry did some work to freshen it
Our Kitchen & Sitting Area, Six Months In
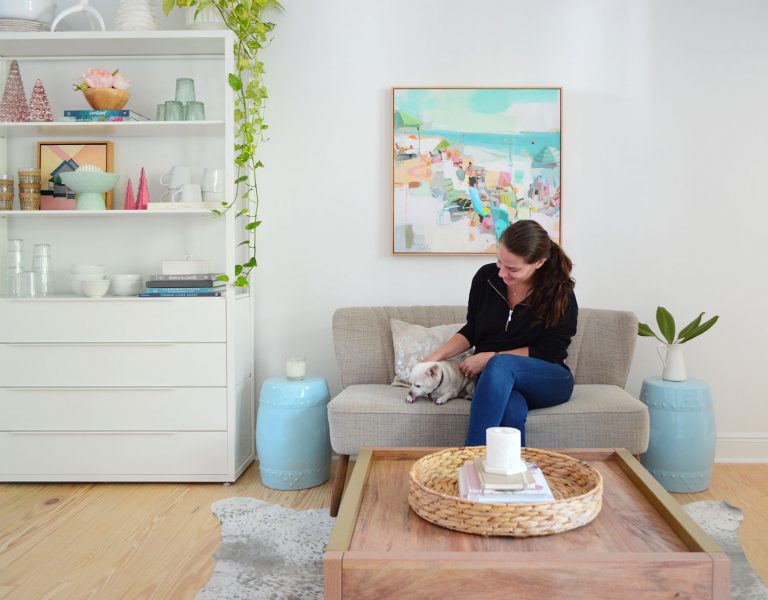
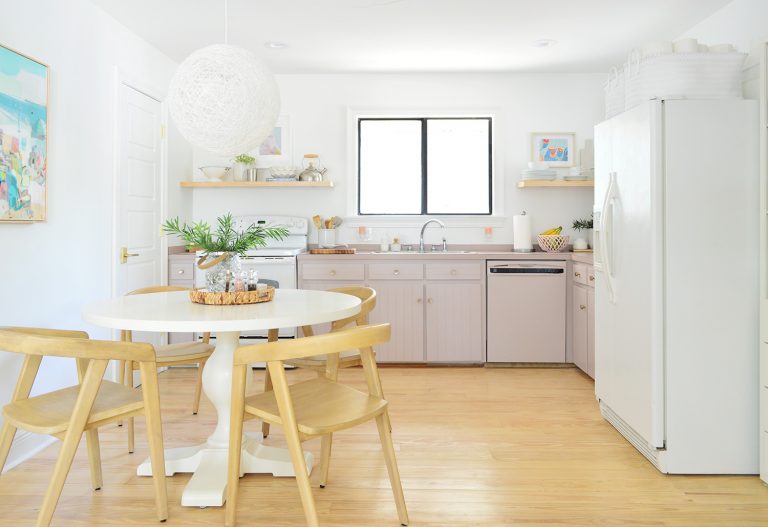
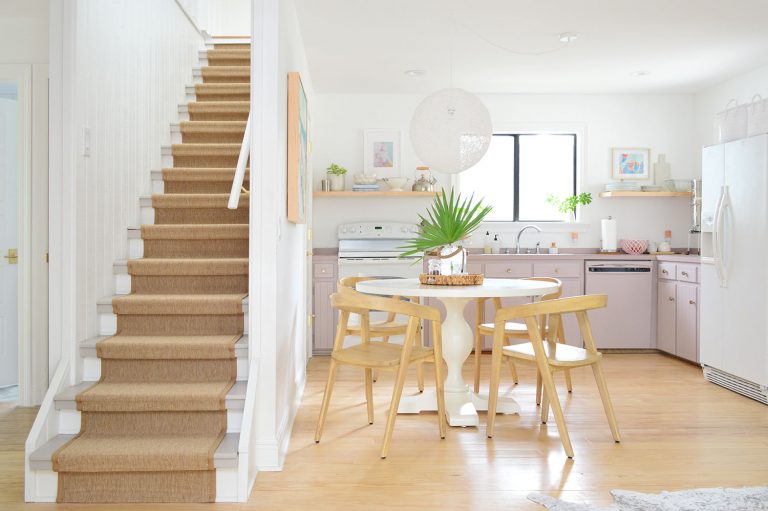
*We updated this post to add additional pics & a video, so if you see something here that you don’t remember when you first read it, that’s why. You’re not going crazy ;) We shared this space three weeks after we moved in and now we’re back with a six month update. Much like we said in that first post, we have some long term plans for this room, so this is just what it looks like as of this moment in time (I highly recommend photographing rooms to see how they evolve because it’s so much fun to look back on). Since that three-weeks-in post, we did a series of inexpensive updates that have
Decorating Our Downsized Home For The Holidays
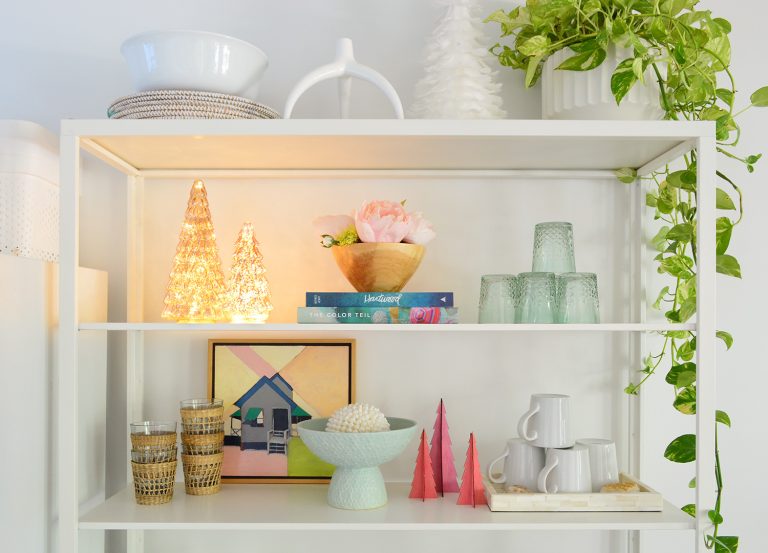
There’s something extra special to me about decorating a house for your first holiday season spent there. It’s right up there with seeing whatever pops up outside during your first spring at a new house (I basically scream out the window like I’m the announcer at a football game: “over on the left it’s A PATCH OF DAFFODILS! NOBODY SAW THAT COMING!!” But back to our holiday house tour. It’s looking very sweet & festive around here. Since this move also involved some serious downsizing & simplifying (last week John shared an update on that), it promised to be an interesting exercise in what would go where in our smaller home. As you heard on
What’s It Like To Downsize?
Believe it or not, we’ve lived in our new house for over six months now. Half a year! So we thought this would be a good time to check in on some of the goals we had for moving and downsizing to see what has met and exceeded our expectations – along with detailing some of the biggest challenges we’ve encountered along the way. This is going to be long & detailed, because it feels like there’s a lot of ground to cover, and while this rundown will be pretty specific to our situation, I think it’ll still give you a good window into the realities of downsizing that you might also encounter if you
2020 Holiday Gift Guides
This year we got our gift guide post up a lot sooner than usual, because we’re highlighting tons of small makers and Black-owned businesses that we love, and we want to give those shops as much lead time as possible (heck, large stores seem to need more lead time than ever these days too). We also included a handful of tried & true items from larger companies that we’ve bought and loved (like a favorite tool or family game). There’s stuff for grown-ups, kids, and a ton of budget-friendly ideas that are under $20, and even under $10 that would be great for teachers, neighbors, coworkers, or white elephant exchanges! Gifts For Grown-Ups Here’s what
Making A Media Cabinet With Ikea Besta Cabinets
Downsizing from 3200 square feet to 1400 means storage is a big deal to us these days, and a couple of weeks ago we got two major upgrades in that department. We still have some “hacking” to do to the simple Ikea cabinets that we bought, but we’re stupidly giddy over just having them assembled and installed. They basically add up to 8 more large cabinets worth of storage – and our kitchen only has 7 cabinets, so the excitement was palpable when those flat-packed boxes arrived (they had about a 4 week wait time, but otherwise delivery was smooth and uneventful for those wondering how the ordering experience was during this time period). They
Front Porch Makeover (We Painted The Ceiling!)
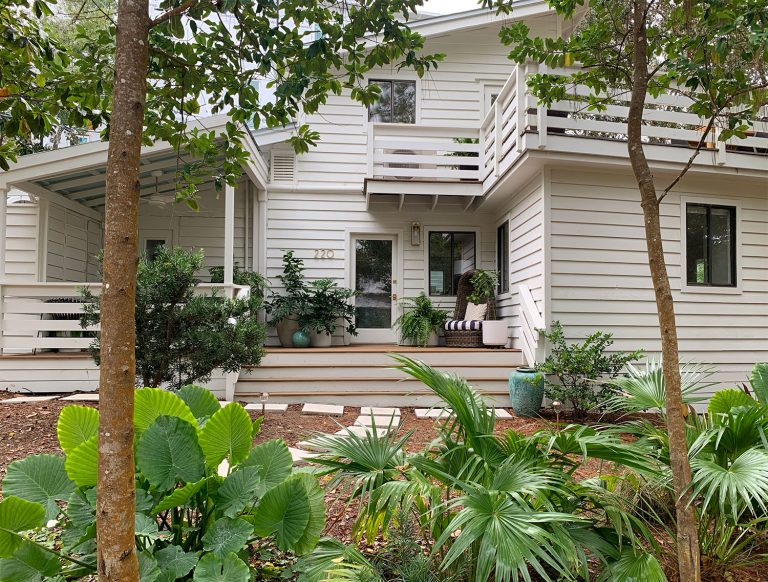
It has been about five months since we first introduced you to the outside of our house. That was our very first week of living here, and our outdoor spaces have been getting a lot of use ever since. You’ve already seen how our second-story deck has come together, so today we wanted to update you on our front porch as well as the covered area that we call the side porch and some new landscaping that we’ve added too. We’ve made some functional and organizational improvements, some strictly aesthetic enhancements, and have some other upgrades that are still in the works. So won’t you join us on the front porch? Here’s how it’s looking
Adding A Sisal Stair Runner
Sherry recently hinted on Instagram Stories that we were up to our old staple-coloring antics. And by that I mean we were installing another stair runner (admittedly one of the less popular definitions of “antics”). But after installing one in our old house 7 years ago it has become one of our favorite projects – just because we truly believe anyone can do it, and whatever runner you choose can give you a totally different look (and a nice grip underfoot, but more on that functional upgrade in a minute). Why We Wanted A Stair Runner Before we get into the “how” of adding this runner, let’s talk about the “why.” We’re not people who
DIYing A Colorful Wood Wall Treatment
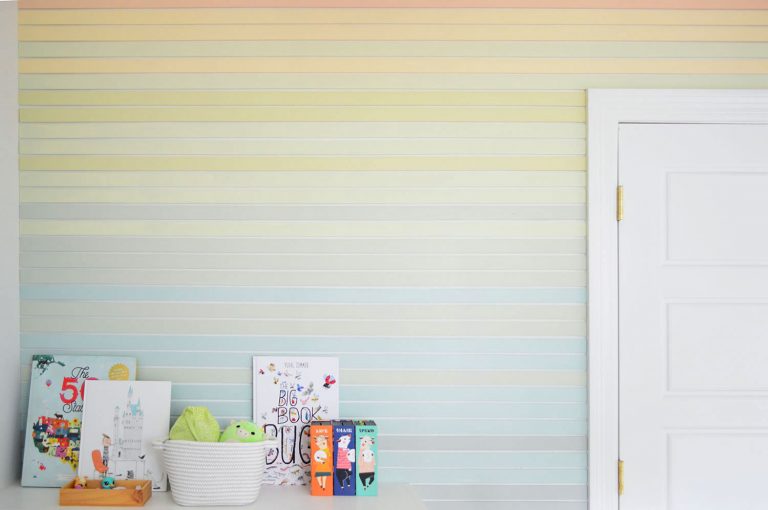
Hoo boy, today’s post has all the good stuff: murder, mystery, INTRIGUE! Just kidding it actually has none of that. But it does have a riveting step-by-step tutorial that involves ten test pots of paint and a whole lot of lattice. So let’s get right into how we created this colorful wood wall treatment in our son’s room. Last time you saw this room in July, we had installed this easy upholstered headboard and built-in bookshelf. It made his room so much more functional (and extra cozy), but we mentioned that we were all looking forward to adding some more color & personality in there for him over time – especially on that wall at
- « Previous Page
- 1
- …
- 10
- 11
- 12
- 13
- 14
- …
- 240
- Next Page »
