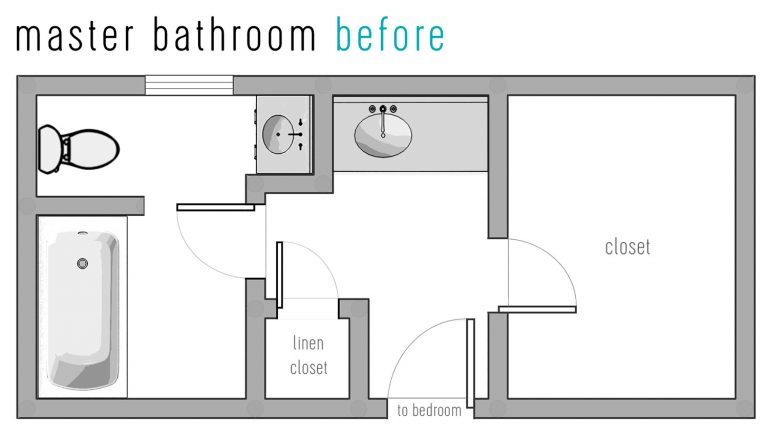
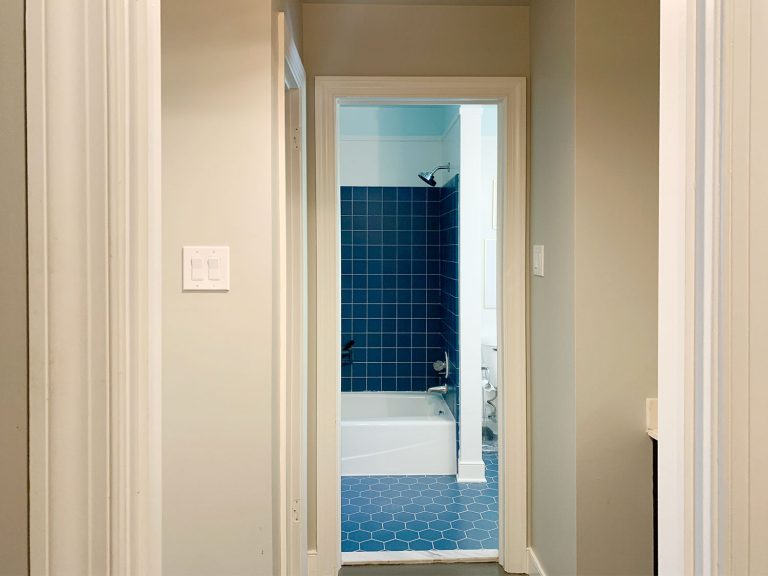
Ok, now we’re cooking with gas! Maybe I shouldn’t use that expression for a bathroom reno… ANYWAY… we’ve made lots of progress since partially demo-ing the room last week (more on that here), and wanted to share our final floorpan with you (IT’S SUCH A GIANT IMPROVEMENT!) and our final tile picks (along with a few other things we debated, why we chose what we chose, etc). So here’s the old bathroom layout. Yes we lived with it like this for over six years. Yes, it was A LOT of doors (the one leading from the hall to our bedroom is right behind where the tub is below – so there were five in a
#149: The Episode That Made Me A Plant Lady
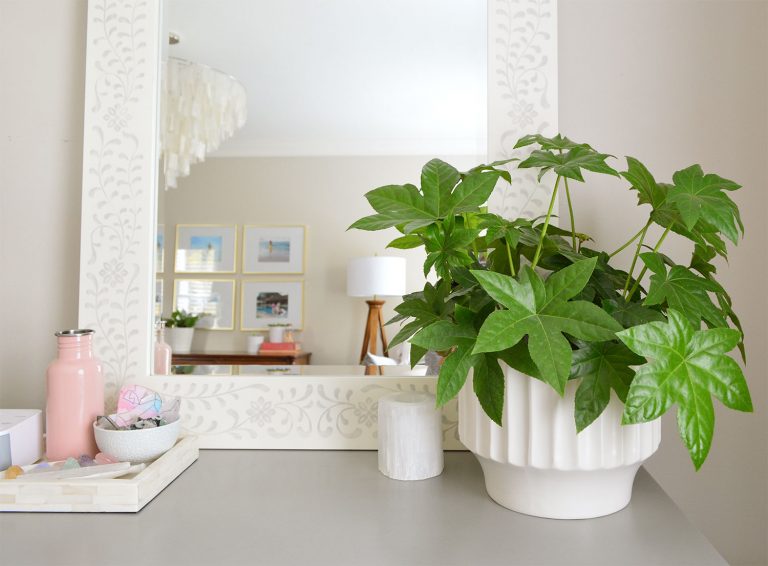
We’re sharing how our bathroom reno went from zero to fifty percent (that’ll make more sense when you hear what we did) and how we gained a ton of insight about the right layout and the right size for the vanity, shower, tub, etc. Also… the houseplant struggle is real, so we asked plant expert Carmeon Hamilton everything we’ve ever wanted to know about how to keep inside greenery alive (and happy!). She shared her favorite easy plants for beginners and even laid out when to water, re-pot, and fertilize your indoor greenery (we were like: wait, we should be fertilizing?!?). Plus, we’re shouting out a super handy multipurpose tool that we loved so much
4 Decorating Tricks For A Smoother Makeover
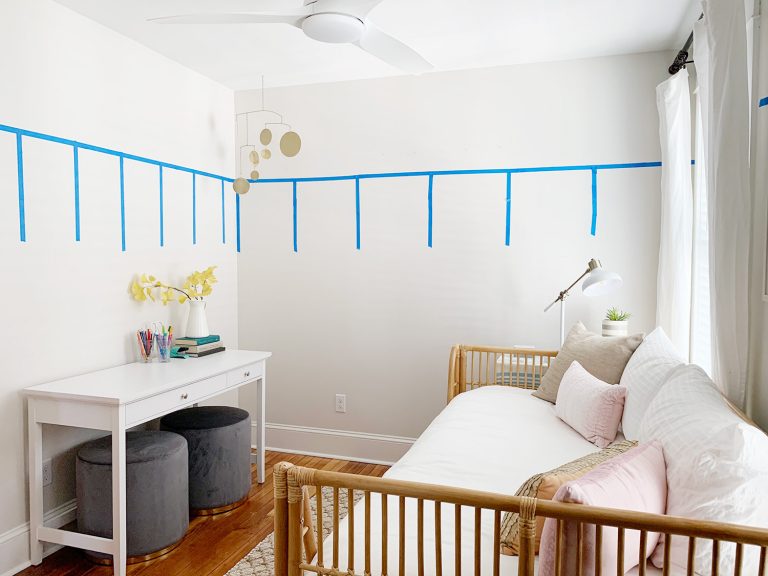
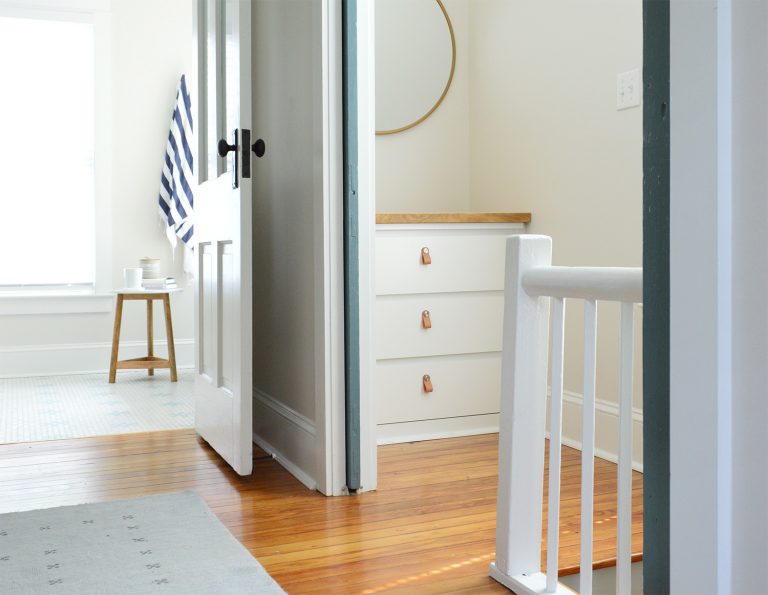
We’re in the midst of two room redos right now and I couldn’t be more excited about them! One is our bathroom reno that we shared last week, and the other is a much lighter and less dusty one, which involves zero demo or wall moving, but a whole lot of function that we’ll be gaining (plus a wall treatment + wallpaper, which thrills me to no end). We’re “reconfiguring” the middle bedroom at our beach house, which used to look like this. Yes, it’s a very small room that was basically all bed: Having a lighter room redo running in the background while we wait for orders like our bathroom tub & vanity to
#148: How We Keep Our Lives & Projects Organized
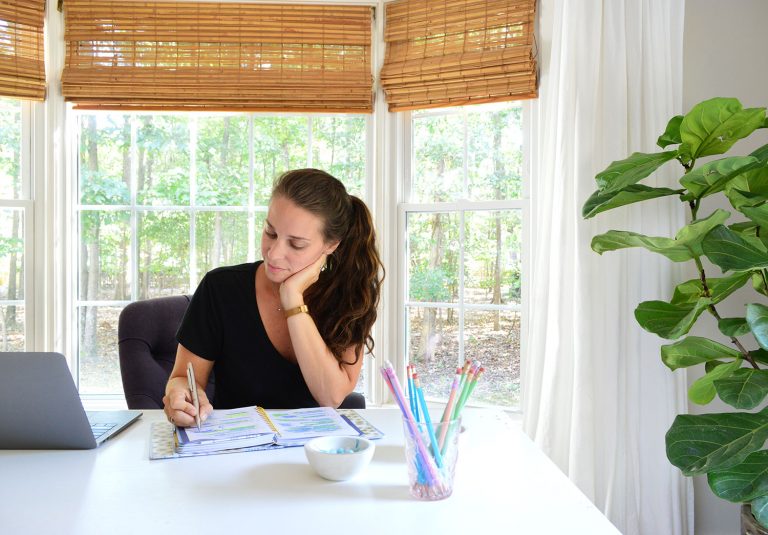
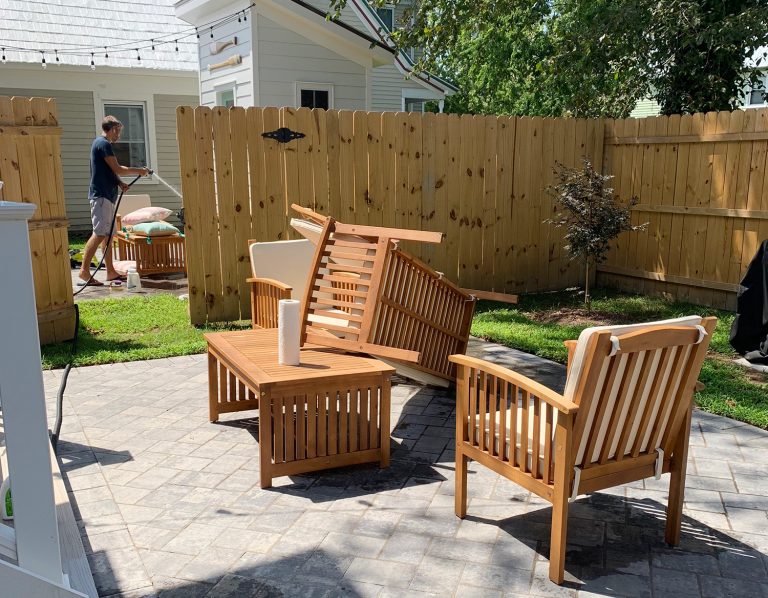
People are always asking how we keep our projects and our household organized (“do you make lists? use an app?! help me!”) so today we’re outlining the three tools that we use every day. Some are digital, some are old school, but the most important part is that they help to keep us on the same page (sometimes literally) about our projects, purchases, and more. We’re also sharing the near completion of a long overdue outdoor update that almost sent one of us over the edge… of the roof. Also, could it be true that some people don’t have a de facto “side of the bed” every night? WHAT?! We have questions. What’s New That’s
Starting A Bathroom Renovation
If you listened to this week’s podcast you heard John and I proclaim that we’ve moved from the verrrrry long daydreaming and changing our minds phase of our bathroom planning process (which lasted over 6 years while we renovated most of the other rooms in our house as well as the entire beach house & duplex) into the finally-being-sure-of-what-we-want-to-get-out-of-it and beginning to actively space-plan it phase. For example, after years of going back and forth about whether we wanted a separate tub and shower or a tub/shower combo, we’re now 100% sold on separate ones (we have that setup at the beach house and it’s our favorite bathroom ever). I even said on this week’s
#147: A Summer Living In A Smaller House & Smaller Town
What happens when you move into a smaller house in a smaller town for over two months? That’s what we found out this summer when we stayed at our beach house to manage the duplex rentals – AND IT WAS THE BEST SUMMER OF OUR LIVES. The smaller home and smaller town lessons that we learned really stuck with us when we returned home – and they have already inspired us to make 4 changes to our life and habits back in Richmond. So even if you aren’t planning to move or downsize, there are some things you could experiment with too. We’re also sharing why we’re fiiiiiinally starting a long-awaited renovation in our house,
5 Lessons From Our Summer As Airbnb Hosts
We talked on this week’s podcast about how our first rental season at the duplex wasn’t perfect, but it went pretty darn smoothly, all things considered (you can hear a bunch of specific stories, nerve-wracking moments, and things we learned in that episode). Over the course of this past summer, we hosted 23 families thanks to it being a duplex. Two bookings were always happening simultaneously, and the house was fully occupied with guests every night from mid-June to Labor Day. We joke that going from managing zero Airbnbs to two was kind of like going from having zero kids to having twins – it literally felt like we were plunging ourselves into the deep
#146: What It Was Really Like Renting Out The Duplex
We survived our first summer as Airbnb hosts to 23 different families over the course of the last three months – and, more importantly, so did the duplex itself! But our first rental season wasn’t without hiccups, high anxiety moments, and surprisingly frequent learning opportunities. So this week we’re taking you behind the scenes of a jam-packed few months of learning the hospitality ropes while juggling guests and (more literally) a very full jug of laundry detergent. Sherry also celebrates the end of a long “personal renovation” and we share how something simple led us to rethink our approach to cooking dinner. What’s New I know Sherry’s enduring Invisalign saga has been the topic of
Updating Old Kitchen Cabinets With New Inset Doors
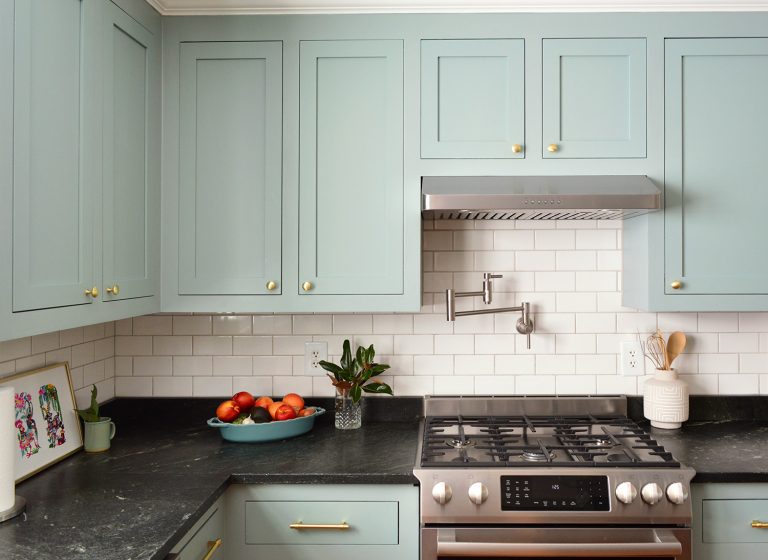
I’ve been so excited to show you Teresa and Andrew’s kitchen makeover. They’re some of our closest friends who live right around the corner from us, and ever since we filmed this bookcase styling time-lapse video in their living room, I’ve been not-so-patiently waiting for their new appliances to arrive so we could share a big ol’ virtual kitchen tour with you guys. Not only do they have amazing style, they also made SO MANY budget-friendly choices in this kitchen and I really hope they help to demonstrate that you can often work with a lot more than you might think (you don’t always have to scrap everything and start over!). And you can save
The Real History Of The Pink House (There’s A Twist!)
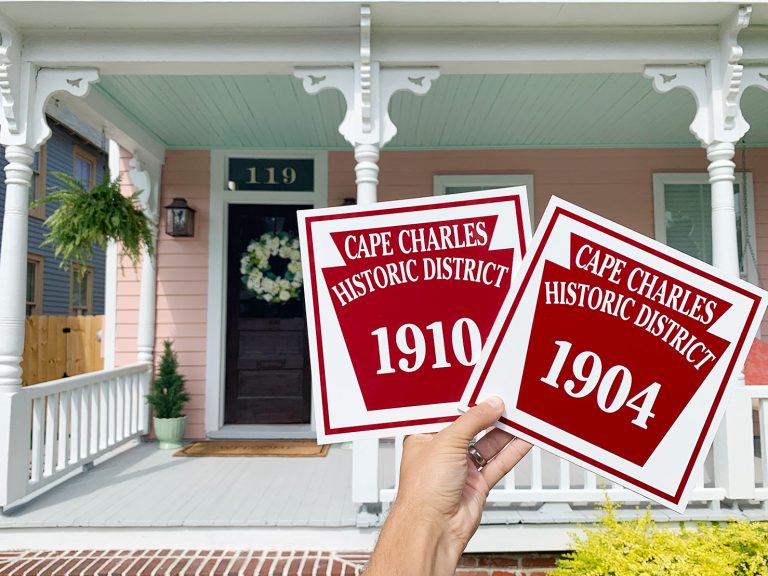
This all started because we wanted one of those cool “Historic District” plaques on our beach house. Spoiler, we got it…and one for the duplex too! But the process turned us into amateur sleuths, history-buffs-in-training, and (more predictably) people who paint their front door a new color while they’re at it. So here’s the story, along with a mini porch update, and some tips & advice for uncovering the history of your home too. Ever since we bought our beach house three years ago (yes, three!) we’ve been jealous of admired the official “Cape Charles Historic District” plaque on our neighbor’s house (the blue one between the duplex and the pink house in the photo
DIY Shiplap Wall Plank Treatment ($31 total!)
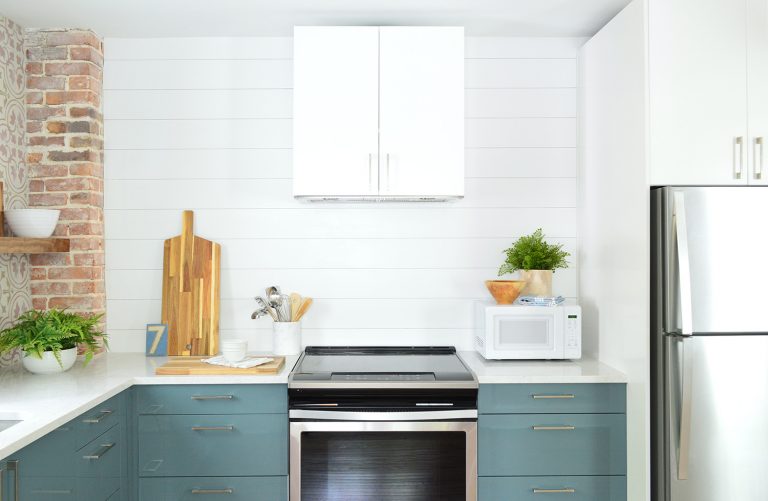
Many moons ago we promised to share the DIY play-by-play for this shiplap-esque, paneled wall treatment because it’s ridiculously easy and GLORIOUSLY BUDGET CONSCIOUS. As in, it cost less than two boxes of my favorite light bulbs. Or dinner at Chipotle. Yes, those are my units of measure. But the point is: it was only $31! I mentioned in our backsplash post a while back that we opted for a different treatment on the stove wall in each of the duplex kitchens because it felt too chaotic to continue our patterned tile on two walls, so we chose something subtle yet wipeable AND easy to maintain (you can see the both duplex kitchen reveals here). Also cheap
Organizing Our Beach House Shed
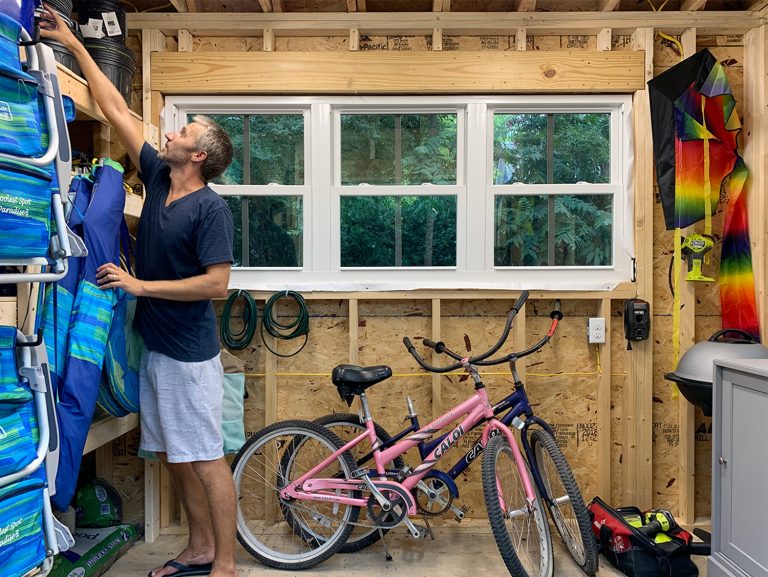
Earlier this summer we shared how we made over our beach house backyard in one giant post that covered the entire year-long process of taking it from a gnarly jungle to compact-yet-relaxing little oasis. It’s a very small space, so we worked really hard to squeeze lots of function out of it – more on that here – and back when we shared that post, many of you asked for photos of the inside of our pink shed along with details about what we store there. So today all of your shed-poking-around dreams are about to come true. When we shared that backyard before & after fest, I confessed that the inside of the shed
- « Previous Page
- 1
- …
- 18
- 19
- 20
- 21
- 22
- …
- 240
- Next Page »
