Pretty much every vintage runner we own is one that we have ordered online, never having seen them in person. Generally, we’ve had great luck. But it’s always kind of a gamble because you can’t fully trust a photo to show you what something truly looks like in person (especially under the specific lighting conditions of your space versus theirs – plus your computer monitor’s brightness can alter things too, etc).
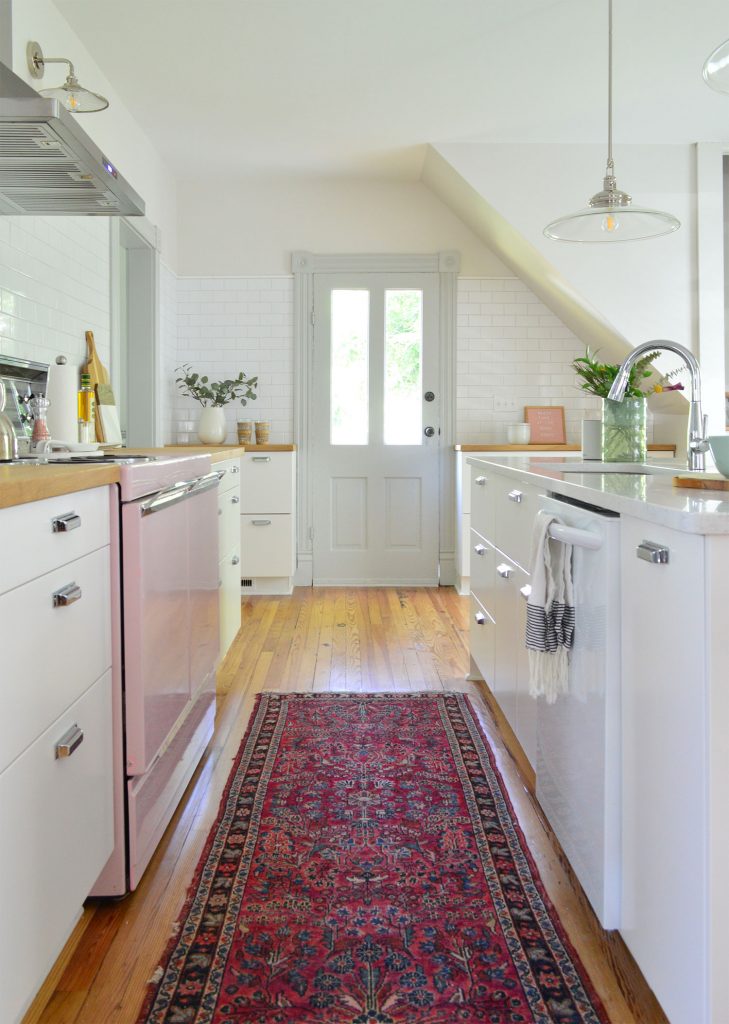
It might arrive and look darker in person. It may be a bit more worn when you actually lay eyes on it. The colors may be a smidge yellower or grayer or whatever. But as long as you understand that up front and are willing to adjust your expectations and stay flexible, we generally think buying secondhand rugs online is a GREAT OPTION. We’ve used that method to buy a big area rug for this duplex bedroom, as well as a runner for our kitchen, and another runner for the pink house’s kitchen (seen below).
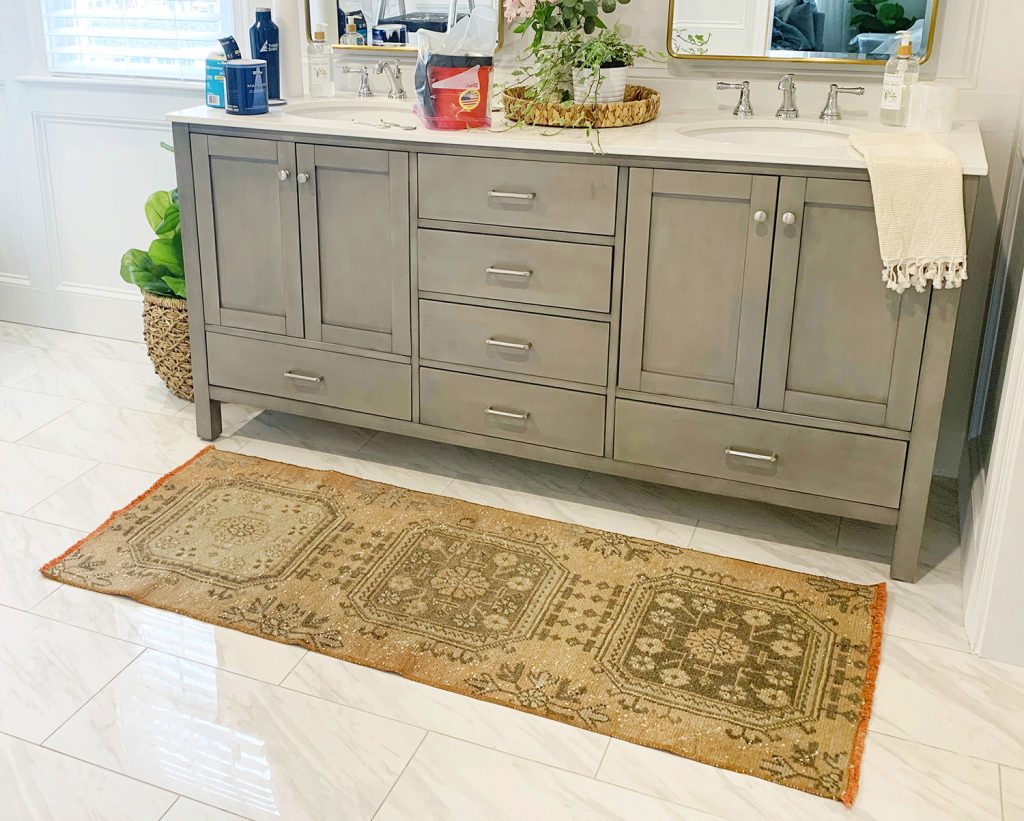
But a few months ago we bought a rug for our bathroom/closet that looked like a muted peachy-pink color in the listing photo… and when it arrived, it looked yellower and just generally dingier than we expected. Could it have been our dimmer indoor lighting versus the outdoor shot they used in the listing? Sure! (Sidenote: any rug photo taken outside is usually brighter and more colorful than the same rug photographed inside). But the long and short of it is that it didn’t quite look like we hoped it would when it landed in the bathroom. The photo below is a bad iPhone picture that we took when it arrived (we were debating putting it in front of our vanity or in our closet – which, spoiler alert, is where it now lives).
And we LOVE IT NOW. But it took a little elbow grease to get there. Here’s how it all went down.
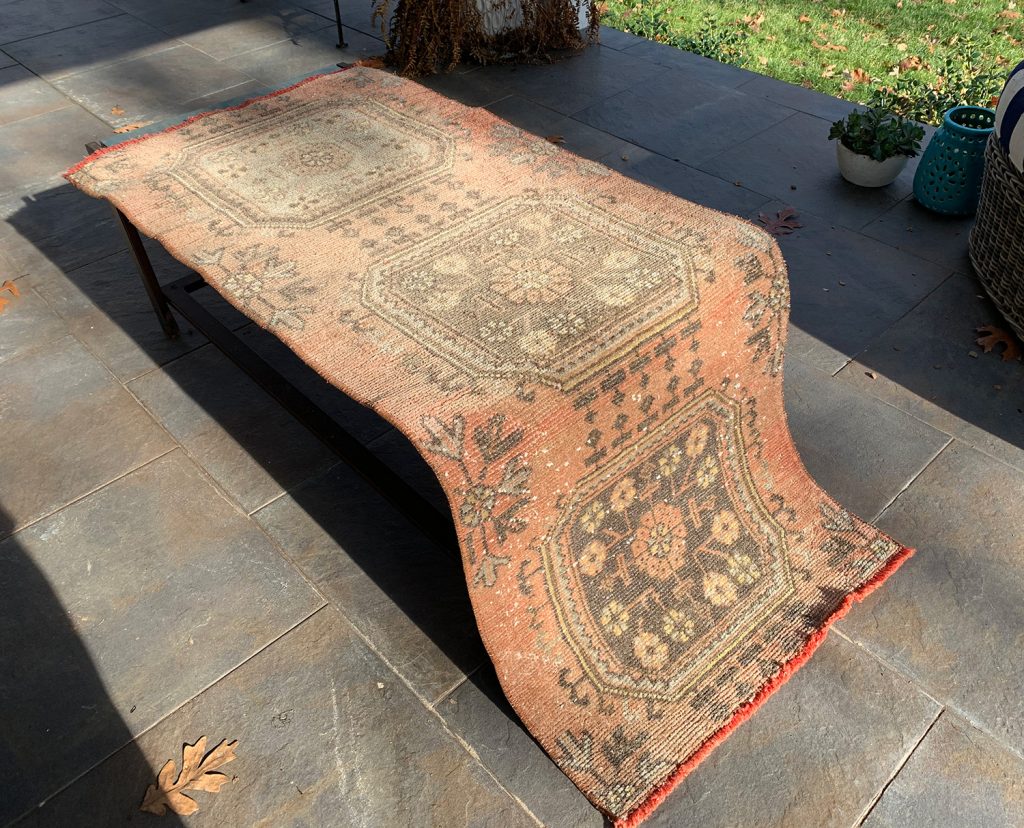
First I crawled into an extremely satisfying rabbit hole of watching a whole bunch of people clean their rugs with pressure washers (so many people have sent us photos of the before & afters – and it can truly be amazing!). So we decided to follow their lead. Almost all of them lay out nearly the exact same method, which we tried at home. And it worked! In short: we cleaned it back to life! Look how much pinker she got! This is her drying outside after our little cleaning session. Remember I said that rugs look brighter outside? It’s just a thing. Look at her amazing pinkness outside after her bath!
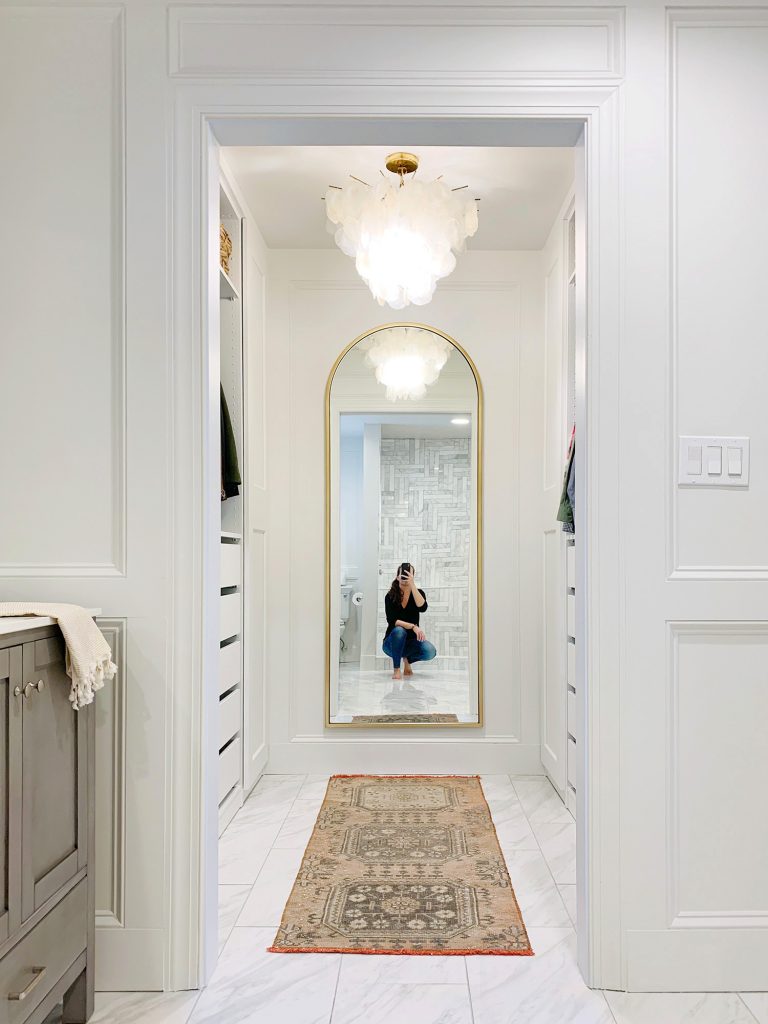
And here she is living it up in our closet, fully dried and back inside. She’s not looking nearly as dingy and yellowed anymore. Is she muted? Yes. But is the undertone soft peachy pink instead of brown/yellow? YES! We’re thrilled with the outcome. And it was actually oddly fun.
As a side note, this method isn’t just for old secondhand rugs – it can totally work as a Hail Mary before you toss any dingy rug, new or old, into the trash. At least trying to revive it before trashing it is a great idea, so I think it’s worth a shot.
We actually made a short video so you could see our process in action. And yes, it involves POWER WASHING (which I also call pressure washing – those terms are interchangeable to me). No matter what you call it, it’s a good time. And this is our pressure washer. About a third of the people who see it ask if they should go up to an 1800 PSI one and my answer is always the same: the third nozzle of this is so crazy strong that it can strip paint off of wood and brick. We have never once wanted more power, and mostly use it on the medium or light setting. It’s legit.
NOTE: If you’re having trouble viewing the video above, you can also watch it here on YouTube.
Ok, so as I mentioned, I had done some research online ahead of time to confirm that we weren’t crazy to try power washing an old secondhand rug. Turns out it’s a pretty widely accepted practice, but as with power washing any surface, you should take it slow and test it first to make sure you’re not about to ruin it (please don’t do this to an expensive antique heirloom rug, just like do this for dingy secondhand ones or inexpensive newer rugs that you want to save that aren’t worth a small fortune – and hire a pro to wash the extra fancy ones). If you’re about to try it on an inexpensive secondhand rug or any dirtier-than-you’d-like area rugs that you’d otherwise be trashing, here are my disclaimers:
- Test this method in an inconspicuous area first to make sure it’s not too harsh on the rug fibers (like the part that’s under a bed or sofa)
- Start with the lowest-pressure nozzle and work up to no higher than the medium one (the high one will definitely damage rug fibers) – and when in doubt, just stick with the low one
- Don’t get too close to the surface, even with the low pressure nozzle (it puts way too much pressure on the fibers)
- It is essential that your rug fully dries before you bring it inside – it can be forever ruined if you don’t heed this warning. Fully. Dried. Out.
- Remember, this is also oddly fun and satisfying to do – so there’s that to look forward to
We’ve actually used the power washer technique to clean our outdoor furniture cushions and pillows for YEARS, but this was our first time doing it to a rug. Here are the steps we followed:
1. Soak The Rug With Soapy Water
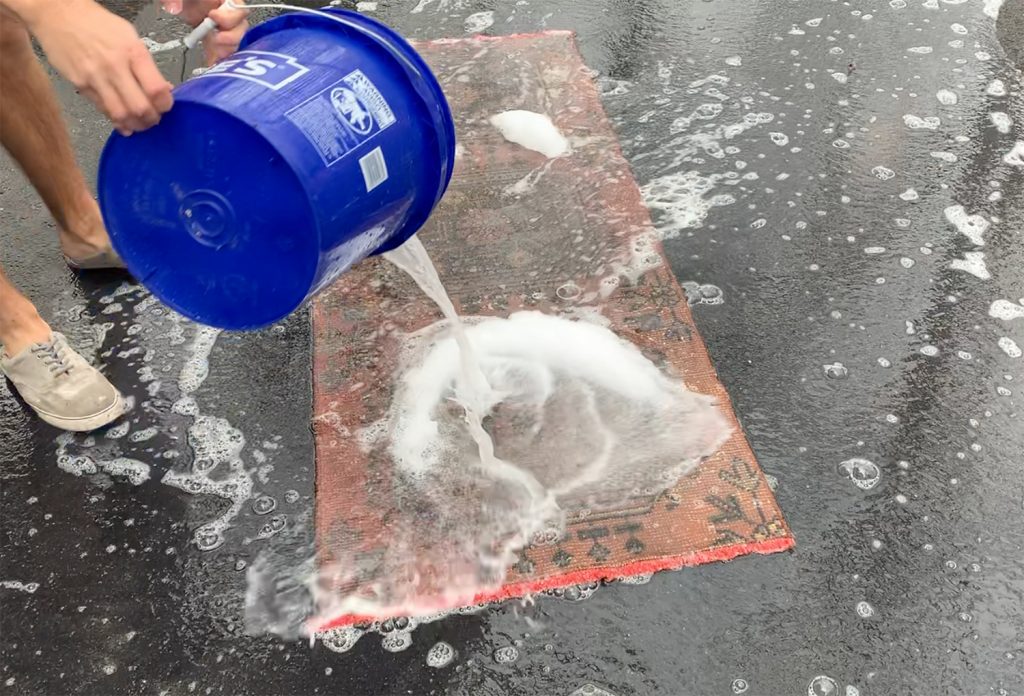
We brought the rug outside onto our driveway, since it was a relatively clean and flat surface to work on. We filled up a bucket with water and a healthy squirt of Dr. Bronner’s soap and then, as you saw in the video, we poured it all over every part of the rug to fully saturate it.
2. Scrub The Rug With A Stiff Brush
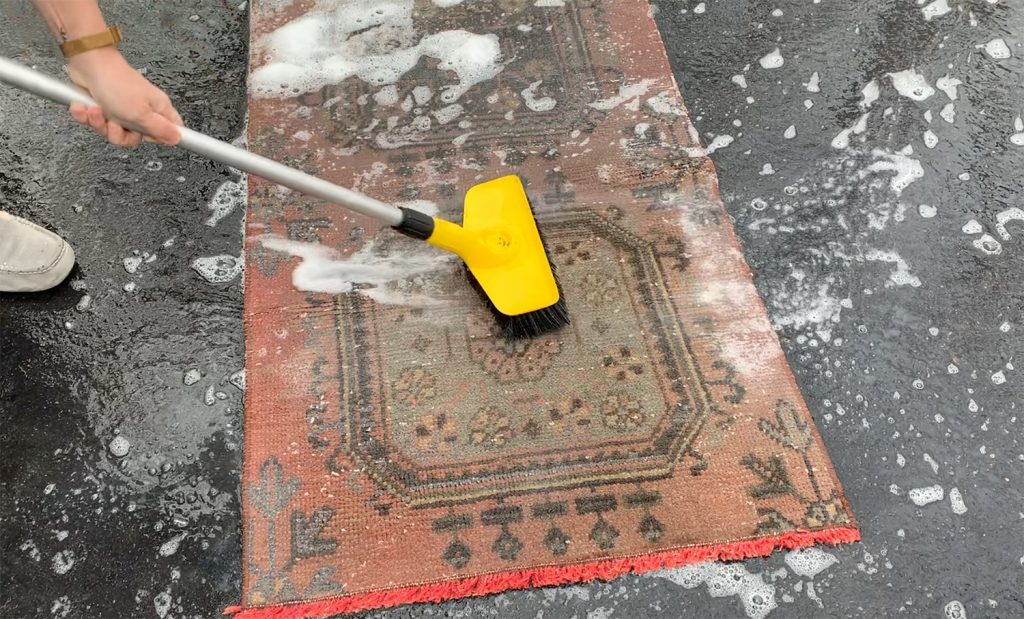
To work the soapy water into the fibers of the rug and create some suds, we tried what many of the rug washing videos that we found on youtube suggested – which was scrubbing it with a brush like this (don’t use a wire one or anything too harsh- just a stiff bristled one should do it). We had this stiff broom leftover from an old project, but a smaller hand brush could work just as well. Go back and forth in both directions (side to side, and front to back) to clean the fibers from all angles.
3. Rinse It With Your Power Washer
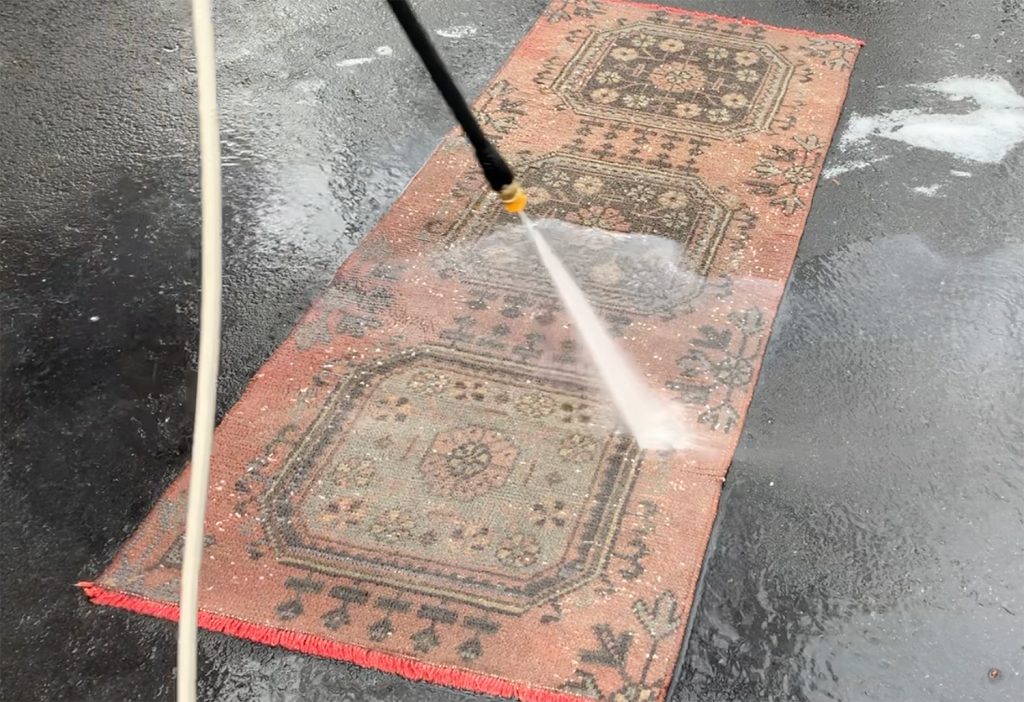
Then we broke out the pressure washer to give it a high powered and thorough rinse. Ours comes with 3 nozzles and we used the lightest one, and only after being sure that wasn’t hurting the rug we slowly worked up to giving the medium one a try too. We were careful to not get too close to rug (since it could damage or tear the fibers if it was too forceful). Our goal was to not just wash off some of the grime, but also to rinse all of the soapy water out of it in the process. Like scrubbing, it helps to go in both directions (side to side and front to back) to be sure you’ve rinsed all of that soap out of the rug.
4. Let It Dry Thoroughly
This is important. Since your rug is completely soaked through at this point, you need to do whatever you can to make sure it’s FULLY DRY before bringing it back inside. You definitely don’t want it smelling, getting moldy, or damaging the floors under it. We were doing this in December so we didn’t have lots of heat to help us, so we started off by leaning it across some chairs to let most of the water drip off. We actually put some paint cans under the back legs of the chairs to tip them forward so more water would run off the front of the rug (you can see that setup in the video).
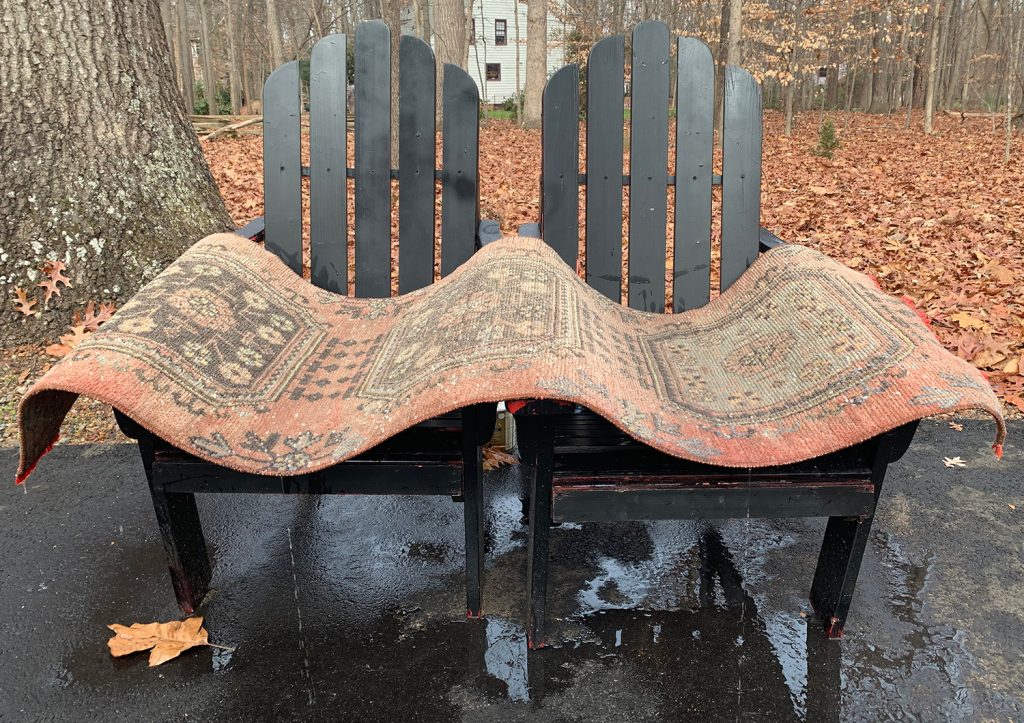
Once most of the water had run off, we moved it into a sunnier spot (once the sun actually came out!) so it could fully dry.
5. Deodorize If Needed
This rug didn’t have any weird smells or lingering odors, but if yours does one trick is to douse the fully dried rug liberally with baking soda, let it sit in the sun for a little while, and then vacuum up the powder. We tried this on another rug a while ago and it definitely helped, but didn’t fully solve it on its own. Leaving it out in the sun for a few more days and then repeating the baking soda method seemed to do the trick though!
Now, ready for the not-so-big reveal? Here’s our runner after all was said and done. Oh and another one of my favorite facts about rugs is that many of them (both old and new) can be viewed in different directions and look lighter or darker! They literally have “a dark side” and “a light side” (which is why it looks darker in the mirror than when it’s being viewed from the doorway’s direction). But more on that in a second…
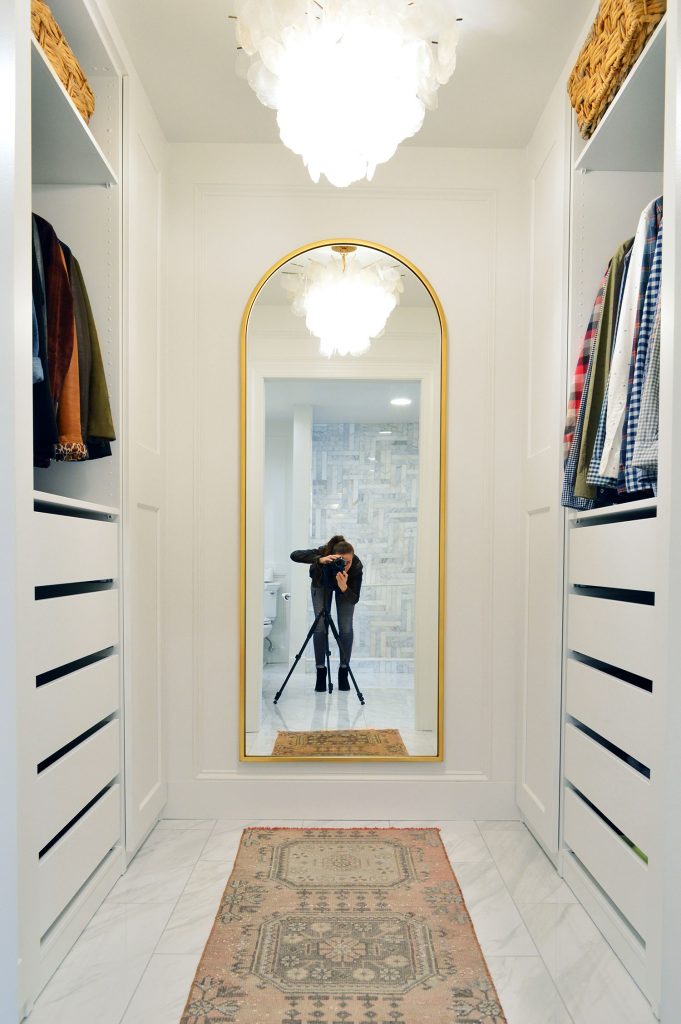
We’ll be first to say the rug-cleaning results were’t crazy dramatic, but the process definitely helped. It wasn’t like we were suddenly blinded by vibrant pinks by the end of it, but the undertone definitely shifted from gold/yellow/brown to soft peach, which is exactly what we were hoping for. But if you get a rug in the mail, clean it, and still don’t love it – I’ll leave you with two more tips that might help – and they’re both pretty easy.
Make Sure Your Rug Is Getting Good Light
As I fleetingly mentioned earlier in this post, you may have noticed that the runner looked more vibrant in the outside pics. Natural light has a way of bringing out the best colors in something (whereas artificial light and especially low artificial lighting often does the opposite). We obviously weren’t going to leave the rug outside, but we did end up moving it into our closet – which has brighter lighting. You can try a rug in a dark bedroom and feel like it’s super dreary and much less vibrant than you had hoped it would look, but then you can move it into a lighter bedroom or living room with more windows or brighter bulbs and suddenly love it because it looks a lot less blah.
Find The Light Side
You’ll find that a ton of woven rugs (both new and old/secondhand) have a “light side” and a “dark side,” meaning that when it’s viewed from one end it will look noticeably lighter than when it’s viewed from the other side. Identifying which end is which can help you orient your rug to look best in your space. For instance, in the duplex living room below we specifically oriented this rug (ours is the rust color) so you see the light side from this vantage point.

Why? Well, when we viewed it from the other side of the room, the colors and pattern appeared to be more defined and higher contrast. See what I mean from the photo below? This side is “the dark side.”

So the reason we laid it this direction is that all of the sunlight coming in from the front two windows help to lighten up the rug from that side, which helps to counteract the fact that it’s the dark side. Had we spun the rug 180-degrees, the sunlight from those two front windows would’ve compounded the differences – the light side would appear even lighter and the dark side would seem even darker. That sounds complicated but just take this simple fact away from all of this: spin your rugs on your floor before placing them for good. You often just like it more in one orientation than the other. And this weird light side/dark side fact is why.
Since we really only ever see the rug in the closet from one side (the doorway of the closet) it made sense to put the light side towards the door because it looks lighter and more pink from that direction.
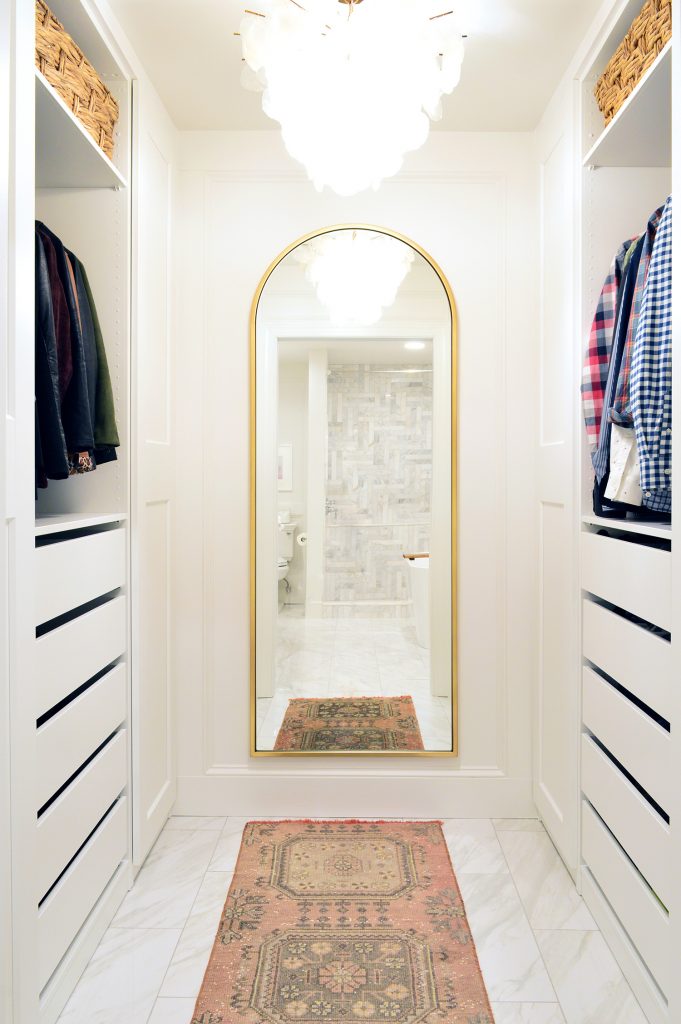
Again, you can see below how it does make it appear darker in the reflection in the mirror, but that’s not really what we notice 99.5% of the time. It’s more noticeable in photos, but the good news is that we don’t view this room through the lens of a camera most of the time ;) But the funny thing is that when we shared the closet reveal a few folks were like “wait why is the rug a different color in the mirror?!” This crazy light side/dark side phenomenon is why!
And if you’re looking for some great sources for secondhand rugs like this, we tend to go to Etsy to find well rated shops like this one and this one, and also have loved buying them from New England Loom on Instagram (you can follow her and marvel at allllll the treasures she and her husband find and ship out themselves!).
*This post contains affiliate links, so we may earn a small commission when you make a purchase through links on our site at no additional cost to you.
