We were feeling a little less than pumped about how unfinished our “new,” tile-ready walls were looking…
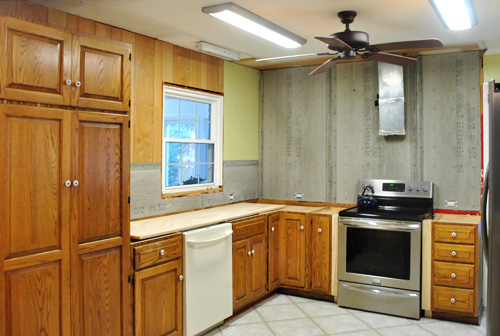
… mostly because we found ourselves staring at that mismatched unpainted paneling (shudder) and those ugly unpainted/stained/gross parts of the ceiling that were exposed when we removed the upper cabinets.
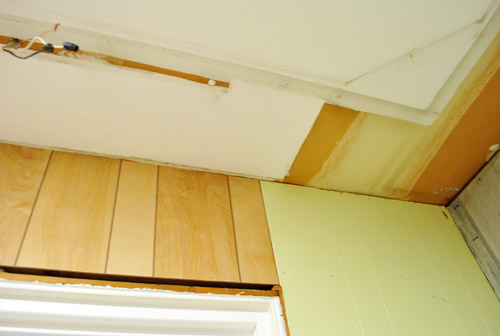
So what’d we do? Why we got a-paintin’ of course!
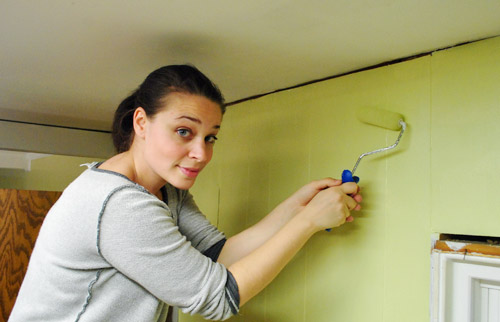
The paneling took two coats of primer and two coats of paint (just to be safe). And the ceiling took… well, more coats of primer and paint than I care to share (I lost count, actually – maybe five or six?). Since some of it was totally unpainted and other areas were stained, we just wanted to be extra sure it looked seamless with the rest of the ceiling when we were done. Thankfully, after lots o’ coats of Kilz CleanStart primer (it’s no-VOC) and the ceiling paint that the previous owners left us in the basement… it all matched in the end. Can I get a whew?
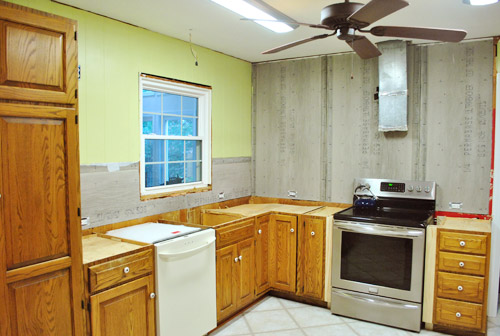
The effect was much improved kinda-sorta improved. I mean it’s still a very raw space. But once we get the new counters installed (we hope to share photos of that shebang tomorrow!), get molding back around the window, add some backsplash tile, redo the lighting, paint those cabinets, and lay our cork floors, things should look a lot more polished. So we’re happy to be inching ever so slowly towards the finish line.
The last thing we had to do before the whole counter installation was add those darn support brackets that we mentioned back in this pre-Thanksgiving post. Basically we learned from the counter template guy that any overhang over 10″ needed some support (our peninsula will have a 12″ overhang on two sides). We could’ve paid $300 to have the Corian reinforced, but the guy also mentioned a cheaper DIY option. It’s like he knew us.
So we bought six 10″ steel brackets in the hardware aisle at Lowe’s and Sherry did her favorite thing (enter spray paint, stage right). At $6 a piece it came to $36, which isn’t free, but sure beats 300 big ones.
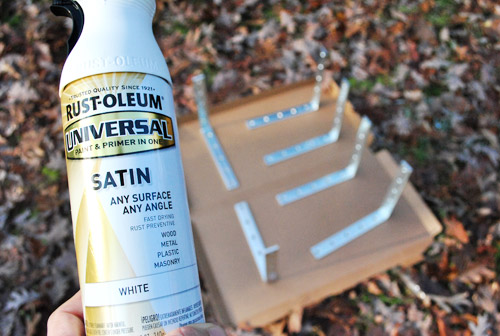
Once they were dry I brought them in, along with some scrap pieces of wood that I cut into 12″ sections. The template guy said we shouldn’t just screw the (heavy) brackets into the cabinets alone, but instead should put some wood inside the cabinet to help them hold nice and strong by drilling into that thicker wood surface hidden behind the cabinet.
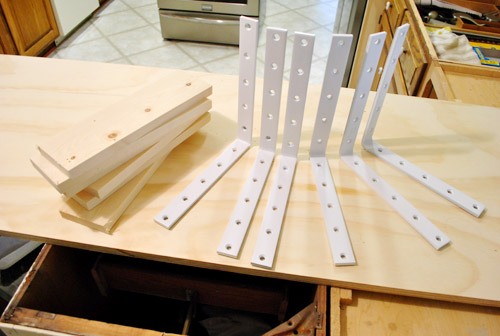
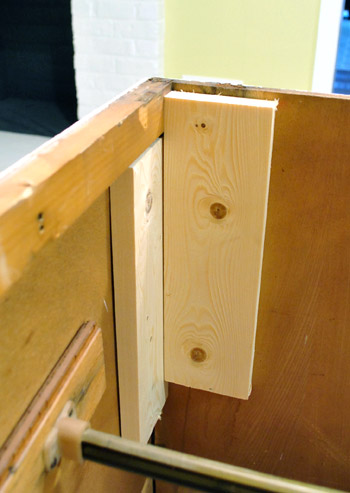
So after measuring and marking my cabinets to make sure the brackets would be evenly spaced, I loosely hammered my scrap wood in place on the other side of the cabinet (if this isn’t making sense now, it will by the end of the post… hopefully).
To screw them in, I used another scrap piece of wood to act as my temporary counter so I was sure to place them at the right height (to be sure they would carry the load of the overhang without being too high or too low). Then I secured the bracket with three screws.
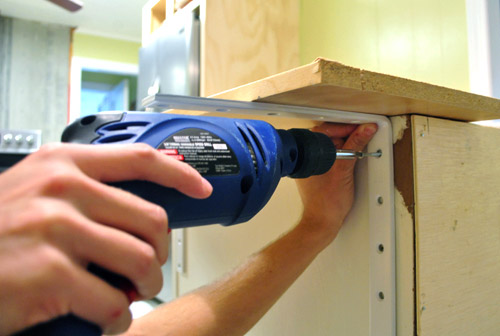
Here’s how it was looking after I secured the first three brackets in place. Of course, once the counters arrive we’ll also screw them into the Corian from below (Corian has wood reinforcement stuff to screw into underneath it whenever it’s manufactured for an overhang).
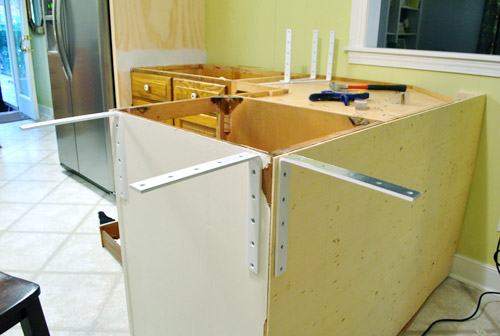
And although once the counters are installed and the cabinets are all painted white the brackets will barely be visible, we’re still thinking that we’ll add some shaker-style panels to dress up the back (and side?) of the peninsula. That way those will add some detailing and also allow us to completely hide the brackets behind some panel trim (by routing out the back of it and laying it over the brackets to conceal them). Hopefully it’ll be a fun challenge. I’ll keep you posted on that when we get to that step.
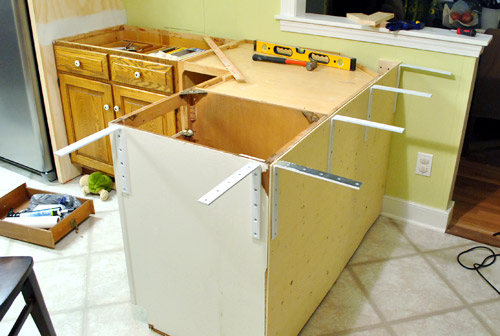
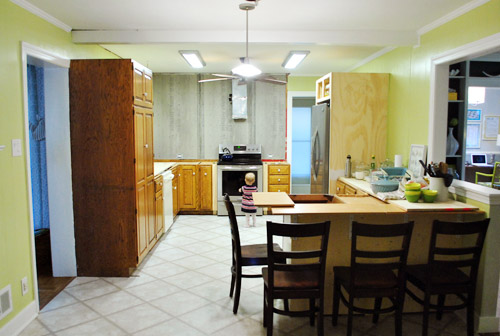
So here’s the kitchen in its counter-ready state. Oh, perhaps you’ll notice that we also primed a stripe of the refrigerator surround right where it meets the counter:
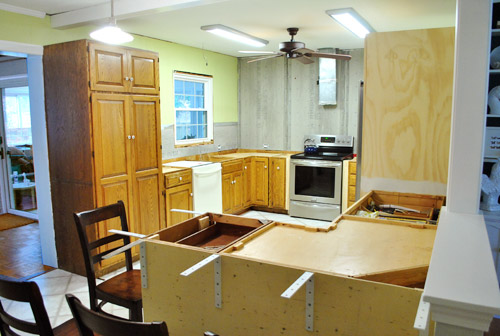
We didn’t want to prime and paint the cabinets before our impending counter installation (when our granite counters got installed in our first house, the white cabinets required lots of touch ups due to tons of scraping and shoving to get the heavy, tight fitting counters in place). So we’d rather just cover the counters and paint stuff afterward. But we thought that little stripe of primer applied beforehand would make it easier to paint right up to the edge of the counters without leaving a sliver of wood peeking through (now if there’s a tiny gap between the paint and the counters, it’ll be white and not brown, so it should blend right in).
It’s looking somewhat like a kitchen, right? Oh but of course ignore the wood chairs (they’re not counter height or the right color so they’re just place-holders for now).
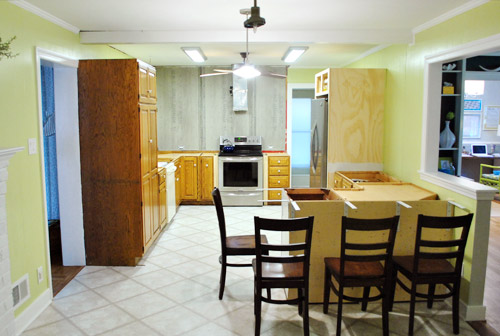
In keeping-it-real news, the kitchen is actually looking more like this:
Of course, as parents when we saw those exposed brackets our “Toddler Impalement Device!” alarms went off, but thanks to some leftover cabinet shelves, we fashioned a dummy counter to make the edges more visible to Clara (and her sometimes clumsy parents). Having the chairs there certainly helps too.
Maybe we should just cancel our Corian order and learn to love these?
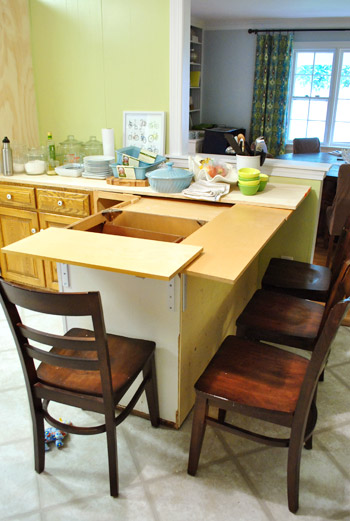
Yeah, or not. So excited that our next update for you guys should be INSTALLED COUNTERS. Hopefully tomorrow morning. Woot!
Oh how joyfully we’ll use the sink (my have we missed it!). Merry Countermas to us! We actually have a working fridge, stove, and dishwasher so we’re still able to cook at home (thank goodness) but washing the not-dishwasher-safe-stuff in the bathroom sink/tub is annoying. Is there anything you guys are anxiously awaiting? Have you done any ceiling priming & painting lately? Did you lose count of the coats. Oh man, it feels good to be done, doesn’t it?
Psst- We’ve listed our old granite counters on craigslist for anyone who is interested. You can find more info on them here.

Beth says
I’m just so stinking excited for you!! Let’s go countertops!!!
Sabrina says
Ugh! I HATE CEILING PAINTING! ( did that come out loud and clear? lol) We have those horrible old ceiling tiles in our house. I don’t think anyone has ever painted them in the almost 50 years of the house being born! Blasphemy, I know ( they also didn’t paint the closets!) It took almost an entire 5 gallon bucket just to paint my daughters 8X10 room ceiling. It just kept sucking it up and leaving patches. I almost gave up!
YoungHouseLove says
Aw man, I totally feel your pain!
xo,
s
janna brown says
SEALE ME! I am most excited about giving my daughter a papasan chair I bought on Criags List and spruced up!! Merry Christmas!
Cathy says
Okay, random six-months-later question for you…How did you get your fridge surround to sit so nice and flush against the wall? We built one, too, and it might just be the wood we used, but it does NOT sit nice and flush against the wall. It acts like it’s afraid of touching the wall EVER. Maybe I should use some shoe moulding along the vertical edge or something? I don’t know…any tips?! Thanks!
YoungHouseLove says
Oh yes, you could bridge the gap with shoe. It might just have been the wood we used. We also screwed the back of it into the wall (with a bracing piece of wood across the back) and caulked the seam so it was nice and seamless. Hope it helps!
xo,
s