We thought frozen pipes were a worry we’d left behind by moving to Florida, but last month’s arctic blast sent our temperatures plummeting into the low 20s for three nights in a row (with an all-time low of 18 degrees, which they’re calling a once-in-a-century event here in Northwest, FL).
This was especially concerning because Florida homes in our area aren’t always constructed with this weather in mind. Frozen pipes are bad news because water expands when it freezes, potentially causing pipes to burst or crack, leading to leaking or flooding.
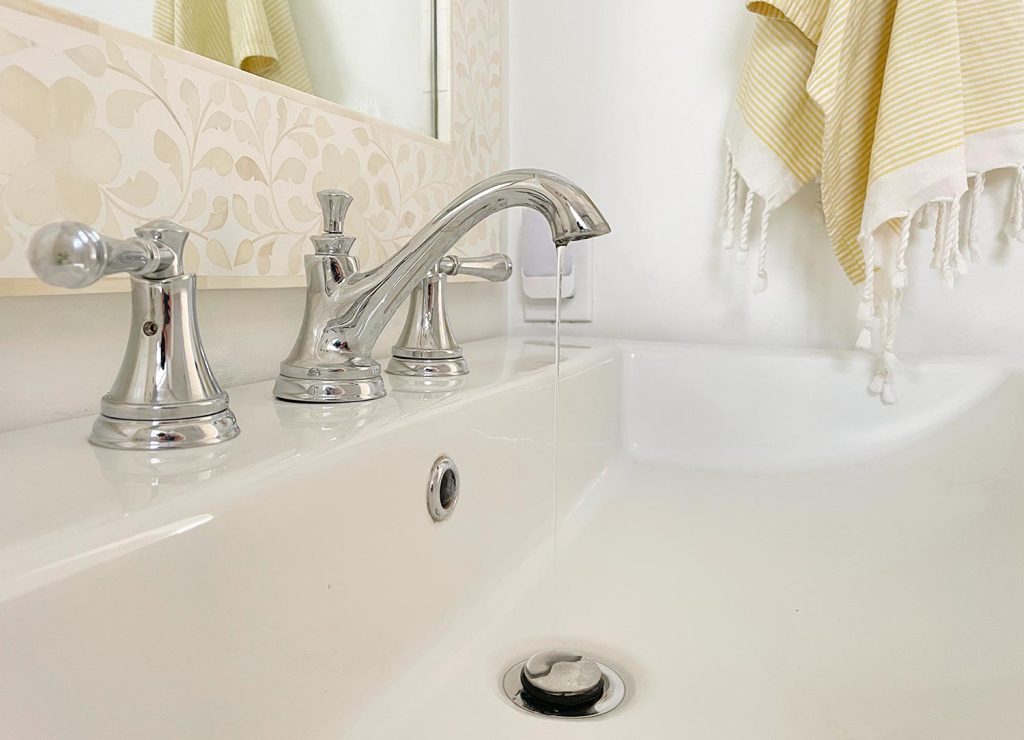
Luckily, with a few easy prevention steps we successfully kept our pipes from freezing! Which, sadly, isn’t something a lot of our neighbors can say. Many people we know had an issue with a pipe or two bursting – so we’re extremely grateful that the steps we took kept ours protected. Here are 5 things that worked for us, including a tip from a local plumber that saved our outdoor shower!
Tip 1: Identify Your Problem Pipes
The first thing to do is assess the plumbing in your home for spots that are especially prone to freezing. This step helps you to prioritize your efforts and tells you what areas you should keep a close eye on once the temperatures drop. This includes but isn’t limited to:
- Outdoor plumbing fixtures like hose bibs or outdoor showers
- Pipes in unconditioned areas like garages, attics, or crawl spaces
- Plumbing on exterior walls
- Pipes closed off from heat sources, like in indoor cabinetry or closets
- Pipes exposed to wind, like on docks
- Uninsulated pipes anywhere
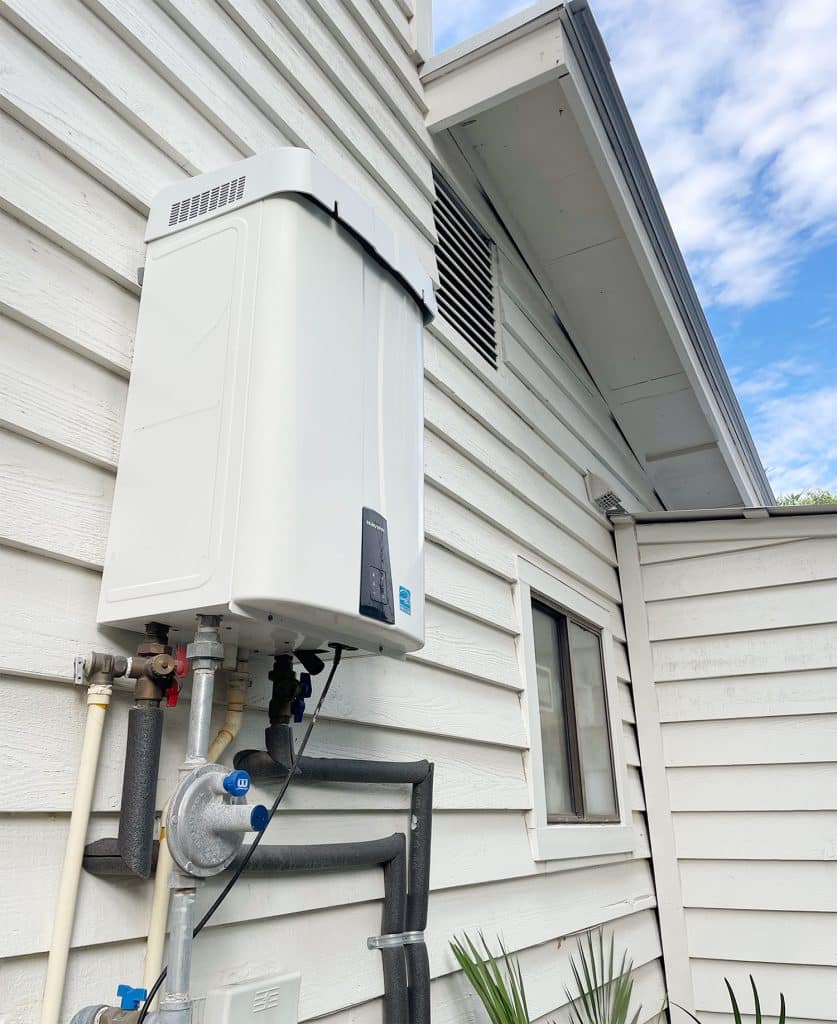
For us, our primary concern was our exterior plumbing – namely our water heater (seen above), outdoor shower, and hose bibs. We were less concerned about our interior plumbing because we were unlikely to lose power/heat (thanks to our whole-house generator & the peace of mind that gives us), and losing interior heat is usually what endangers indoor pipes. But here are some tips for preventing frozen pipes when your heat goes out, just in case.
Tip 2: Add Insulation To Your Pipes
Some of our exterior pipes were already insulated, like the water heater shown above. But many of them were not including a long section of copper pipe running to our outdoor shower (you can see it exposed in this post). So as soon as we saw the forecast, we beat the rush to the store and bought several lengths of self-sealing foam tubular pipe insulation. They’re easy to install and only cost about $3 for a 6-foot tube. Just be sure to pick up some elbows and tees as needed too
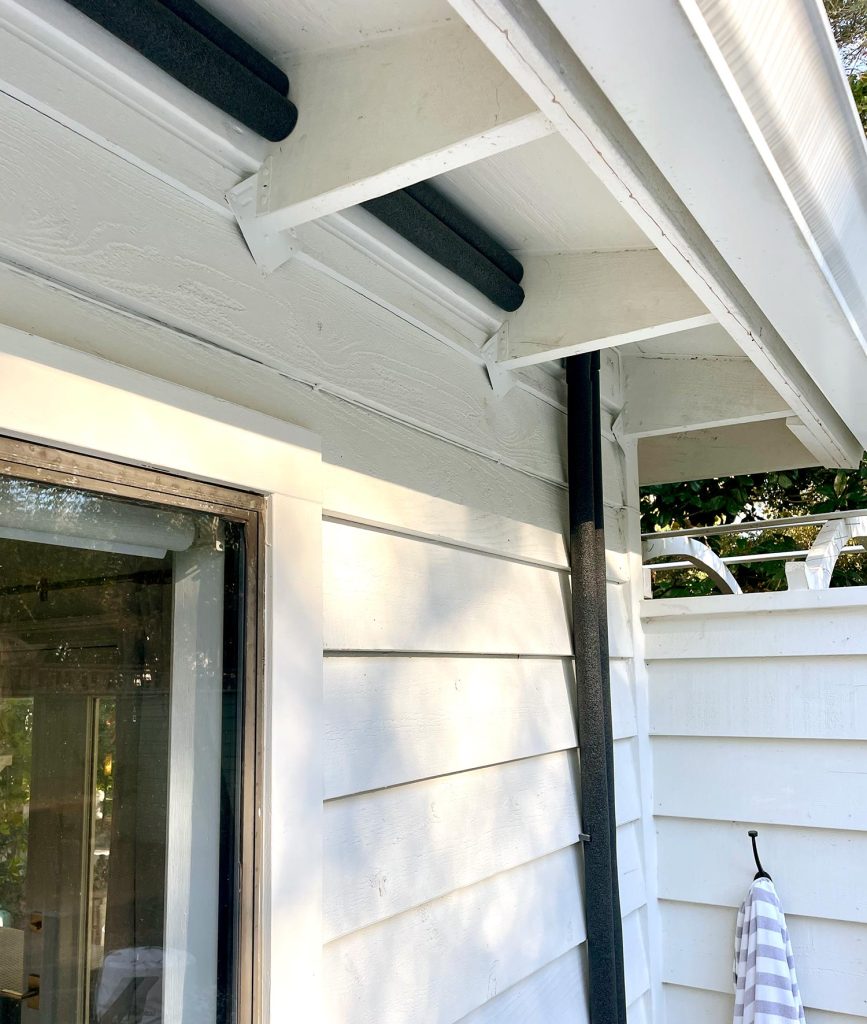
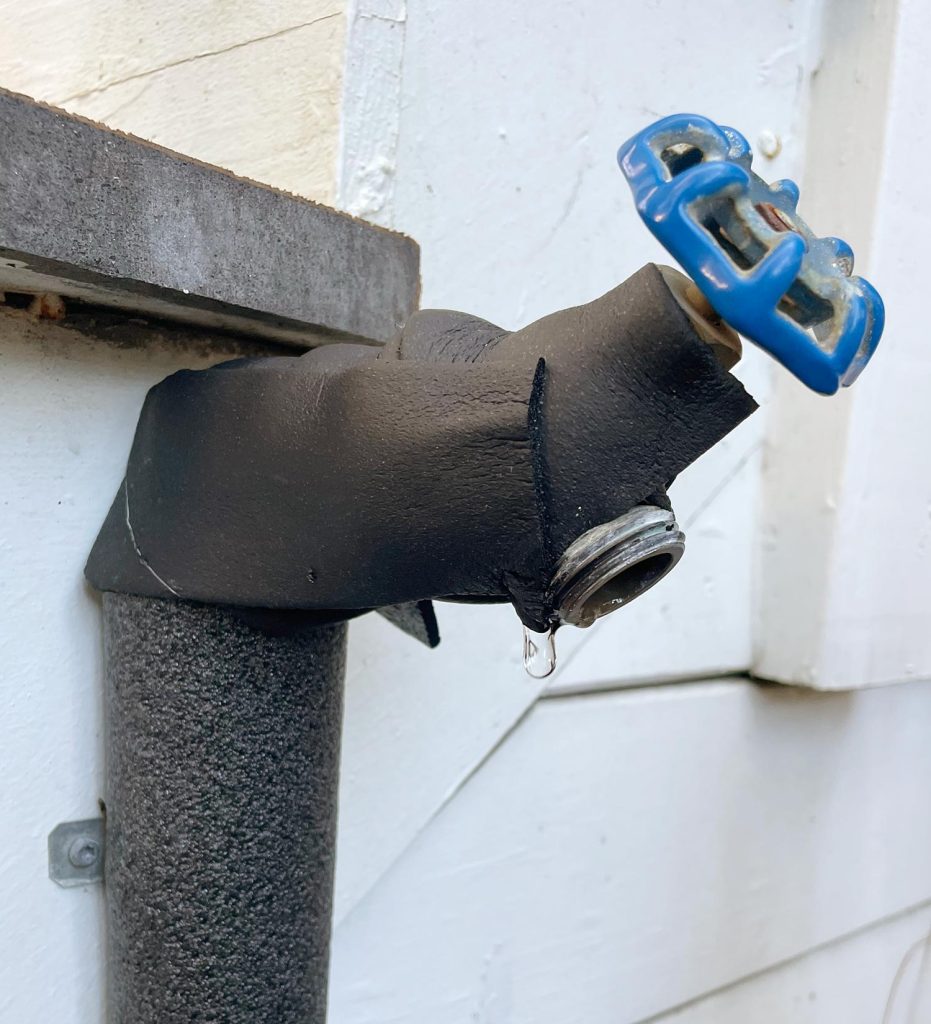
It took us about 15 minutes to install the foam tubes on any uninsulated outdoor pipes. In spots where we couldn’t fit a full tube, we used some of this adhesive insulating tape instead. This worked well on some of the knobby sections of certain hose bibs or where some pipes were installed snugly to the siding.
Lastly, we also double-checked some of the plumbing in our attic to make sure it was sufficiently covered in insulation. We have blown insulation up there and some of it had gotten moved off of a section of pipe, so we just brushed it back over. We read over and over again that even if your plumbing is inside, if it’s uninsulated and in an attic, basement, or garage it can still freeze and burst (in fact my aunt in Richmond had that issue with a pipe in her garage last year when it got extra cold up there).
Tip 3: Drip Your Faucets
This tip is an oldie, but a goodie. Moving water can’t freeze as quickly as stagnant water, so forcing your pipes to keep flowing – even just a trickle! – is a great way to prevent frozen pipes. Just don’t forget to drip both your cold and hot water lines. We read quite a few articles that said you just need to drip the cold, but that definitely tripped up a couple of our neighbors and they had the hot water lines burst! So we definitely had a completely successful result by slightly dripping both.

It was easy to drip the hot and cold water lines inside. In the bathroom, we just turned both the hot & cold levers on slightly. And in the kitchen, we set our faucet halfway between hot & cold and opened it to a tiny trickle.
Our outdoor shower was a bit trickier because engaging the hot water would mean turning the shower on to a full spray, which was not something we were eager to do for 3 days straight while it wavered between lows of 18 and 22 degrees. Luckily, a local plumber gave us the tip to remove the showerhead and put a cap on it instead. Buuuuuuut, instead of screwing the cap on tightly, just hand-tighten it so that a little bit of water can still leak out. This allowed us to set the shower to a middle temperature (which ensured that water was slightly moving through the hot water and the cold water line), but still only let it drip instead of fully spraying 3 nights in a row. One of our friends had their outdoor showers break during the deep freeze and he later realized he had only let his cold water drip, so the hot water line was the one that froze and burst. And our neighbor across the street didn’t drip anything outside, so both of her shower lines burst.
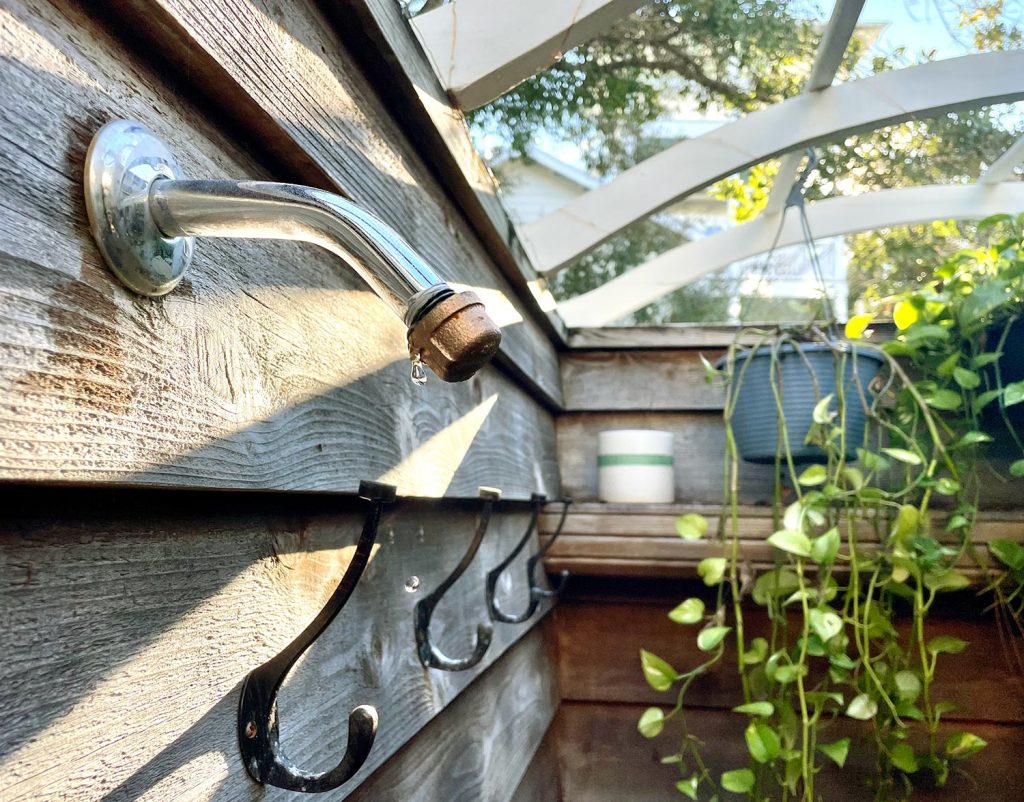
Just to be safe, we kept all of our interior and exterior fixtures very slightly dripping for the full 3 days of our cold snap. We regularly checked our outdoor fixtures to make sure they were still lightly dripping and there wasn’t any ice build-up or blockage. We even put signs on our indoor sinks to remind our kids (and ourselves!) not to turn things off in an early morning haze or late-night bout of forgetfulness.
And while it may feel like a big “waste” of water to leave faucets on for so long, dripping should have negligible effects on your water bill. I read a few articles that said it was around 2-5 cents per sink per day. And think of it this way: it uses a lot less water than having a big leak that floods your house or yard!
Tip 4: Turn Your Water Fully Off
An alternate strategy is to just fully turn the water off to your home or portions of your home. For instance, if we had had a separate shut-off for our outdoor shower, we likely would’ve done that instead. It’s not like anyone was going to shower outside in that weather! It’s also a great option if you’re leaving town and won’t be home to keep your faucets dripping or to monitor for leaks. We actually turn off our main water anytime we go on a trip because burst pipes can happen in any weather (we have a friend who came home to a flooded first floor in the summer! AWFUL!).
Just remember that after shutting off the water, you still need to release the pressure of the water that’s still sitting in the pipes. Find your lowest plumbing fixture (usually an outdoor hose bib) and open it for several seconds until the flow slows down. This was a tip from a plumber friend in Cape Charles who told us that sometimes people turn off the water but don’t remember to relieve the pressure and they still come back to frozen pipes that have burst.
Tip 5: A Pool Looks Vulnerable But Can Typically Handle It
Like many Floridians, we have a pool that we use year-round. It’s not covered or winterized or anything else that is typical in colder climates (an open-year-round pool is the norm here). This was our first significant cold snap since our pool was completed so we were pretty worried at first. We saw a lot of EXPOSED and UNSINULATED plumbing around our pool equipment. Gulp.
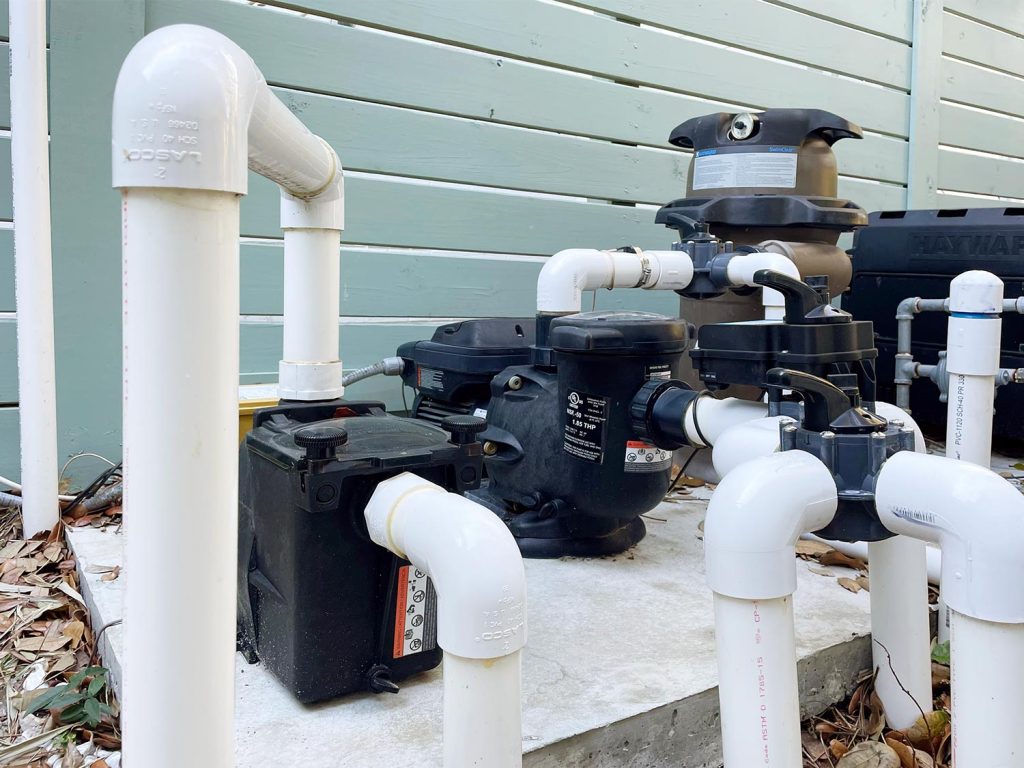
But after speaking with our pool cleaner (who’s from Kansas, so he knows cold), we were assured that our system would be fine. Our Hayward controller has a built-in “Freeze Protect” mode that automatically engages whenever the air temperature drops below 36 degrees. This keeps the pumps, fountains, spa jets, and pool heater running on continuous cycles to ensure that the water never sits too long or gets too cold. Plus, he reassured us, that if the controller were to fail, it would take a long time for our large PVC pipes to freeze fully through and crack. Even older pools without “Freeze Protect” can usually just be manually set to cycle water and use the pumps to keep things from freezing, so that’s nice to know.
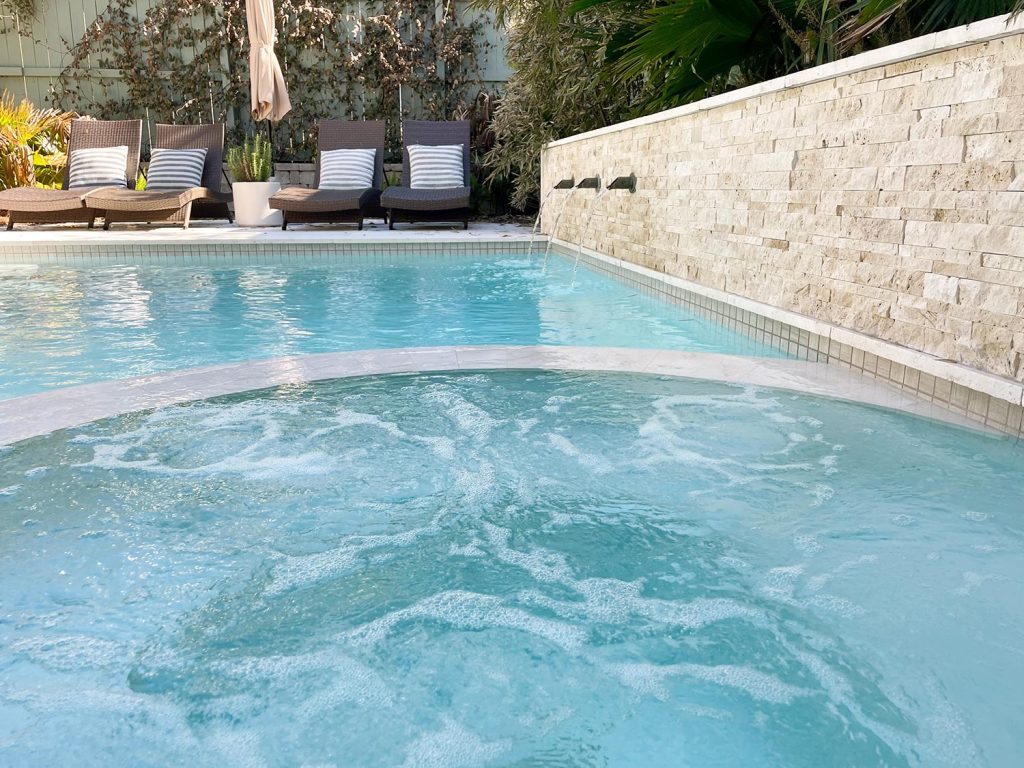
While we’d never advise you not to worry about your pool at all, we found a lot of comfort in watching our pool keep itself safe during the cold weather. We did absolutely nothing and it just kicked things on and off and moved water around for four solid days. We still checked on it to make sure we saw the fountains flowing and spa bubbling periodically – but it was completely self-sufficient and did a great job. So definitely check your system or consult your pool company before cold weather to know what to expect from your particular pool, but if it has somewhat recent technology (like Freeze Protect) OR you can just manually turn it on to keep water flowing, you should hopefully be all good. Oh and it really helps to ensure that you’ll likely maintain power. Lots of people have back-up generators here for that peace of mind.
Tip #6: Nothing’s Foolproof…
In general, these tips may not be enough to stop every single possible problem with pipes freezing depending on your particular situation and weather event, but we’re extremely glad we took these precautions and they definitely helped us feel a lot better about going into this latest arctic blast and, for us at least, they kept us from experiencing any plumbing issues at all.
More Freezing Weather Preparations
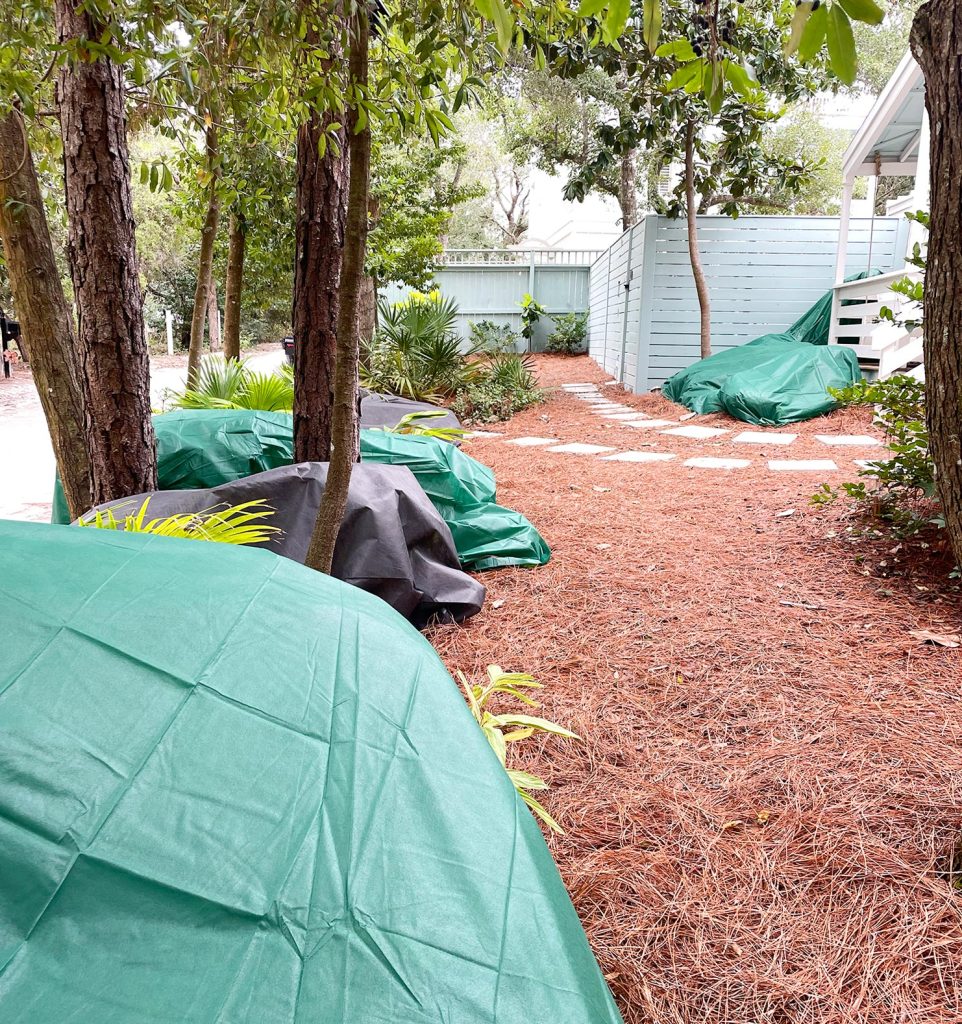
In addition to prepping our pipes for this unusually cold Florida weather, we also took several steps to protect our plants from freezing. You can read the 6 steps we took, including which ones worked better than others right here in this post.
And again, if you happen to experience your heat going out, we’ve written a post all about how to prevent frozen pipes when your heat goes out.
*This post contains affiliate links, so we may earn a small commission when you make a purchase through links on our site at no additional cost to you.
