A few weeks ago we shared on Instagram how we (finally) landscaped the front yard at our beach house in Cape Charles. But we wanted to give you some more details on how we knocked it out in just a few hours, what we planted, and how it’s doing today (almost two months later). Plus we love the idea of having these photos on the blog to look back on in a few years when things continue to grow in. The beach house gets tons of sun, so everything seems really happy so far.
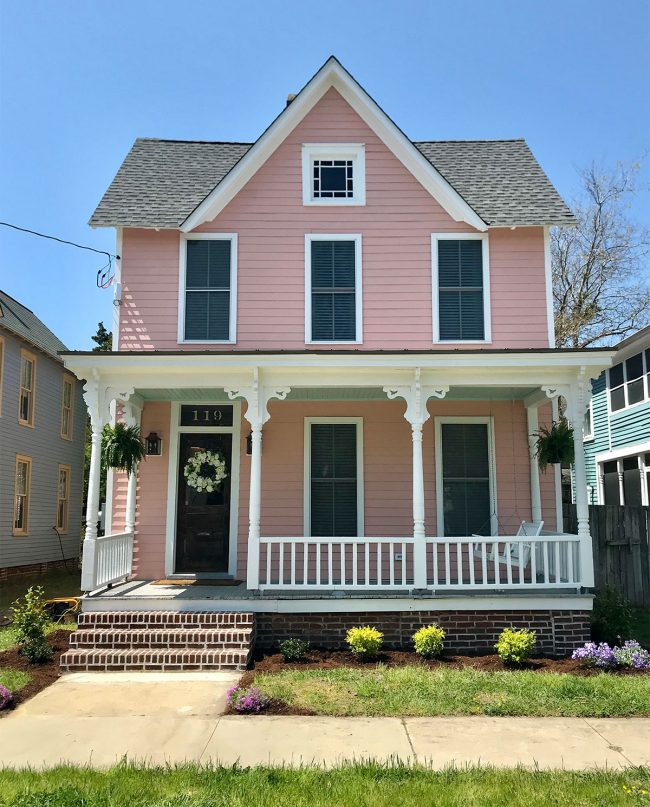
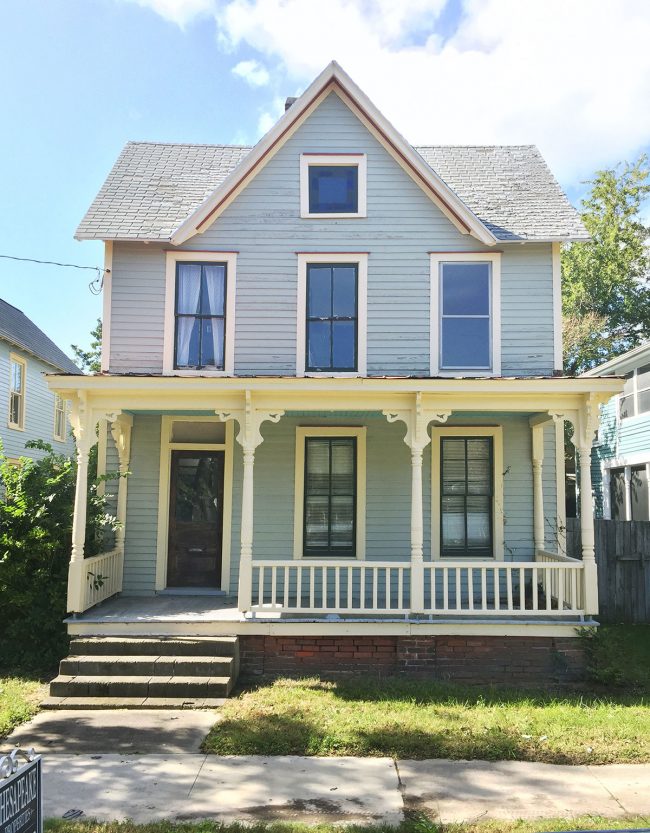
We don’t often feel very confident in the landscaping & gardening department (hence relying on professionals for our backyard at home) but we knew even our limited skills could drastically improve the greenery situation at the beach house. For reference, this was the state of its “landscaping” when we first bought it:
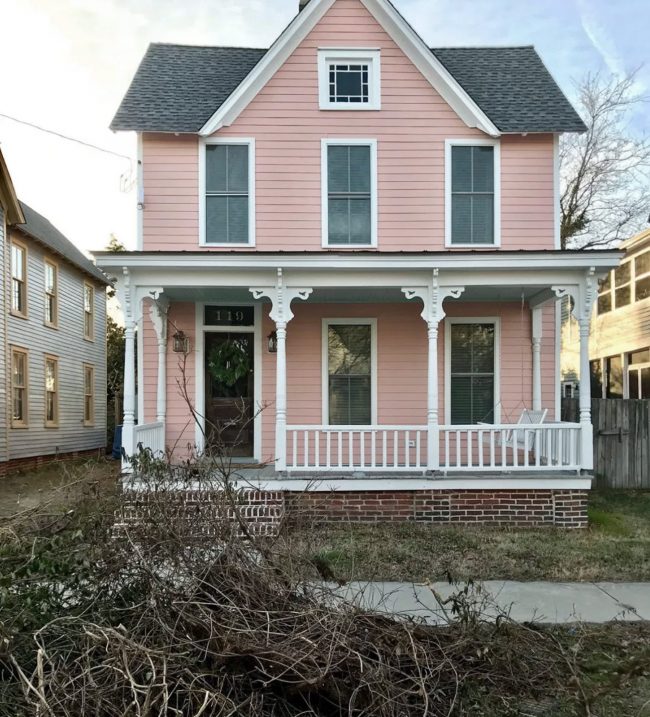
But even as recently as this winter, things were still looking pretty bleak. Sure, the house itself had gone through some pretty dramatic changes, but the yard was still extremely sad looking. Don’t mind the giant mess of vines in the foreground of this picture. It’s a photo from after our contractor removed the rusted shed in the backyard and cleared out the raging poison ivy that surrounded it – which ended up by the curb awaiting pickup. It really upped the ambiance. Gave it a certain Maleficient vibe.
So back in April, we found out that Virginia’s Historic Garden Week was coming to Cape Charles. Not that our house would be on the tour, but with lots of tourists coming into town, we knew they’d be walking right past our house (a house on the corner of our street WAS on the tour). So we took it as a deadline to finally dress up our front yard. Lucky for us, the yard isn’t very big, so we were able to knock it out in just one morning.
Not knowing if the local nursery would be open for the season yet (it closes down for the winter) we stocked up on a few plants at our local Home Depot before our 2.5 hour drive to the Eastern Shore. Our typical M.O. when purchasing plants is:
- Choose a variety of colors, even if that just means a variation in greens
- Look to incorporate different heights so everything grows in and feels varied and layered
- Read the labels to make sure they work in the conditions we have (full sun, part sun, etc)
- Choose perennials over annuals whenever possible (meaning they come back each year as opposed to dying off in the winter)
- Go with as many non-deciduous plants as we can (meaning they won’t drop leaves in the winter, which can make the whole landscape bed look like it’s full of dried brown sticks four months out of the year)
With that in mind, we kept things simple and purchased what you see below:
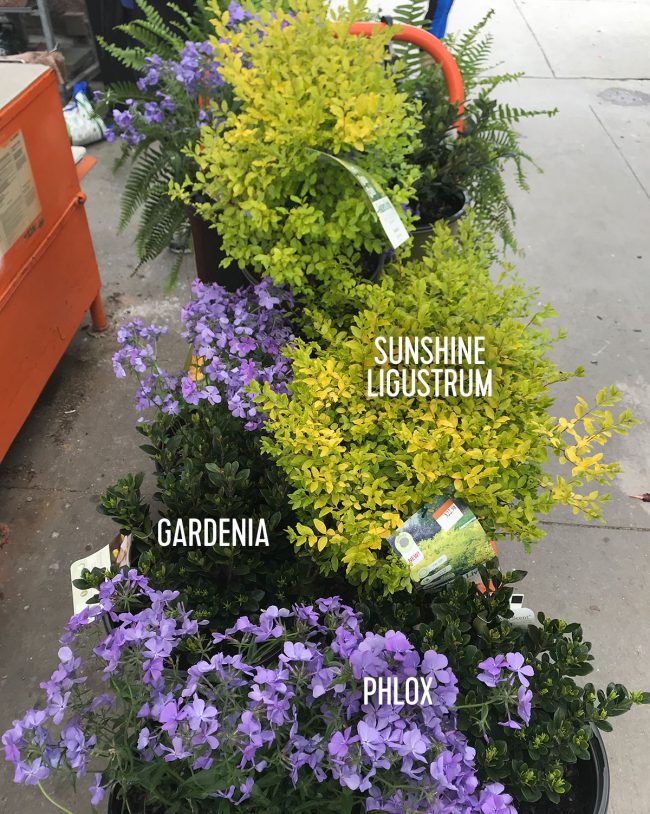
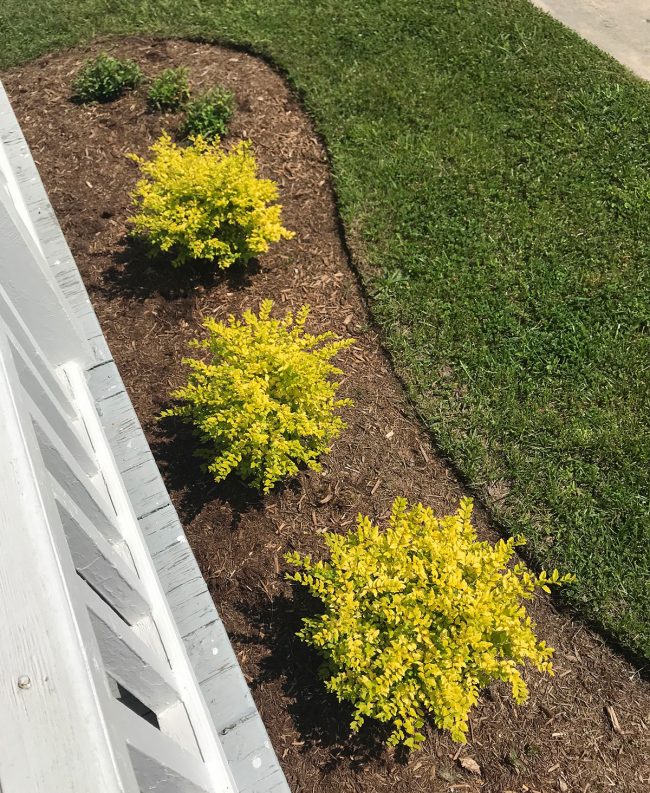
- 3 sunshine ligustrum bushes (bright greeny-yellow color, don’t drop leaves in the winter)
- 3 gardenia bushes (darker leaves with white flowers that bloom, don’t drop leaves in winter)
- 3 purple flowering phlox (colorful flowers that creep like a ground cover – they do drop leaves but they’re perennials, so they should come back each year)
- 2 large ferns to hang on the porch (the only things we’re planning to replace every spring)
Buying the phlox was weirdly invigorating. We can’t plant anything that flowers here at home because the deer must get notifications on their iPhones about it or something. It just seems like the minute anyone puts them in the ground they get nibbled to stubs. We love the deer, but sometimes they’re a real buzzkill. Fortunately, Cape Charles doesn’t have the same issue, so we picked up the phlox because a neighbor two doors down already has a nice bed of creeping phlox and we thought the purple would look fun with a pink house.
Long story short, we loaded everything up in the car and hit the road the next day.
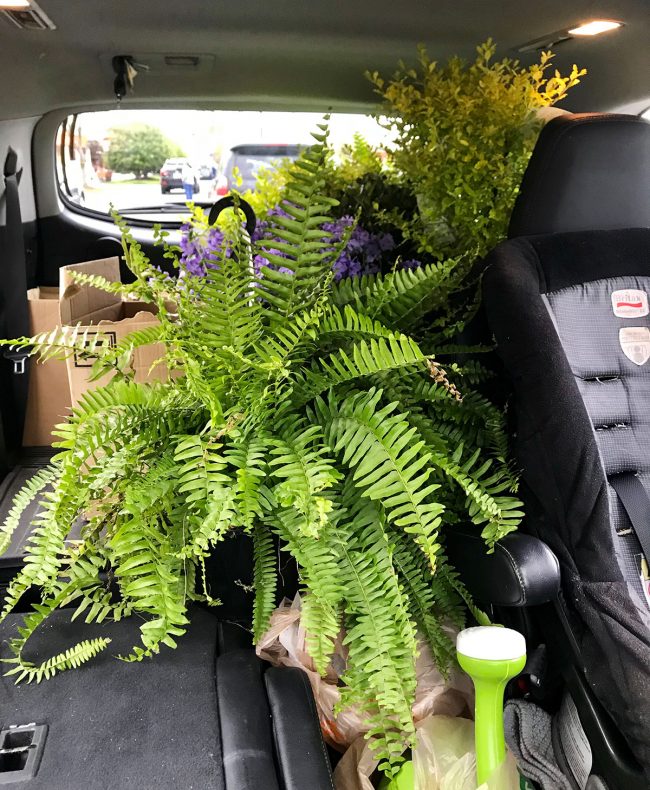
Since we’re nothing but true professionals, neither of us managed to take any photos of the process (this seems to happen a lot when we’re working under the ticking clock of having to get on the road in time to get back before the kids are out of school). But I basically used a shovel to cut out some swooping planting beds that Sherry and I had “sketched in the dirt” on either side of the porch. The local nursery was open, so we were also able to grab a couple more plants:
- 2 taller camellia bushes to anchor each side of the house (they flower & don’t drop their leaves)
- 2 creeping phlox for the end of the sidewalk (who says no to more perennial flowers?)
- several bags of mulch to finish the job
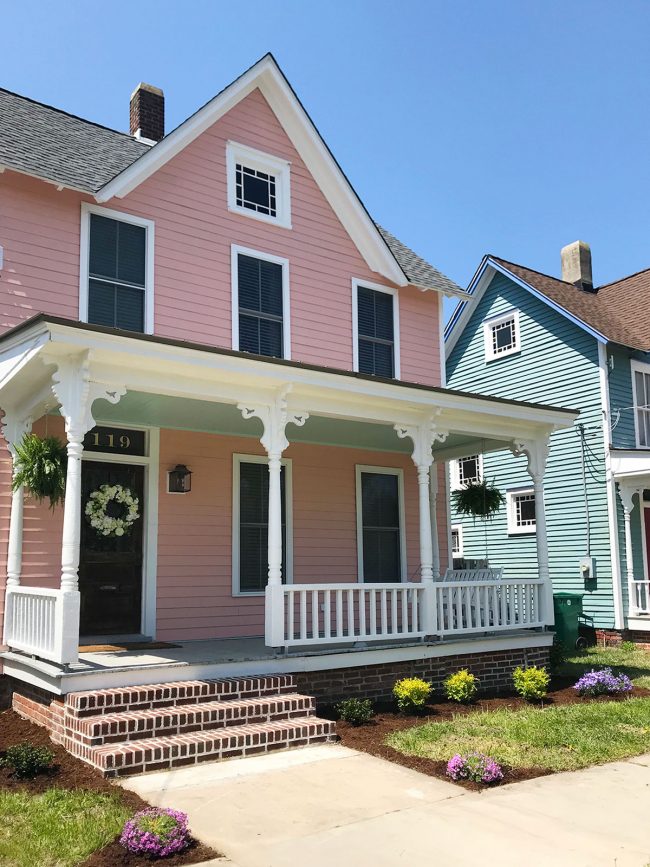
Admittedly, we realized afterwards that we weren’t super crazy about those little slivers of mulch connecting the main beds to the front corners, but we didn’t have the time to fix them on this particular trip. Plus, we had very low expectations for that phlox staying alive. After all, we had absolutely no system for watering our plantings while we’re gone (besides mother nature) so we mostly were just hoping they stayed alive through the Historic Garden Week event.
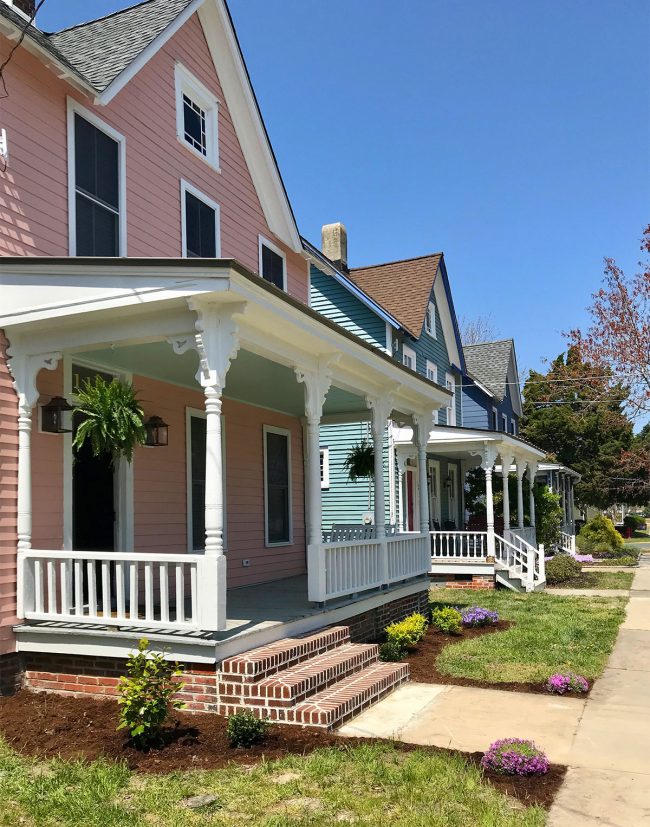
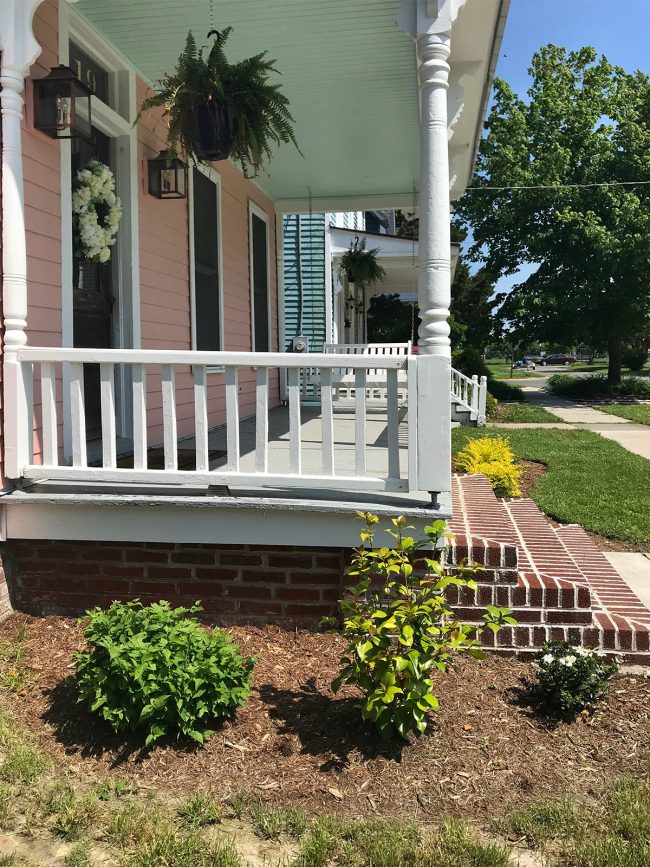
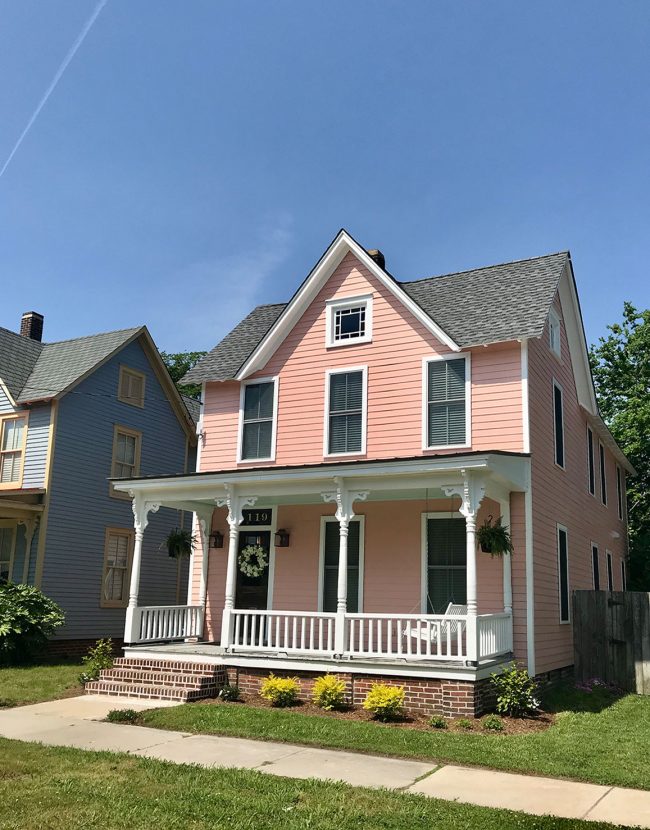
Well, fast forward about two months and things are doing surprisingly well! Not only has everything survived, you might even say several things have thrived! The color of the mulch has even mellowed out, so we don’t mind those dinky slivers along the sidewalk as much anymore.
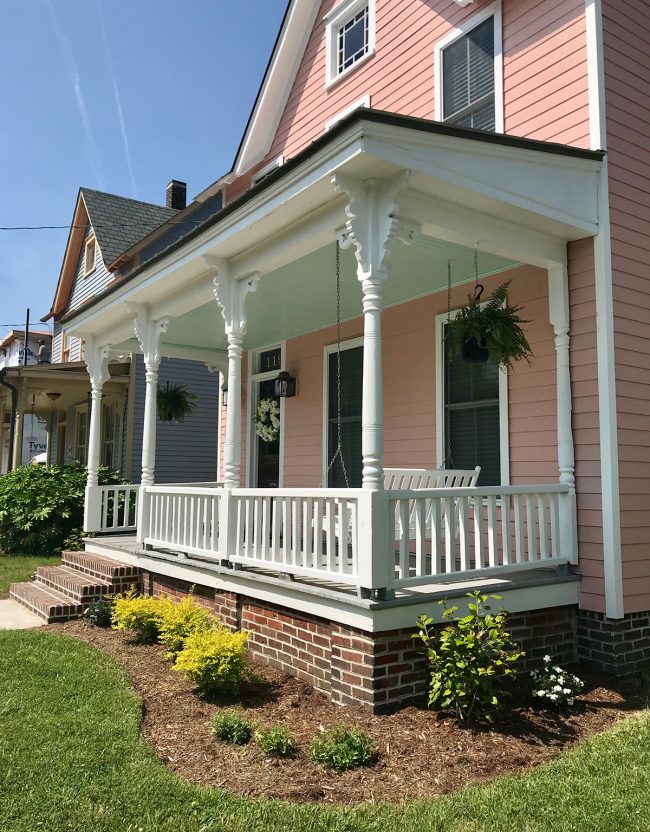
The ligustrum and gardenias have already grown quite a bit, and we’ve even had a couple rounds of flowers on the gardenias (thanks to everyone’s tips on Instagram about deadheading the old flowers). The purple flowers on the phlox withered, so we’ve clipped them off in hopes of spurring on some fresh growth there.
Although the thing I’m probably most excited about is a mystery plant on the left side of the house, which has come back with a vengeance. This bush was pretty huge when we bought the house (just scroll up to see it – it was almost as tall as the front door!) but it had to be trimmed back during construction so things like the siding could be added and the brick foundation could be repointed.
Then during the great water meter hunt of 2017 it had to be fully chopped to a stump. But it’s making a quick comeback (it’s the one on the far left below). It should be a great anchor and provide some privacy on that side once it gets fuller. We’ll definitely keep it pruned so it’s never as big as the door again, but a “free” plant the regenerates from a stump gives me great joy (and confidence in its hardiness).
There’s still plenty more to landscape at this house, particularly around the side and the back, but all of that is on hold until we can get our shed and patio installed… which is on hold until the duplex gets a little further along… so who knows what sort of timetable we’ll be on for that. But at least in the meantime, we’ve got the front looking a lot less bare. Plus the neighbor’s hydrangeas have started blooming and they’re giant and colorful (and also something the deer eat like candy in Richmond), so Sherry has been campaigning to layer some of them into not only the sides and the back, but maybe the front landscaping as well. Will keep you posted if/when she gets her way. Ha!
If you’re looking for more landscaping or curb appeal ideas and projects, we’ve got a whole category of Exterior Upgrades – including some of these favorites:
