When we saw the magic that Mindy worked on an old dresser we had to share the eye candy. Here’s her letter:
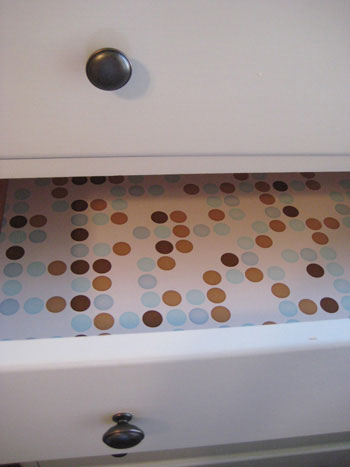
I love your website and eagerly look forward to reading it everyday. I just thought I would show you my dresser re-do! The hubs and I really needed a dresser but didn’t want to spend a lot. We like things that are solid and made really well. So, after finding this antique dresser on Craigslist I decided to fix it up. I took the handles off and filled the holes in, sanded the varnish off, primed it, then painted it with two coats of Behr’s “lime light.” Then I drilled the holes for the new knobs and lined it with contact paper. It was fun to do and I did almost everything in one afternoon (but left it to dry for 24 hours before putting the new knobs on). The dresser was $20, paint was $17, knobs were $19, contact paper was $5 which brings the total to around $60! Thanks for all your inspiration! -Mindy
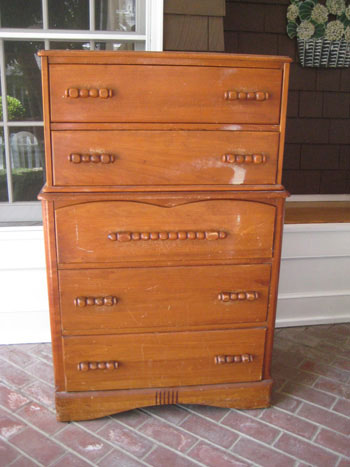
Here’s the seen-better-days before:

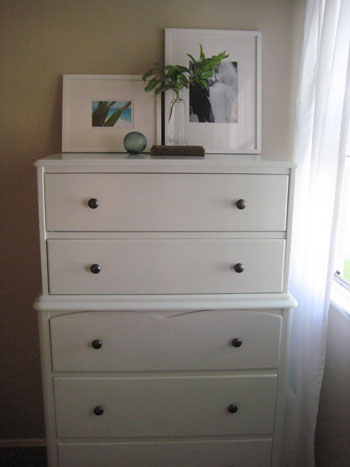
And the amazing after:


Anyone who knows us knows that we like a crisp new paint job. And anyone who knows us well knows that we’re actively drooling over this fabulous transformation. Mindy, it looks absolutely amazing! You did a lovely job and the fun contact paper is the icing on the DIY cake. Thanks so much for sending the deeeelicious pics our way.

Chelsea @ TheVintageChair says
Wow, what a cute little dresser! Although, I hated to see those cute, vintage, beaded handles go, it’s a fantastic transformation! Very charming.
Marsha says
How did you get such a smooth paint finish? It’s fabulous!!
Katie says
I’m going to do this to a dresser soon, what kind of paint was used, how did she fill in the holes (we have the same type handles on ours now), etc? I need help w/this!!! ha.
Mindy says
Hey guys! Ok…I used water based acrylic paint. (one coat of primer, two coats of the paint) I achieved a smooth finish by just making long brush strokes back and forth and by making sure I had enough paint on my brush (never skimp on quality brushes!). (if you look closely there are tiny brush marks, but not too bad) To seal in the holes from the previous screws, you need to use Bondo (its a red color) and mix it with a hardener. It should come in a kit. Be careful though because once you mix the two together it hardens pretty fast. To fill in the other cracks, etc, in the wood I used Crawford spakle. Make sure to sand down the screw holes very well so you don’t see the marks once you paint the piece. (and might I add my Dad is a professional house painter so thats how I learned the right way to do all of this!) Hope this helps!
Katie says
THANKS Mindy!!!!
I needed all that as I plan to do this to an old dresser that was my husband’s as a child and he doesn’t want to part with it (go figure) BUT then I won’t be spending as much on NEW furniture.
Greatly appreciate it!!
Erin Watson says
If you really want to add some jazzmataz to a refurbished piece, I have found the Anthropology is a great source for cool hardware. Their selection of pulls if great and really unique! They are especially good for accent pieces, just something to add character.
Amy says
What a great makeover on the dresser. I love Behr’s lime light. We painted our guest room in that color, and it’s very serene.
Olga says
I’m just wondering, I see that you used the water based acrylic paint but the YoungHouse in their tutorial says to use latex paint but you can also use oil based if you don’t use latex primer or something.. so what is really best to use and what is the difference?
Also, did you use flat or semi-gloss?