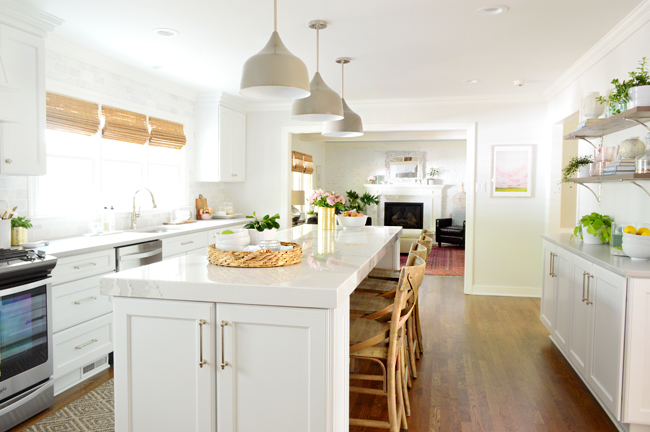
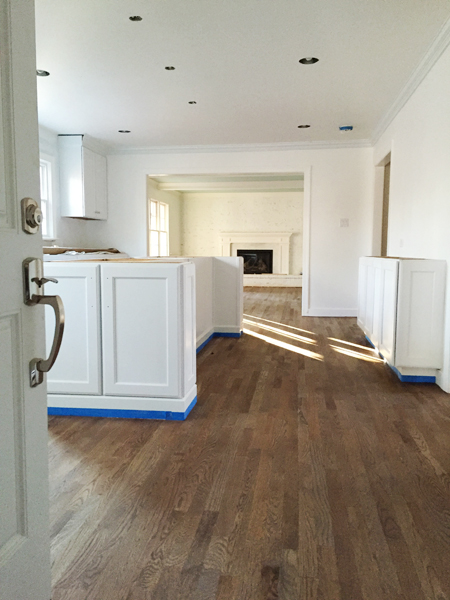
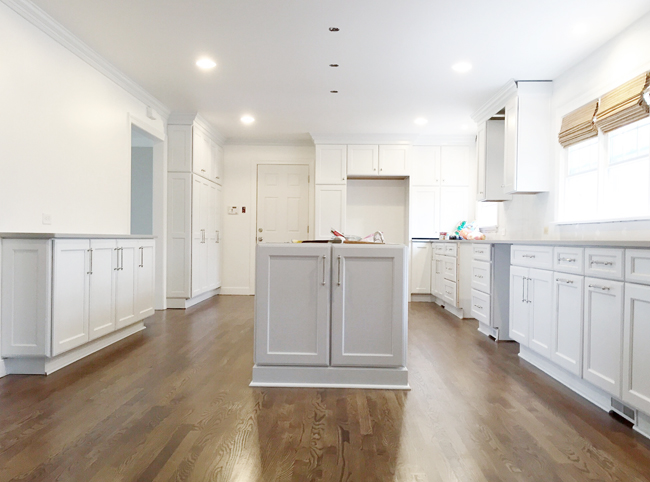
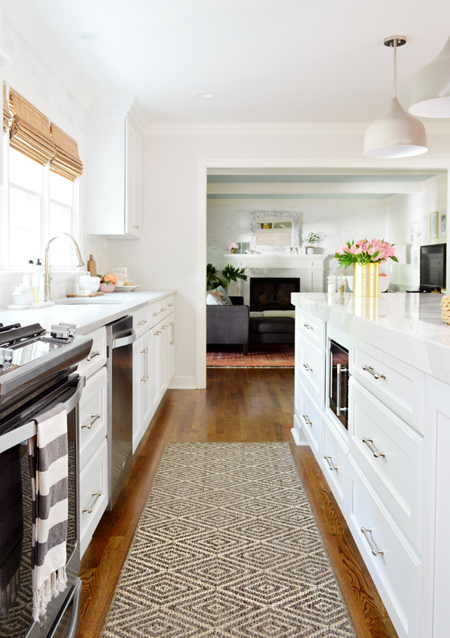
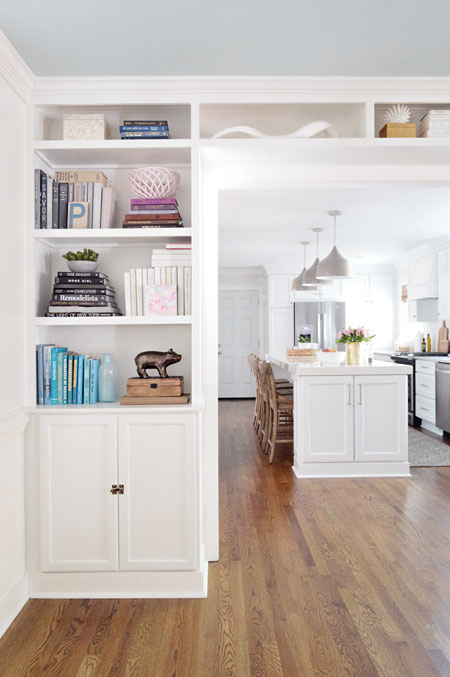
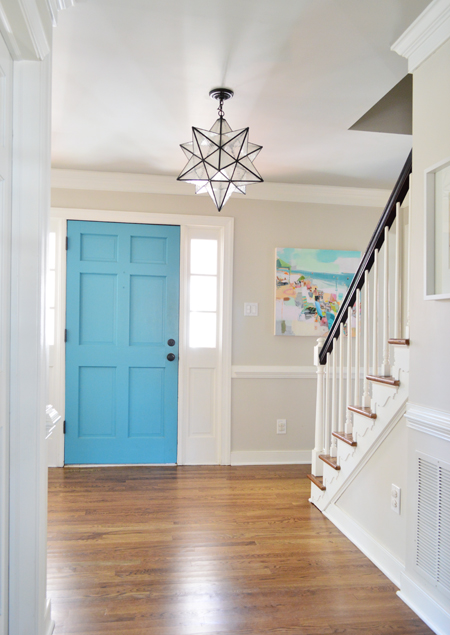
The new floors in our kitchen are easy to forget amidst all of the other big changes (a completely new layout! a wide doorway to the living room! new cabinets! new counters!). But every now and then we’re reminded that the floors are a HUGE reason that space – and heck, the entire first floor – feels so fresh, updated, and open. So we thought it might be helpful to recap the entire process, including time & cost, for anyone else who’s debating a similar upgrade.
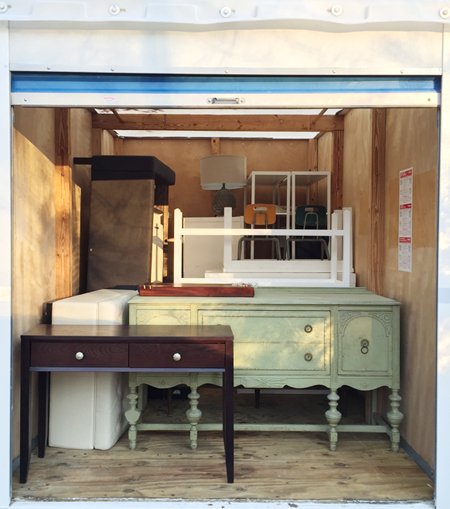
fun, exciting, mouthwatering, annoying task of MOVING COMPLETELY OUT OF OUR FIRST FLOOR.
Ugh.
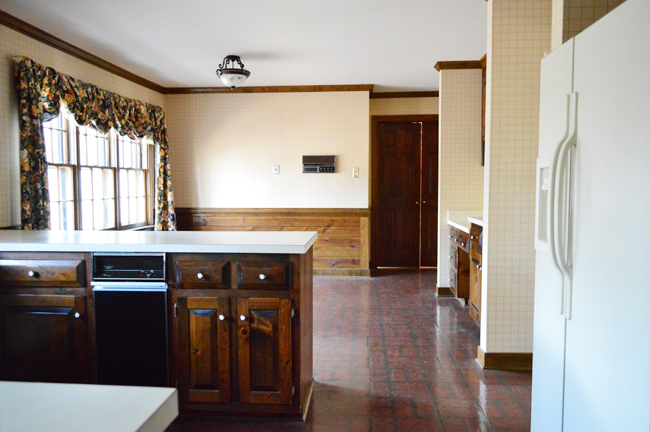
This was a big reason we didn’t get all of our floors refinished in our last two houses to be seamless and all the same color/height (especially since those were ranches, so that would’ve meant moving out ENTIRELY). But in the end, I can admit it was totally worth it and a liiiiiiittle bit of me wishes we had bitten this bullet in our previous homes.
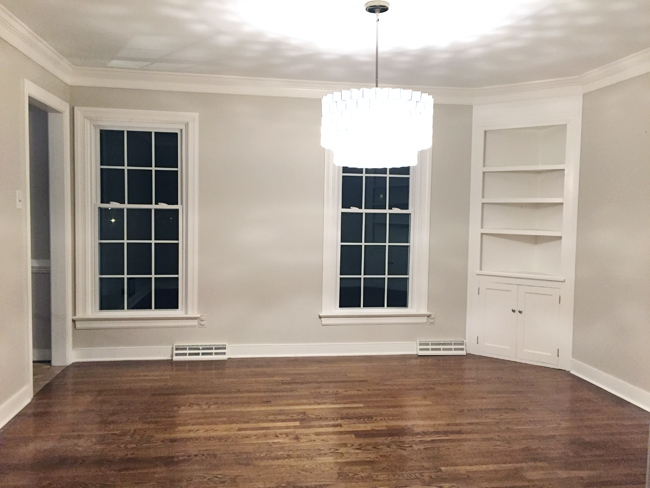
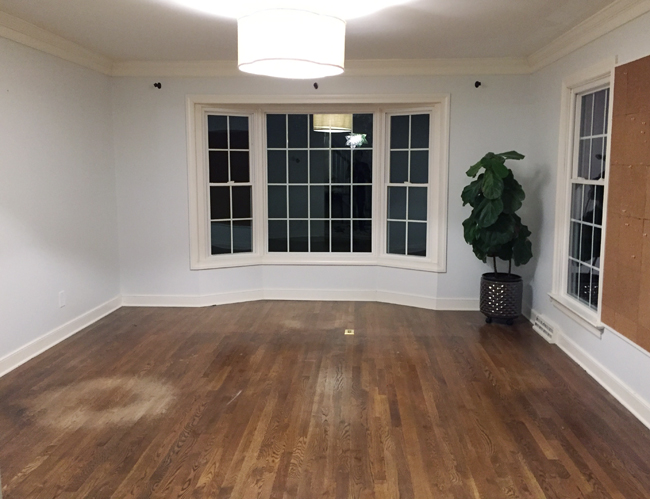
Cue the empty room shots.
Demo
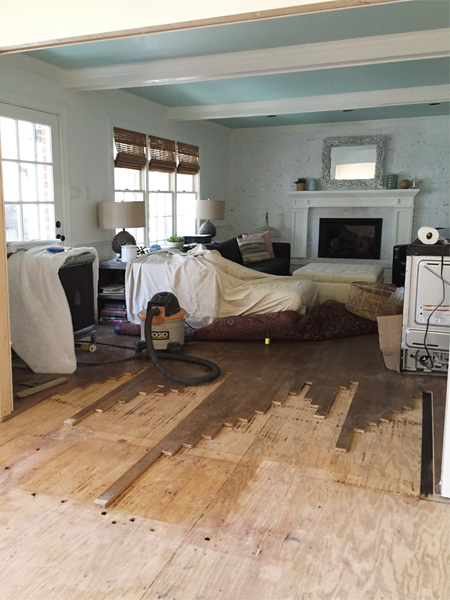
First up – removing the old linoleum and slate. Although we thought we might tackle the slate demo ourselves, Howdyshell quoted it for us and said their team could knock it all out in a day-ish AND that it would include removal/reinstallation of quarter round and plumbing fixtures (like our powder room toilet and sink). Since we’d need to rent tools to get it done, it made our savings margin a lot smaller, and after seeing how quickly they did it – and how dusty & noisy it was – we’re grateful we didn’t try to squeeze it in across a few evenings after the kids went to sleep. Let’s just say they wouldn’t have been asleep for long…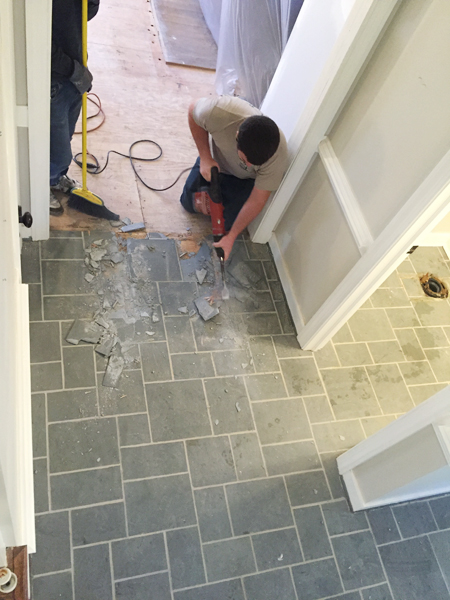
Installation
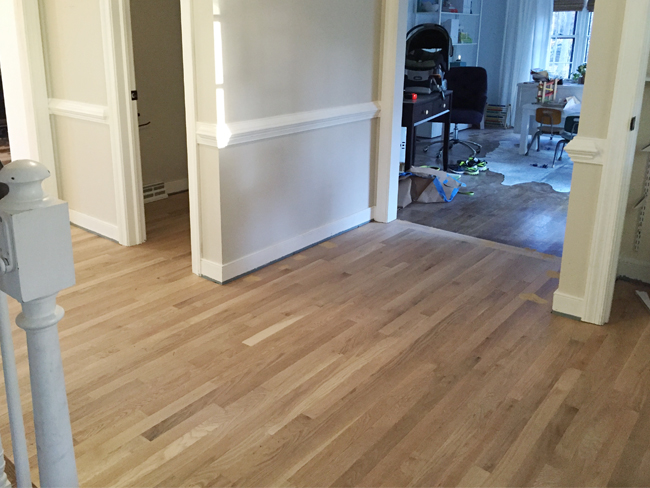
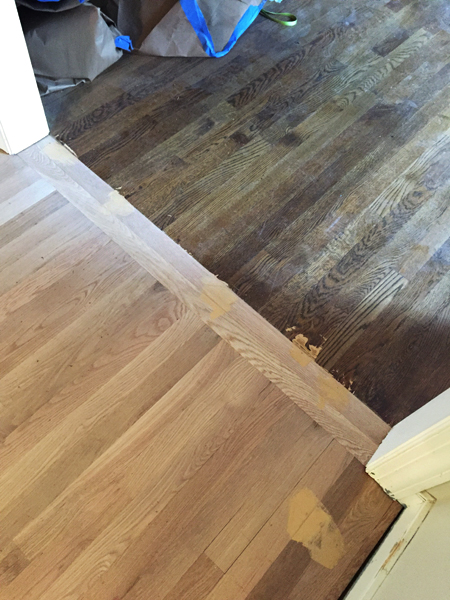
With everything out, they started by patching the new boards in, using wood putty to fill any grooves where it wasn’t perfect. The wood putty also helped fix any boards that were nicked or damaged during the process of removing the old planks.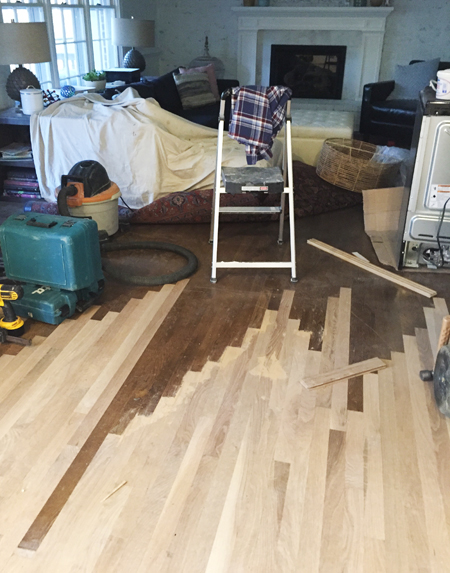
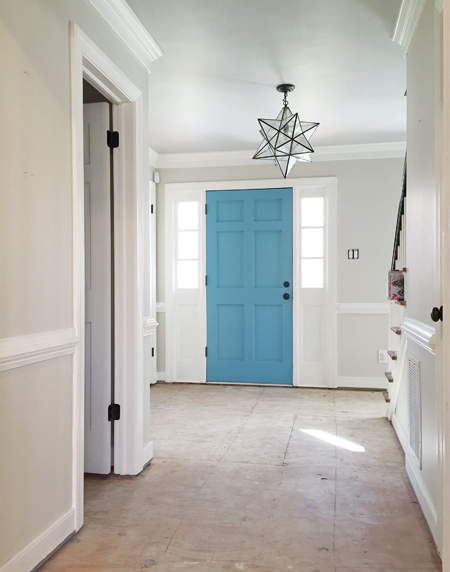
Moving Out
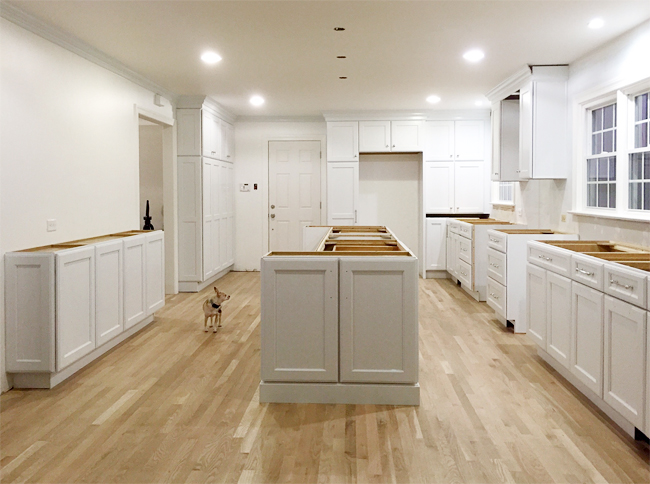
Once the cabinets were installed we began the
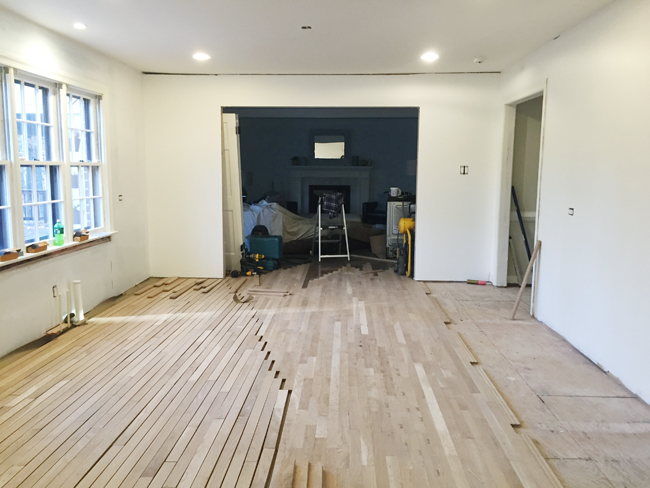
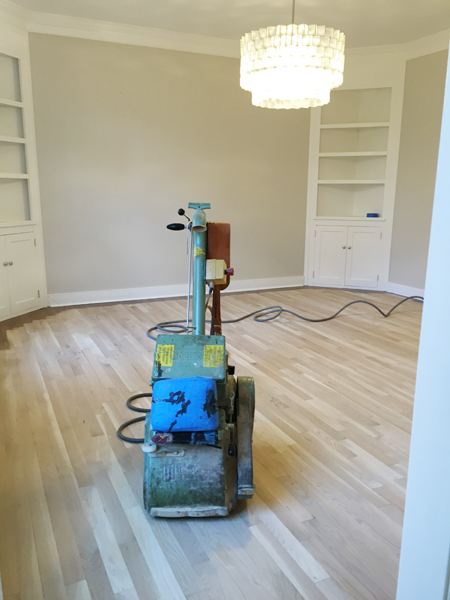
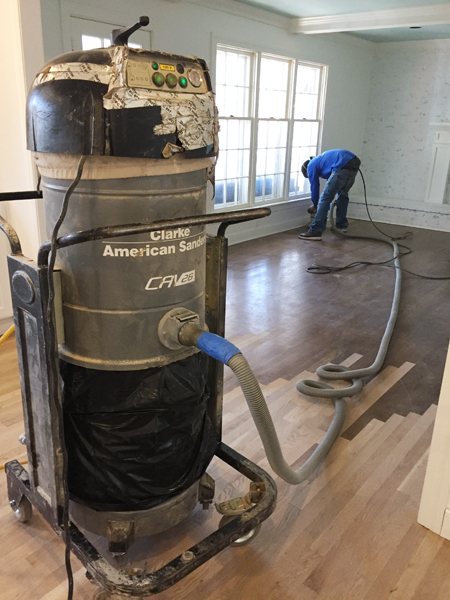
Sanding
We spent one last day in the house while sanding began, which gets the old stain finish off the existing floors and leaves ten million dust particles everywhere (the top ledges of your doorway and window trim will forever be dusty if you don’t wipe it down before moving furniture back in). We holed ourselves upstairs behind this bubble that we taped at the bottom of the steps to keep the dust contained to the first floor. It actually worked!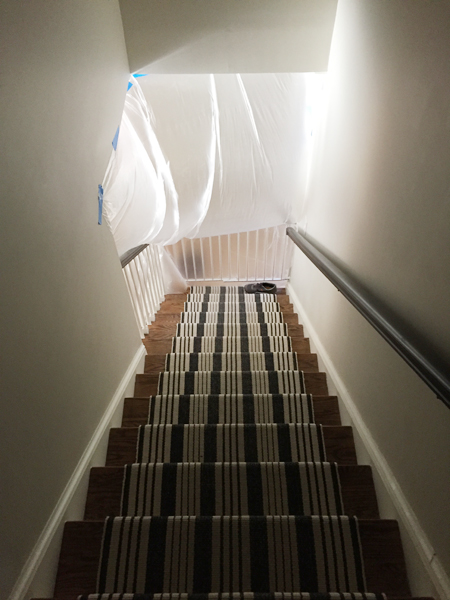
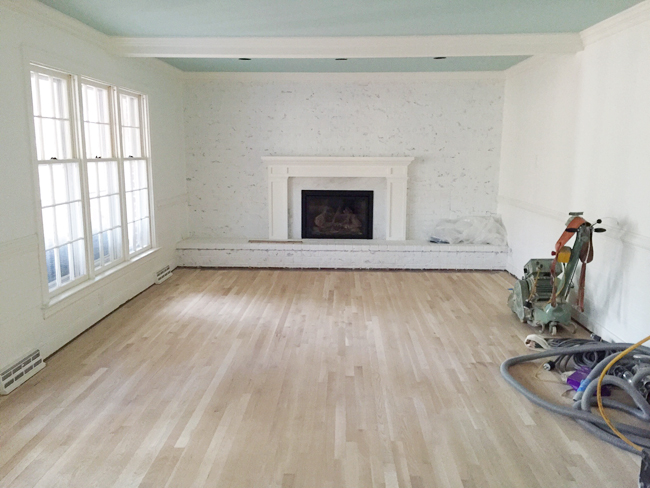
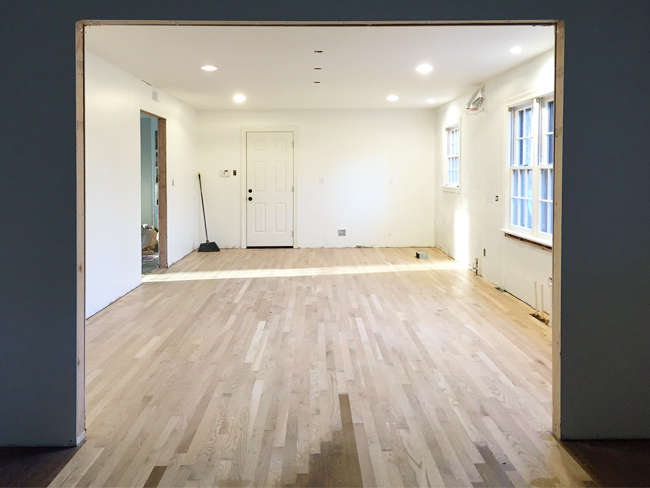
Staining & Sealing
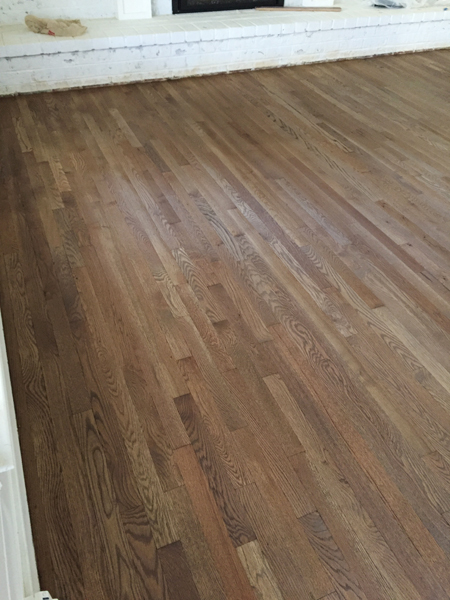
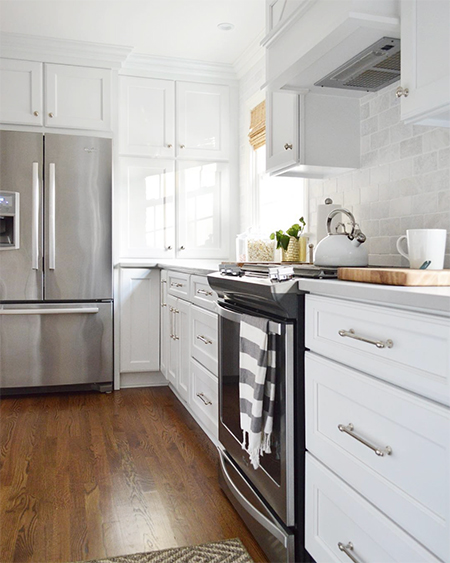
Our last order of business before getting kicked out of our house entirely was picking a stain color. Our goal was to match what was already on the steps, since we weren’t refinishing those. We did some test spots near the stairway to find the closest match: the bottom one was Jacobean, the next one up was Special Walnut, then Provencial, and the top was a blend of Jacobean + Provencial together. We went with the Provencial (third one up) because it felt like a nice classic medium stain and it looked really close to the color of the stairs (spoiler: it looks nearly identical now that it’s all said and done – phew!).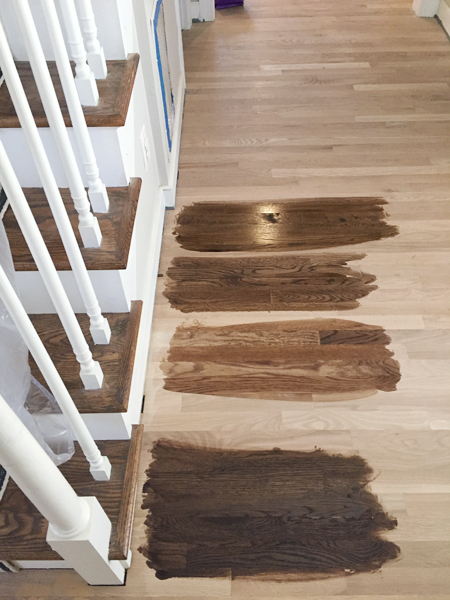
Moving Back In
The saga didn’t end there though. We were advised to wait another TEN DAYS before putting down heavy furniture or rugs, since they could leave imprints in the sealer. So we holed ourselves upstairs for another week-ish, coming down basically just to pass through in our socks to leave (we still had no sink or appliances at this point). We also had little tasks to tackle like cleaning up the layer of sanding dust on everything (they use “dust mitigation machines” but it doesn’t get it all) along with caulking and touch-up painting all of the quarter round throughout the first floor so it looked so fresh and so clean clean against our rich wood floors.
More Hardwood Floor Refinishing Projects
If you would like to read more about our specific hardwood floor refinishing projects, please see the posts below. They range from matching original hardwoods to new prefinished flooring to restoring 100-year-old pine floors!- Refinishing Mid-Century Oak Floors in Our First House
- Refinishing Historic Heart Pine Floors in Our Beach House
- Repairing Historic Oak & Pine Floors In Our Duplex
- Clear Sealing Our Refinished Floors In Our Florida House
