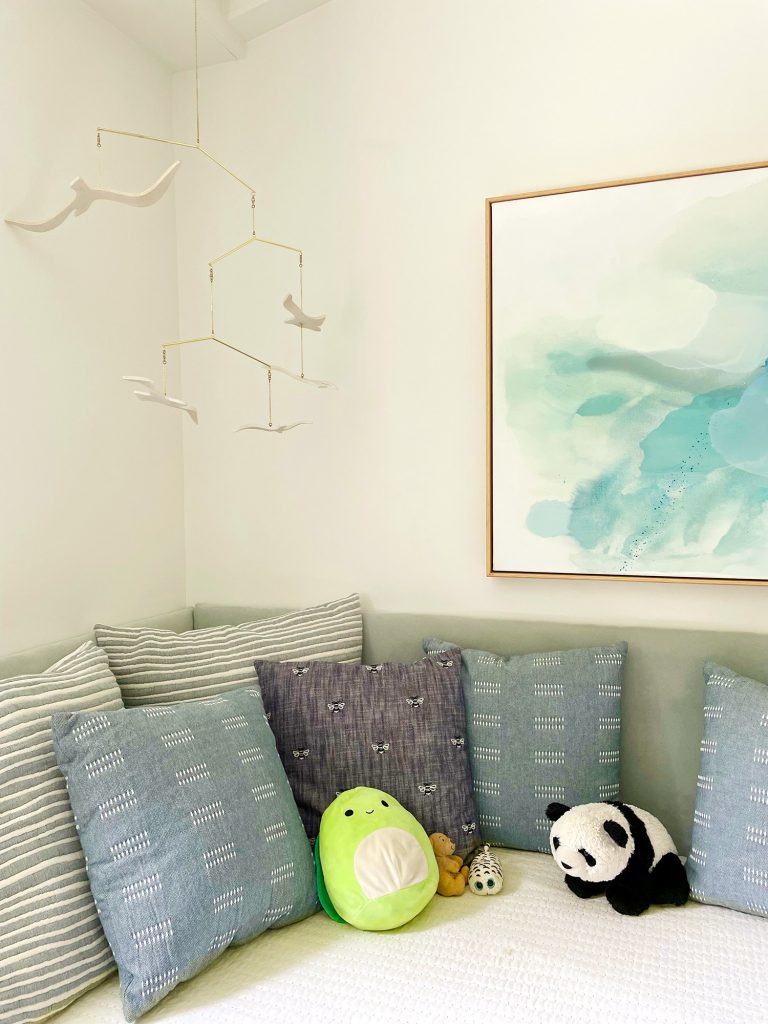
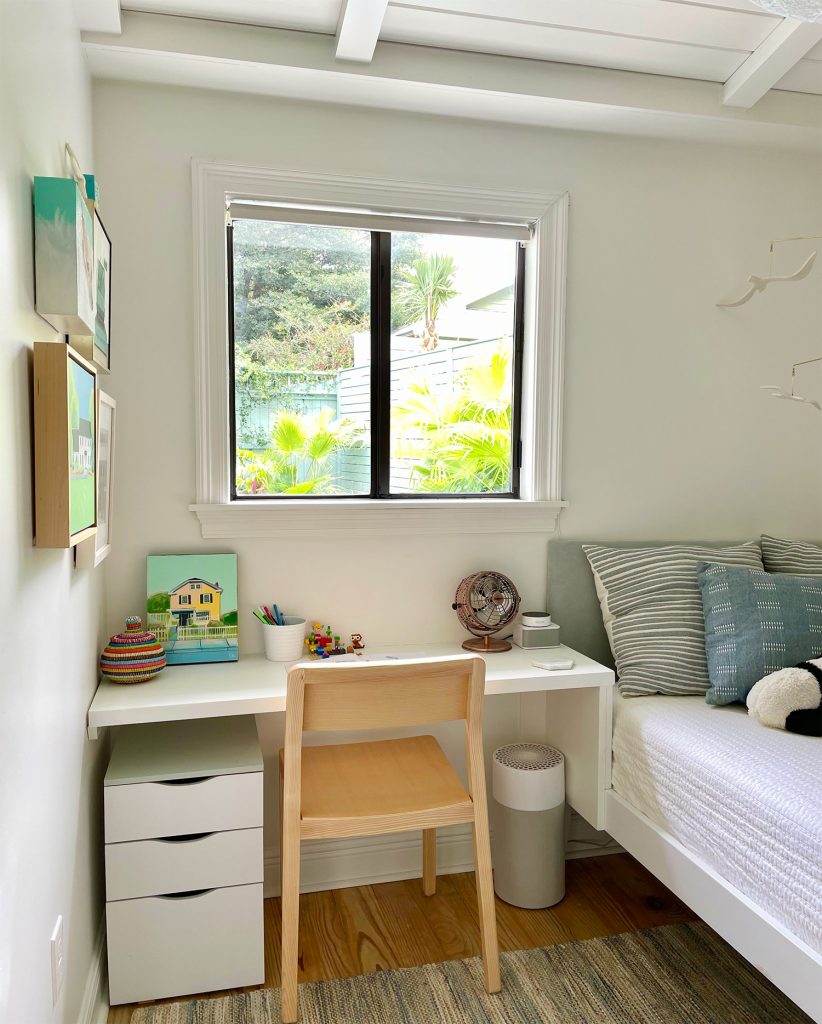
When we thought about all the functions that would be helpful to have in our son’s bedroom, which can definitely be described as “cozy” when it comes to the size (real talk: this room is small), he needed:
- a bed to sleep in
- clothing storage
- book and toy storage out in the open
- some concealed storage for papers and other toys/games
- added bonus: a hangout-y lounge spot for reading or playing with his sister or a friend who comes over
- he also requested his own desk for drawing/homework/playing with magnets (yes, we have a current magnet obsession going strong right now)
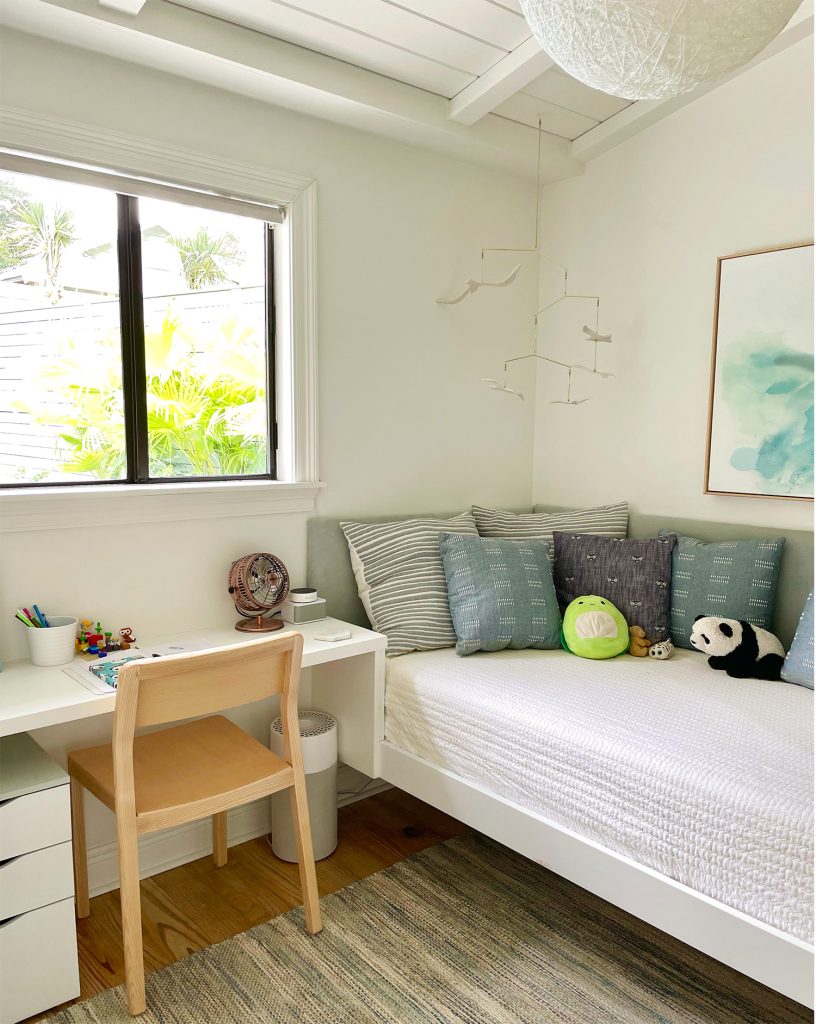
We definitely could have pulled the “your room is really small for a desk, not sure we can do that” card – but we thought it was worth a try thanks to the idea of customizing a built-in desk right next to the bed that could double as a nightstand. And low and behold, it worked like a charm. So yes, this small room has everything on that list we shared. A bookshelf, a desk (that also works as a nightstand), a big cozy couch-like bed that both of our kids hang out on, along with ample clothing storage and toy storage in a whole bunch of out-in-the-open and concealed spots in the room.
This is a very belated sharing of these projects (we completed these custom closet shelves a year ago in January of 2021 (I can’t believe it has been a year – I had to look at the date on my phone pics). So we’re happy to report that not only do they look nice, they’ve worked really well for an entire year.
Thanks to the modest size of this space, we definitely had to be intentional about working all of that stuff in. Our kids love a cozy room (like the small bunk room in our beach house) so we didn’t worry that our son wouldn’t like or use this space (both of our kids hang out in here far more than in our daughter’s larger room – go figure). But a small room isn’t always easy when it comes to squeezing in all the functions. Sometimes you just have to pick & choose and get creative about what you store outside of that room – which we thought we might have to resort to with this space.
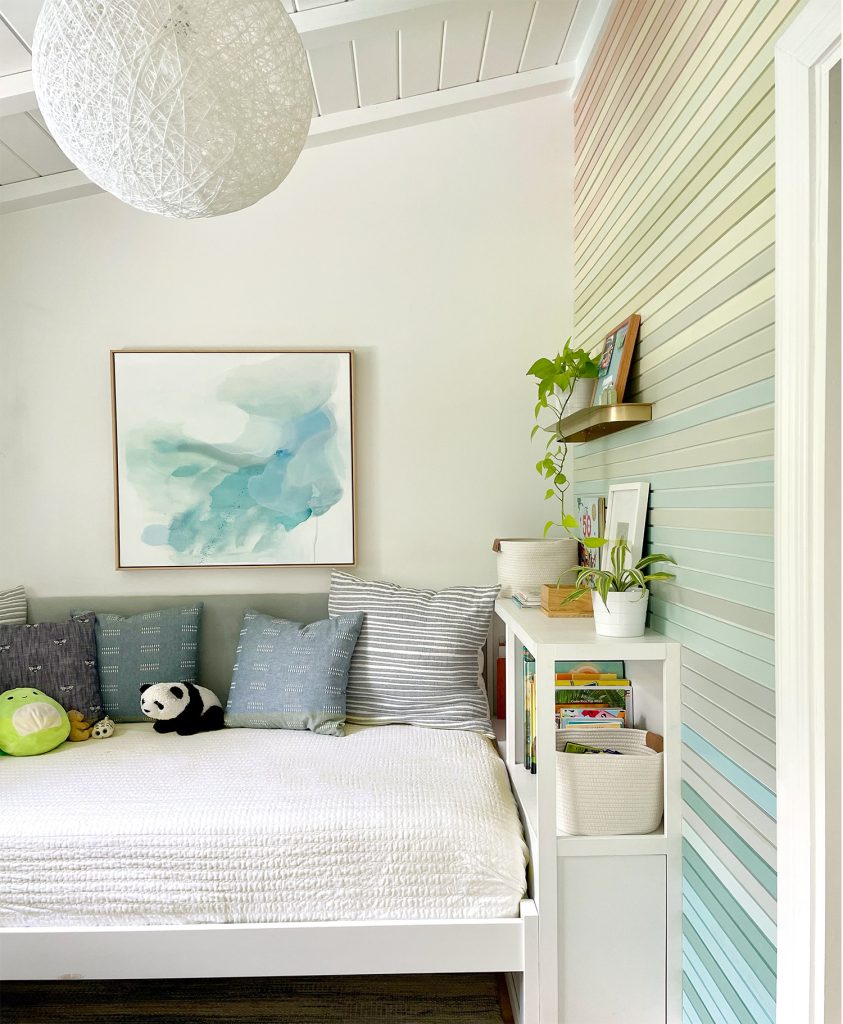
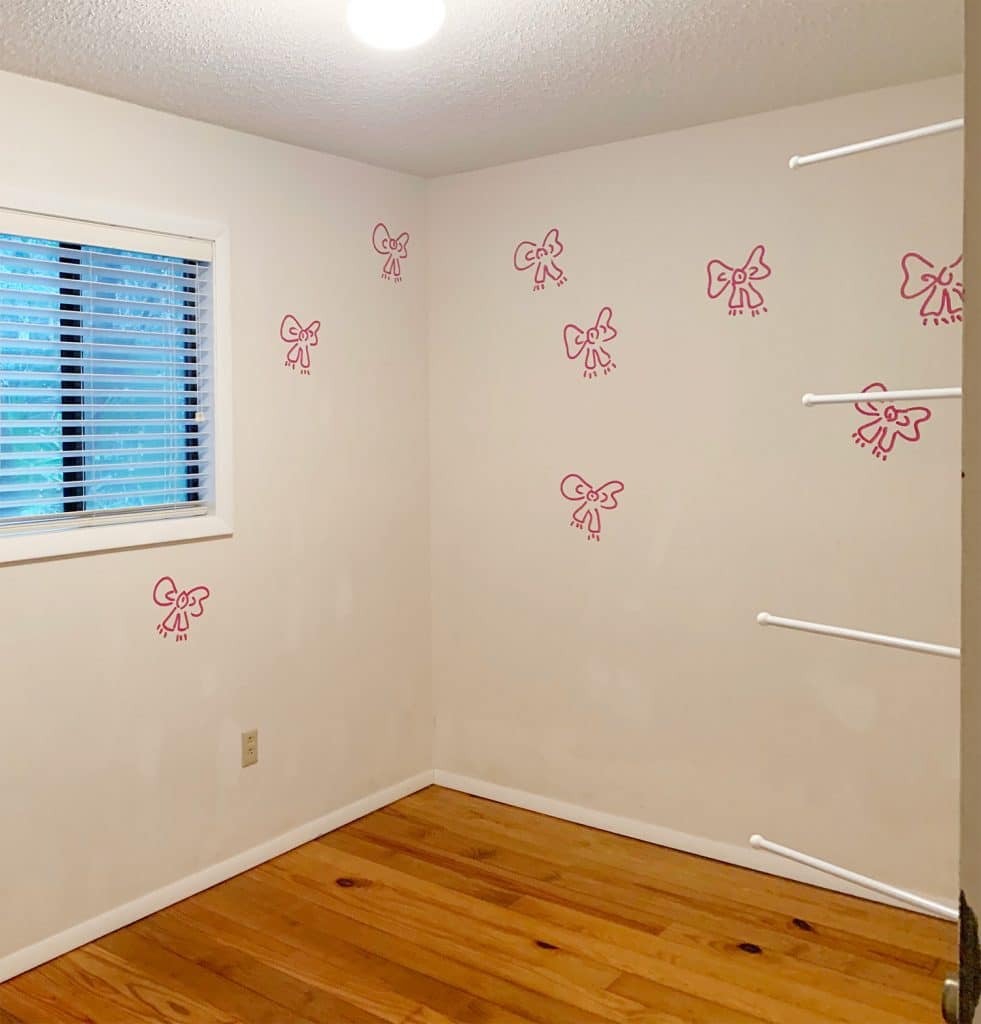
But long story long, we’re thrilled with how much we got out of this room thanks to a few simple DIY projects. Getting to check off everything on our list – including a few “nice to haves” on top of the necessities feels really good. And it sure has come a long way in here. The photo below is from our first walk-through of this house. Vaulting the ceilings made SUCH A DIFFERENCE in how much less cramped this small room feels (more on that here). The picture below is essentially the same view as the one above. Three cheers for turning a small box into a vaulted box with all the built-ins.
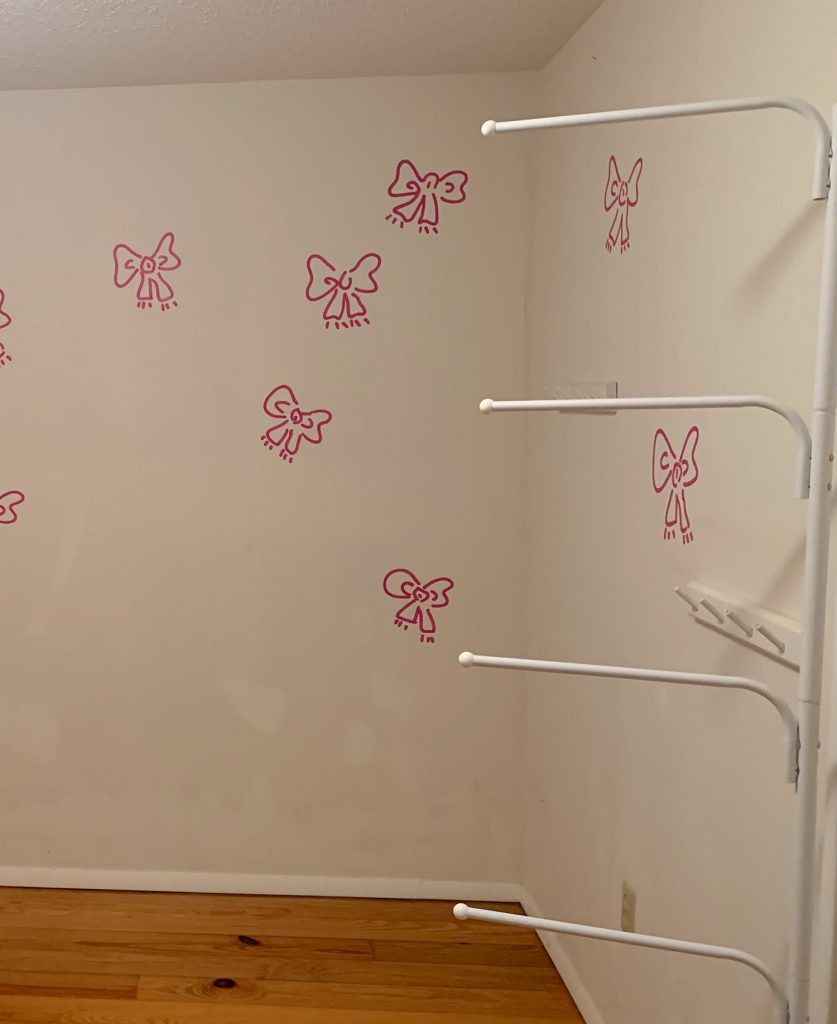
The photo below is another angle of the room as it looked when we bought the house:
And here we are with an after shot from a similar angle:
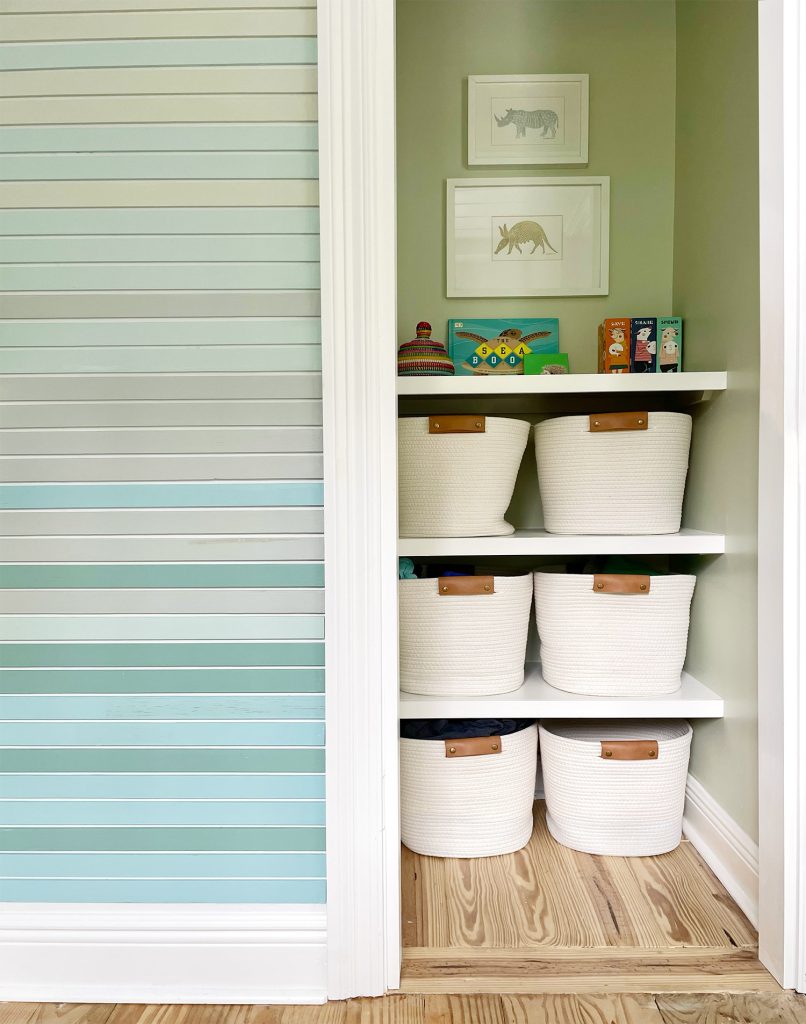
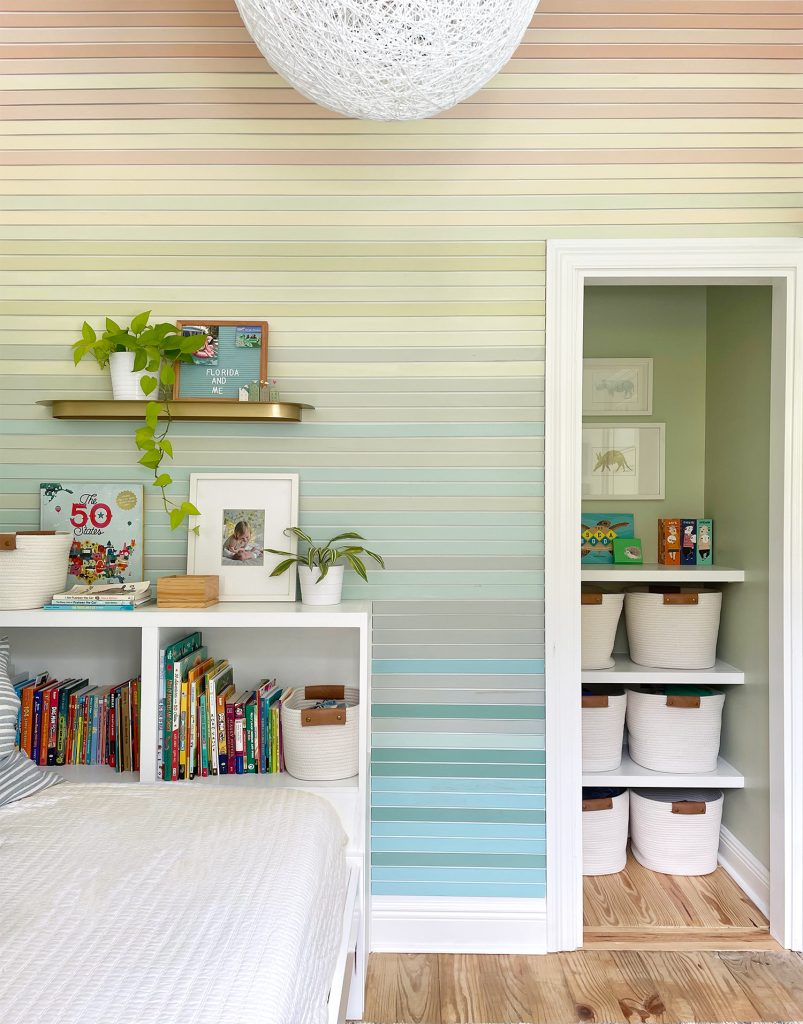
We debated everything from adding a bookshelf inside of the closet – or even a small desk in there, but realized that clothing storage in that nook felt the best for keeping the room functional long-term (a hanging bar can always be added up top whenever that need arises, and we can always add a door back on, although now it’s super functional without one since it fought with the main door to the room). So after deciding the closet worked best for clothing storage, we considered everything from shoving a tallboy dresser in there to hanging some fancy Elfa storage bins with pullouts for clothing storage, and eventually landed on shelves with large fabric baskets. Super easy to use. Super flexible. And something our son has used before when it comes to clothing storage…
… see, both of our kids actually stored their clothes/pjs/swimsuits in baskets on shelves at the pink house for the entire summer when they shared that tiny bunk-room! (Soft theory: that’s also where they developed their love of squeezing into small cozy spaces together).
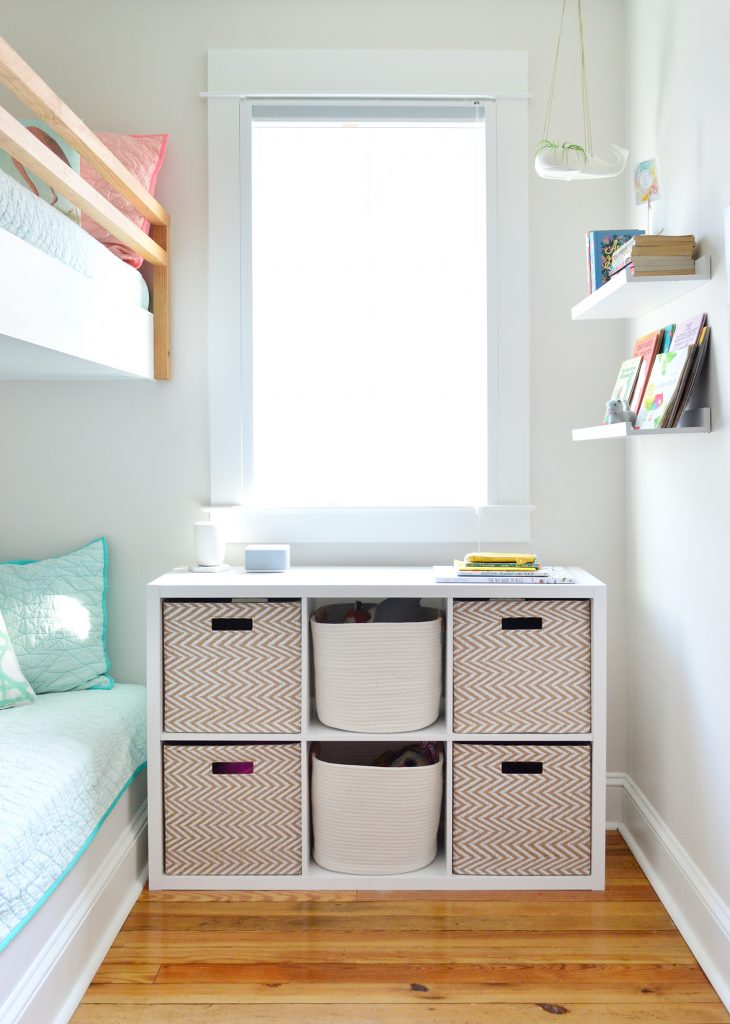
Thanks to the pink house and a year of using this setup here, our son really likes how simple it is. He puts all of his clothes away himself when they’re fresh out of the laundry, and it also makes it easy for him to see if he’s running low on socks or bathing suits so we can hurry up and do a load to remedy that (nothing can really hide in these baskets like it can in the back of a larger drawer).
Does it mean we won’t add a door, a hanging bar, or a built-in dresser down the line if that feels like it would be more functional during that older stage of life for him? We certainly might. We’re all about evaluating exactly what works for the life stage you’re in – so it’ll be interesting to see where we end up when he’s older and he actually has items of clothing that have to be hung up (his current count of that = zero). Fun fact: this closet used to have a hanging bar but it was full of our clothes because the first 10 months we lived here, we didn’t have a closet in our room. Thank goodness we changed that.
As for how we added these simple closet shelves, we basically followed the same method that we used to create our built-in pantry in the pink house so you can see that step-by-step tutorial here. A quick summary of our method = nailing and screwing in brace pieces of wood that you level on the sides and back of the closet, so that MDF shelves can rest on top of them and be nailed into place.
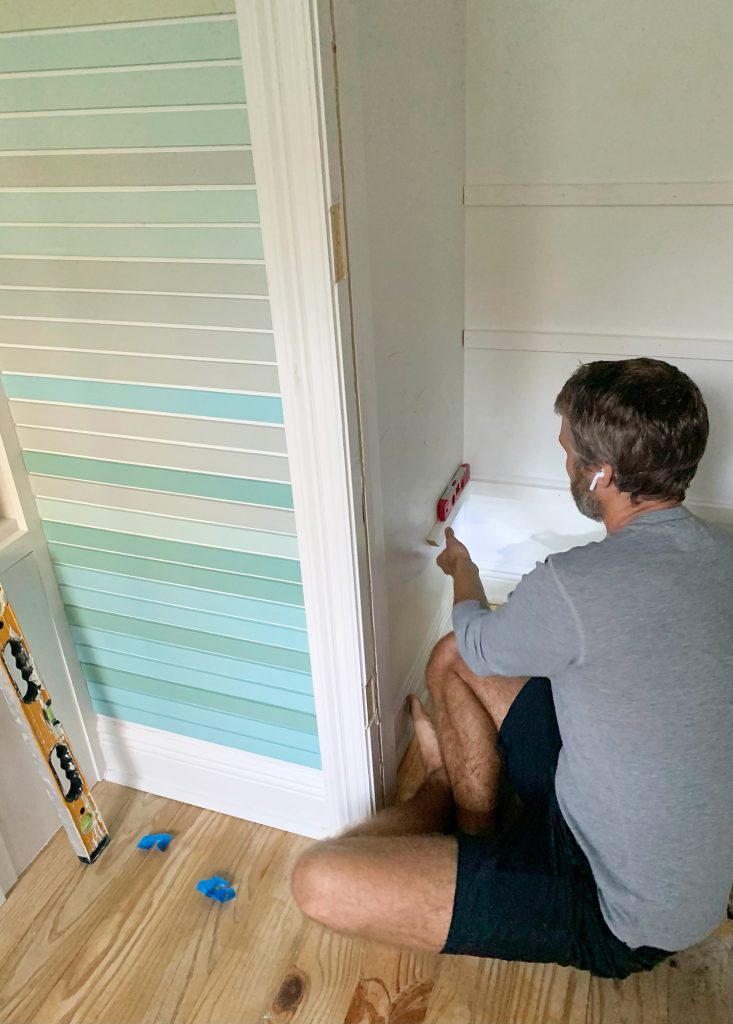
These are those brace pieces that support the MDF shelves, which we made with 1×2″ pine boards (we got the pre-primed ones for easy painting) from Home Depot.
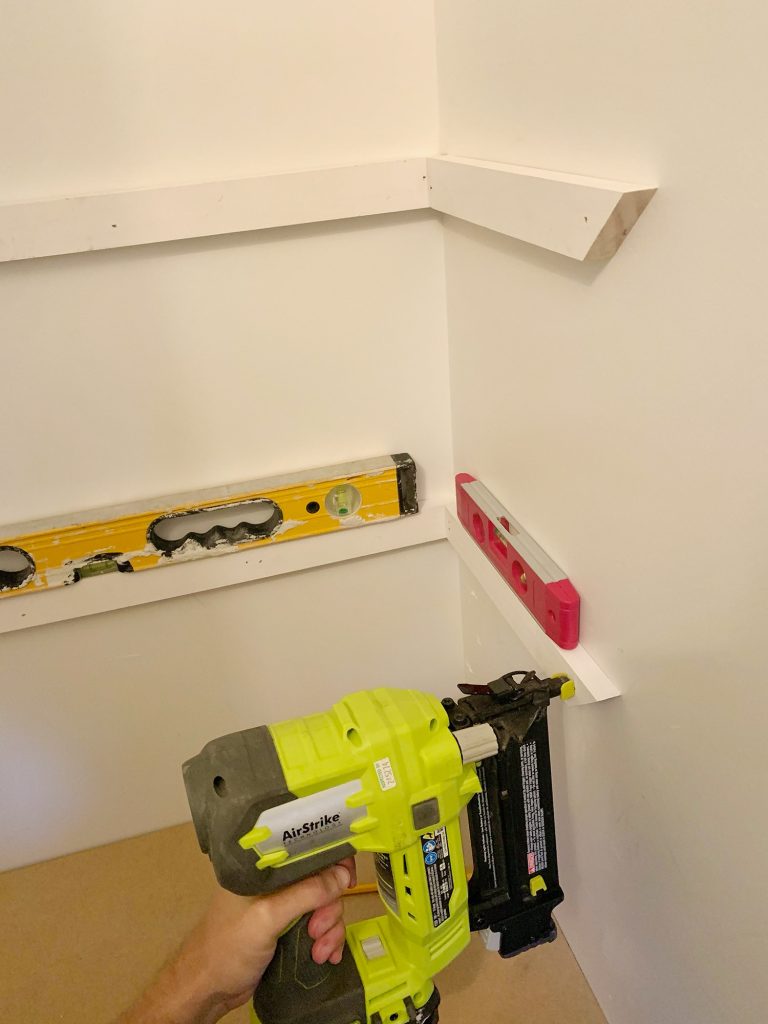
We used the same 1×2″ board to make the shelves appear chunkier (just add one along the front of the shelf to heft them up). That part of the tutorial is also much better explained here in this pantry shelf building post if you need more details and visuals. Oh and we painted the walls of the closet nook one of the colors in the wood slats that we used for that accent wall, so it fits right in. The color is Livable Green by Sherwin Williams.
If you’re looking for more projects and ideas that have to do with adding shelves, we wrote a whole roundup post full of 16 DIY shelf ideas for you.
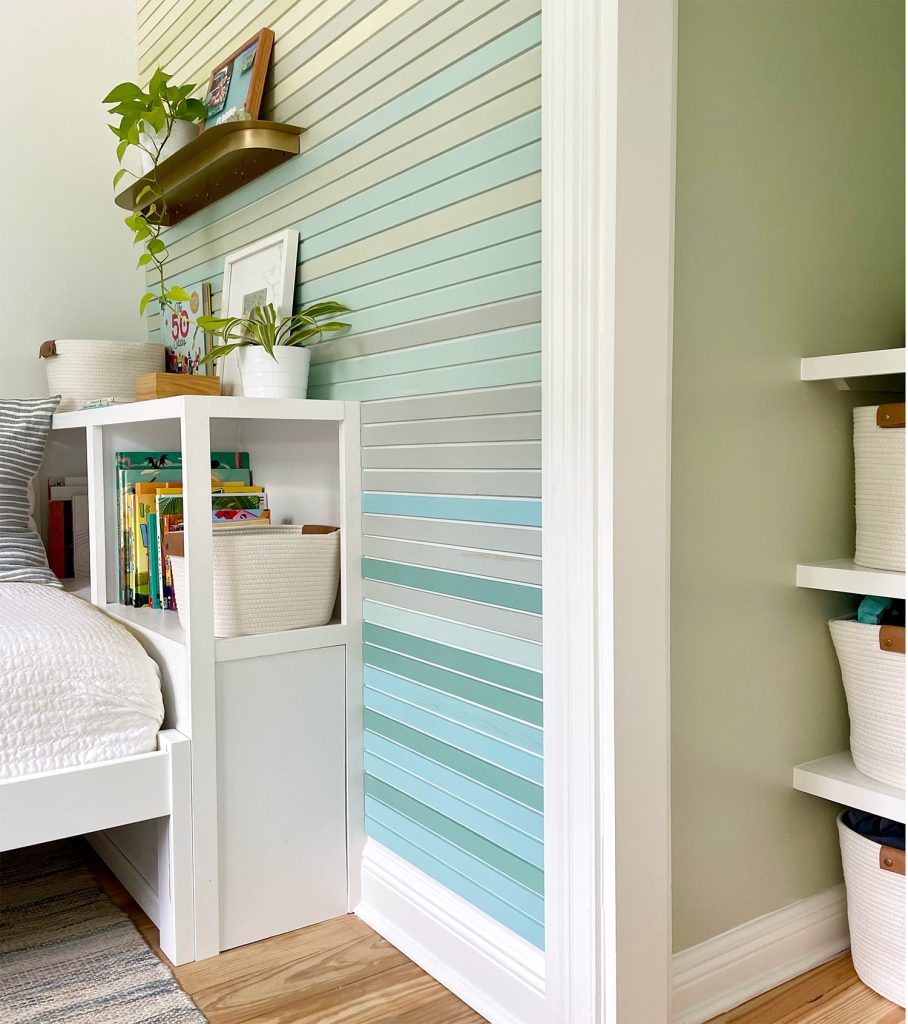
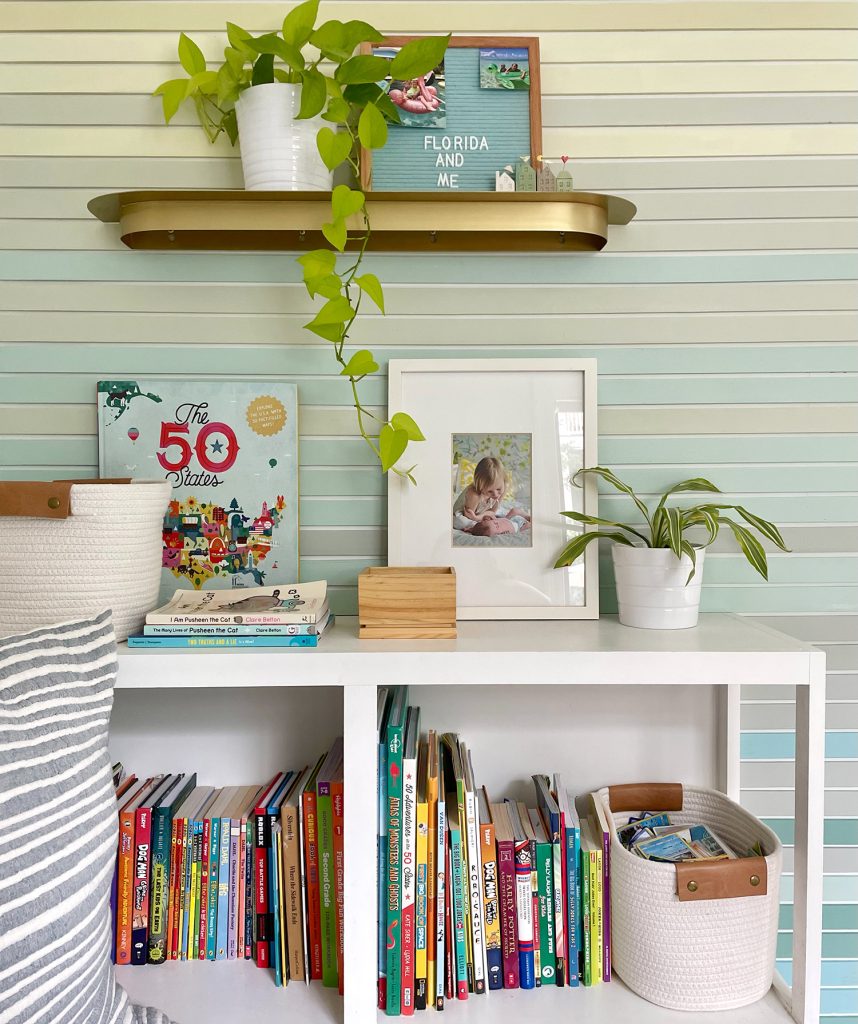
You might remember that we added the built-in bookshelf back in 2020, which is still going strong – along with that colorful planked wood wall (more on how we did that here). One newer addition is that brass shelf that we hung above the bookcase, just for some more vertical interest on that extra tall wall (it’s the vaulted side of the room, so it’s nice to have something to draw the eye up and use more of that wall).
If you’re sitting there thinking “Ok, where are all of his trinkets and books and pokemon cards and gadgets and snap bracelets and other small items?!” – a ton of books can be stored here on this built-in bookshelf, and those two cloth baskets are full of pokemon cards and other smaller trinkets & toys. That wood box also has more collections of things (rocks, lots of rocks) and I got him the cutest four-drawer cubby after taking the photos for this post (of course!), but you might have seen that on my Instagram stories. There are also three desk drawers and many more baskets full of toys/games/more rocks/etc under the bed, so literally everything he wants in his room has a place.
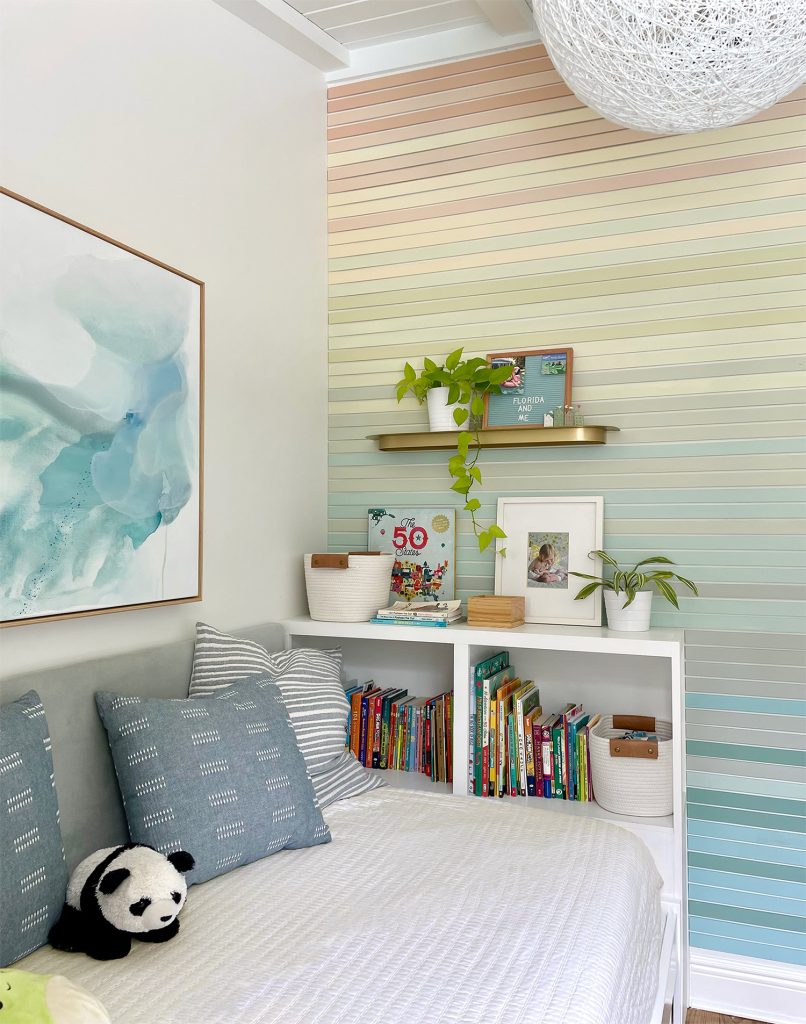
And yes, he put “Florida and Me” on his little blue-green letterboard. Makes me laugh so hard. This is a better shot of that brass shelf we added. I really like the rounded edges and the fact that it’s exactly the same width as the wood slats, so we just lined it up with one of them when we hung it. Talk about a happy accident.
One really nice thing about this room’s setup is that it’s so easy to grab a book to read or a basket of cards to play with on the bed right from bed. Sometimes smaller spaces = even more efficient in that way. Small can literally mean easy access to lots of things right at your fingertips.
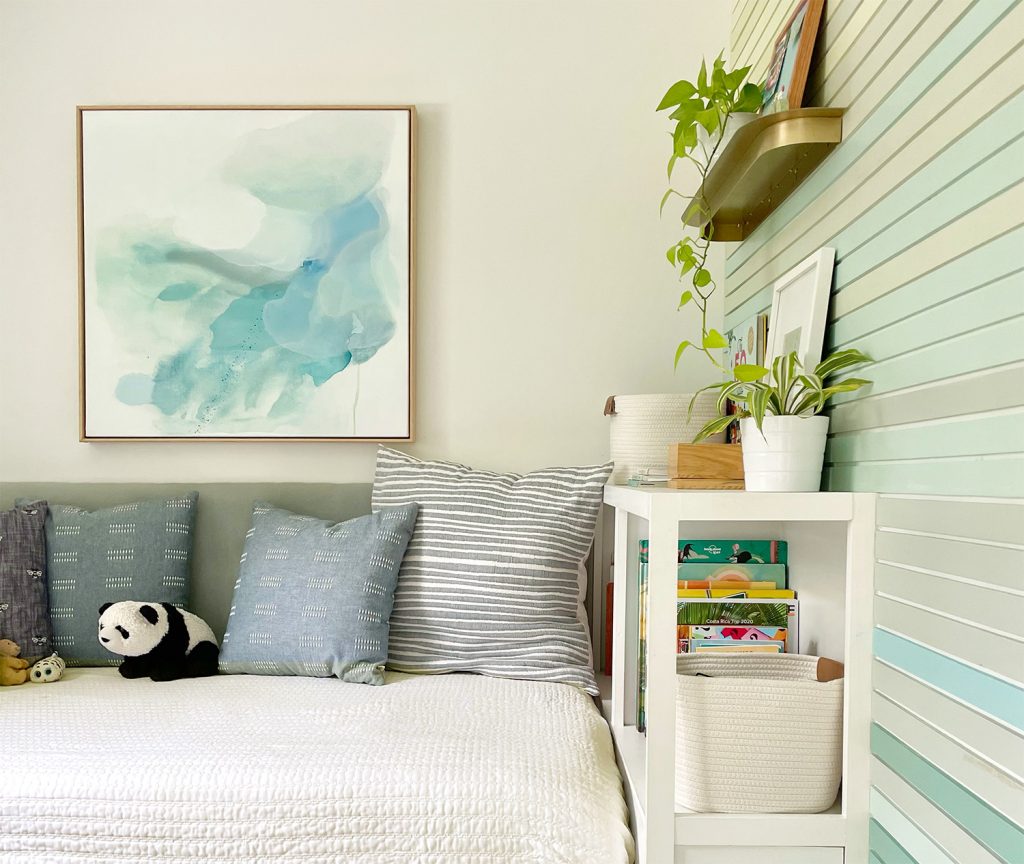
Swinging around to the other side of the room, here is the little floating desk that we built ourselves so it fits perfectly into the room. By keeping it attached to the bed (the opposite side attaches to the wall) it really feels lighter and less crowded in here. And the best part of the desk coming right up to the side of the bed is that it doubles as our son’s nightstand, with his sound machine and fan right there, along with a coaster for his nightly drink of water.
I think another good choice we made in here was pushing the bed against the wall and creating not one but two upholstered panels to go behind it (one for the side and one for the back) so it has a really inviting loungey daybed/sofa vibe. This spot = where both of our kids hang out a ton (along with other neighborhood friends who stop by to play) thanks to that couch-like feeling. And the upholstered panels were so easy to make. Here’s a post with all the steps for you to create your own. Adding a simple white quilt and a bunch of comfy pillows like these and these finished it off (yes, our son has a special way he likes to nestle himself among all of those pillows and stuffed animals every night).
As for how we built the desk, it’s made from MDF, and we once again used that pantry shelf-building method to help hold it up. We used 1×2″ boards along the back wall and that left side wall, so the MDF top rested on them. As for the right side, we used some of the same MDF to support it against the bed. You can see how it’s just two pieces of MDF, and one rests on top of the bed rail while one goes to the left of the bed, sort of “hugging” it. We secured them by screwing into them from under the bed (so you don’t see the screws but it’s doubled up and very securely held in place).
Adding the three drawered cabinet under the desk makes for even more concealed storage (a Rainbow Loom and Aquabeads kit hide in there along with his new Christmas microscope and lots of papers and notebooks that he uses at his desk). You first saw a glimpse of it that little three-door cabinet in this post, which details seven of our favorite storage pieces that make the most of our smaller home.
And the best thing ever is that we also have tons of under-bed storage in our son’s room. There are various baskets of other toys & games & stuffed animals down there, and they can be tucked deep enough under the bed that they don’t look cluttered (see how you can’t see any in the photo below)…

… but they can easily be pulled forward to grab something and play with it, like the basket you see peeking out from under the bed in the photo below. We actually initially bought him this bed because it had two large wood drawers that pull out from under it, which seemed very storage smart indeed. But we learned after living with them a while that smaller cloth baskets that can slide in and out made more sense than having to move two bigger and heavier drawers every time he wanted something. Plus individual baskets work better for the specific items he stores (like collectible cards, more rocks, did I mention there are lots of rocks?). Live & learn. (Am I the only one who says “and get Luvvs” in my head every time I hear or say that?).
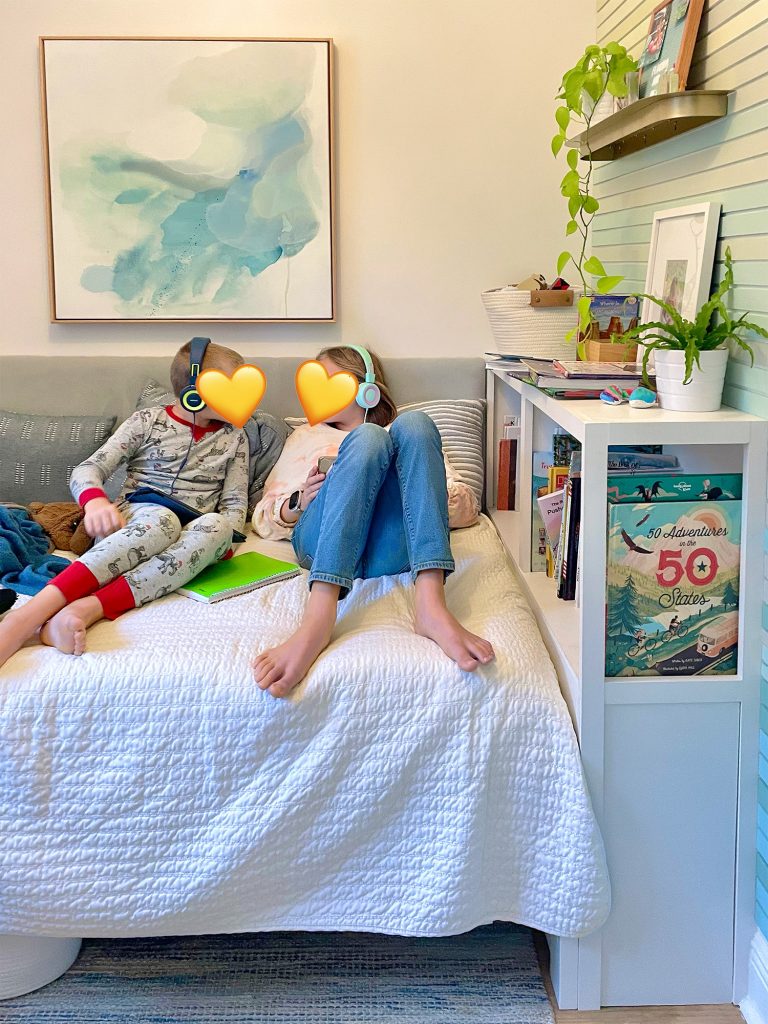
We are SO HAPPY with how this room has evolved, not only for our son, but for our whole family. No joke, if we’re looking for the kids, 9 out of 10 times they’re either outside on one of the swings or hanging out in our son’s room together (in this case, listening to the Encanto soundtrack on repeat). WE DON’T TALK ABOUT BRUNO-NO-NO… but we love to talk about storage ;)
Also, see that rectangle of wood under his built-in bookcase? That’s ADDITIONAL secret storage because we don’t like for a single square foot to go to waste. This is an old photo below, just to show you what we mean:
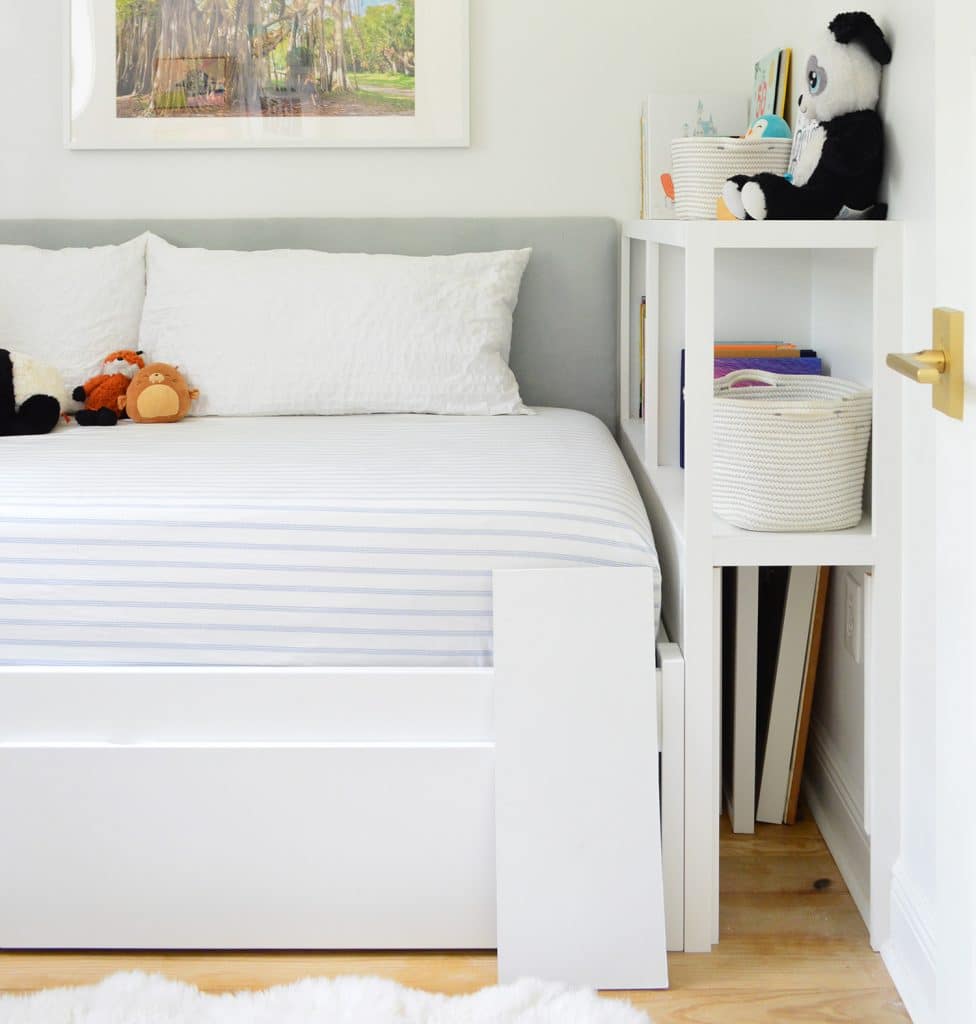
That panel pops off if we press it in the right corner, and it currently houses some spare picture frames because our son doesn’t have any need for that additional storage. But as he grows if he does have a need for it, we’re happy to hand it over for whatever he needs. We could even add a handle to pop the door off a little more easily anytime he wants to access things down there.
If you’re looking for more storage-friendly or small-space ideas, our first post about this room from a year and a half ago shows you some of our earlier ideas for optimizing his bedroom (like how we built in the bookcase and added the upholstered panels around the bed). And here’s how we added that colorful planked wall treatment.
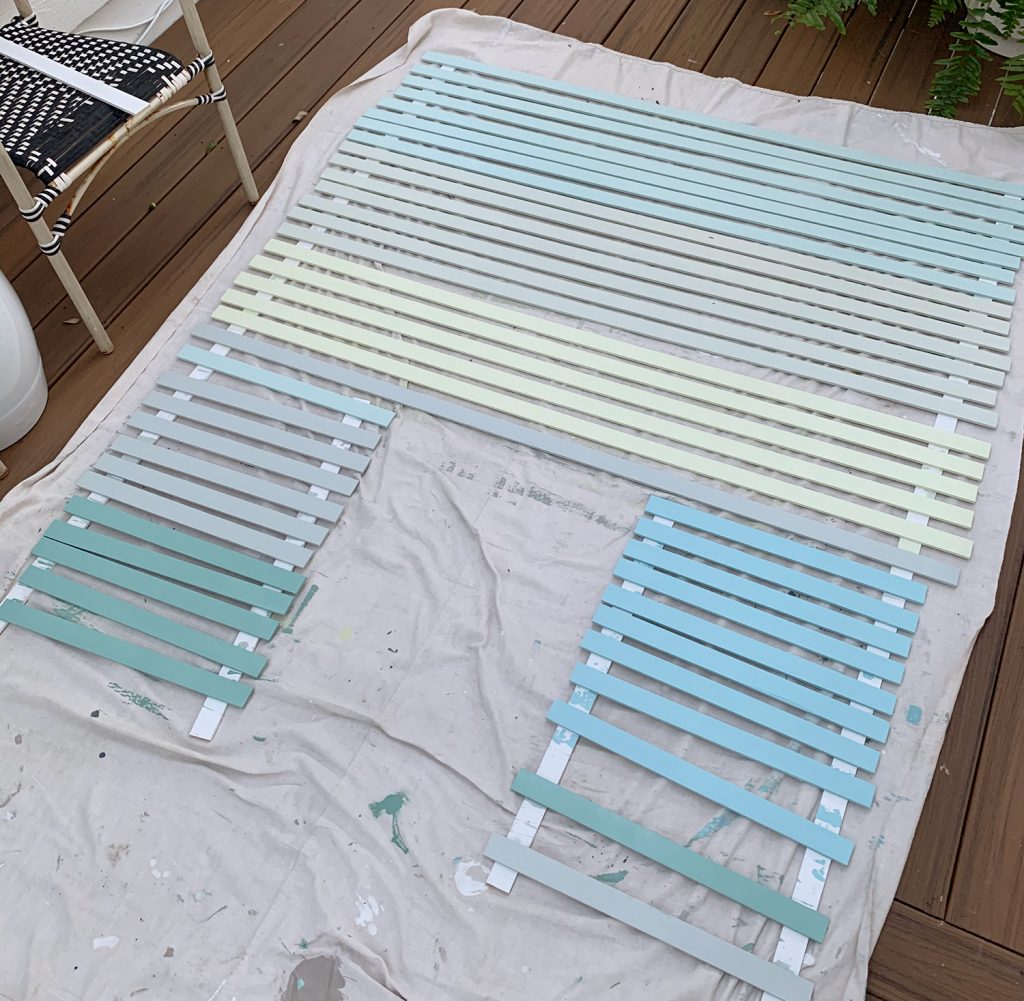
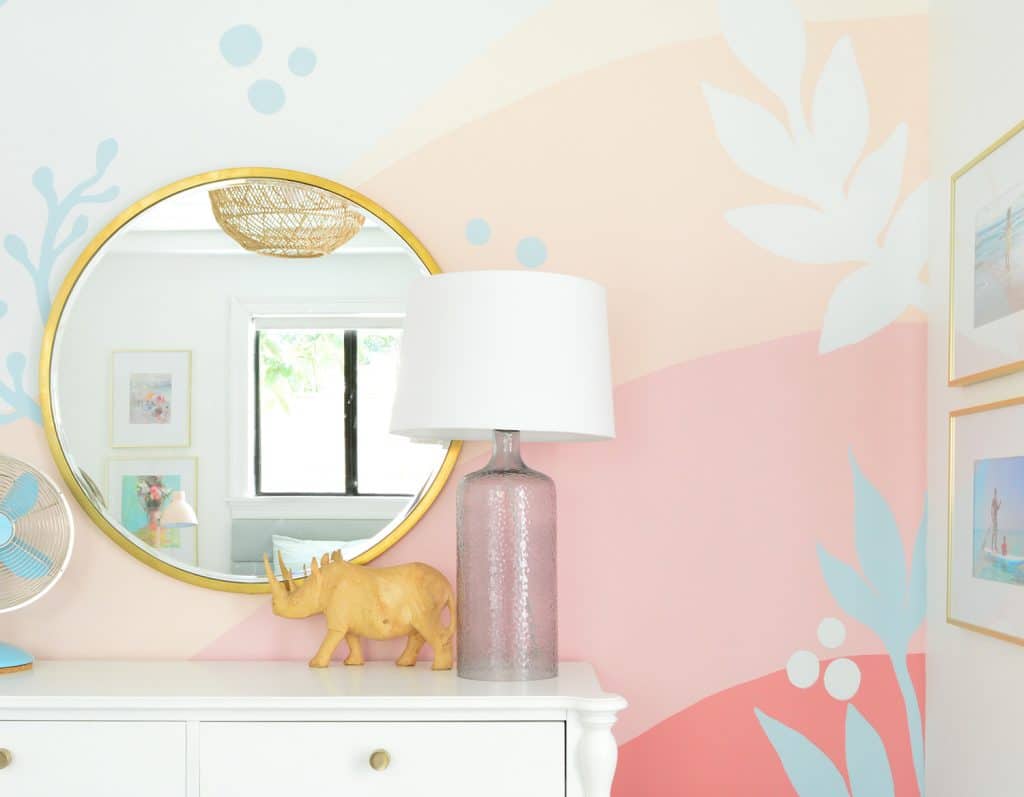
You can also check out our daughter’s room as it looked a year and a half ago (just a few months after we moved in), which details how we made her upholstered channel tufted headboard. And then you can see how we added an abstract mural to one of her walls for lots of color and interest. It was a really fun project to do together.
And here’s a post we wrote about seven of the hardest working items of furniture in our house that help us store everything we need with room to spare! If you’re looking to optimize your house’s efficiency in the New Year, it can definitely help.
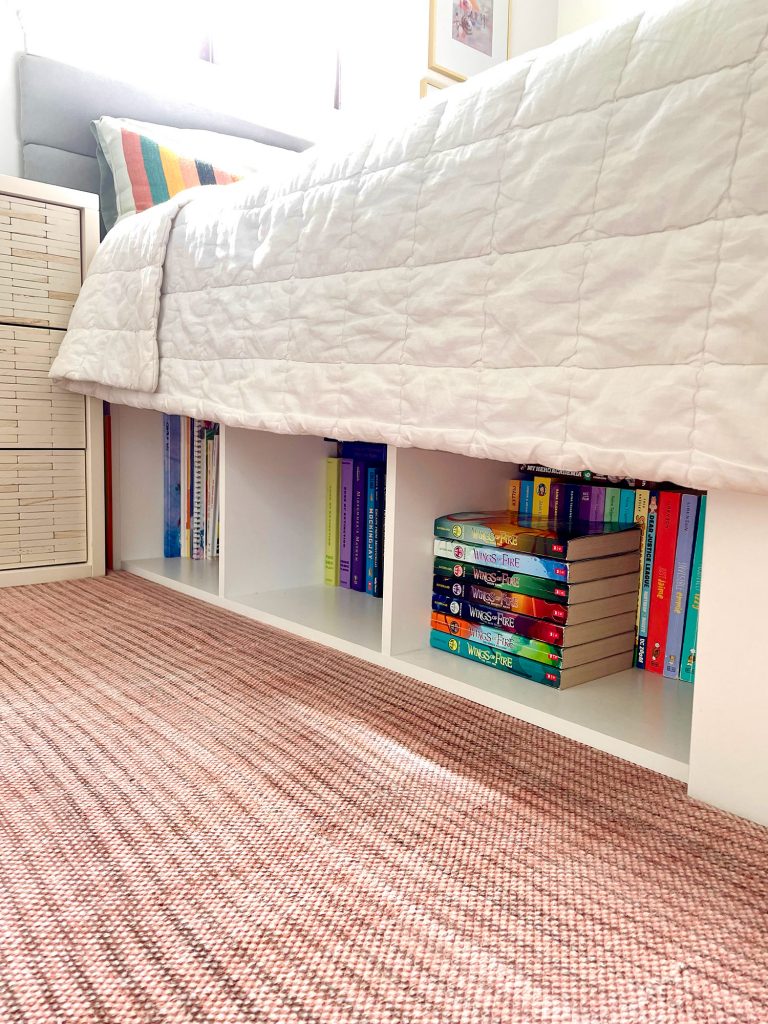
We need to write an updated post about our daughter’s room because we added a desk a while back (and swapped out her nightstands for the ones we used to have in our room, which you can see peeking into frame in the photo above). We love a good switcheroo. Also, how interesting is it that one storage bed has worked out so so well without much change (our daughters, which you can see above – and read more about here). But our son’s storage bed’s big selling feature – those two large wood drawers – just didn’t pan out for us. Again, ya live and ya learn. And ya get Luvvs.
*This post contains affiliate links, so we may earn a small commission when you make a purchase through links on our site at no additional cost to you.
