So last month I wrote a post about the smart tech we added, ditched, and love most in our house. And in it I mentioned that I’d share a detailed smart blind post for you “in a few days” because they’re hands down one of my favorite smart home features that we’ve added. Apparently I overshot that deadline just a smidge, but better late than never. So let’s dive into where we got them, why we chose them, how they’re powered, the upsides & downsides, and – of course – how much they cost (please note that I cannot explain why I insist on calling them “blinds” when they’re technically roller shades).
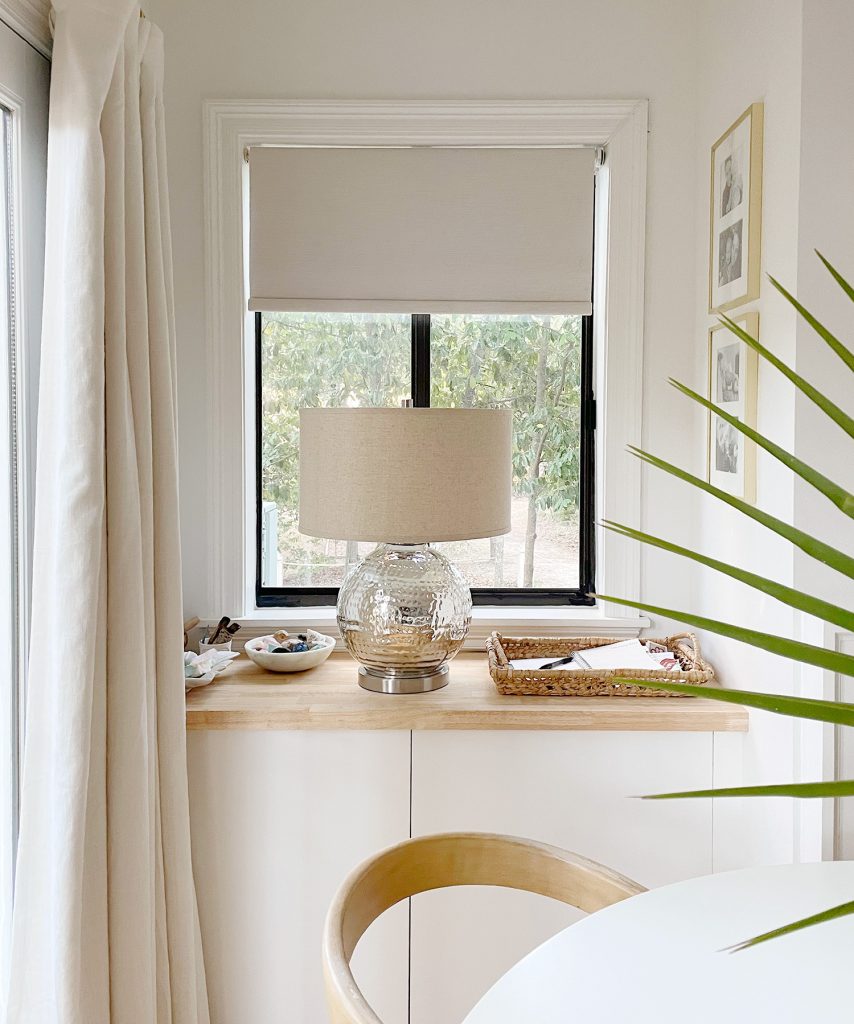
Let’s start with the question I heard most from Sherry (as I mentioned in my last post, she was very reluctant but has completely come over to the smart-blind-dark-side – er, bright side? I guess it depends if they’re open or closed).
Why Install Smart Blinds or Shades?
Ever since we started incorporating smart devices into our last home (this post from 2018 called 10 ways we used smart devices covers what tried and liked in that house) the one thing I was still weirdly eager to automate was our blinds. Each morning and evening I would manually open or close the blinds in 6 windows across our 3 bedrooms. Was it a terribly difficult or time-consuming task? No. Should you feel sorry for me? You most definitely should not. But as we began to automate our family’s wake-up and bedtime routine, the blinds just seemed like the next logical step. And having a few friends who had already automated theirs (who always gushed about how much they liked it) definitely had me considering it more as time went on.
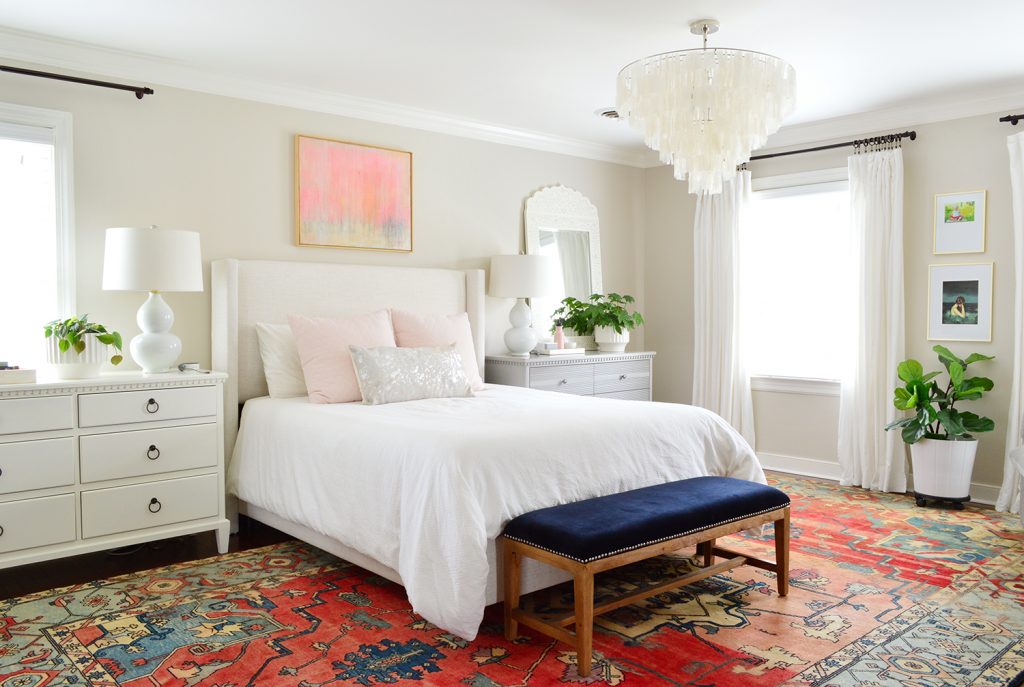
We didn’t switch to automated smart blinds at that house because it would’ve involved replacing or retrofitting the 15 existing blinds that we had already purchased throughout our upstairs rooms. We never formally priced out totally new blinds because we knew 15 motorized blinds would be very expensive. And even if we were to try adaptor kits like this one from Tilt – that $200 kit (per window!) would quickly add up to thousands of dollars. Yes, thousands. To retrofit blinds you already paid for and own. So, ultimately, it was cost-prohibitive. Even my love of smart stuff has its limits.
Luckily, the math changed when we moved into our current home where we owned zero blinds or window coverings at all.
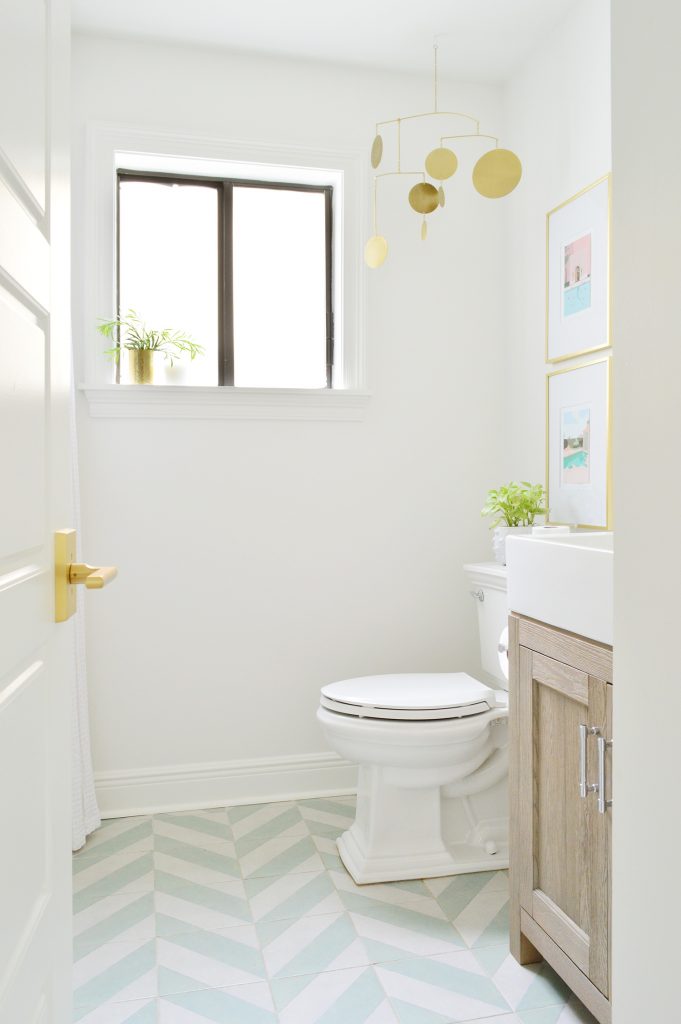
Knowing we had to buy them but wanted something smart helped me look at it as an initial investment instead of buying something that I’d feel guilty replacing or spending hundreds to update later. And instead of 15 windows, we only had 5 windows that needed blinds – 3 in our bedroom and 1 in each kid’s room. Note: the bathroom window is frosted so that didn’t need covering.
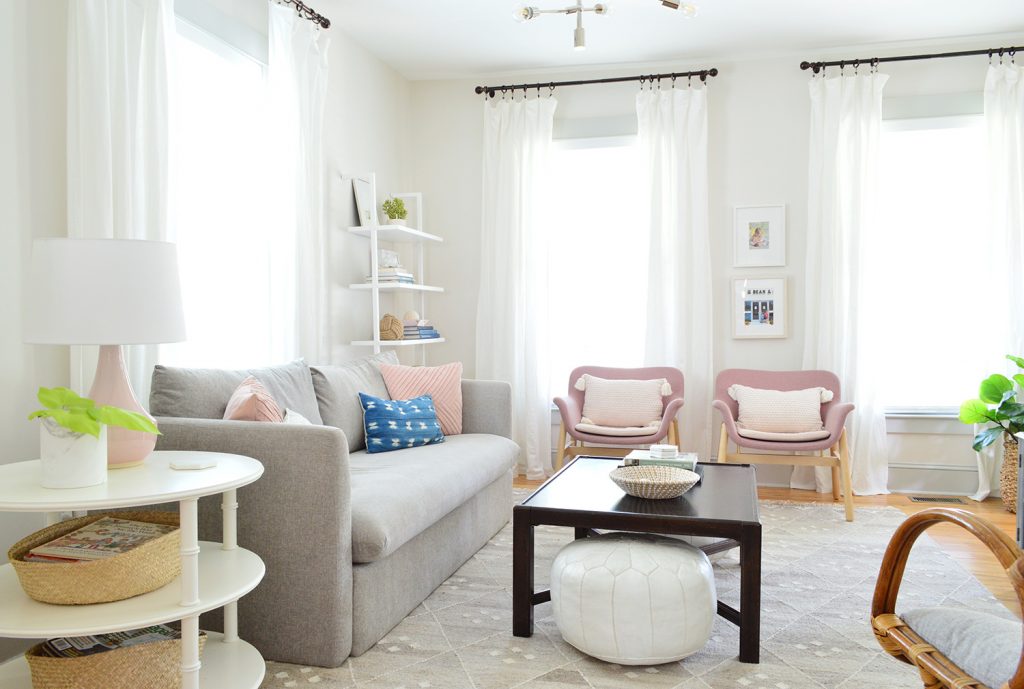
Another change we made here is that we decided to leave the windows in the main areas untreated to maintain their clean modern look. We actually bought woven shades for the common areas downstairs in our last house that we never ended up closing. Ever. (We aren’t naked in the kitchen or the living room so that’s likely why). We just wanted to cover the bedroom french doors with these blackout curtains, so even if the smart shades were pricey, it felt extremely fortuitous that we only needed 5 for the entire house to achieve our full-privacy-and-light-blocking bedroom goals.
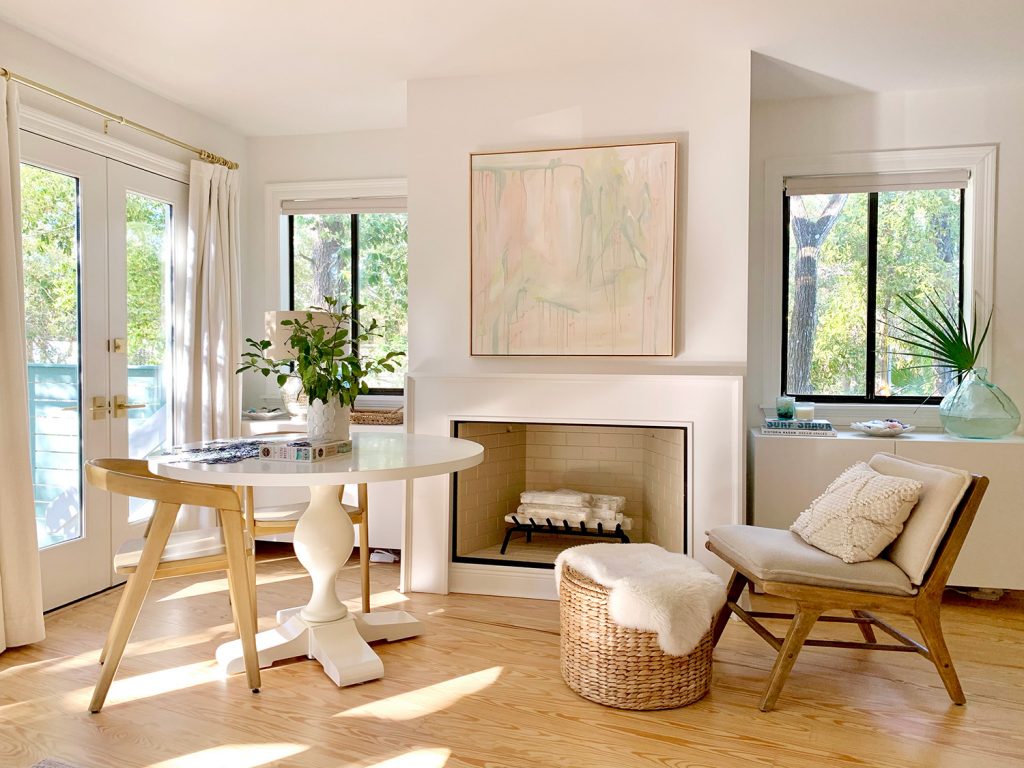
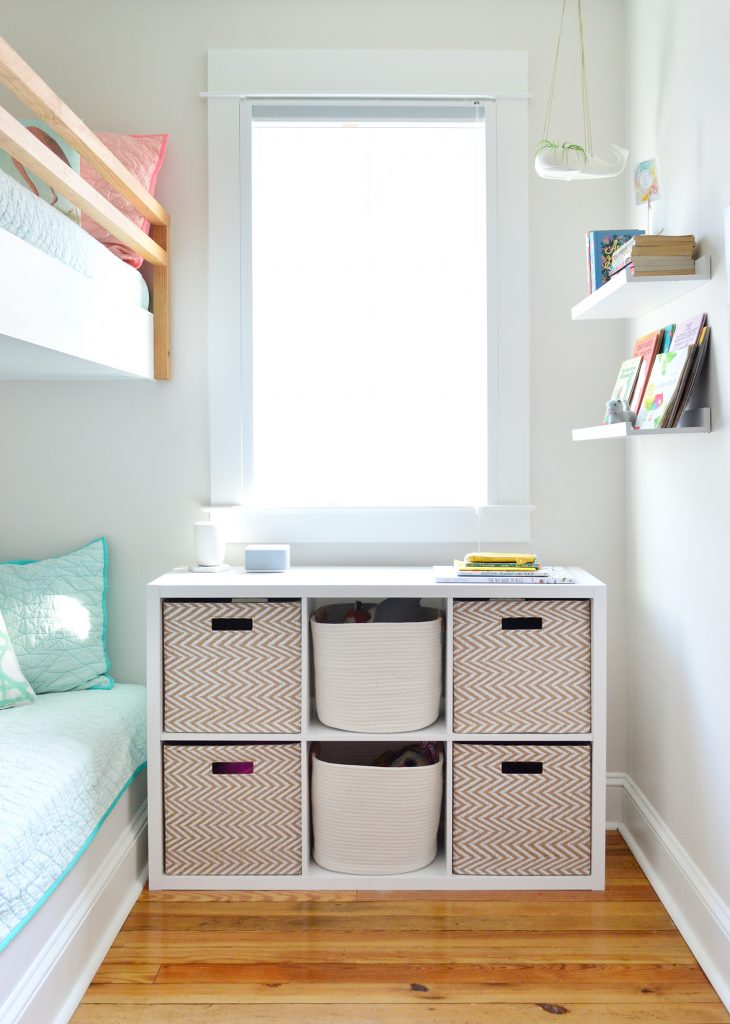
We decided to do roller shades instead of blinds since they would “disappear” more when open and that would help maintain that bright, modern feeling that we love in this house. From the street it also makes all of our windows look similarly treated (just big panes of glass) so it’s not super obvious that the bedrooms have roller shades and the kitchen and living room don’t).
Also, in my opinion, roller shades are practically BEGGING to be automated. Maybe I’ve just been traumatized by the cheap plastic-y roller shades of my youth, but I always picture re-pulling a roller shade over and over again to get it to roll up neatly or bracing myself for that sudden violent snap back to the top if you don’t pull at the exact right angle to lock them in a fully-down position. So the idea of a roller shade I never have to touch with my hand? Sign me up.
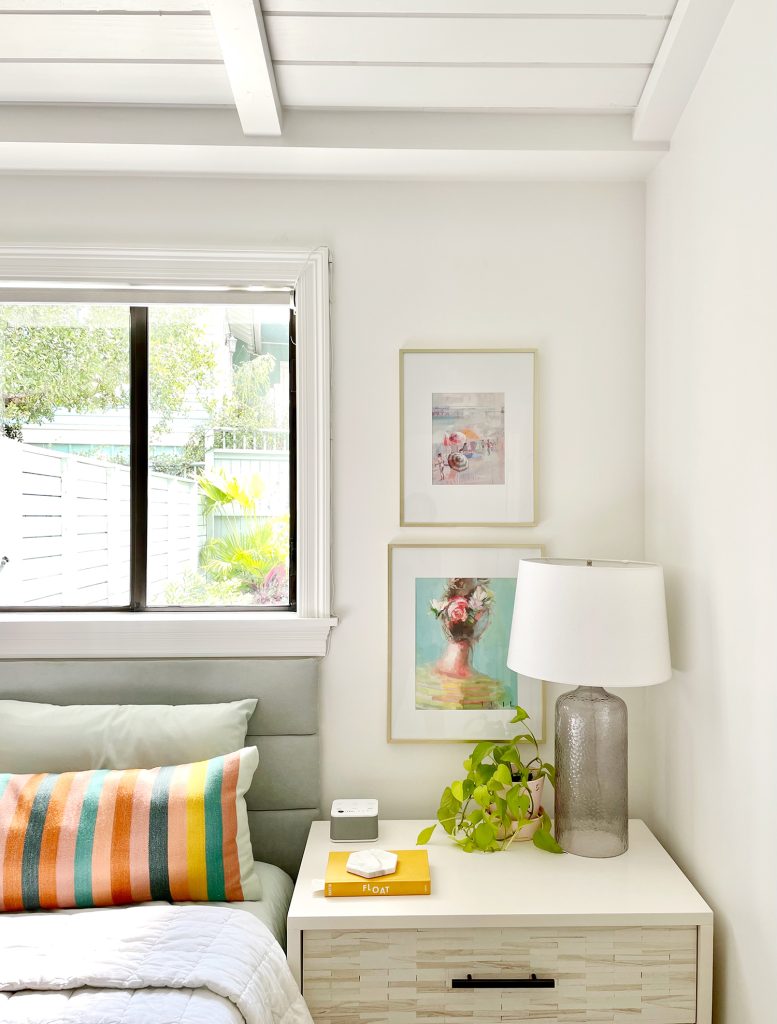
Long story long, I made a fresh case to Sherry that we should finally go smart on our window treatments and although she was still hesitant, she agreed that we should price it out. When the cost came back (more on that in a second) I’m not going to lie. Sherry was extremely skeptical about splurging for them, but I was unrelenting in my #smartblindgoals. And since we only needed five of them, she indulged me. And well, now she’s a loud and proud convert.
What Smart Shades Did We Choose?
We ended up ordering Bali Blackout Roller Shades with added smart motorization through Blinds.com (not sponsored, we paid with our own money, yada yada). We bought blinds from Blinds.com once before – a blackout accordion blind in our beach house’s bunk room. And since we were happy with their options and their customer service (they even replaced the shade for free when it wasn’t fitting quite as we expected), we just went with them again for this house.
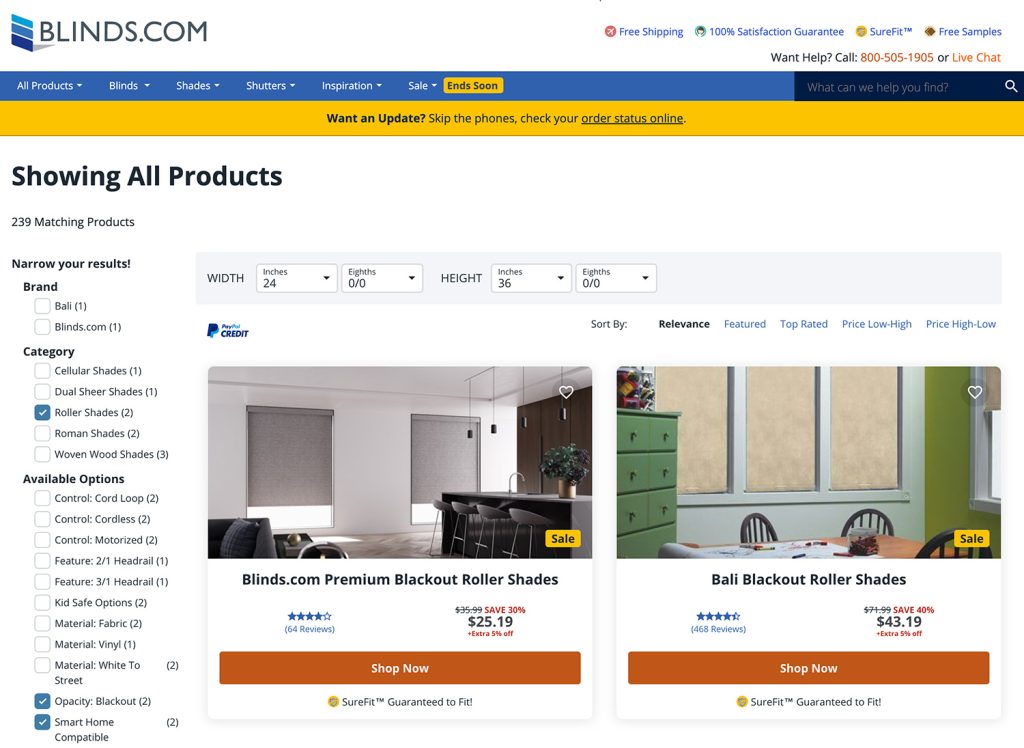
They carry LOTS of options that could be motorized – roman shades, cellular shades, sheers, light filtering, etc – but once we narrowed down our criteria to: blackout, roller shade, and “Smart Home Compatible” – it gave us two options: Blinds.com’s own line of shades, or the Bali brand shades that they sell. We went with the Bali one because our friends the Vargos had been very happy with theirs, and they have more/slightly higher reviews.
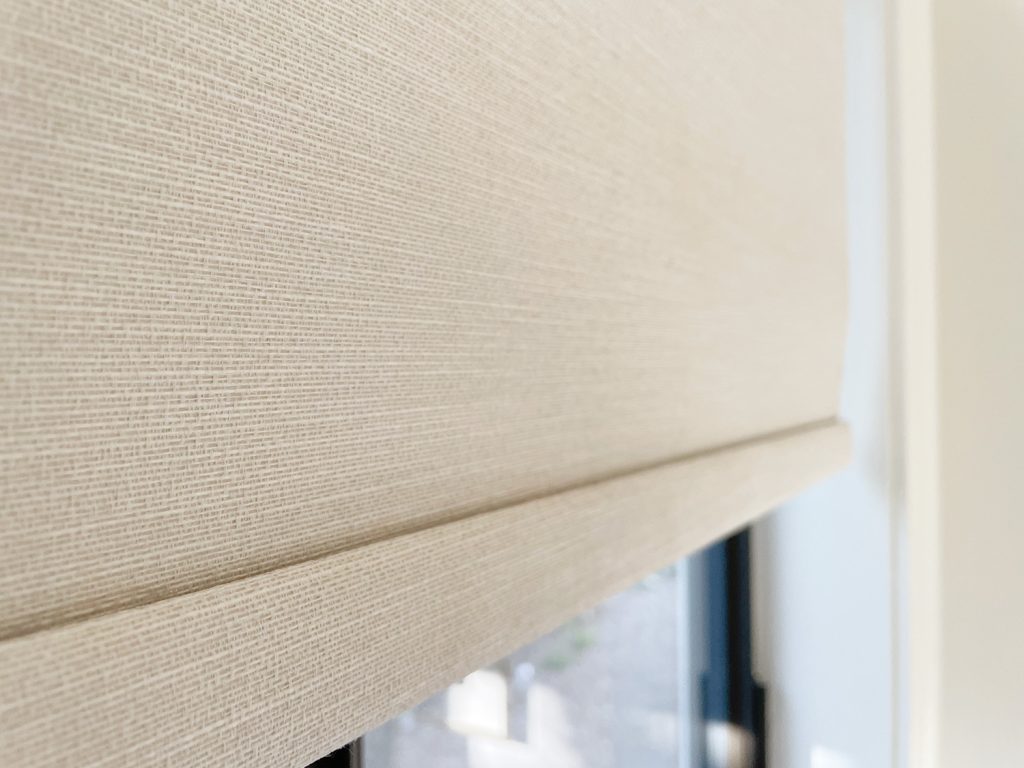
Once we selected the base product, there were still tons of style options to choose from – the first being fabric color. Due to Covid we weren’t able to order samples at the time (this was May of 2020) but our local Home Depot had a swatch book in the store that we could browse. We landed on one called Acadia Vintage Veil. It’s a light neutral sand color with a subtle natural texture that makes these look and feel nicer than your run-of-the-mill vinyl roller shade. Sort of the texture of seagrass wallpaper.
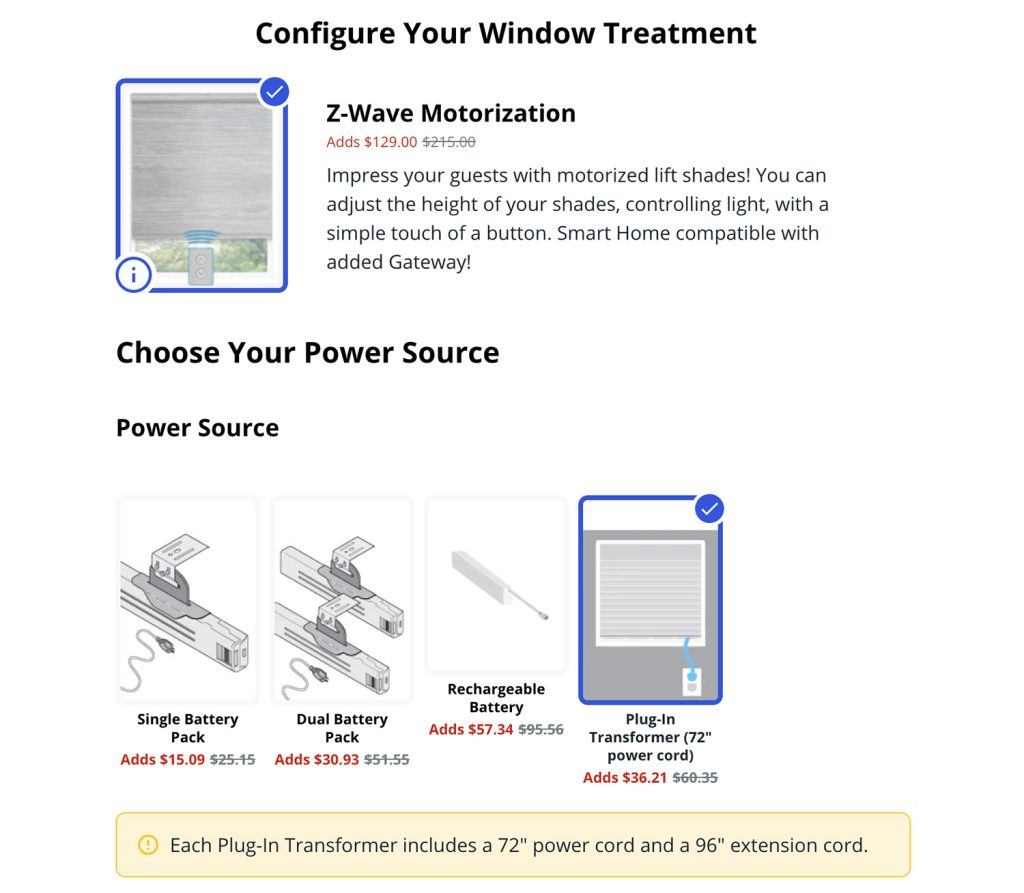
You can customize the rest of your shade style to your preference, just be sure to choose “Z-Wave Motorization” for your Lift option to get the smart technology if you want to come over to the smart-blind dark/bright side.
How Does The Smart Shade Get Power?
Motorized shades usually get their power from one of three sources: solar, batteries, or electrical plug (although solar wasn’t an option with the shades we bought). There are pros and cons to each one, so you’ll have to decide what’s best for your home. Here are some things to consider:
Solar Powered Blinds Pros & Cons
- PRO: Cord-free and eco-friendly
- PRO: Automatically recharge without your help
- CON: May not work on windows without much direct sun
- CON: Solar power strip will be visible from outside
Battery Powered Blinds Pros & Cons
- PRO: Cord-free and no need to have an outlet nearby
- PRO: Rechargable versions can reduce cost of replacement batteries
- CON: Battery packs may be too bulky for some window frames
- CON: Require regular recharging or replacement
Plug-in Blinds Pros & Cons
- PRO: Reliable power source that doesn’t need recharging
- PRO: Doesn’t require bulky battery packs or visible solar panels
- CON: Needs an electrical plug nearby
- CON: Cords, although small, may be visible near your window
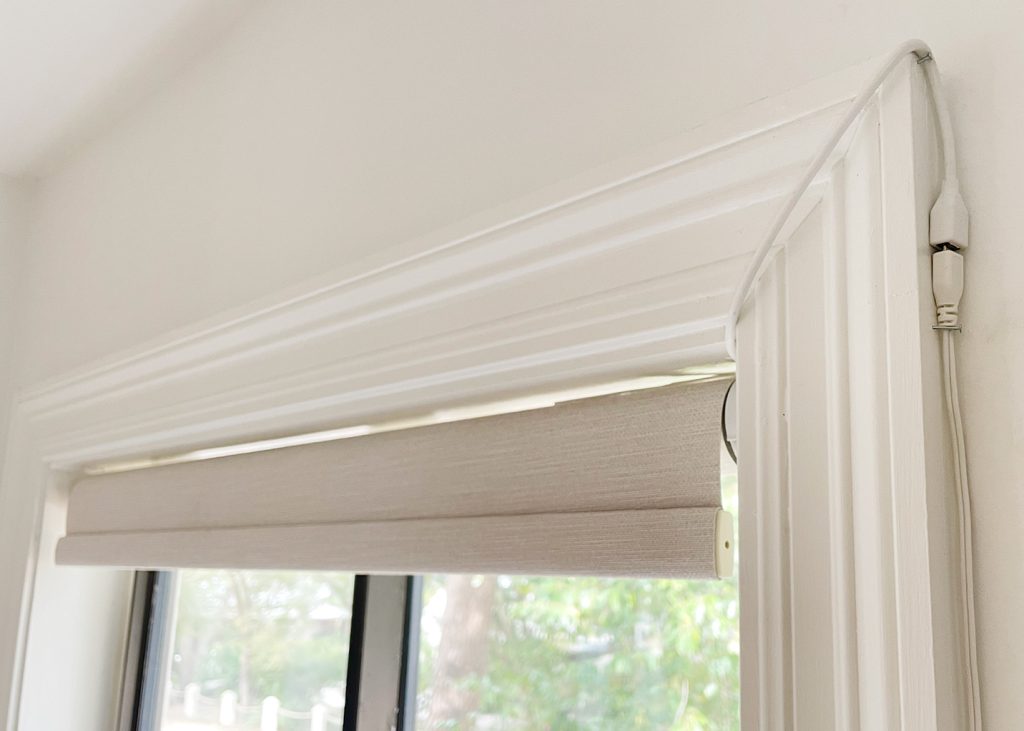
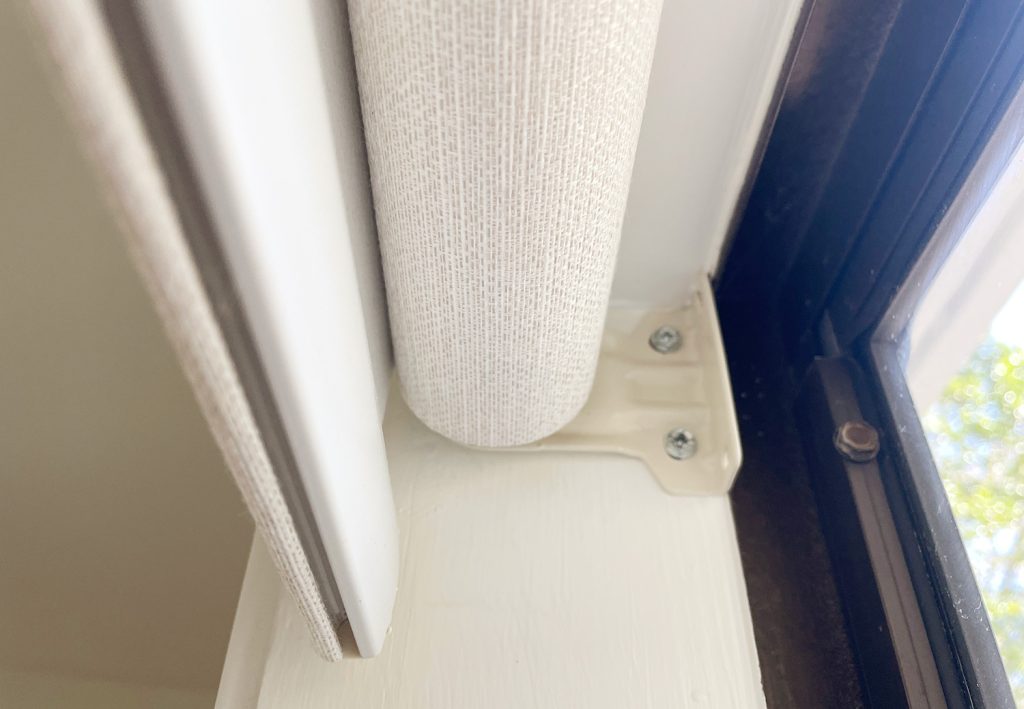
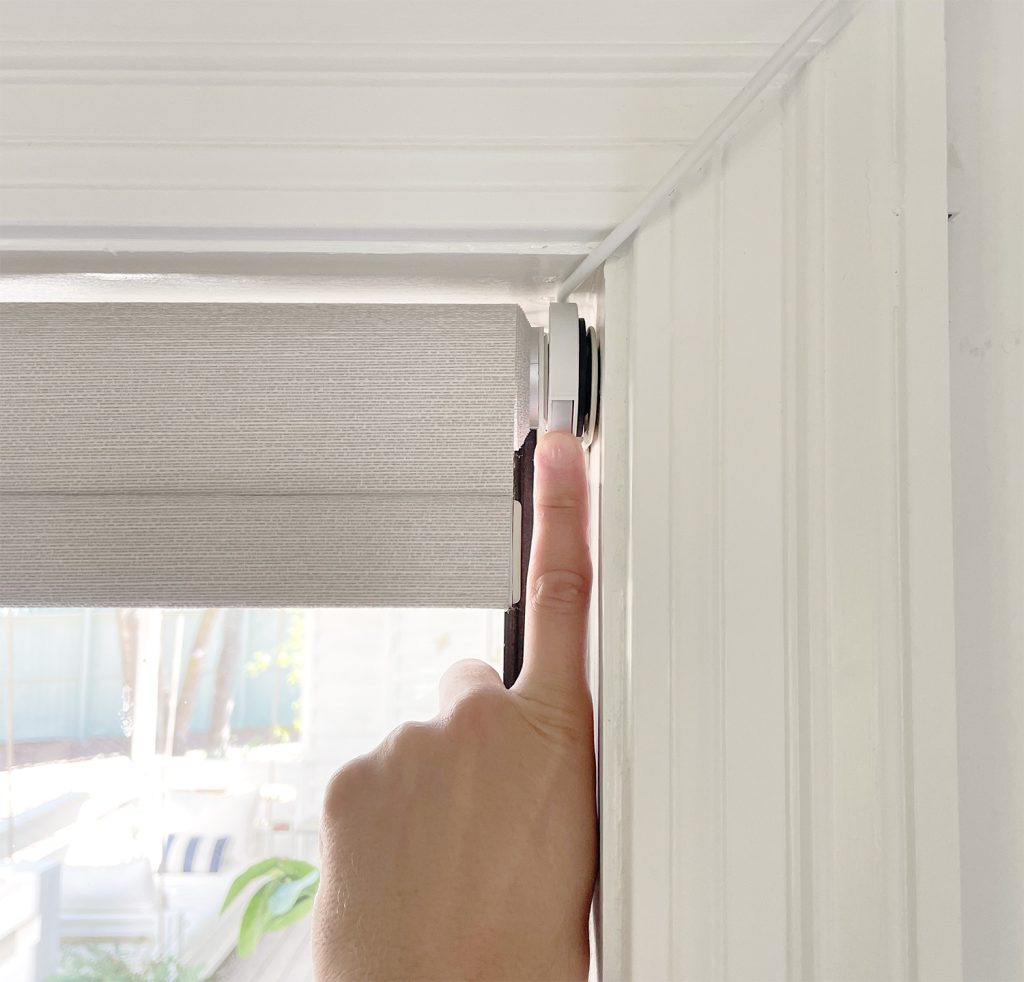
As you can see above, we chose the plug-in option for our smart shades. I’ll talk more in a moment about how we dealt with the cords, but we ultimately decided that we didn’t want to worry about recharging or replacing batteries on these puppies for the rest of our lives. Although the cord looks giant and obvious in that photo above, I was standing about two inches away. When you aren’t standing right next to the side of the window trim that you run it down, it’s not very noticeable at all.
For example, I’m a few feet in front of this window and it’s not really visible at all.
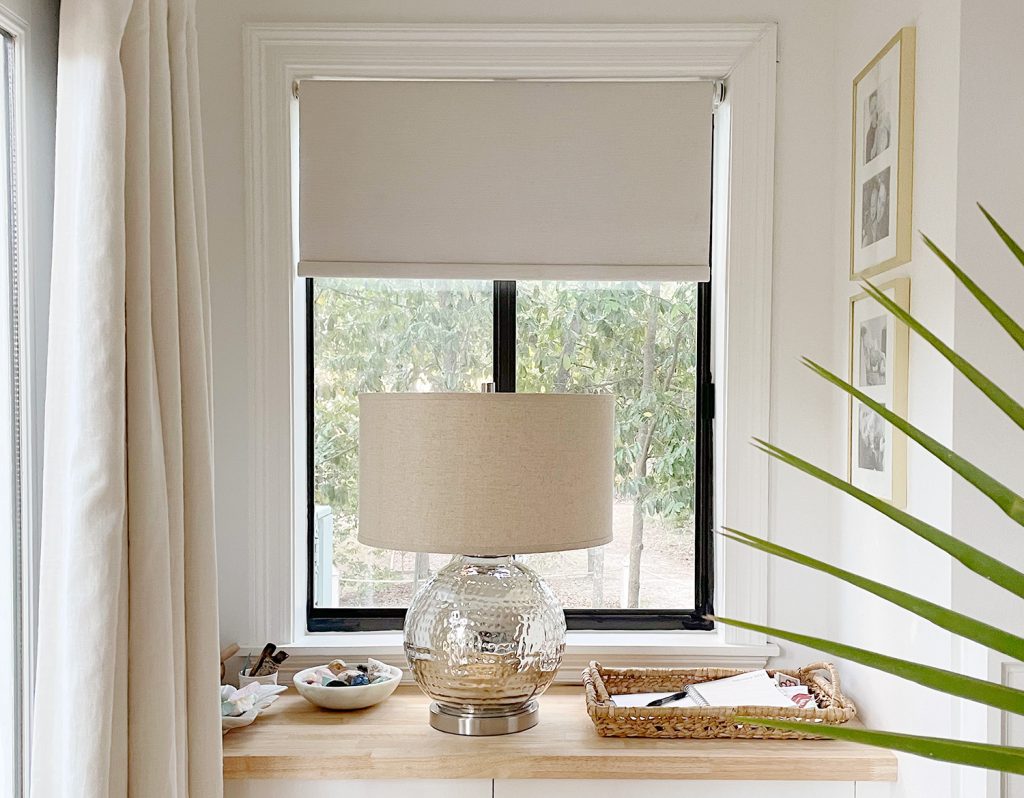
In fact every person we’ve shown our blinds to asks if they’re battery powered because they don’t see the tiny cord running down the side of the window trim. For reference, our window trim only sticks out from the wall about 3/4″ and the cord is around 1/8″ thick. Very very small.

Do I Need Any Other Equipment To Make Them Smart?
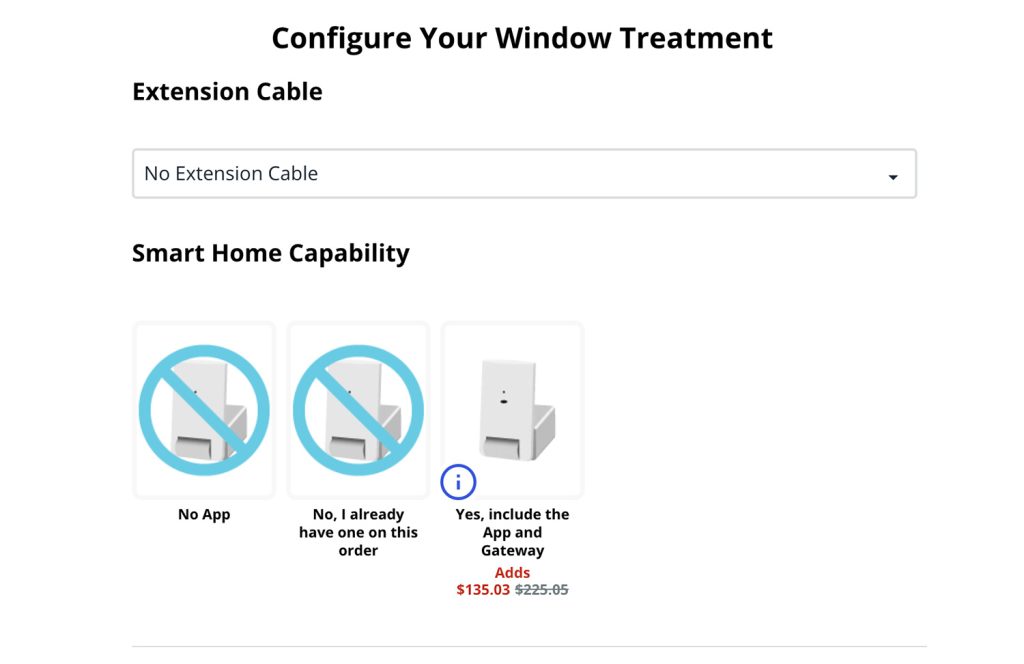
Yes, most likely. The technology has changed a bit since we bought them two years ago, but if you intend to control your motorized blinds through an app or voice assistant like Alexa you need to purchase a Bali gateway device (you can buy your own or add one from the customization screen). One gateway controls up to 15 devices, so tally up how many blinds you’re getting to see if you need more than one). Currently, Blinds.com shows this as a $135 add-on to your order.
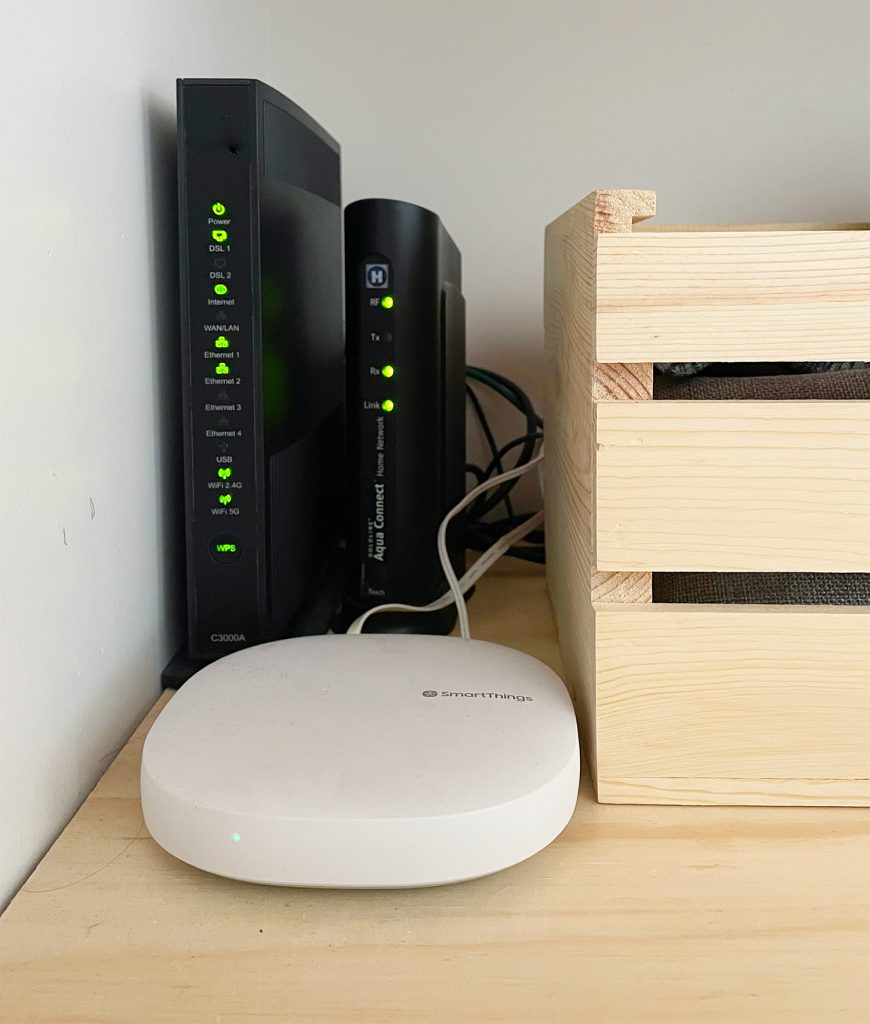
However, since these particular blinds work using Z-Wave technology, we were able to use a compatible Z-Wave gateway instead. Z-Wave is basically a low-power signal that’s used to connect a variety of smart home products into a network using your wi-fi, usually controllable through a single app. So if you already have a Z-Wave hub, you shouldn’t need to purchase the Bali gateway device. We bought a Samsung SmartThings hub (seen below) for $75 back when we got our blinds, but it now seems to be discontinued. This Aeotec Smart Home Hub is similar and should do the trick.
Then all you’ll need is to download a free app to set them up and control them. Bali now has their own Bali Motorization app, but we set ours up using the Samsung SmartThings app (shown below). It gives us the ability to control the height of the blind, set schedules, create presets, etc.
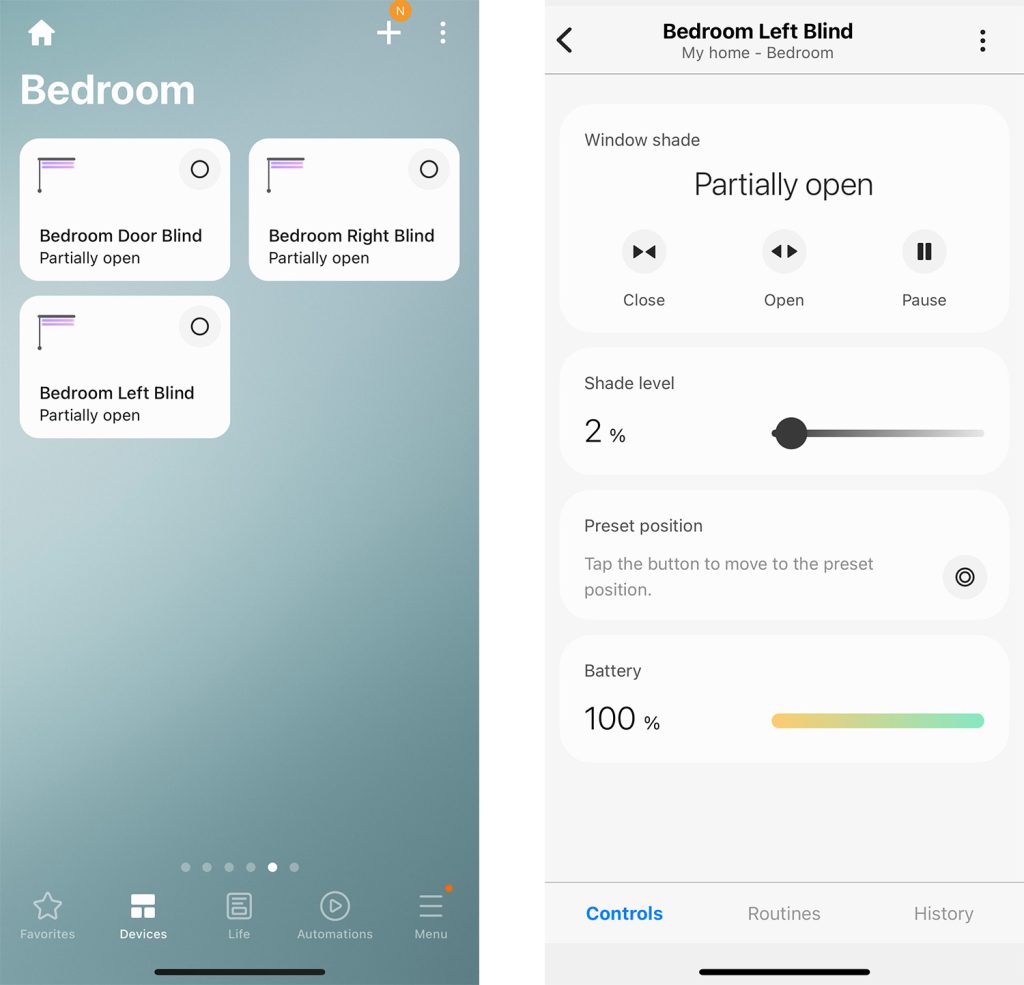
But if you really want to make the most of your smart shades, I recommend getting a voice assistant device like an Amazon Echo or Google Home so you can raise and lower your window treatments without breaking out your phone. We programmed our shades with a variety of commands in our Alexa app to make it easy to controls groupings of shades (all of them, or just one room) and to incorporate them into some of our morning and nighttime routines (more on that in a bit).
How Much Did They Cost?
Our five smart roller shades cost us about $300 per window, for a grand total of $1,450. I know. Sherry’s face was like that “wut” emoji with the giant sweatdrop. But we definitely spent more on non-smart blinds for our last house when you tally up the 16 woven blinds that we used throughout the downstairs (which we never even lowered – hence us forgoing them in the common areas here) + the 15 white faux wood blinds that we added throughout the upstairs. That house had a total of 29 windows that we bought coverings for.
So while $300 is definitely the most we’ve ever spent per single window covering, it’s honestly less than I expected for smart blinds (some of our friends who got them before us paid around $400 per window but prices have been going down as the technology gets more mainstream). Blinds.com also has sales often (we waited for one when we ordered ours back in 2020). We also saved because our windows aren’t very tall (although we spent more to get the blackout liner because that was one of our prerequisites). All those features aside, it appears that the smart motorization adds about $145 – $190 to the cost of each shade at the time of this writing (depending on which power source you choose).
Were They Difficult To Install & Set-Up?
Nope! Installation of our smart shades was just like any regular blind installation, with just the small addition of (in our case) a long thin cord that needs to be plugged in. You mount a couple of brackets and snap the shade into place – bingo, bango, you’re pretty much done.
There is some setup involved in connecting them to your wi-fi and establishing your smart commands or routines, but ours was really straightforward. The exact steps will differ depending on your Z-Wave device and controller app so I won’t try to cover the specifics here (but Bali’s how-to video can give you an idea of what’s involved). Rest assured that our set-up was no more difficult than any other wi-fi connected device we’ve ever owned.
How Did You Hide The Cord?
I thought I’d circle back to the its-a-small-cord-but-it’s-there discussion for a second. The short answer is: we just ran it diagonally along the top corner of the window trim where there’s a seam anyway and then down the side of the window trim. And we used tiny nails to hold it in place (see the one in the top corner on the side of the window trim?)

If you think about how often you stare at the side of your window trim (it’s really not too often in our rooms), the good news is I bet you won’t notice them very much. The cord runs down the right side of this window trim below, scoots behind the headboard (it’s super thin) and down into an outlet beneath the bed. In fact every single room photo that we’ve shared above (except for the extreme close-ups) has been on the blog as we shared various rooms and not a single eagle-eyed reader has said: “what’s that cord?” It really isn’t something you see unless you’re actively looking for it.
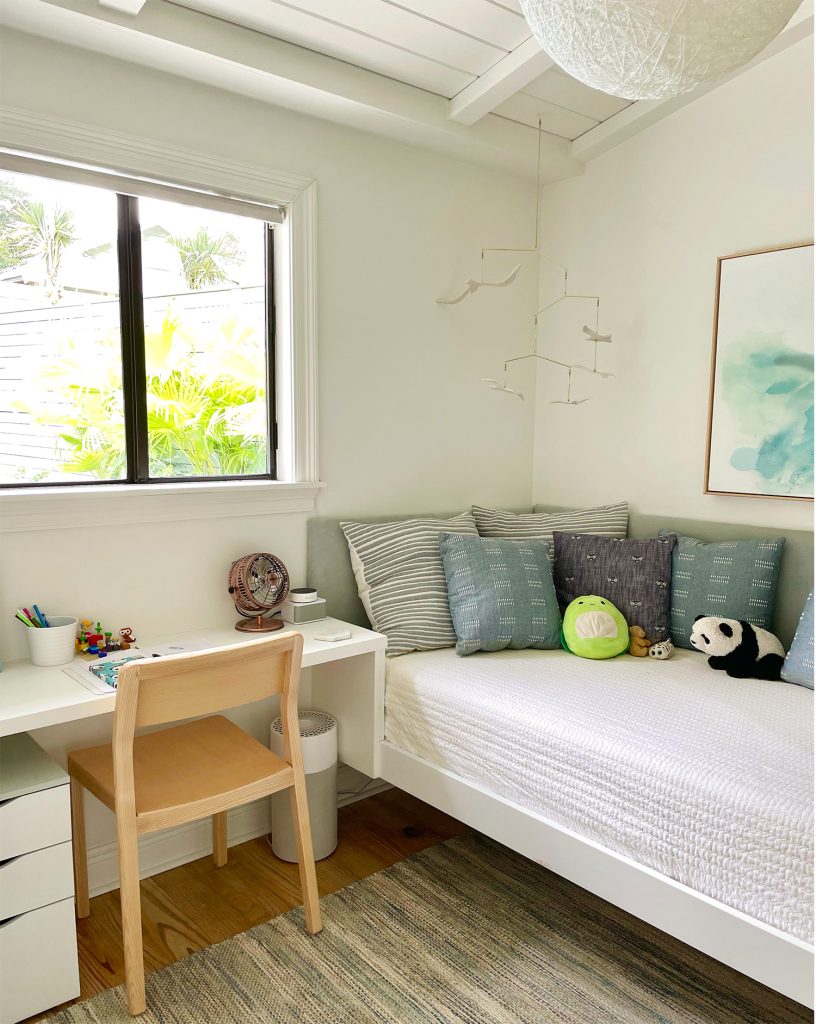
One other thing to mention is if you’re pairing your smart blinds with curtains (we always did blinds + curtains in our previous more traditional homes like our Richmond house and the pink house) – the cords will be completely hidden behind your curtain panel. Heck, they could probably snake down to a nearby plug without being detected at all!
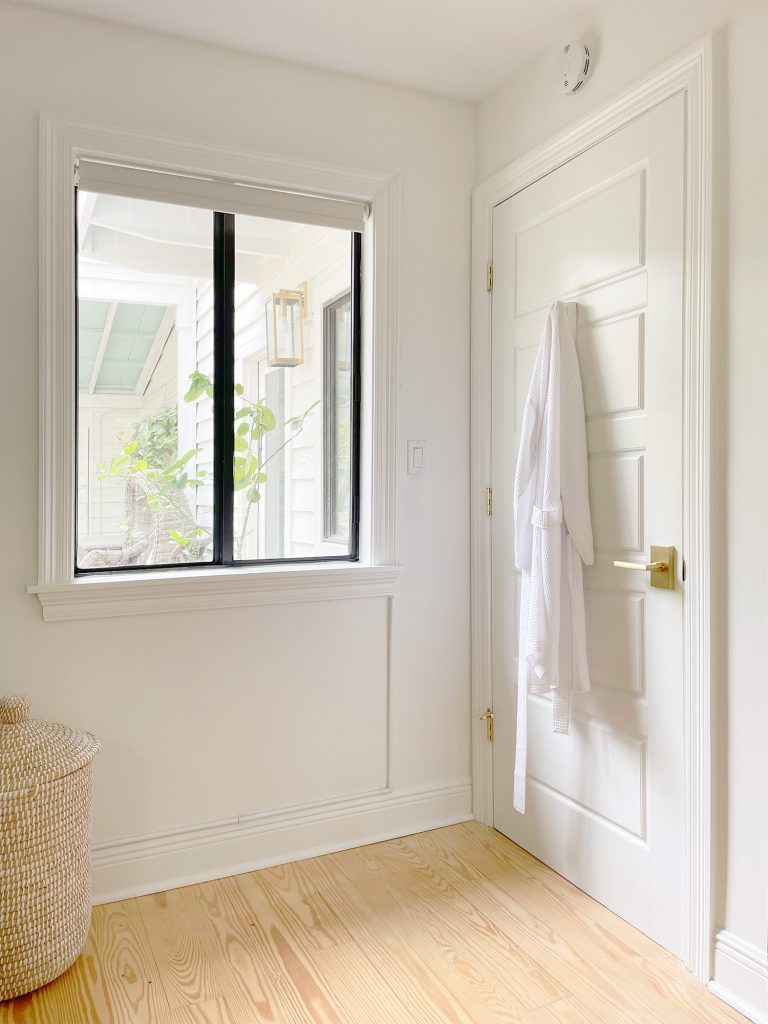
But since we chose to go curtain-less on our windows (we just wanted blackout curtains on the glass bedroom doors), we just ran the cords down the side of the window molding.

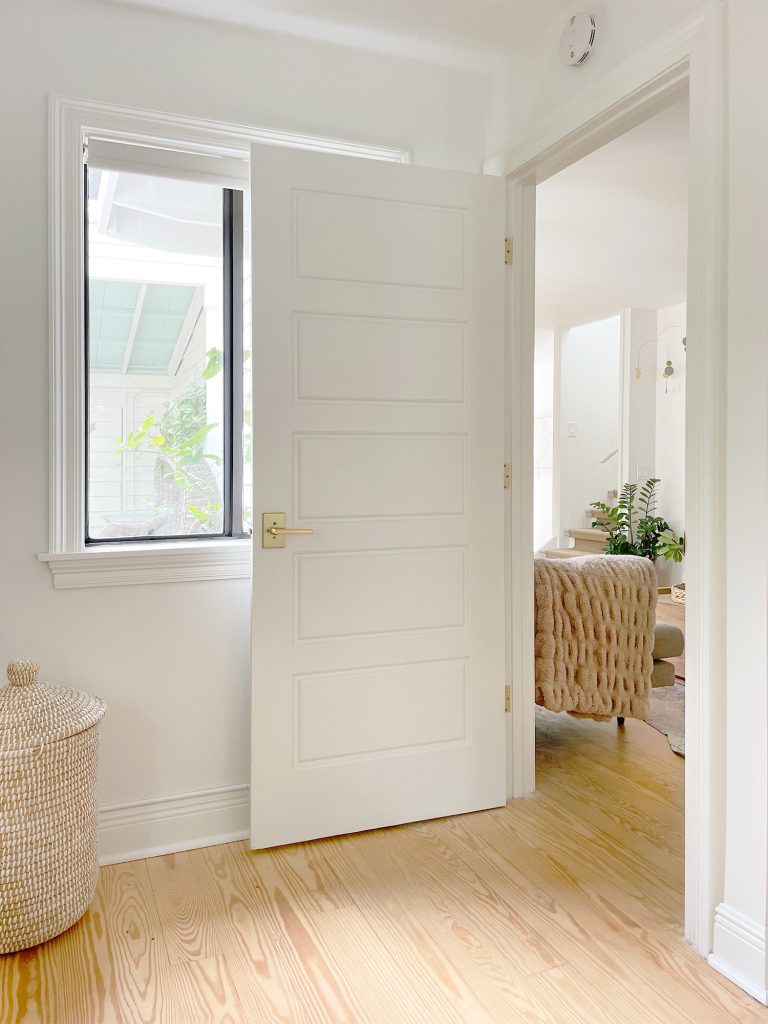
The only instance where this didn’t work was near our bedroom door, where the cord has to take a bit of a longer “journey” to get to the outlet. So we used a cord cover kit to help it blend in with the baseboard (in hindsight that made it a LOT thicker, so you might want to just try running it down with small finish nails and painting it to match the wall).
Thankfully in this instance, it doesn’t both us because it’s hidden behind the open door unless we’re sleeping at night, at which point we close the door… but there are zero lights on to stare at said cord cover.
Were They Worth It?
Unsurprisingly, I absolutely think so. And even Sherry, who was extremely skeptical at first, is a complete smart blind convert. Here are some reasons why we like them so much:
Automating Our Morning & Evening Routines
Just as I had hoped, having voice-controlled shades save us the trouble of individually opening and closing them every morning and night – and because we integrated them into entire smart house routines, the lights dim as well and the entire house basically prepares itself for bed at night or a new day in the morning, which feels delightfully efficient.
Whenever we say “Alexa, Good Morning” they all go up at once and at night, saying “Alexa, It’s Bedtime” makes them all go down in unison. It’s REMARKABLY satisfying and has become a favorite party trick when friends are over. Nearly everyone who sees them asks us to send them links to the exact things we bought so they can do it too. It really isn’t that hard, and once it’s set up it’s a very nice luxury. Definitely not a need-to-have, but to us it’s most definitely a nice-to-have.
Here’s a video of it in action:
Note: You can also watch this video on YouTube.
Beyond making mornings and evenings feeling more auto-pilot, living at the beach can mean lots of outfit changes due to being hot, putting on a bathing suit or taking it off, or wanting to don painting clothes (ok, that one has nothing to do with the beach & everything to do with our DIY pursuits). But the point is that we often change a few times a day and want a little privacy, so one voice command (“Alexa, Close Bedroom Blinds“) means they all go down at once. We use this multiple times a day in multiple bedrooms beyond just the am and pm routines we have set. So convenient.
Making Blinds More Kid-Friendly
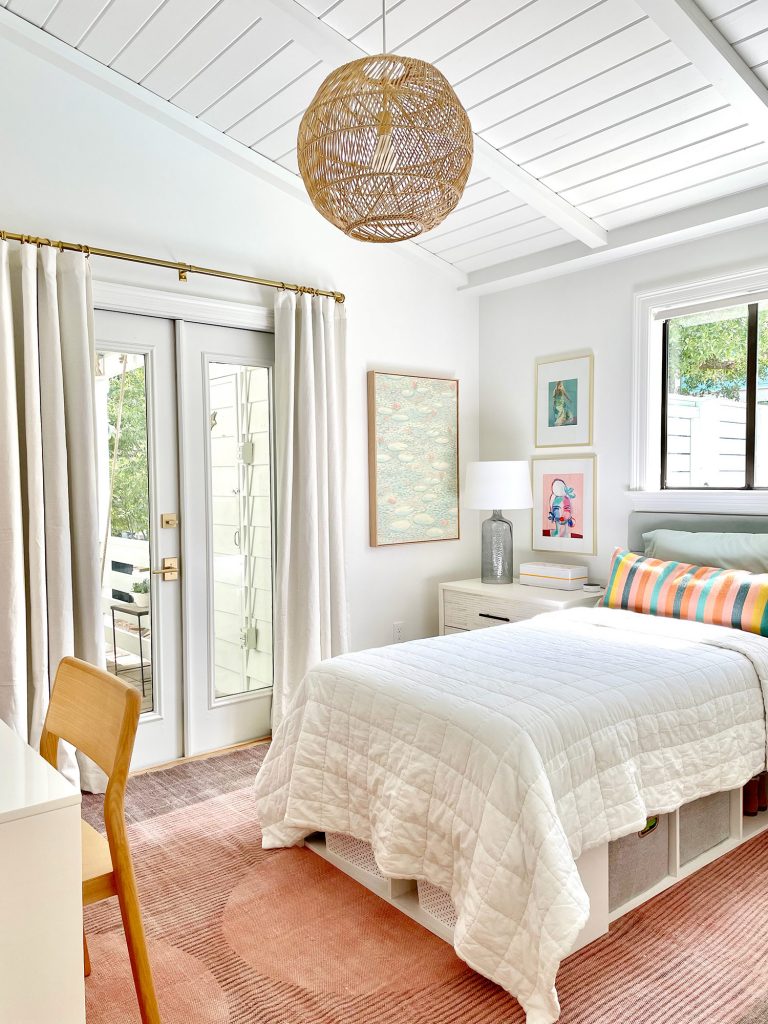
By making our kids bedroom shades (and lights) voice-activated, we’ve also made it easier for them to control the lighting and privacy in their own spaces. Rather than having to deal with a blind cord or a shade that snaps up or down if they don’t pull it at the exact right angle, our kids can operate our smart blinds completely hands-free. Even better: there are zero handprints staining the fabric because nobody touches them. So whether our kids are changing clothes or trying to make their room dark for fort-building, it requires zero parental involvement and there’s something very cute about hearing them ask Alexa to “enable dark mode” or whatever funny name they use for their own room commands.
Creating Quiet Kid “Alarm Clocks”
Now that our kids are at different schools (elementary and middle) which have different start times, we wanted a soundless and more natrual-light-related way to cue them it was time to get up and get ready – you know, so some blaring alarm doesn’t wake up their sibling across the hall who can keep sleeping. And these smart shades turned out to be an unexpected solution! We used the Alexa app to create separate routines for their individual shades to raise up partway, lighting their room enough to wake them up at the right time (we can also add their room lights turning on to that schedule but haven’t needed to – just the shades is a nice gentle nudge). It definitely wouldn’t work for all sleepers, but both of our kids wake up unprompted thanks to the light shining in at exactly the time that we set their blinds to slide up for their specific school schedule during the week.
Added Security When We’re Away
Since we can set the blinds on schedules, we created a custom “Blinds Away Mode” in the Alexa app that will raise and lower the blinds at specific times whenever we’re on vacation. Just like you might put lights on a timer to create the illusion that your house is still occupied, our blinds can open and close just like they would if we were home. Imagine what Kevin McAllister would do with this technology!
Are There Any Downsides?
Apart from them being pricier than your typical non-smart shades or blinds, the only hiccup we’ve had is that the blind farthest from the Z-Wave Hub very occasionally loses its connection and doesn’t respond with the two others in our bedroom. Our house has never had amazing internet, so if you have a good signal it likely wouldn’t ever be an issue for you. Even with our spotty internet, it’s not frequent and always resolves itself in a few hours, so it’s more of a momentary weirdness than a deal-breaking issue. Each shade has a button on the right side that can be pressed to lower or raise it manually – almost like you’d operate a garage door. So we’ve never been stuck with a blind we couldn’t control. We usually just ask again and it works or we press that button, but it’s a pretty occasional glitch.
With plug-in power, there’s always the possible hiccup of a power outage, but in the two years we’ve lived here, we haven’t experienced one (and we have a back-up generator so it shouldn’t be an issue). The Bali website recommends having a local remote if you worry about it as an easy solution, but if you experience frequent power outages, you may want to consider a battery-operated shade instead.
Any Other Tips?
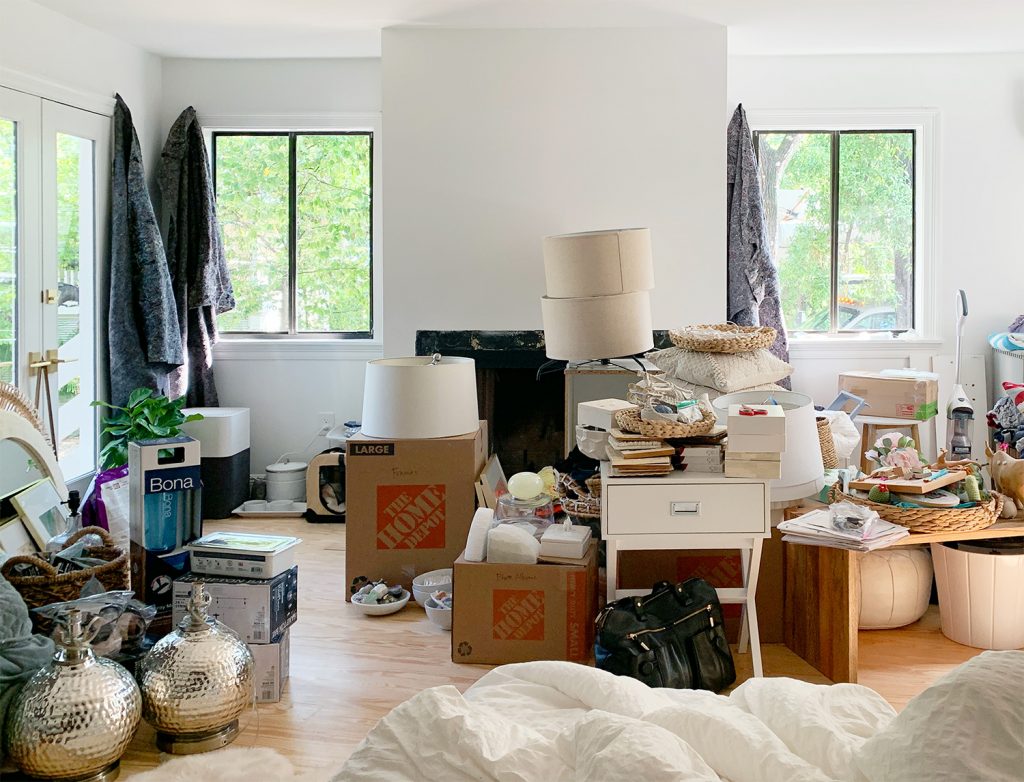
Consider buying one test blind before buying a whole house worth of them. We did this, even though at the time we were desperate to replace the rapidly-disintegrating packing blankets we had been using as makeshift window coverings. It was a true practice in patience.
And we’re so glad we did because we caught a mistake that we definitely would’ve regretted about our shade design. We had originally chosen “Standard Roll” for our fabric direction because it sounded, well, standard. It wasn’t until we received our test blind that we realized this meant that instead of seeing our pretty textured fabric selection wound up at the top, it just looked like a tube of white blackout liner (you see the backing on the roll at the top if you choose Standard Roll – not the front of the fabric). It looked almost as if you bought wrapping paper and it was wrapped inside out around the cardboard, hiding the design you picked.
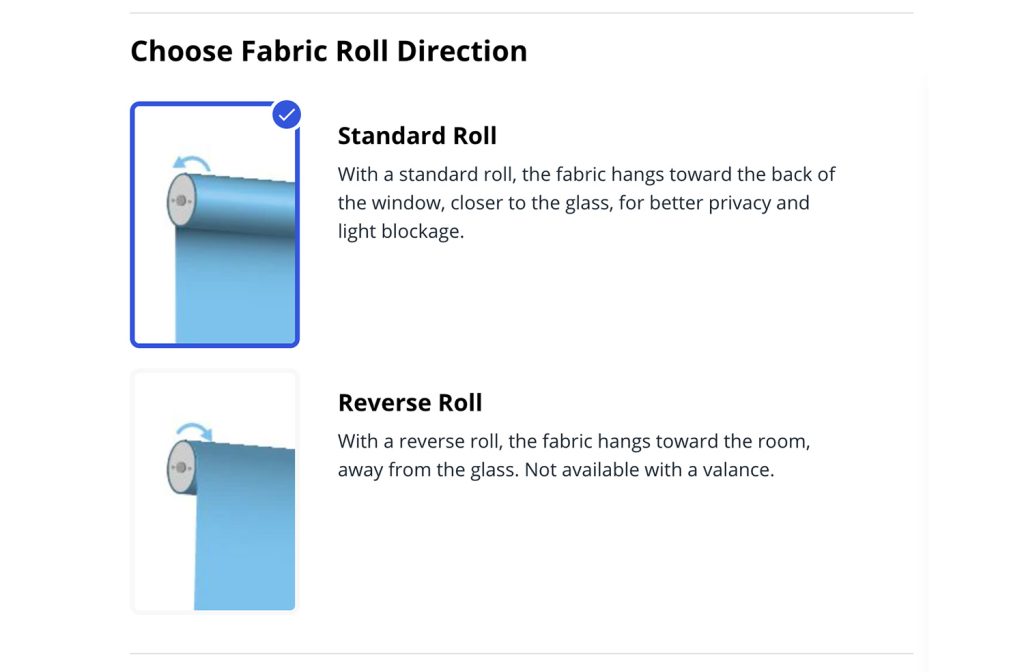
We would definitely recommend ‘Reverse Roll” since seeing a seamless span of fabric instead of a bright white roll of blackout liner at the top is what makes these look noticeably nicer. Just like our previous experience with Blinds.com customer service, they were understanding of the confusion and offered to replace the initial blind that we ordered for free. And with that kink worked out, we felt confident placing our order for the rest of the house.

What Else Should I Smart-ify In My House?
Funny you should ask!
Okay, no one asked this, but I wanted to end this post by mentioning the original post that I did many years ago called: 10 Ways We Use Smart Technology To Make Our Home More Efficient. It’s a really good place to start if you want to add some smart tech to your house – even just some basic $15 and under lights or plugs. And the updated favorite-smart-tech rundown that I did last month is full of all the newer stuff we’ve added, a few things we have since ditched, and what we love most. We also recently installed a wireless video doorbell, which took just 5 easy steps.
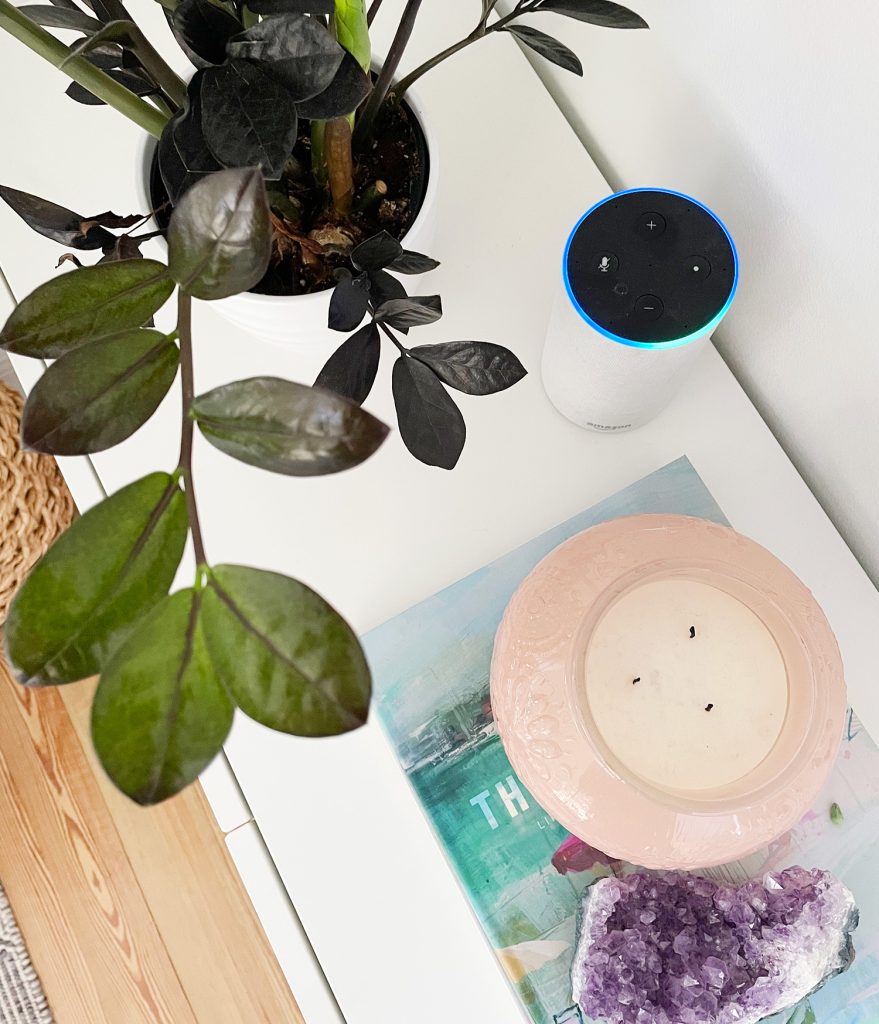
So there you have it. My extremely thorough thoughts about smart blinds. “Alexa, publish this blog post!” Wait that didn’t work. Boo, I have to use my hands.
*This post contains affiliate links, so we may earn a small commission when you make a purchase through links on our site at no additional cost to you.
