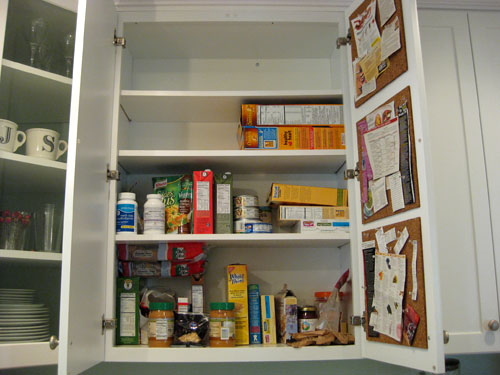
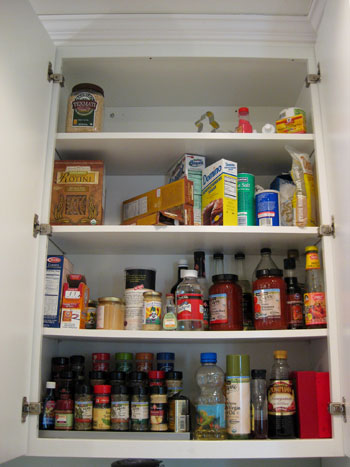
We’re back to share how we fared when it came to our big cabinet clean-out which we announced late last week and tackled this weekend (hopefully along with a bunch of you guys at home). Remember our pathetic starting point? Of course you do. Those two chaotic double cabinets (where we store every single edible item in our kitchen, except for the stuff in the fridge) were pretty hard to forget:
But now we’ll reveal what they look like after a few hours of weekend weeding out and reworking:
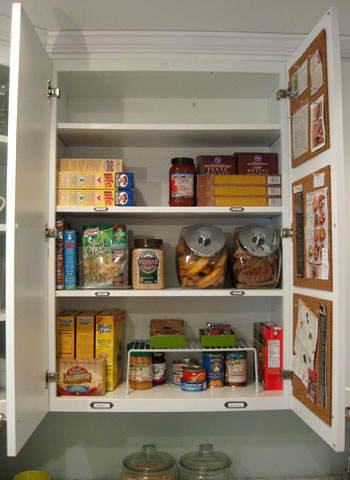
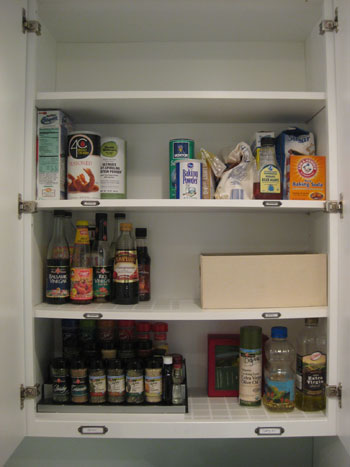
First we followed the 100% empty rule and cleared out both cabinets and placed everything on the counter so we could evaluate what we had, pair like with like, toss anything that was past its prime, and see what we were dealing with.
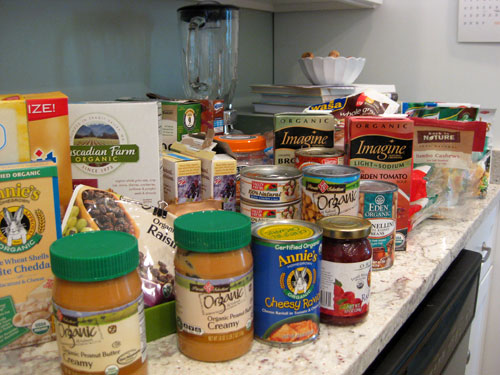
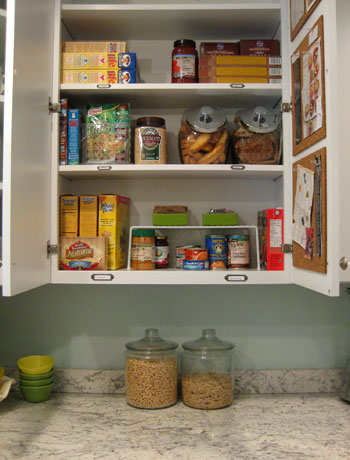
Once we looked at it all en masse it was easy to see that we had just a few popular categories that kept popping up again and again. So if we could keep things grouped by these reoccurring descriptions we would always know where to put specific things (which practically makes our organization efforts automatic). For the first double cabinet, those categories were: cereal, pasta, sides, snacks, crackers, and cans & soups.
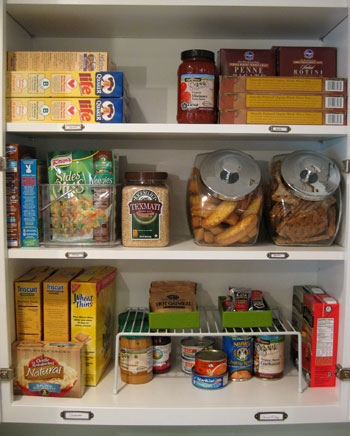
So we decided to hit up Michael’s for some cheap-o metal labels (found in the scrapbooking aisle by the way) that we could hang on each shelf to delineate each area. We especially love that unlike self adhering stickers (like those from a label maker), these metal frames look more polished, and they hold pieces of paper that can easily be switched out if we ever want to recategorize anything at a later date. And at a mere $2.19 for four labels, we came home with more than we needed for just six dollars and some change.
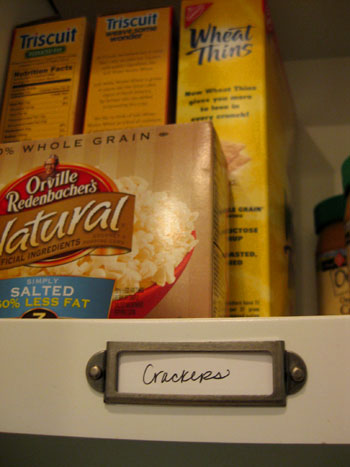
Oh and when it came to hanging them, first we measured to ensure they were all lined up, then we pre-drilled tiny little holes using the metal frame as a template for where the nails would go, and then we gently hammered those nails into the small pre-drilled holes we made. Worked like a charm. Note: for a less permanent hanging job, double stick tape or even velcro could have done the trick. We just knew we’d like having them around for the long haul.
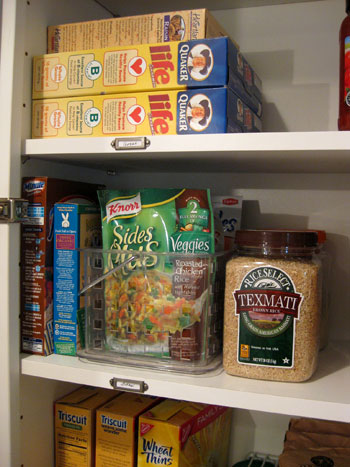
In the photo above you can see that when it came to our “sides” category we had a bunch of slippery envelopes that we used to attempt to stack (yeah, not possible) but eventually we just ended up shoving them between two heavier objects to try to keep them somewhat together. Now thanks to a clear plastic caddy that I already had laying around, they’re much more controlled and easy to store.
And grouping our pasta with our sauce seems like a no brainer, but that idea never occurred to us before since we just mindlessly jammed everything into the cabinets and called it a day. Now we feel oh so elegant for having a little section for that stuff, and of course we love that we were able to swank things up even more with two lidded glass containers (just $5.29 a pop at Target) for our always-purchased-in-bulk snacks (almond biscotti and Wasa crackers). Hey, whatever floats your boat right? Plus they stay a lot fresher since they both come in not-very-easily-resealed packaging. Double bonus.
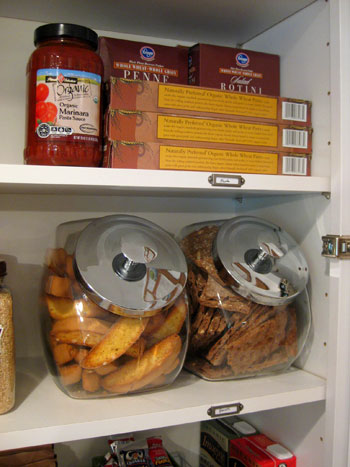
Oh and if you look on the bottom shelf you’ll see another added organizational item that we introduced: a little wire shelf (that we already had on hand). It really helps us gain more usable vertical space for smaller items that get all jumbled up and lost without some semblance of order. And I even had two green stationery boxes (leftover from a slew of Thank You notes that I sent off after my baby shower) which were perfectly sized for housing some random packets of oatmeal and a bunch of granola bars (sometimes finding a way to lose all that bulky packaging frees up way more space, plus it makes it even easier to grab something on the go).

We even paused to sort through our DIY in-cabinet cork boards full of recipes and nutritional articles to pare things down and eliminate the unnecessary visual clutter (see the original post about those cork boards and how we hung them here).
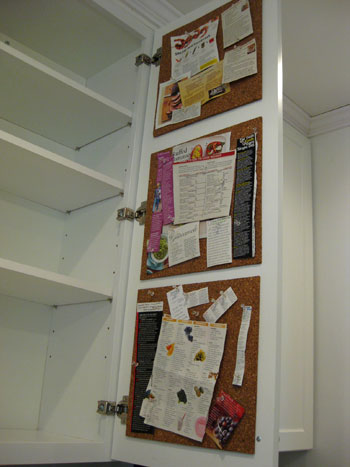
They cleaned up nice, right?
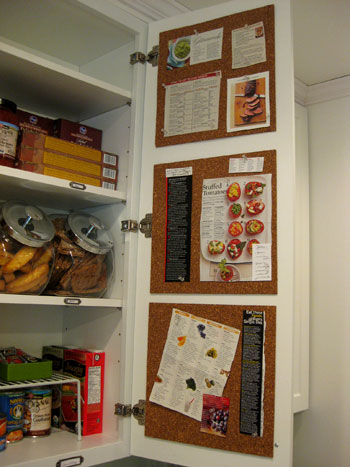
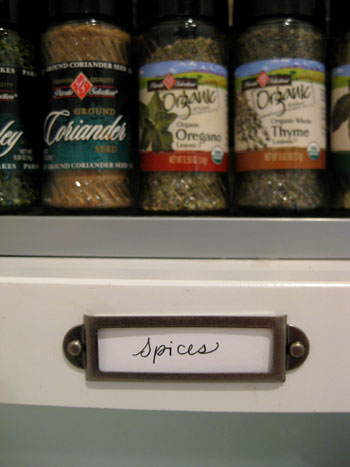
Now we’ll move over to the other cabinet, which used to house everything from spaghetti and sauce to baking goods, oils, and spices. We immediately realized that it made more sense to dedicate one cabinet to snacks, sides, pasta, crackers, soup, etc- while the other cabinet was devoted to spices, cooking oil, sauces, and baking ingredients. Again, this should have been more intuitive to us, but we’ve lived with our new kitchen for years without reaching this obvious realization. So we looked at all the items that would be going back into this cabinet and arrived at a few more overarching categories that we could use to create a spot for everything. We landed on: powdered mixes, baking ingredients, sauces, baking accessories, spices and cooking oils.

Again we loved how the labels instantly created a system to keep like items together (and that the categories could easily be changed if we wanted to move things around in the future).
But when it came to storing some greasier bottomed items (like cooking spray, canola oil, etc) we had another challenge inside this cabinet. Namely, gross rings left behind.
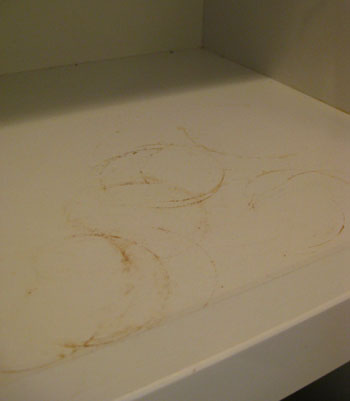
But it was nothing a few $1.99 placemats from Target couldn’t fix.
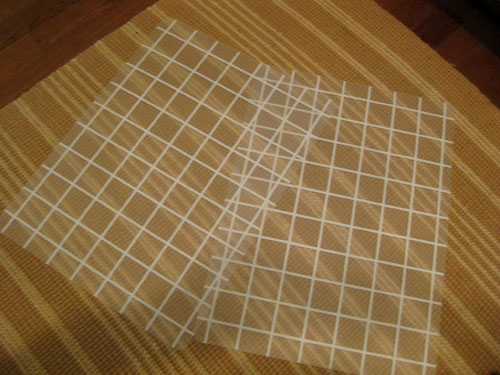
We were able to cut one in half and create two different 100% wipeable (and even dishwasher safe) protective mats for under the sticky sauces and the cooking oils that can now be stored without fear that they’ll nastify our shelves.
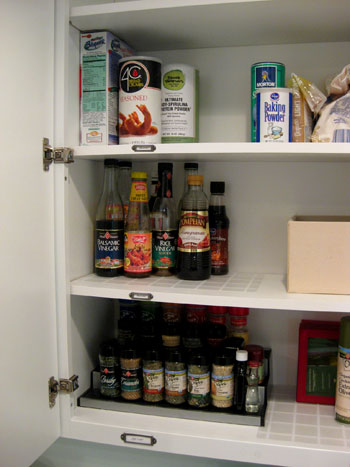
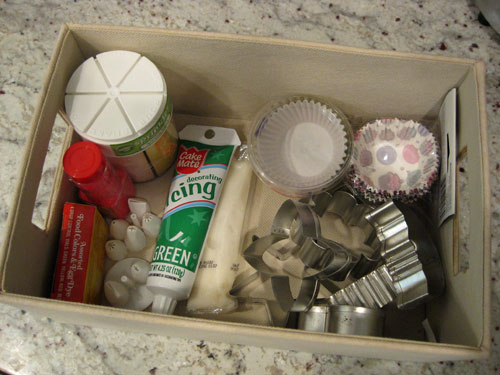
And you might be wondering what sort of “baking accessories” are stored in that box. Well, we already had it laying around, and it totally works for keeping all of our sprinkles, icing nozzles, cookie cutters and cupcake liners together. And it’s super convenient to just whip out the entire box when it comes time to bake something (instead of losing nozzles and cupcake liners in the back of the cabinets, it’s now much easier to see what we have and get to the business of decorating).
And not to be overachievers, but there was one more kitchen cabinet that was a bit, er, lackluster. We store many of our skillets and pans in the drawer under the stove, but we have a few pots and lids that spill over into the base cabinet on the right.
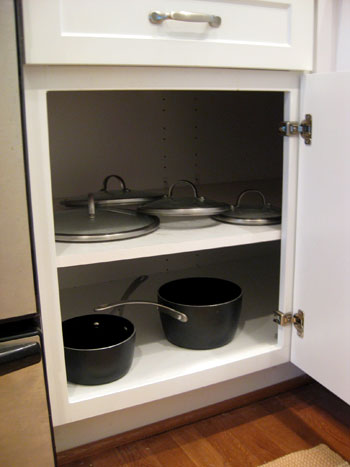
And it’s not that it looked cluttered or messy per se, it just didn’t feel organized. And if you looked closely you could see that the lids and the bases of the pots were leaving tiny marks on the shelves as they were slid in and out.
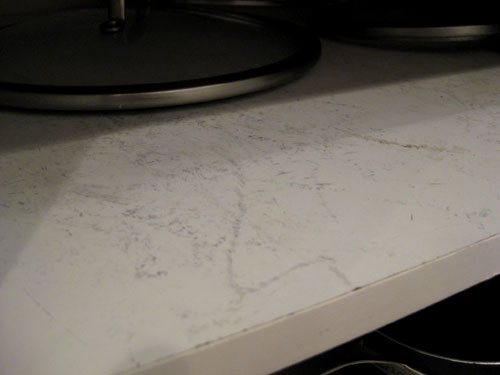
Luckily those marks were easily removed with a sponge, and then all we needed to do was pick up a lid rack ($9.39 at Target) and two more of those $1.99 placemats (which we taped together to create one large wipeable protective surface under the pots on the bottom shelf). No more scrape marks- and it looks a lot more organized too.
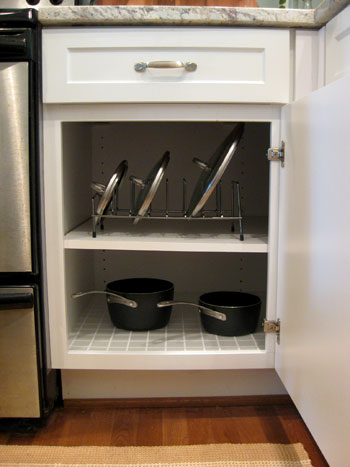
So that’s how it all went down this weekend when we finally decided to tackle our dreaded kitchen cabinets. And we’re pleased to report that the whole project ran us less than $30 for all of our storage-friendly additions (from those metal label holders and the placemats to the pot lid organizer and the glass jars for keeping snacks fresh).
But enough about us- how’d you guys do? Did any of you tackle your kitchen cabinets and live to tell the tale? Any tips or tricks you implemented to keep things under control? Did anyone attempt an organizational task outside of the kitchen (in the garden, the garage or the basement for example)? Do tell.
Psst- Wondering how we stash and store nearly everything else in our house? Click here for all the dirty deets.

Jenny says
Your home organization is seriously inspiring. I grew up in a Yankee household where everything was saved, and it’s been a lifelong effort to NOT do that and to keep things neat. Your tips (even of yore) are truly helpful!! Thank you! xox
YoungHouseLove says
Aw thanks Jenny!
xo,
s