It’s Wednesday the 14th… so it’s time to share this season’s (completely unofficial) Pinterest Challenge (not sponsored by Pinterest or anyone else, just dreamed up by Katie to make us stop pinning and start doing).

I actually tackled a homemade beanbag for Clara’s closet, which I mentioned last Wednesday when Katie, Erin, and Cassie and I issued our little get-off-our-bums-and-make-something challenge.
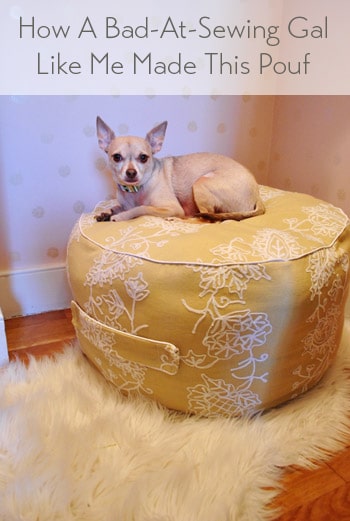
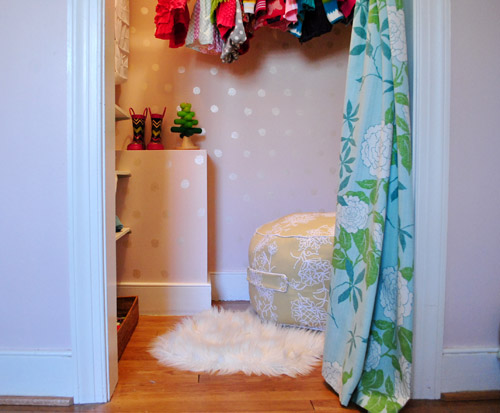
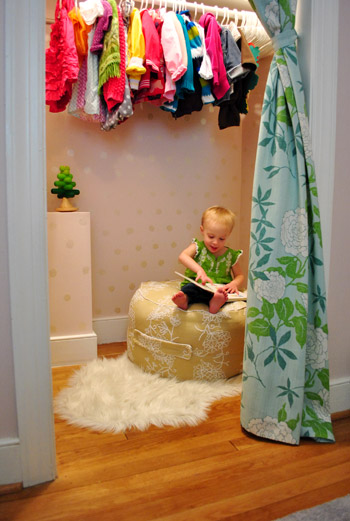
As are the rules, I took inspiration (or Pintspiration, har-har) from the projects below and then I did my own spin. Which added up to this comfy little bean-bag…
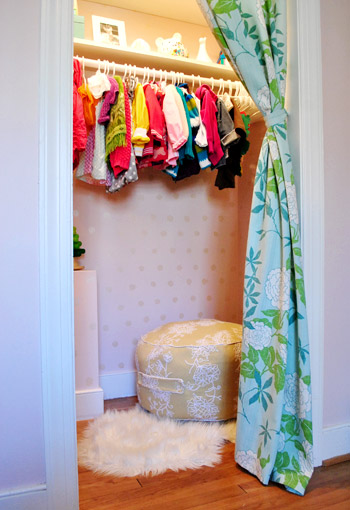
… for the bean to plop down on…
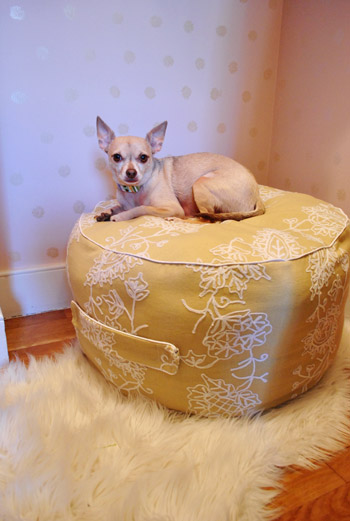
… or the pooch to hang out on…
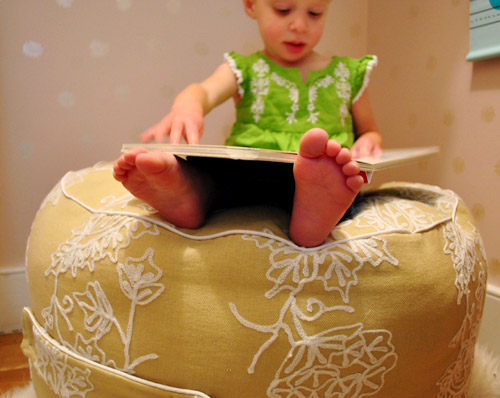
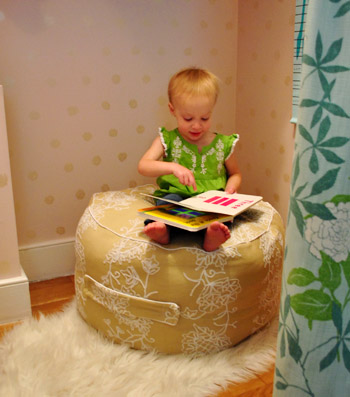
… or for a toddler reading to a chihuahua…
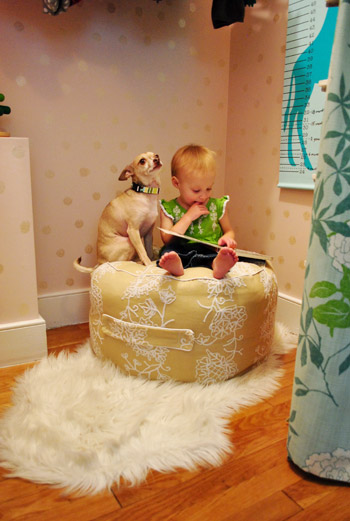
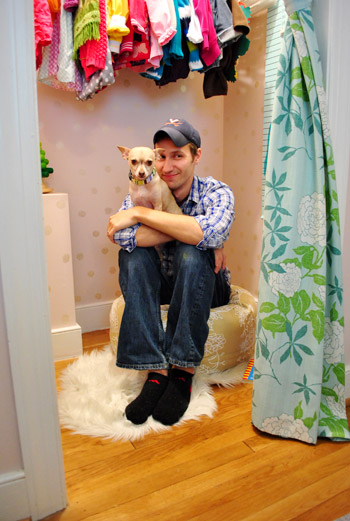
… or a tired momma or daddy (it works for that too).
And after declaring my goal, two kind commenters shared a link to this blog, which had an awesome tutorial that I decided to go with.
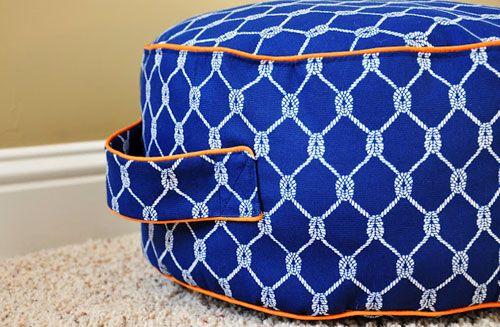
It was clear, concise, and pretty darn easy to follow, even for a novice like me, so I can’t say enough about how much it came in handy! Oh my gosh, and I actually mastered piping. This is big guys. So big I actually had to call my mom and tell her. Big sewing strides going on in our house. Haha.
My method? I just crossed my fingers, tried to follow the instructions, and did my own riff when it came to size (I wanted something a bit bigger than 17″ wide, so I made my pattern 22″ wide (by just sizing up the instructions that were over here). But seriously, a seamstress I am not. So all you fancy sewing folk try to hold your giggles as you read about the most-likely-not-proper ways that I cobbled this thing together. The result is comfy, looks good, and gets two toddler thumbs up, so I’m thrilled! And it made all of that sewing machine wrestling (more on my tumultuous relationship with my sewing machine here) worth it. And now, more pics:
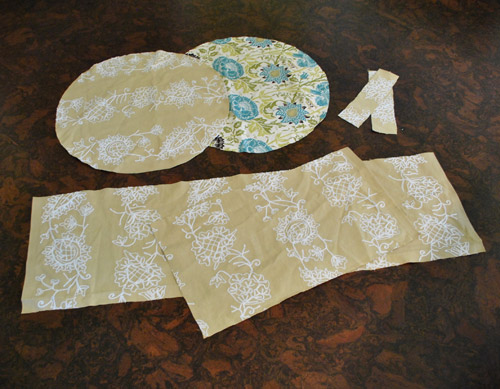
And here’s how I made it (there are much clearer explanations and pics over on this blog, where she clearly knows gobs more about sewing than I do!). First I cut out two 22″ circles, two tabs to make the handle, and fabric to make the rectangular-wrap-around part (all measurements/pattern details are on this blog). I used leftover fabric that I had from a book project actually (wahoo, secret sneak peek!) but only had a yard so I was just shy of having enough to make the last circle so for the base I just used other fabric I had on hand (both are from a local fabric store called U-Fab but I don’t know the fabric name/model since it’s an outlet – so sorry!).
Then I pinned my piping around the perimeter of the fabric (piping side in, with the end lining up exactly with the perimeter of the fabric, print side up).
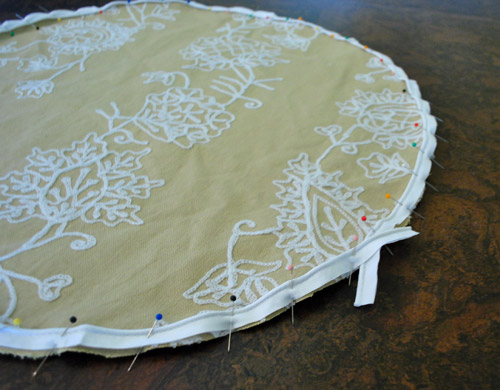
And I left the ends like this as directed in the tutorial. I also did the same thing for the other circle of fabric…
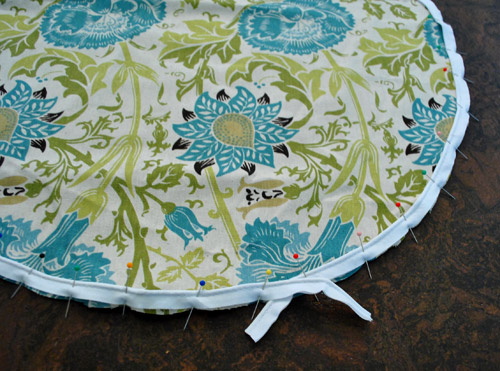
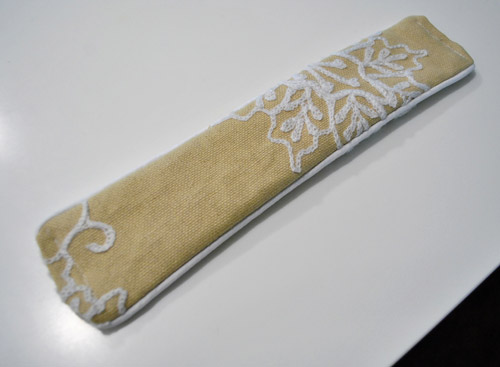
… and used piping on either side of one of my fabric tabs to make the handle.
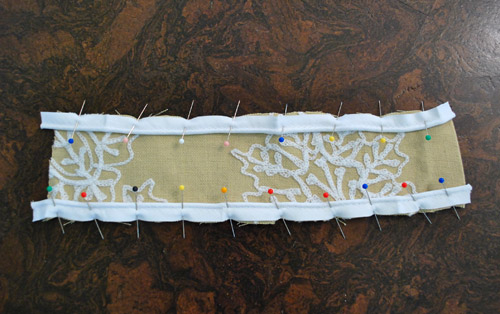
Then I stitched them all on the sewing machine, being sure to follow the stitching in the piping with my needle. I thought it would be hard to stay right on top of that line of thread, but it was actually really simple and I got into this zen-like rhythm with it. So there’s hope for non-sewers out there (I would have laughed if you told me last week that I’d describe any sewing step as zen-like).
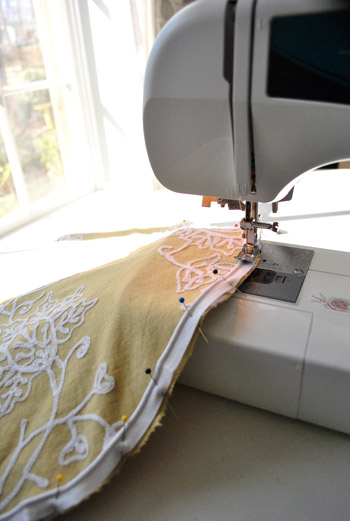
Then I did the exact same thing with the other circle…
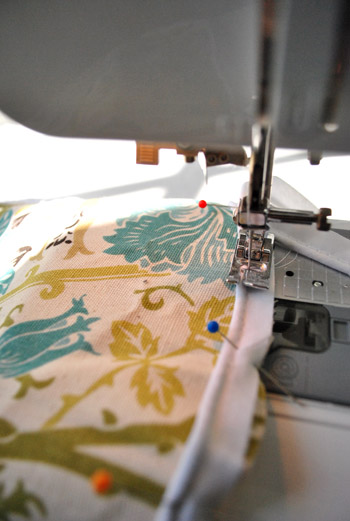
… and also ran a little stitching along the piping on each side of the handle.
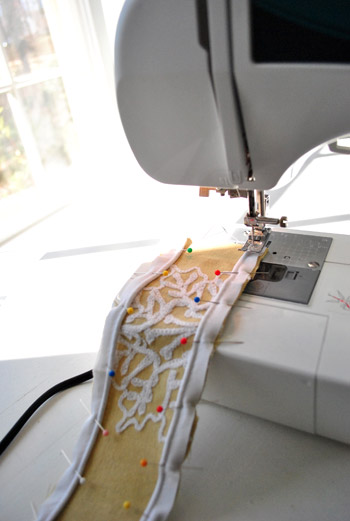
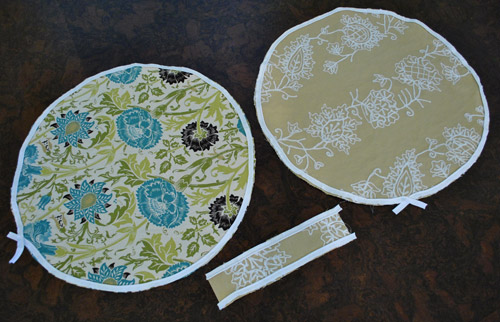
Then I had these:
Next I pinned the other side of the handle to the first side (print side in) and stitched along the thread on the other side that I had stitched when I followed along the piping.
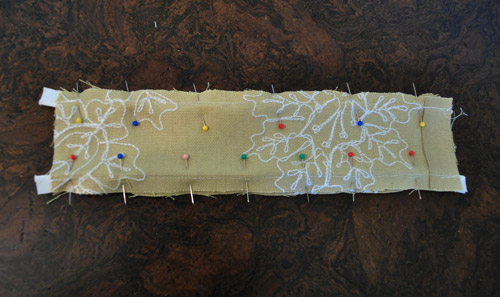
Then I turned it inside out, which is where I got to see my purrrty purrrty piping. I know it’s just a handle, but at this point I ran outside to show John. Seriously, I was proud with a capital P. Then the sewing gods brought me back down to earth.
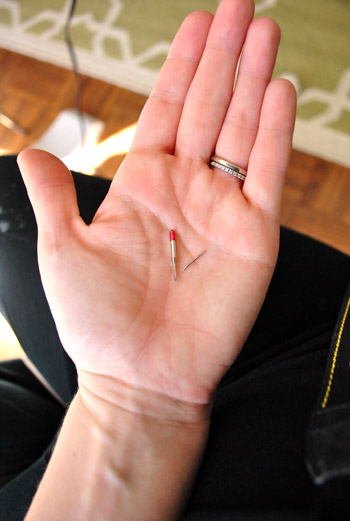
While sewing the ends closed (just tucking them under and running them through the machine to get a line of thread to hold the handle closed) I broke a needle. Bam! And it was scary and frustrating and all that jazz. But I got back on the veritable horse. Thank goodness my sewing machine came with some extra needles so I just popped one back in there and was off to the races again.
Next was pinning the circle to the long rectangular piece of fabric that wrapped around the entire perimeter (print side down).
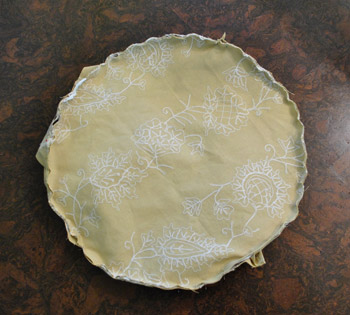
Then I ran that through the sewing machine, again following the line of thread that I made when I sewed the piping on. See that subtle line of white thread around the perimeter below? I just stitched right over that.
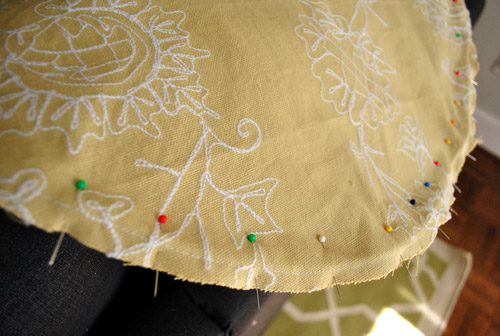
And then turned things rightside out, to see this beautiful sight. Wahoo! A partially piped beanbag! Then I pinned my handle in place and stitched that into place by making a box with an X in the middle of it (there are great pics of this on the site with the tutorial that I linked to ten million times above).
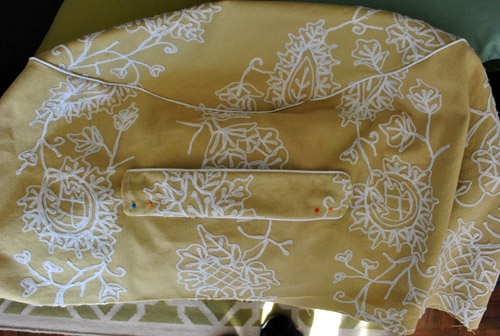
Then I turned it back inside out and pinned the other circle to the bottom of the rectangular piece of fabric that creates the middle part of the beanbag and stitched along the piping thread line again.
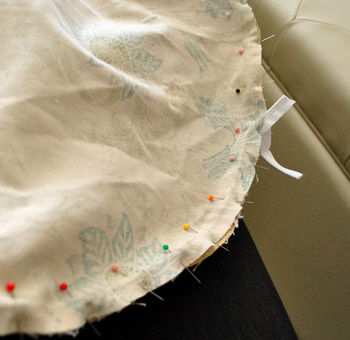
Except I didn’t seal the whole circle because I needed to turn the whole thing rightside out again…
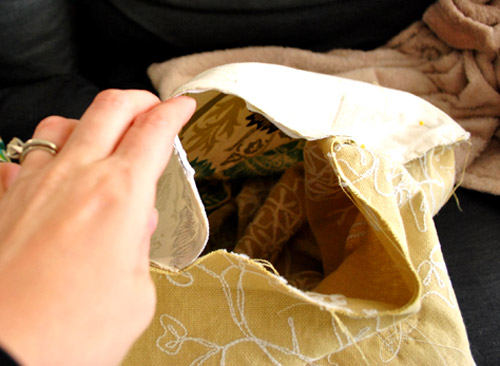
… and stuff it with batting (I used four old pillows we had stashed in the linen closet that were well past their prime for the guest room but perfect for being recycled as beanbag innards).
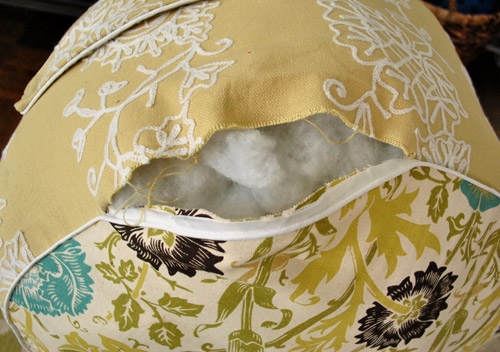
Then I hand stitched it shut. I gotta admit that I purchased a zipper in the hopes of adding that (so I can unzip it and remove the batting to wash the cover) so I hope to “upgrade” my little beanbag someday. But in the meantime, I can always use a seam-ripper to open the hand-stitched part and just resew that up after I run it through the wash (sewing this five inch part shut took about four minutes total).
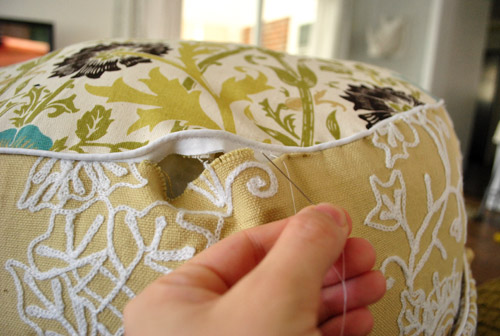
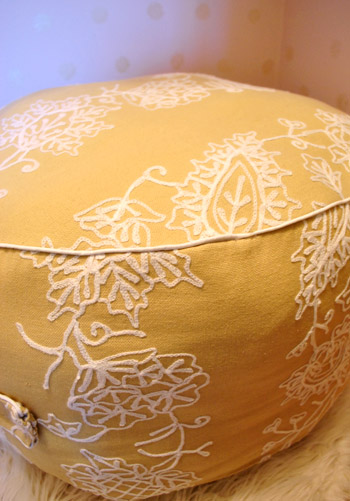
And now for the craziest thing of all. See how the pattern on the top of the beanbag sort of curls over the top and drips down the side since it all lines up?

Um, yeah, that was an accident. The fabric was inside out at that point, so I randomly pinned it and stitched it and turned it rightside out later and said “holy cow, that was the best accident ever.” John even noticed it and sweetly complimented me on my “attention to detail” later, to which I sheepishly responded “total accident, dude – the fabric was inside out and I didn’t even notice- I just randomly pinned it and sewed it up.” How crazy is that? Must be beginners sewing luck.
So that’s how it all went down. Of course for the tenth time, this tutorial is waaaay better than mine, so be sure to check it out if you have any questions! Now for the money stuff – here’s the budget breakdown (thanks to a bunch of 50% off coupons at JoAnn):
- $0 for one yard of leftover fabric (originally from U-Fab here in Richmond)
- $2.38 for two 25 yard packs of white piping (from JoAnn thanks to coupons)
- $1.19 for a zipper that I vow to someday add (from JoAnn, again thanks to coupons)
- $1.50 for white thread (from JoAnn)
- Total: $5.07
Oh and don’t forget to check in on Katie, Erin, and Cassie to see what amaaaaazing projects they whipped up (they’ll be sharing theirs sometime today as well)!

And now here’s the part where we invite you to share all of the fun Pinterest Challenge projects that you guys have tackled in the last week (right along with us, well at least virtually with us). If you’ve already blogged about it, just:
- click on the blue “Add Your Link” button with the odd cartoon head at the bottom of this post (you might have to do some scrolling, depending how many projects are added)
- add a link to your specific blog post about your project in the url field (not your home page)
- where it says “name” write a descriptive name for your project (ex: “Homemade Beanbag”) as opposed to your actual name
- we’d also love if you could quickly link back over to our project posts within your own (here’s Katie’s, Cassie’s, Erin’s, and ours) – it’s also nice to link to your inspiration project on Pinterest as well as to directly link to the original project/site, just so they get some love too.
And if you’d rather just link over to your project in the comment section, feel free to do that – or even add a link to a free photo sharing site like Flickr with your pics if you don’t have a blog (remember to set the gallery to public so we can all see it). We can’t wait to see what you’ve been up to! Freaky-deek-excited doesn’t even begin to describe it.

Sarah B says
Hi! I haven’t crafted anything from Pinterest lately, but I gleaned cutting potatoes (for mashing) with an apple cutter. Works like a charm!
Mary says
Sherry, you have become a seamstress. You are an inspiration to me. I stopped sewing years ago because I thought I was just too busy. Because of you I made my Granddaughter an apron for her first birthday. I am going to make some of these beanbags now. Thank you.
Valerie J. says
It looks awesome! It’s amazing what can be done once you get the hang of a sewing machine. I’ve been sewing my own lined curtains, throw pillows, boppy covers, and such for 10+ years now…the money savings alone is enough to get me to drag out “the beast” (the enormously heavy sewing machine) each time. You’ll be a pro in no time, Sherry! By the looks of this floor cushion I would have thought you’d been sewing for years! :)
Nina says
The pouf looks great! I could not attempt something like this yet, I only tried out my sewing machine for the first time last night. But I tried my hands on a diy felting project I saw on Pinterest a while back. So much fun!
Robin says
Oh Sherry I just want to cry at how cute that is and how sad I am for not having that same “niche” for talent. It’s adorable! Esp the one of toddler reading to chihuaua. :)
Kristy says
Love this challenge! I’ve only JUST discovered it! This one’s not over, but I’m already excited for the next! I’m supposed to be working, but can’t seem to quit visiting blogs!!!
Vanessa says
great bean bag! and that has to be the world’s cutest closet EVER!
kathy h says
Wow! I’m impressed! I sewed a TINY bit in high school in my HomeEc class and wasn’t very good. But, now I really want to get a new sewing machine and start up again. May I ask what type of sewing machine you have and any things to look for or not look for? Thanks!
YoungHouseLove says
Here’s a post all about that for ya: https://www.younghouselove.com/2011/04/ing-sewing-machine/
xo,
s
Kristi Bruce says
Here’s my Pinterest challenge all done! http://www.flickr.com/photos/kristibruce/
Kristi Bruce says
Oh and I painted the board with Carolina Inn Club Aqua. Sound familiar?! Loved your poof for Clara. I am now not so scared to try out piping. :)
YoungHouseLove says
Nice! Love that color.
-John
Michelle says
Thanks for another great Pinterest Challenge! Having that deadline really helped. Your beanbag is adorable by the way. One more thing to add to my “to do” list… ;-)
Seriously Sassy Mama says
This most certainly will be a summer sewing project.
Amanda says
I would love to do something just like this only at a larger scale for my craft room! (Do you think it would be difficult to put a zipper in it so you can add stuffing later as it gets squished?)
YoungHouseLove says
Oh no, my plan is to go back in and add a zipper someday! I say go for it!
xo,
s
Whitney says
OH MY GOODNESS. I made the exact same thing about 7 months ago using the EXACT same tutorial. However, I was not smart enough to realize 17 inches was too small for a grown up (duh) I was just excited to be making something I saw on Pinterest to think about the size of my rump! So, only the little dog gets to use it. LOVE your fabric!!! Great photos!
Whitney says
Oh, and your piping is WAY better than mine!
Elizabeth F. says
This is awesome! I’m going to try making one. What were your measurements for the side piece if your circle was 22? Thanks!
YoungHouseLove says
I just found the circumference. I think it was 73 inches or so?
xo,
s
Jen Fernandez says
Love. Love. Love. Your pouf for the Bean came out fantastic. I’m so impressed! You’ve convinced me to try this one out for myself. And I’m totally loving the fabric too. So pretty!
Katie @ Quality Cheap Home says
Thank you so much for posting this challenge. I am new to the blogging world, well, having my own blog. I’ve been reading others for years. Anyhow, my project really kicked my butt! There was lots of sweat, but no tears, and the deadline made me stick to it. Best of all, met some new blogging friends along the way. Thanks again.
ColleenwithMurals&More says
I have been planning for this party for weeks! In my head, that is. I didn’t even start my project until yesterday. And I am SO happy to be #639 ;) I am, I am!!! I just wish I had 2 entire days – make that 3 entire days to go thru all of these fabulous projects!
Ok, I’m off. Thank you for hosting. love, love, love the pouf. the branch over the top? unbelievable. Some people! ?
Colleen P. says
I am just making a quick comment so if someone else has mentioned this please excuse my redundancy! The pillow looks awesome and your piping is gorgeous, and my suggestion is, especially if you’re going to use piping again (and how can you not, now that you see what it can do?)-Get yourself a zipper foot. Your machine may have even come with one, it’ll look like a single skinny foot, possibly, or a foot with two bars on the back where is fits onto the presser foot. In any case, it snugs right up against the edge of that piping and keeps you from jumping across it (and possibly breaking needles).
Oh, and one more teensy suggestion-always use a fresh needle when working with piping, you’re going through several layers and you want a good clean pierce through all those layers. I’d say go with a size 12 or 14, smaller is going to bend and break easier.
Okay, so that was two, but it’s in the spirit of sharing! LOL!
YoungHouseLove says
Oh yes we have heard that and plan to give it a try!
xo,
s
VettyV says
You did a fantastic job!!The colors and fabrics are all fantastic!! this poof looks store bought….you’ve given me the courage to try it out for myself :) THanks!!
Holly says
Just curious if you guys have read this article yet? It’s a little scary to me! I went to Pinterest and read the terms of agreement and what this article says is true :( Curious about your thoughts?
http://www.knoed.com/thewindowseat/pinterest-change-your-terms-or-were-leaving/
YoungHouseLove says
We had a great conversation about that on our first Pinterest post (the one announcing this challenge on the first page of comments) so feel free to scroll back and read that!
xo,
s
Sarah says
The blue and green fabric is called Sweet William in teal, available here: http://www.tonicliving.com/productsDetails.asp?categoryid=26&productid=1185¤tpage=1&onsale=0
It’s also called Mingei, available here: http://premierprintsfabric.com/mng.shtml
YoungHouseLove says
Thanks for the tip Sarah!
xo,
s
Melissa says
Hi there! I love the inside of the closet! Is it wallpaper or paint?
YoungHouseLove says
It’s a stamp I applied (I made a stamp out of a potato actually). Haha. Here’s that post for you: https://www.younghouselove.com/2011/08/potato-potahto/
xo,
s
Connie says
You could also make a plain cotton (whatever’s cheap and won’t show through the outer fabric) cover that holds that batting, pillow form, or peanuts. You’d undoubtedly need a longer zipper so that you could stuff the pillow through the zipper opening.
Using a zipper foot makes attaching piping easier. That way you can make each of stitching one thread’s width tighter, resulting in really tightly sewn piping.
YoungHouseLove says
Thanks for the tips Connie!
xo,
s
Julie Jacobsen says
Your poof is great but I want to know about the walls inside Clara’s closet. Did you use paint/stencil or wallpaper? If it was paint, please tell us the colors and paint finishes used.
FYI, I love your blog. Even though I’m not a big commenter, I feel like I stalk you guys on a daily basis ????. Your energy and perspectives on getting things done inspires this middle aged mama of 45! Thanks so much.
YoungHouseLove says
If you scroll back a few comments you can see a link to that project (I actually stamped it with a potato! haha). Hope it helps!
xo,
s
Crystal G. says
I’ve always wanted one of those awesome family last name signs with a fancy established on date. You know, just to make our 8 year marriage and two kids and dog official and all… But I also wanted to put our family’s outline on the sign. I planned on doing this project as the pinterest challenge but literally couldn’t find exactly what I was looking for as inspiration. Apparently, only my own crazy head knew what I wanted. That happens to me often. ;)
Anyway, I got creative and this was the end result: http://thegeibs.blogspot.com/2012/03/diy-family-name-outline-sign.html
It actually turned out just as I wanted — which happens to me rarely when in comes to DIY. :)
YoungHouseLove says
Looks great! Love all the projects guys!
xo,
s
Catie Carey says
Sherry,
So I had every intention of linking up my Pinterest project but life got in the way and my Pinterest challenge undertaking took a few extra days to complete and blog. Wanted to share it here anyway :) It was my very first Pinterest undertaking and I’m itching to try more…I’m gonna need a sewing machine first though! ;)
Tile Coasters:
http://getcareydaway.com/2012/03/22/coasting/
Cheers!
Catie
YoungHouseLove says
They look great Catie!
xo,
s
Angela says
Now that the bean pouf has been in use for a few weeks now, how is it holding up? Is the filling coming through the fabric at all? I am currently making a pouf and I wondered about the misbehaving filling.
YoungHouseLove says
It’s doing really well! Still looks great- and Clara and Burger give it a beating!
xo,
s
Janina says
HI there,
I bag is awesome! I tried it after I read your blog but somehow I’m not as good as you in math. I had first not enough of fabric to go once around and then too much :-( Could you maybe give me the sizes you used???
that would be awesome!
thx
YoungHouseLove says
I think I made the circle 21″ around and then used the formula for circumference to get the length that goes with that circle. I believe it was 72? Maybe just google “circumference of 21” – or whatever your circle’s diameter is? And then leave an extra inch for the seam! Good luck!
xo,
s
Janina says
THANK you!
Julia says
Darn, I missed this one! When is the next Pinterest Challenge going to be?
YoungHouseLove says
Soon! We’re planning a spring one!
xo,
s
Emily says
Sherry, I have had this on my mind since the original post and upon revisiting this today think I might be up to trying it myself! I noticed that your beanbag looks bigger than the one in the original tutorial—I see that you made it 22″ instead of 17″; is it also taller along the sides?
YoungHouseLove says
Hmm, I don’t remember! Maybe I made it an inch or two taller. Hope it helps!
xo,
s
[email protected] says
Finally finished. LOL! Thanks for these challenges, they are so much fun!
Knock-off designer artwork:
http://www.ahappyplacecalledhome.com/home/2012/5/28/connecting-the-dots.html
Shelby says
I’m getting ready to finally undertake this project for our twins’ nursery. I too want to do one a little larger than Living with Punks. Did you use the same measurements for your long rectangular piece (9×51.5) as the original tutorial says or did you have to make some adjustments to that piece? TIA!
YoungHouseLove says
The rectangular piece had to be adjusted a bit. I think if you scroll back in the comments there’s more info on that!
xo,
s
Shelby says
Ah yes…thank you! Sorry for double asking…I admit to not wanting to scroll through 6 pages of comments to find it.
YoungHouseLove says
So sorry, stuff gets hidden for sure – but so glad you found it!
xo,
s
Jessica S. says
What is your Pinerest username? Or, do you prefer to keep it private? If not, I’d love to follow you! But privacy is good too :-)
YoungHouseLove says
We’re younghouselove – I think if you go to pinterest.com/younghouselove you can find us :)
xo,
s
Jenna says
I just made pillows with my mom this weekend and I used piping. A trick she showed me to make sewing the piping easier was to use the “zipper” foot on the sewing machine. The piping fits in little groove for the zipper! Made things so much easier for a novice sewer like myself!!
YoungHouseLove says
Sounds awesome!
xo
s
Madison says
Any chance you know how long to make the rectangle pieces? I’m going with the 22″ circles as well but I’m a dummy when it comes to sewing and need all the help I can get! :/
Thanks!
Madison
YoungHouseLove says
I think if you scroll back through the comments I might have covered that! I completely forget now but I hope it’s in there!
xo
s
Alanna L. says
I might make this for mother’s day! Did anyone ever figure out the name of that gorgeous yellow fabric? Thanks!
YoungHouseLove says
I’m so sorry I don’t remember it! Maybe it’s back in the comments somewhere?
xo
s
Jamie says
Came across this from your tea bag sewing post. I would love to use leftover fabric from my daughter’s curtains and would love to make this. It’s just a basic cotton though, is your fabric home decor weight? Any thoughts on if plain cotton would hold up? Also, is the stuffing still fully puffed? Thanks!
YoungHouseLove says
Oh yes this is just cotton and not upholstery weight :)
xo,
s
Kelly says
Sherry, Did you change any dimensions besides making larger circles? Hoping to make one soon! Thanks!
YoungHouseLove says
I think I did but I forget the details! If you scroll back through the comments I think I explained my dimensions better, so that’s probably the best way to find out! Wish I remembered it better!
xo
s
Shelle says
I love this project. Do you know the final dimensions of this pouf?
YoungHouseLove says
Oh man, I don’t remember, but I think others have asked in the comments so if you scroll back and read the blue ones (from me) hopefully there will be one with dimensions for ya!
xo
s